Introduction
Welcome to our guide on how to download images with transparent backgrounds. If you’ve ever encountered an image with a solid background that hindered its versatility or integration into various designs, you’ll understand the importance of having transparent backgrounds for images. Whether you’re a graphic designer, web developer, or simply a creative enthusiast, learning how to remove the background from an image can greatly enhance your design capabilities and overall aesthetic appeal.
Transparency in images refers to the ability to see through a certain part of the image, allowing the background to show through or blend seamlessly with other elements. This feature is particularly useful when you want the main subject of an image to stand out without the limitations of a solid background.
In the past, creating transparent images required advanced knowledge of photo editing software like Adobe Photoshop. However, with the advancements in online image editing tools, the process has become much more accessible and user-friendly. These online tools allow you to easily remove backgrounds and download images with transparent backgrounds without the need for extensive editing skills.
In this guide, we will walk you through the step-by-step process of using both online image editing tools and software like Adobe Photoshop to download images with transparent backgrounds. Additionally, we will explore alternative software options that can achieve the same results. By the end of this guide, you will have a comprehensive understanding of how to obtain transparent images to elevate your creative projects.
Understanding the Concept of Transparency in Images
Before we dive into the practical steps of downloading images with transparent backgrounds, it’s important to understand the concept of transparency in images. Transparency refers to the ability of an image to have certain areas that are see-through, allowing the background or underlying layers to show through. This feature is particularly useful when you want to blend images seamlessly into different designs or layers.
Transparent images are typically saved in a file format that supports transparency, such as PNG (Portable Network Graphics). Unlike formats like JPEG or GIF, which have solid backgrounds, PNG images preserve the alpha channel, which contains information about the transparency level of each pixel.
When working with transparent images, it’s crucial to understand that the transparency is represented by a grayscale value ranging from 0 (completely transparent) to 255 (completely opaque). Areas with a higher grayscale value will be more visible, while those with a lower value will be more transparent.
Take, for example, a logo with a transparent background. By removing the background and saving the logo as a PNG with transparency, you can easily place it on different colored backgrounds without any visible edges or artifacts. This flexibility allows for seamless integration and versatility in various design applications, such as websites, presentations, and print materials.
Transparency in images can greatly enhance your design capabilities and enable more creative freedom. By understanding how transparency works and the various file formats that support it, you can confidently navigate the world of transparent imagery and take your designs to the next level.
Using Online Image Editing Tools to Remove Backgrounds
Online image editing tools have made the process of removing backgrounds and obtaining transparent images more accessible than ever before. These tools typically offer a user-friendly interface and a range of features to help you achieve the desired results quickly and efficiently. Here, we’ll outline a general step-by-step guide on how to use online image editing tools to remove backgrounds:
- Select the tool: Start by choosing an online image editing tool that best suits your needs. There are several popular options available, such as Remove.bg, Clipping Magic, and Lunapic. These tools offer both free and premium versions with varying levels of functionality.
- Upload the image: Once you’ve chosen a tool, upload the image you want to remove the background from. Most tools support various file formats, including JPEG, PNG, and GIF. Simply drag and drop the image file onto the tool’s interface or use the designated upload button.
- Remove the background: Using the editing tools provided, trace around the subject of your image to create a selection. These tools often feature automated background removal algorithms, which utilize artificial intelligence and machine learning to accurately detect and separate the foreground from the background. Depending on the complexity of the image, you may need to refine the selection manually.
- Preview and refine: Before finalizing the background removal, take advantage of the preview feature to ensure the quality and accuracy of the selection. Make any necessary adjustments, such as refining edges or correcting any missed areas.
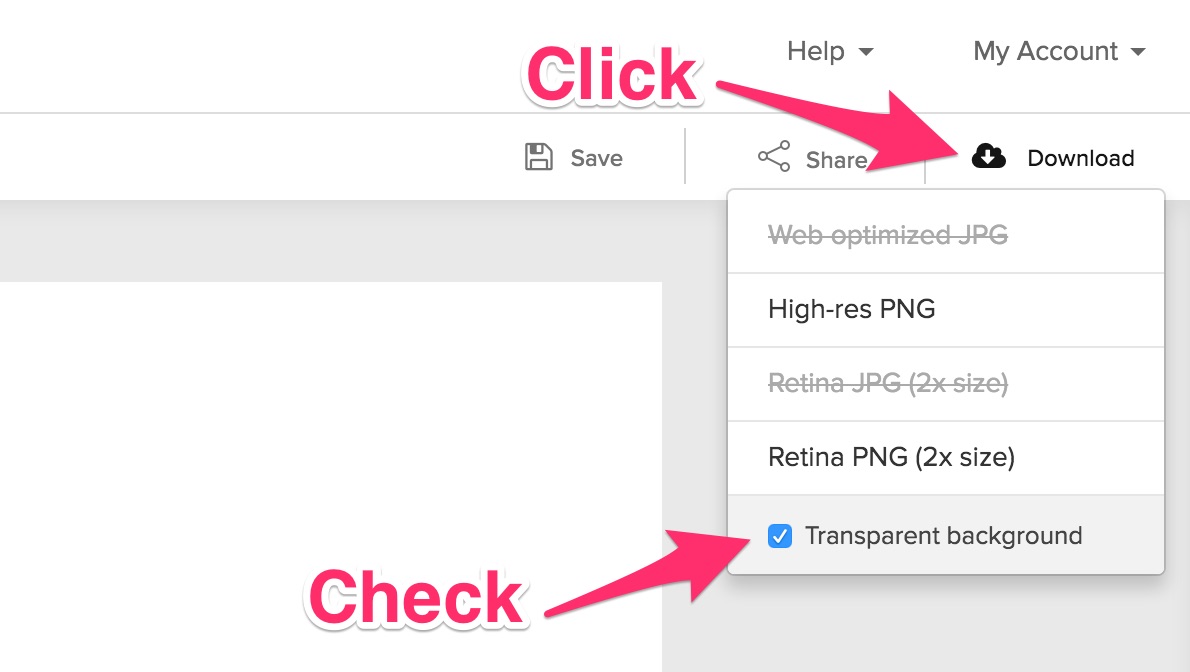
- Download the image: Once you’re satisfied with the result, simply click the download button to obtain your transparent image. The image will typically be saved as a PNG file, preserving the transparency information for future use.
It’s important to note that while online image editing tools provide convenient and efficient ways to remove backgrounds, they may not always produce perfect results. Complex images with intricate details or fine hair strands may require more manual effort to achieve optimal transparency. In such cases, professional photo editing software like Adobe Photoshop might be more suitable.
By utilizing online image editing tools, you can easily remove backgrounds and obtain transparent images for use in various design projects, presentations, or personal creations. These tools empower both beginners and professionals to achieve professional-looking results without the need for expensive software or advanced editing skills.
Step by Step Guide to Downloading Transparent Images Using Photoshop
Adobe Photoshop is a powerful software widely used by professionals for image editing and manipulation. It provides extensive features and control, making it an excellent tool for creating and downloading transparent images. Here’s a step-by-step guide to help you download transparent images using Photoshop:
- Open the image in Photoshop: Launch Photoshop and open the image you want to work with by selecting “File” in the menu, followed by “Open”. Browse for the image file on your computer and click “Open”.
- Select and separate the subject: Use Photoshop’s selection tools (such as the Magic Wand, Quick Selection, or Pen tool) to carefully select the subject of the image that you want to keep. Make sure to refine your selection to achieve smooth and accurate outlines.
- Create a new layer with transparency: After selecting the subject, right-click on the selection and choose “Layer via Copy” or “Layer via Cut” from the context menu. This creates a new layer with only the selected subject, separating it from the background.
- Delete or hide the background layer: Depending on your preference, you can either delete the background layer or hide it by clicking on the eye icon next to the layer in the Layers panel. This step ensures that the background does not interfere with the transparency of the subject.
- Adjust and refine the image: Use Photoshop’s editing tools and adjustments to refine the transparency and overall appearance of the image. This may include adjusting levels, applying filters, or retouching specific areas to achieve the desired effect.
- Save the image as a transparent file: Once you’re satisfied with the result, go to the “File” menu and choose “Save As”. Select the PNG file format, which supports transparency, and choose a location on your computer to save the image. Name the file and click “Save”.
By following these steps, you can utilize the powerful capabilities of Photoshop to create and download transparent images. Photoshop provides precise control over the selection and manipulation of images, making it an ideal choice for achieving professional-quality results. Experiment with various editing techniques and tools to enhance the transparency and appearance of your images.
Downloading Transparent Images Using Alternative Software
While Adobe Photoshop is a popular choice for downloading transparent images, there are alternative software options available that can also produce excellent results. These software alternatives offer different features and user interfaces, catering to a diverse range of users. Here, we’ll explore two common alternatives for downloading transparent images:
- GIMP: GIMP (GNU Image Manipulation Program) is a free and open-source raster graphics editor that provides powerful image editing capabilities. Similar to Photoshop, it supports layers, selections, and advanced editing tools. To download transparent images using GIMP, open the image in the software, use the selection tools to isolate the subject, create a new layer with transparency, and export the image as a PNG file.
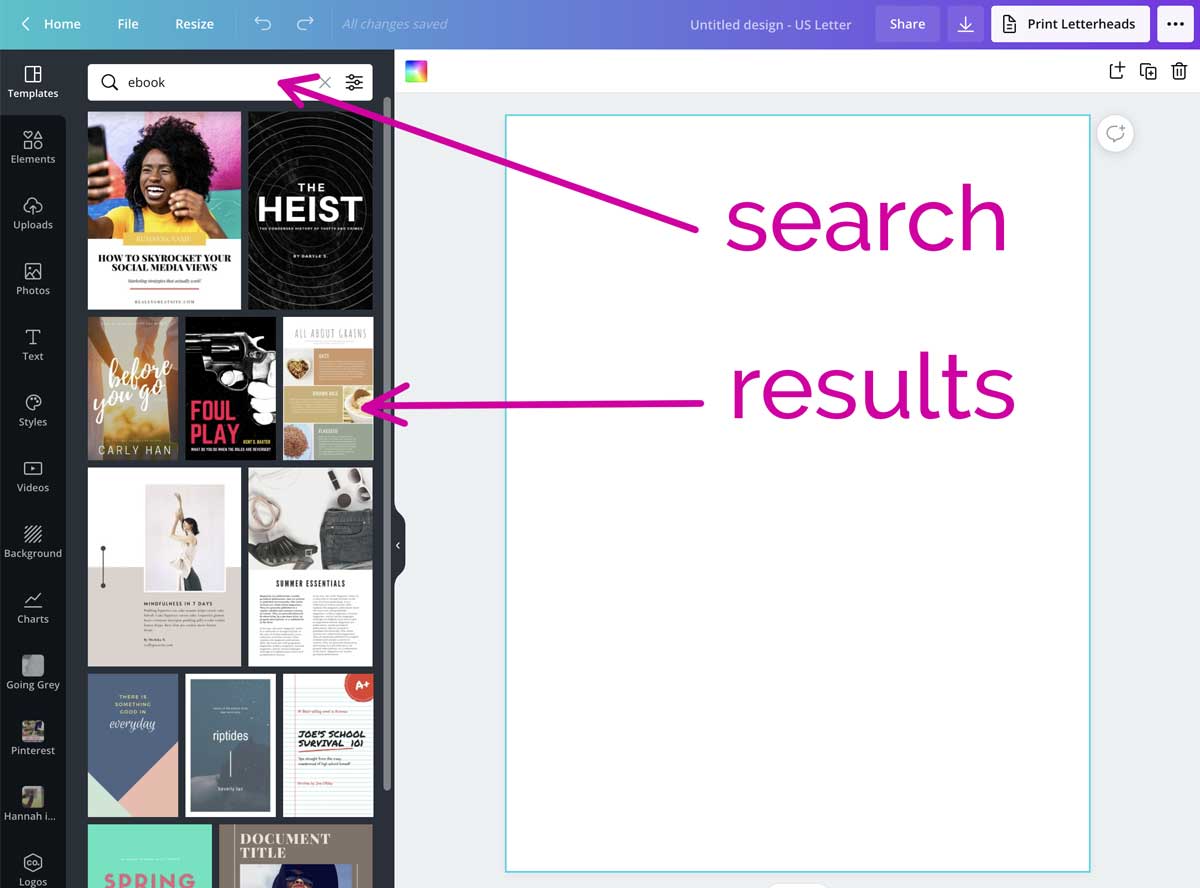
- Canva: Canva is a web-based design platform that offers a user-friendly interface and a wide range of design templates. While Canva is primarily used for graphic design and creating custom designs, it also allows you to download transparent images. To do this, open Canva, select the desired template or create a custom design, add images to your design, and use Canva’s transparency tools to remove the background. Once you’re satisfied with the result, download the image with a transparent background.
Both GIMP and Canva provide accessible alternatives to Photoshop, particularly for individuals who may not require the extensive features or professional-grade capabilities of Photoshop. These software options are suitable for various design projects, social media graphics, web graphics, and more. However, it’s important to note that the functionality and capabilities of these alternatives may vary, and some advanced features found in Photoshop may not be available.
When using alternative software to download transparent images, familiarize yourself with the specific tools and features offered by each program. Explore tutorials and guides provided by the respective software’s community to maximize your efficiency and achieve the desired transparent image results.
Conclusion
Obtaining transparent images is a valuable skill for anyone involved in graphic design, web development, or creative projects. With the availability of online image editing tools and professional software like Photoshop, it has become easier than ever to remove backgrounds and download images with transparent backgrounds.
Throughout this guide, we’ve covered various methods to achieve transparent images. Online image editing tools provide a quick and convenient way to remove backgrounds, while software like Photoshop offers advanced editing capabilities and precise control. Additionally, alternative software options like GIMP and Canva provide accessible alternatives for different user needs.
Remember, the key to successful transparent images lies in accurate selection, refining edges, and using the right file formats. Whether you’re a beginner or an experienced designer, take the time to practice and experiment with different techniques to achieve the best results.
Transparent images open up a world of possibilities, allowing you to seamlessly integrate objects into various designs, backgrounds, and layers without limitations. By mastering the art of creating transparent images, you can elevate your design projects, presentations, and personal creations to new heights of creativity and professionalism.
So, why wait? Start exploring the world of transparent images and unleash your creativity today!