Introduction
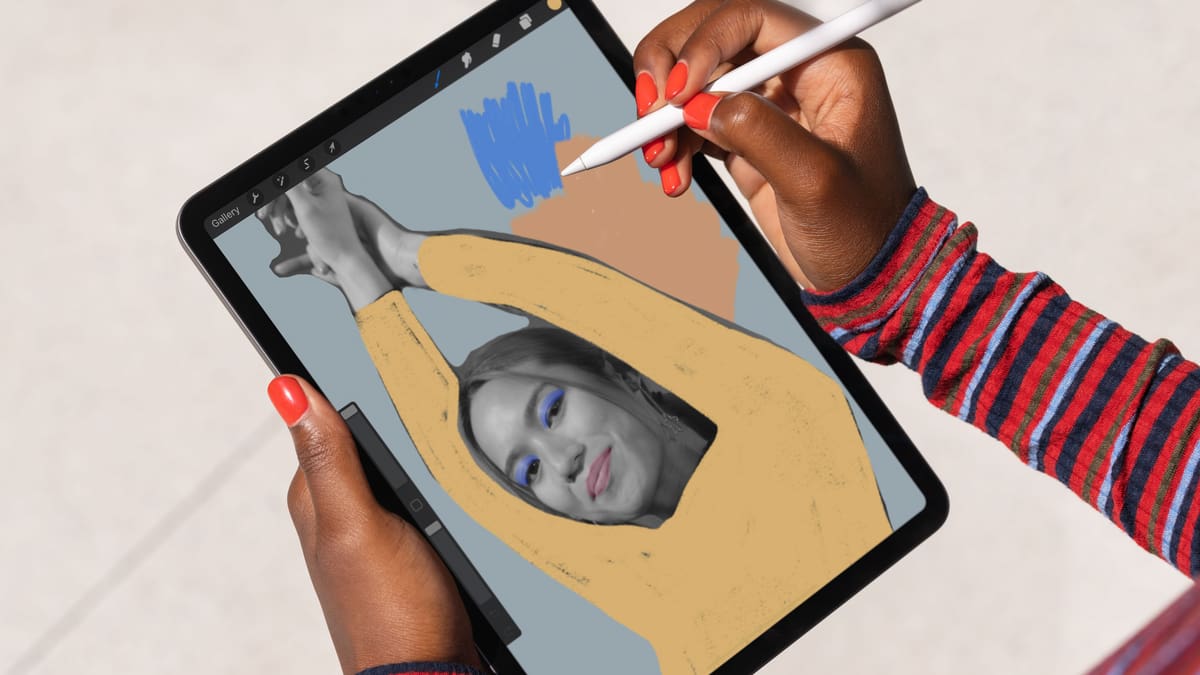
Welcome to the world of Procreate, the revolutionary digital art app that has taken the artistic community by storm. Whether you are a professional artist or just starting out on your creative journey, Procreate offers a wide range of tools and features to unleash your imagination. One of the most exciting aspects of Procreate is the ability to download and use custom brushes, which can truly transform your digital artwork.
In this article, we will guide you through the process of downloading brushes on Procreate, so you can explore the endless possibilities and take your digital art to the next level. From finding and importing brushes to customizing settings, we will cover everything you need to know to get started.
Before we delve into the steps, it’s important to note that Procreate is only available on iOS devices. So, make sure you have the app installed on your iPhone or iPad before proceeding with the brush downloading process.
Now, let’s dive in and discover how to download brushes on Procreate!
Step 1: Open Procreate
The first step in downloading brushes on Procreate is to open the app on your iOS device. Locate the Procreate icon on your home screen and tap on it to launch the app. Once the app is open, you will be greeted with the Procreate interface, which is where all the magic happens.
If you are a new user, you will be presented with a blank canvas. If you have used Procreate before and have existing artwork, you may see your previous works displayed. Regardless of whether you have any existing artwork, the process of downloading brushes remains the same.
Procreate provides a user-friendly interface that is intuitive and easy to navigate. The app’s main toolbar is located at the top of the screen, and it contains various essential tools such as brushes, erasers, and selection options.
Take a moment to familiarize yourself with the main toolbar and explore the different tools available. This will help you navigate through Procreate seamlessly and make the most out of the brush downloading process.
Now that you have successfully launched Procreate, let’s move on to the next step to find the brush library.
Step 2: Go to the Brush Library
Once you have Procreate open on your iOS device, the next step is to navigate to the Brush Library. This is where you will find a wide range of brushes, including the ones you will download.
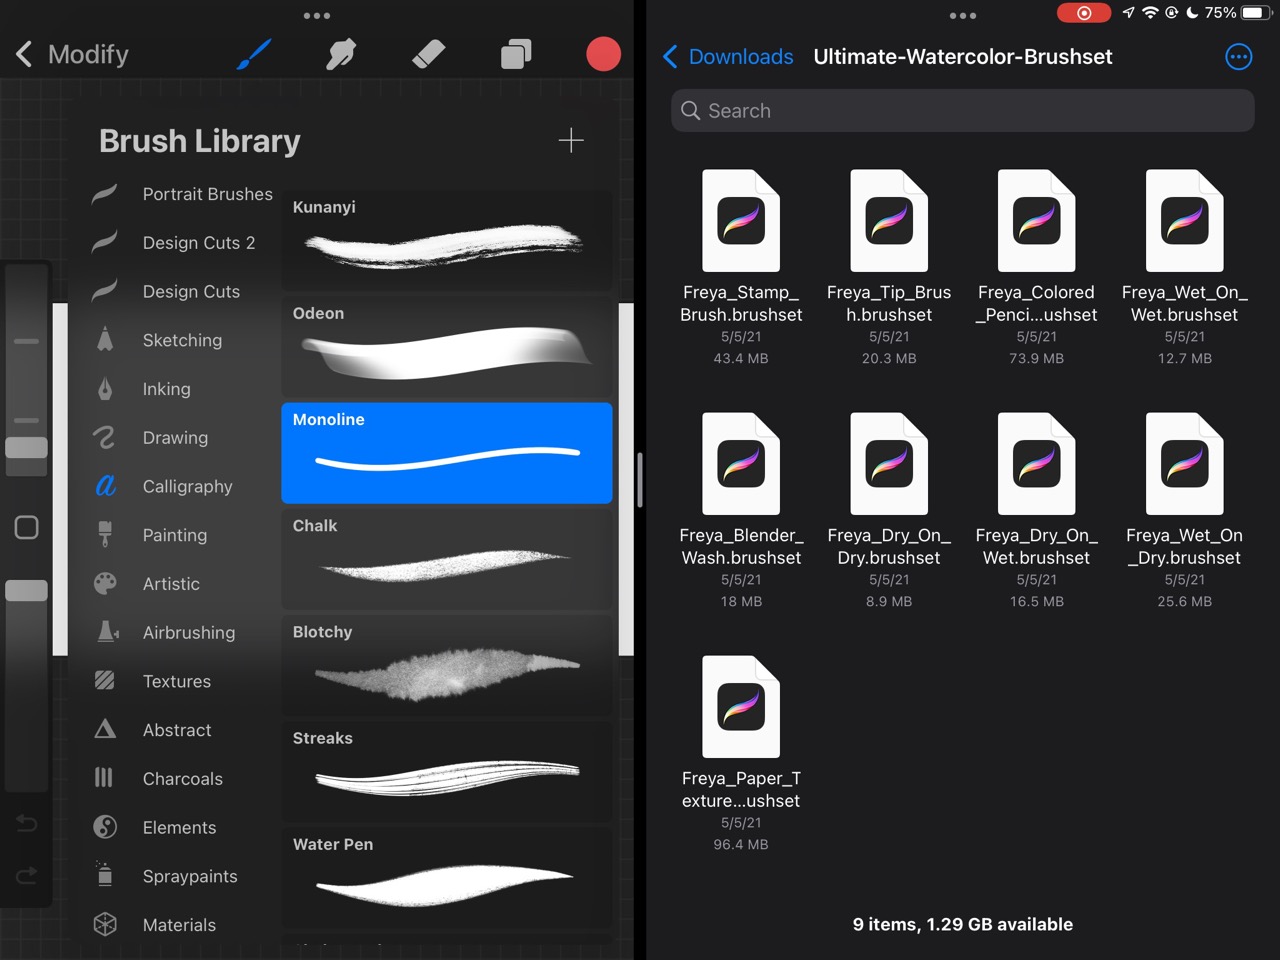
To access the Brush Library, look for the icon that resembles a paintbrush in the top toolbar. Tap on the brush icon, and a panel will slide up from the bottom of the screen, revealing the brush options.
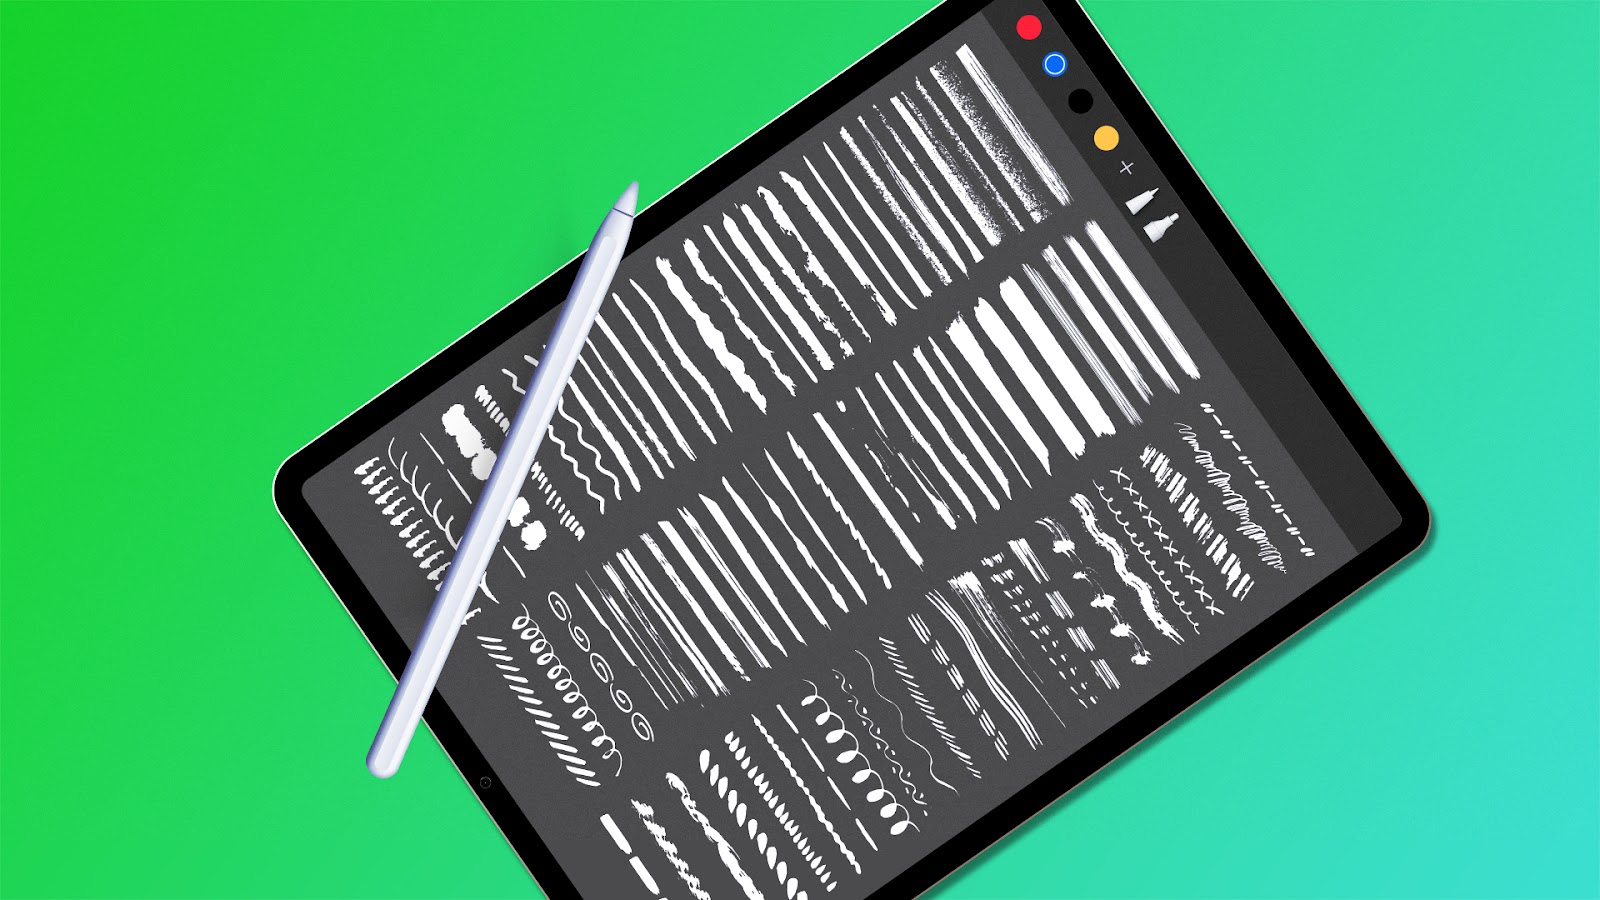
In the Brush Library, you will see different categories of brushes, such as ‘Sketching’, ‘Inking’, ‘Painting’, and more. These categories organize the brushes based on their intended use, making it easier for you to select the perfect brush for your artwork.
Scroll through the brush categories and explore the various brushes that come pre-installed with Procreate. This will give you an idea of the types of brushes available and inspire you to experiment with different styles and effects.
Now that you’ve located the Brush Library and have a better understanding of the brushes in Procreate, let’s move on to the next step to import your downloaded brushes.
Step 3: Tap “Import”
After accessing the Brush Library in Procreate, it’s time to import the brushes you have downloaded. This step is crucial to add new brushes to your collection and unleash your creativity even further.
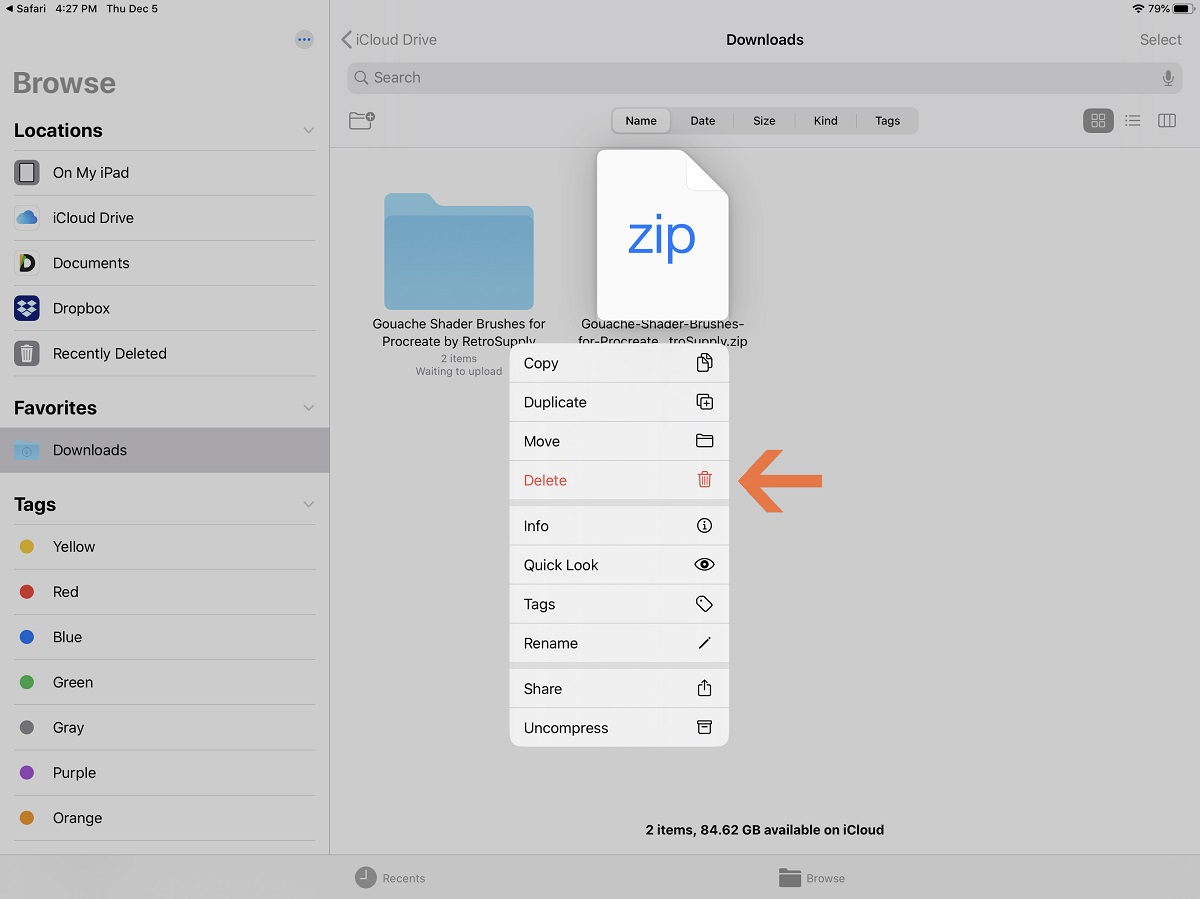
To begin the import process, look for the small ‘+’ icon located in the top-right corner of the Brush Library panel. Tap on the ‘+’ icon, and a menu will appear with various import options.
From the import menu, select the “Import” option. This action will open the Files app on your device, allowing you to browse through your files and select the brush file you want to import. Procreate supports various file formats for brushes, including .brush, .brushset, and .procreate.
Once you tap on “Import”, a file browser will pop up, enabling you to navigate through your device’s files and folders. Browse through your files to locate the folder where you have saved the downloaded brushes.
When you find the brush file you wish to import, tap on it to select it. Once selected, Procreate will automatically import the brush into your Brush Library.
The import process may take a few moments depending on the size of the brush file. You will see a progress indicator to keep you informed about the import progress.
Once the import is complete, the newly imported brush will appear in the Brush Library, ready to be used in your artwork. Repeat the import process for any additional brushes you want to add to your collection.
With the brushes successfully imported into Procreate, let’s move on to the next step to learn how to adjust the brush settings to suit your preferences.
Step 4: Choose Your Brush File
Now that you have imported the brush file into Procreate, it’s time to choose the specific brush you want to use for your artwork. Procreate offers a seamless process to help you find and select the desired brush from your imported collection.
To choose your brush file, return to the Brush Library by tapping on the brush icon in the top toolbar of Procreate. Once you’re in the Brush Library, you will see a row of brushes displayed at the bottom of the screen.
Scroll through the brush thumbnails to browse the various brushes available. You can swipe left or right to explore different categories or scroll up and down to view all the brushes in a particular category.
As you scroll through the brushes, pay attention to the preview of each brush. This will give you an idea of how the brush will appear on your canvas and help you select the most suitable one for your artwork.
When you find a brush that catches your eye, simply tap on it. Procreate will automatically select the chosen brush, and you can see the brush settings and preview in the panel above the brush thumbnails.
Feel free to experiment with different brushes, test out their settings, and see how they interact with your canvas. Procreate brushes offer a plethora of customization options, allowing you to tweak things like opacity, size, texture, and more to achieve the desired effect.
If you’re not satisfied with your selection or want to try out another brush, simply tap on a different brush in the Brush Library. Procreate makes it easy to switch brushes on the go, giving you the flexibility to create unique and varied artwork.
With your desired brush selected, you are now ready to start using it in your artwork. Let’s move on to the next step to learn about adjusting the brush settings, which can further enhance your creativity.
Step 5: Adjust the Settings (optional)
Once you have chosen a brush from your imported collection, you have the option to adjust its settings to suit your specific needs and artistic style. Procreate offers a range of customizable settings that can enhance your brush strokes and bring your artwork to life.
To access the brush settings, tap on the brush icon once again in the top toolbar of Procreate. This will open up the Brush Library, where you can view the selected brush and its settings.
In the brush settings panel, you will find various options to modify the behavior and appearance of the brush. These options may include brush size, opacity, flow, shape dynamics, and more.
Explore the different settings and experiment with their values to achieve the desired effect. For example, you can increase the brush size for bold and broad strokes, or decrease it for intricate details. Adjusting the opacity and flow can help you create smooth gradients or build up layers of color.
One of the standout features of Procreate is the ability to add texture to your brushes. You can select from a variety of predefined textures or even import your own custom textures to create unique and realistic effects in your artwork.
Remember, these settings are optional and highly customizable, so feel free to play around with them until you achieve the desired look for your artwork. Don’t be afraid to experiment and unleash your creativity!
Once you have adjusted the settings to your liking, you are ready to start using your customized brush in your artwork. Now, let’s move on to the sixth and final step to discover how to make the most of your newly downloaded brushes.
Step 6: Start Using Your New Brushes
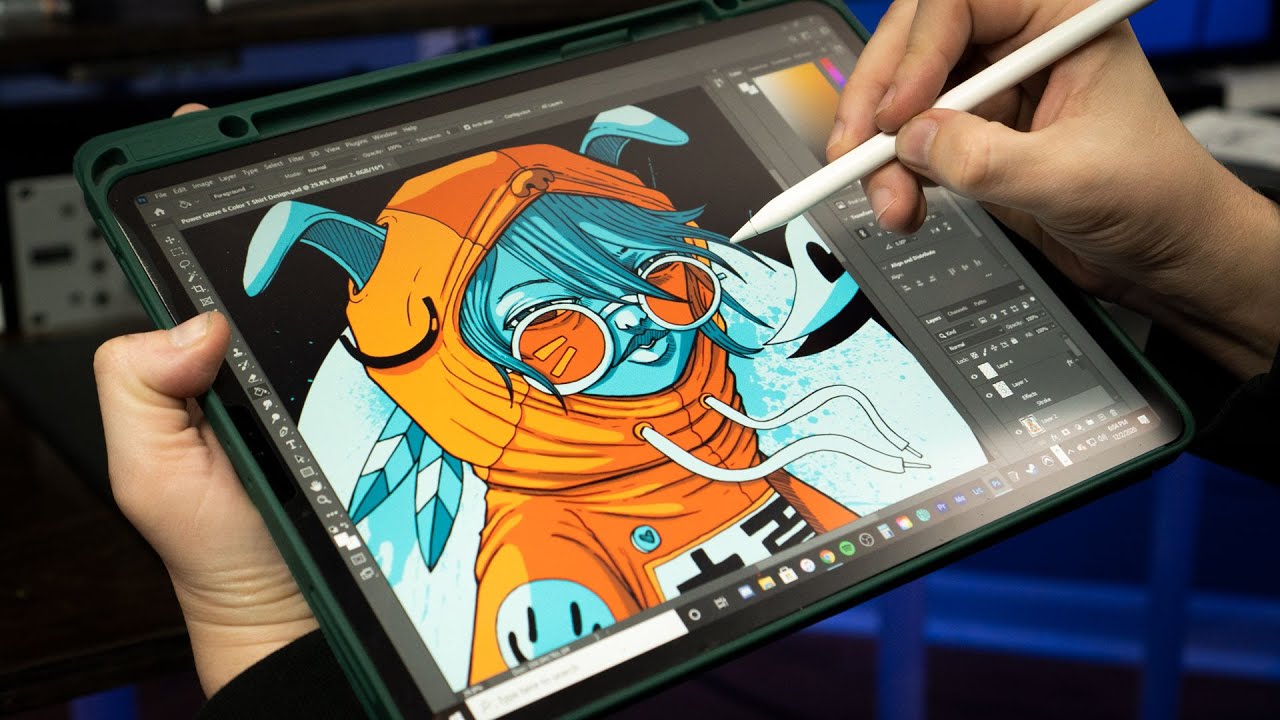
Congratulations! You have successfully downloaded, imported, and customized your new brushes on Procreate. Now it’s time to put them to use and unleash your creativity on the digital canvas.
To start using your newly imported brushes, tap on the canvas to begin creating your artwork. Depending on the brush settings you have chosen, you can experience a range of effects, from smooth and precise lines to textured and expressive strokes.
Experiment with different brush strokes, pressure sensitivity, and layering techniques to bring your vision to life. Procreate’s intuitive interface and powerful brush engine allow for effortless art creation, providing you with endless possibilities.
Combine different brushes, mix colors, and explore various artistic styles to create unique and captivating artwork. Remember to take advantage of Procreate’s layering system, which enables you to work on different parts of your artwork independently and make adjustments easily.
Throughout the creative process, don’t hesitate to revisit the brush settings and make any necessary modifications. As you gain more experience, you might discover new ways to utilize the brushes and uncover hidden potentials.
Whether you’re creating digital paintings, illustrations, lettering, or designs, your new brushes will play a crucial role in adding depth, character, and personal style to your artwork.
So, let your imagination run wild, explore different techniques, and enjoy the freedom that Procreate with your downloaded brushes offers. With practice and experimentation, you will continue to refine your skills and create stunning digital masterpieces.
Now that you are equipped with the knowledge to download and use brushes on Procreate, it’s time to unleash your creativity and embark on an artistic journey like never before!
Conclusion
Congratulations on learning how to download and use brushes on Procreate! With this newfound knowledge, you have unlocked a world of endless creative possibilities. By importing custom brushes into Procreate, you can personalize your digital artwork and add unique textures and effects.
We started by opening Procreate and navigating to the Brush Library, where you discovered a wide range of pre-installed brushes organized by category. Then, you learned how to import your own brush files by tapping on “Import” and selecting the desired file from your device’s files.
After importing the brushes, we explored the process of choosing the right brush from the Brush Library. With a variety of brushes at your fingertips, you have the freedom to select the one that best suits your artistic vision and style.
We also touched upon the optional step of adjusting the brush settings. Procreate allows you to customize various aspects of your brushes, such as size, opacity, and texture, empowering you to create artwork that truly reflects your artistic expression.
Finally, we concluded with the exciting step of starting to use your new brushes. By tapping on the canvas and experimenting with different brush strokes, pressure sensitivity, and layering techniques, you can bring your artwork to life and unleash your creativity.
Remember, the process of using brushes on Procreate is a journey filled with exploration, experimentation, and growth. As you gain experience and familiarize yourself with the tools and features, your digital artwork will continue to evolve and improve.
So, don’t hesitate to download new brushes, explore different artistic styles, and push the boundaries of your creativity. Procreate is your canvas, and with the right brushes, you can create digital masterpieces that captivate and inspire.
Now, it’s time for you to dive into the world of Procreate, armed with your newly acquired knowledge. So, go forth, create, and let your imagination soar!