Introduction
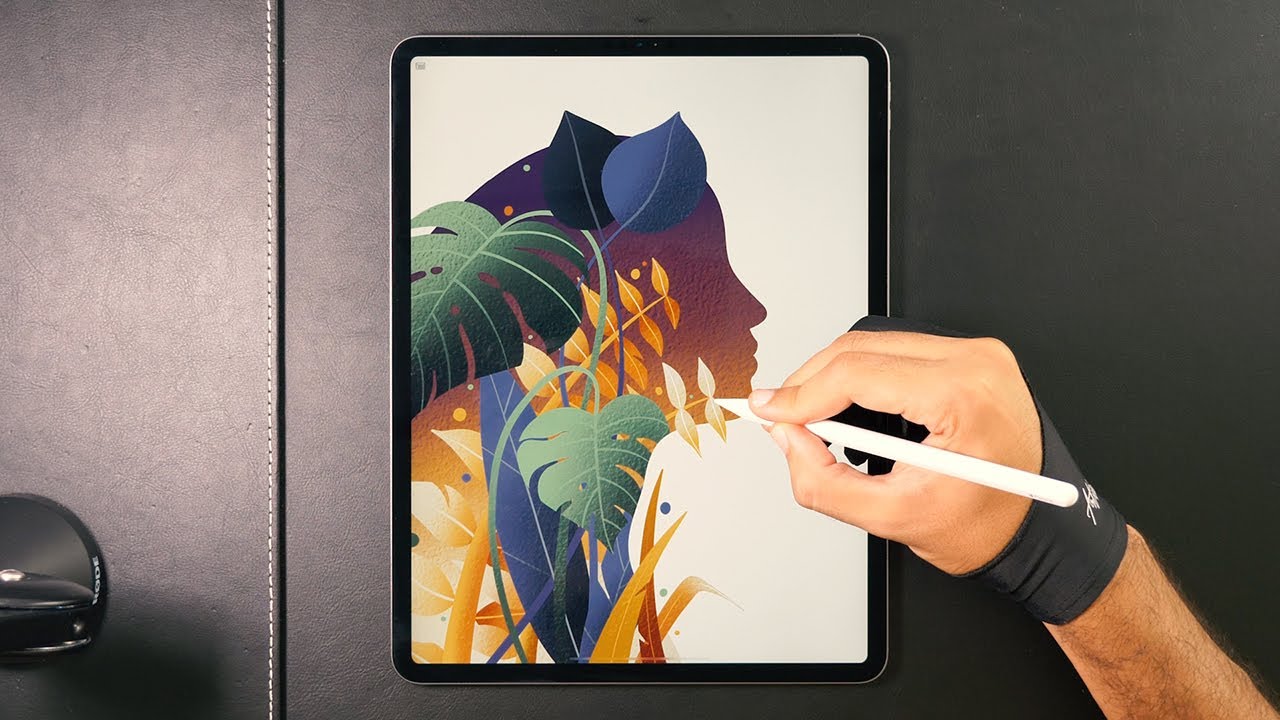
Welcome to the world of digital art! If you have an iPad and a creative streak, you can transform your device into a powerful drawing tablet. Gone are the days of requiring expensive equipment or complicated setups to unleash your artistic skills. With just a few simple steps, you can use your iPad as a drawing tablet and bring your imagination to life.
Using an iPad as a drawing tablet offers numerous advantages. Not only does it give you the freedom to create stunning artwork on a portable device, but it also opens up a whole new realm of possibilities. You can leverage the advanced functionalities of your iPad, such as pressure sensitivity, touch gestures, and a wide range of drawing apps, to enhance your artistic abilities and achieve professional-level results.
Whether you’re a professional artist looking to streamline your workflow or an aspiring creative looking for a fun and intuitive way to express yourself, using an iPad as a drawing tablet is a game-changer. In this article, we’ll guide you through the process of getting started, configuring your iPad, choosing the right drawing app, and exploring various tools and settings to create stunning digital artwork.
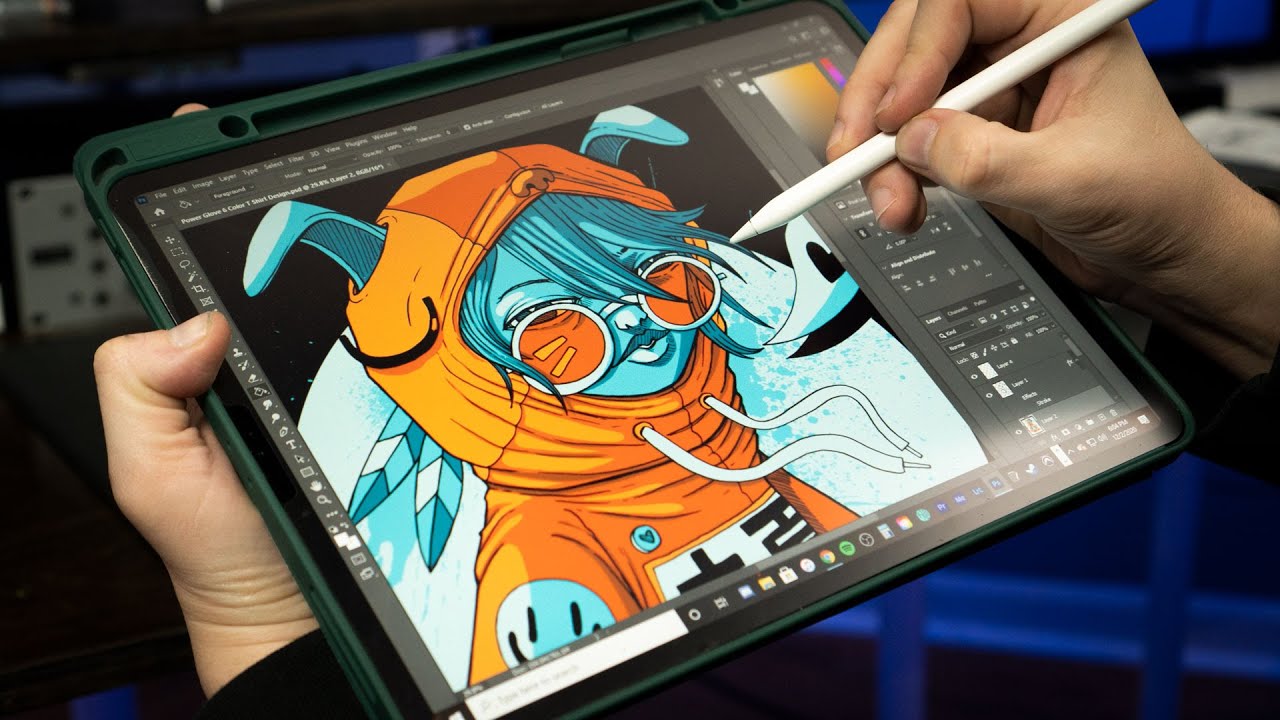
Before we dive into the details, it’s important to note that using your iPad as a drawing tablet requires connecting it to your computer. This allows you to utilize the processing power and software capabilities of your computer while harnessing the drawing capabilities of your iPad. Don’t worry, we’ll walk you through the setup process step by step, so you’ll be up and running in no time!
So, if you’re ready to unlock the full potential of your iPad and embark on a creative journey like no other, let’s get started!
Getting Started
Before you can use your iPad as a drawing tablet, there are a few things you need to do to get started. Follow these steps to ensure a smooth setup process:
- Ensure compatibility: Make sure that your iPad and computer are compatible with each other. Check the system requirements for the drawing software you’ll be using and ensure that your iPad meets those requirements. Additionally, verify that your computer has a USB port or supports a wireless connection with your iPad.
- Update your software: It’s crucial to keep your iPad and computer software up to date. Check for any available system updates on both devices and install them if necessary. This will ensure that you have the latest features and compatibility improvements.
- Download drawing software: Choose a drawing software that suits your needs and download it onto your computer. There are several options available, ranging from free to paid, so explore different options to find the one that you feel most comfortable with.
- Connect your iPad to your computer: Depending on your iPad model, you can connect it to your computer either using a USB cable or wirelessly. If using a USB connection, plug one end of the cable into your iPad and the other end into a USB port on your computer. If using a wireless connection, ensure that both your iPad and computer are connected to the same Wi-Fi network.
- Trust the connection: After connecting your iPad to your computer, you may see a prompt on your iPad asking you to trust the device. Follow the on-screen instructions to establish the trust connection between your iPad and computer.
- Launch the drawing software: Once your iPad is connected and the trust connection is established, open the drawing software on your computer. You should see a prompt or settings option to select your iPad as the input device. Choose your iPad from the list of available devices.
- Ensure proper settings: In the drawing software, check the settings to ensure that the pressure sensitivity, pen tilt, and other relevant options are correctly configured. These settings may vary depending on the software you’re using, so consult the software’s documentation or help resources if needed.
With these initial steps completed, you’re now ready to unleash your creativity and start using your iPad as a drawing tablet. The next sections will delve into more specific details and tips for optimizing your drawing experience. So, let’s move ahead and configure your iPad for drawing!
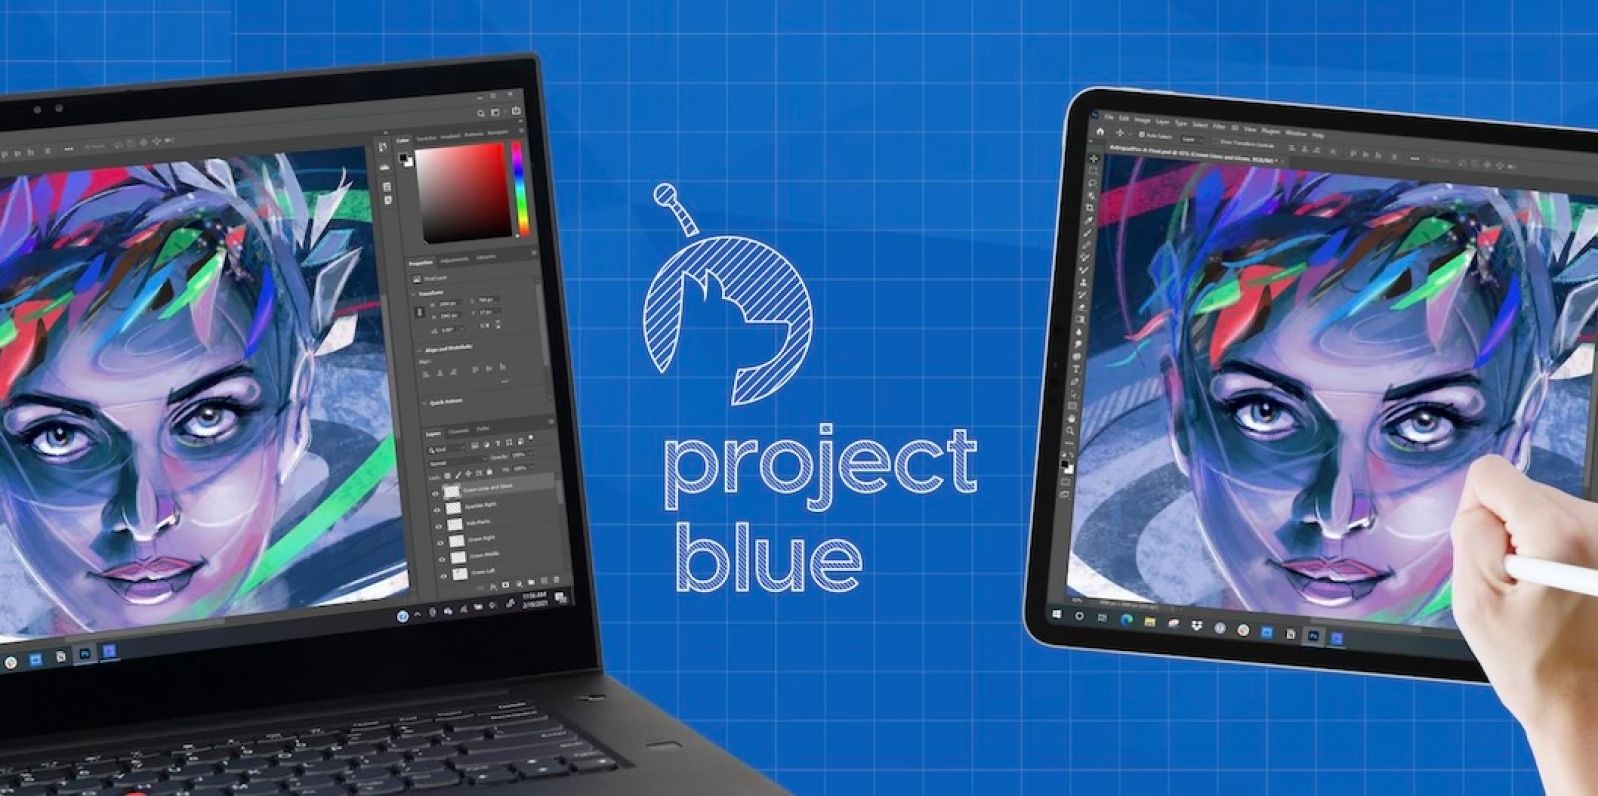
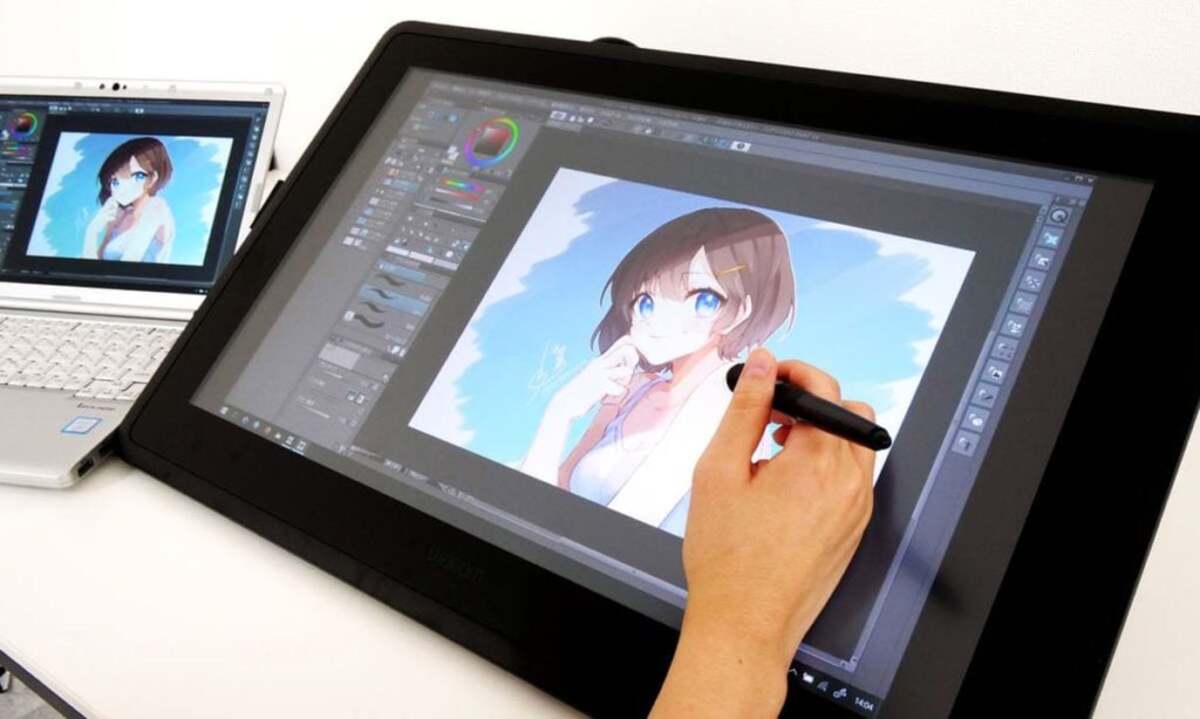
Connecting your iPad to your computer
Connecting your iPad to your computer is an essential step to use it as a drawing tablet. This connection allows you to utilize the processing power of your computer and access various drawing software. Here’s a step-by-step guide to help you establish the connection:
-
- USB Connection:
If you prefer a wired connection, follow these steps:
-
-
- Using a suitable USB cable, connect one end to the Lightning or USB-C port on your iPad and the other end to a USB port on your computer.
- Ensure that your iPad is unlocked and on the home screen. You might need to enter your passcode to grant access.
- On your computer, you may see a prompt asking if you trust the connected device. Confirm ‘Trust’ to establish the connection.
- Wireless Connection:
-
If you prefer a wireless connection, follow these steps:
-
- Ensure that both your iPad and computer are connected to the same Wi-Fi network.
- Go to your iPad’s ‘Settings’ and tap on ‘Screen Mirroring’ or ‘AirPlay’ (depending on your iPad model).
- Select your computer from the list of available devices to establish the connection.
- On your computer, you may see a prompt asking if you allow screen mirroring. Approve the request to enable the connection.
Once you’ve successfully connected your iPad to your computer, you’re ready to start using it as a drawing tablet. Make sure to double-check the connection stability and ensure that both devices remain connected throughout your drawing session.
Note that some drawing software may have specific requirements or preferences for the connection method. Refer to the software documentation or the support resources for detailed instructions on how to connect your iPad to the software.
Now that your iPad and computer are connected, let’s move on to the next section, where we’ll help you configure your iPad for use as a drawing tablet.
Configuring your iPad for use as a drawing tablet
Now that your iPad is connected to your computer, it’s time to configure it for optimal drawing experience. Follow these steps to ensure your iPad is properly set up:
- Check for software updates: Before diving into the configuration process, ensure that your iPad’s software is up to date. Go to the ‘Settings’ app on your iPad and navigate to ‘General’ > ‘Software Update.’ If an update is available, download and install it.
- Adjust the display settings: For a comfortable drawing experience, it’s important to adjust your iPad’s display settings according to your preferences. You can modify the brightness, color temperature, and screen orientation by going to ‘Settings’ > ‘Display & Brightness.’
- Enable palm rejection: One of the challenges of using an iPad as a drawing tablet is unintentional touch inputs. To avoid accidental palm or finger touches while drawing, enable palm rejection. This feature ensures that only the stylus or Apple Pencil is recognized as an input device. Palm rejection settings can typically be found in the drawing software’s preferences or the iPad’s ‘Settings’ app.
- Utilize pressure sensitivity: If you have an Apple Pencil or a stylus that supports pressure sensitivity, make sure it’s connected and working properly. Pressure sensitivity allows you to vary the thickness and opacity of your strokes by applying different levels of pressure. Most drawing software recognizes and utilizes this feature, automatically adjusting the brush settings accordingly.
- Customize gesture controls: Your iPad offers various touch gestures that can enhance your drawing experience. Familiarize yourself with these gestures and customize them to suit your preferences. For example, you can assign specific functions or shortcuts to double-tap or swipe gestures using the iPad’s ‘Settings’ app or the drawing software’s preferences.
- Explore additional accessories: Depending on your needs and preferences, consider investing in additional accessories to enhance your drawing experience. This may include screen protectors, anti-glare filters, adjustable stands, or ergonomic grips for your stylus or Apple Pencil.
Take some time to explore and experiment with different settings on your iPad and drawing software. Everyone has their own unique preferences, so find the configuration that feels intuitive and comfortable for you.
Once you have successfully configured your iPad, you’re ready to move on to the next sections, which will delve into choosing the right drawing app, exploring various drawing tools and settings, and utilizing pressure sensitivity for more realistic drawings. So, let’s dive in and unleash your creativity!
Choosing the right drawing app
When it comes to using your iPad as a drawing tablet, choosing the right drawing app is crucial. The app you select will determine the range of tools, features, and flexibility you have for creating digital artwork. Here are some factors to consider when choosing a drawing app:
- Compatibility: Ensure that the drawing app is compatible with your iPad model and operating system version. Some apps may have specific requirements or limitations, so it’s important to verify compatibility before downloading.
- User Interface: Look for a drawing app with an intuitive and user-friendly interface. The tools and options should be easily accessible, allowing you to focus on your art rather than getting lost in a complex interface.
- Brushes and tools: Check the variety of brushes and tools available in the app. Look for a diverse range of brushes, including pen, pencil, airbrush, and watercolor, among others. The app should also offer options for adjusting brush size, opacity, and hardness.
- Layers and blending modes: Layers are essential for organizing and editing your artwork. Ensure that the app supports multiple layers and allows you to adjust layer opacity and blending modes. This flexibility is crucial for creating complex and detailed artwork.
- Exporting and sharing: Consider how easy it is to export and share your artwork from the app. Look for options to save your drawings in various file formats (e.g., JPEG, PNG) and share them directly to social media platforms or cloud storage services.
- Community and support: Research the app’s user community and support resources. Joining a community of fellow artists using the same app can provide inspiration, tips, and resources. Additionally, check if the app has a reliable support team and resources for troubleshooting and learning.
- Price: Take into account the pricing model of the app. Some drawing apps are free with limited features, while others offer a one-time purchase or a subscription-based model. Consider your budget and weigh the features and value offered by the app.
Some popular drawing apps for iPad include Procreate, Adobe Photoshop Sketch, Autodesk Sketchbook, and Concepts. Each app has its own strengths and features, so take the time to research and try out a few options to find the one that suits your artistic style and workflow the best.
Remember that the choice of a drawing app ultimately depends on your personal preferences and artistic goals. Don’t be afraid to experiment and explore different apps until you find the perfect match for your creative endeavors.
Now that you know how to choose the right drawing app, let’s move on to the next section, where we’ll explore different drawing tools and settings to enhance your digital artwork.
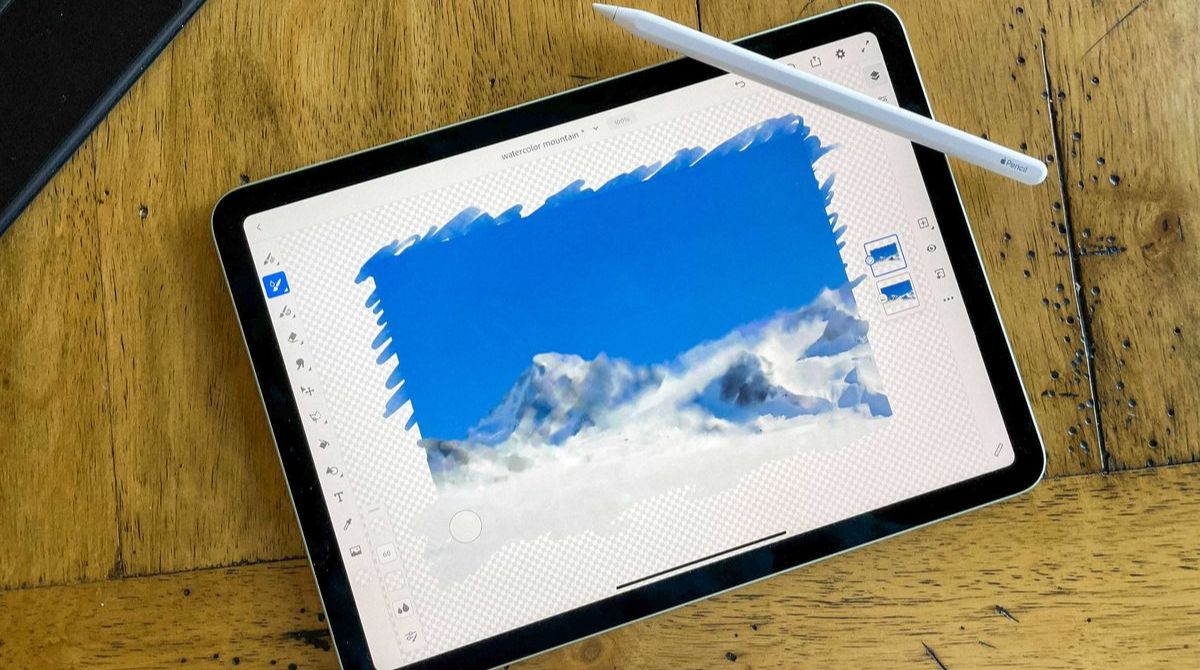
Exploring different drawing tools and settings
Once you’ve chosen a drawing app, it’s time to dive into the world of digital art and explore the various drawing tools and settings available to you. Here are some key aspects to consider as you start creating your digital artwork:
- Brushes and pencils: Experiment with different brushes and pencils to find the ones that suit your artistic style. Most drawing apps offer a wide range of brushes, including realistic pencil, ink, charcoal, and texture brushes. Test out different brush sizes, shapes, and textures to achieve the desired effects in your artwork.
- Colors and palettes: Utilize the color picker tool to choose from a vast array of colors or create your own custom color palettes. Many drawing apps also offer color harmonies and blending options to help you achieve the perfect shade or gradient in your artwork.
- Layers and blending modes: Take advantage of layers to organize your artwork and make non-destructive edits. Use blending modes to create interesting effects and smoothly blend colors and textures. Experiment with different layer combinations and opacity levels to achieve the desired visual impact.
- Selection and transformation tools: Explore the selection and transformation tools in your drawing app. These tools allow you to select specific areas of your artwork, resize or rotate them, and apply transformations such as distortions or perspective corrections. Mastering these tools can greatly enhance your workflow and precision.
- Textures and patterns: Many drawing apps offer a library of textures and patterns that you can apply to your artwork. Experiment with different textures to add depth and detail to your drawings. Create your own custom textures or import external textures to give your artwork a unique and personal touch.
- Custom brushes and presets: Some drawing apps allow you to create and save your own custom brushes or presets. Use this feature to save time and maintain consistency in your artwork. Experiment with different brush settings, dynamics, and effects to create your own signature style.
- Shortcuts and gestures: Get familiar with the shortcuts and gestures available in your drawing app. These can help streamline your workflow and improve productivity. Customize the shortcuts and gestures to match your preferences and make your drawing process more efficient.
- Undo and redo: Mistakes happen, even in digital art. Take advantage of the undo and redo functions in your drawing app to correct errors or backtrack to a previous state of your artwork. This feature provides the freedom to experiment and make adjustments without fear of permanent consequences.
Remember, the beauty of digital art lies in its versatility and flexibility. Take the time to experiment with different tools, settings, and techniques to find your unique artistic style. Don’t be afraid to step out of your comfort zone and push the boundaries of what you thought was possible.
Now that you have a good grasp of the various drawing tools and settings, let’s move on to the next section, where we’ll explore how to use pressure sensitivity for more realistic drawings. So, let’s continue our creative journey!
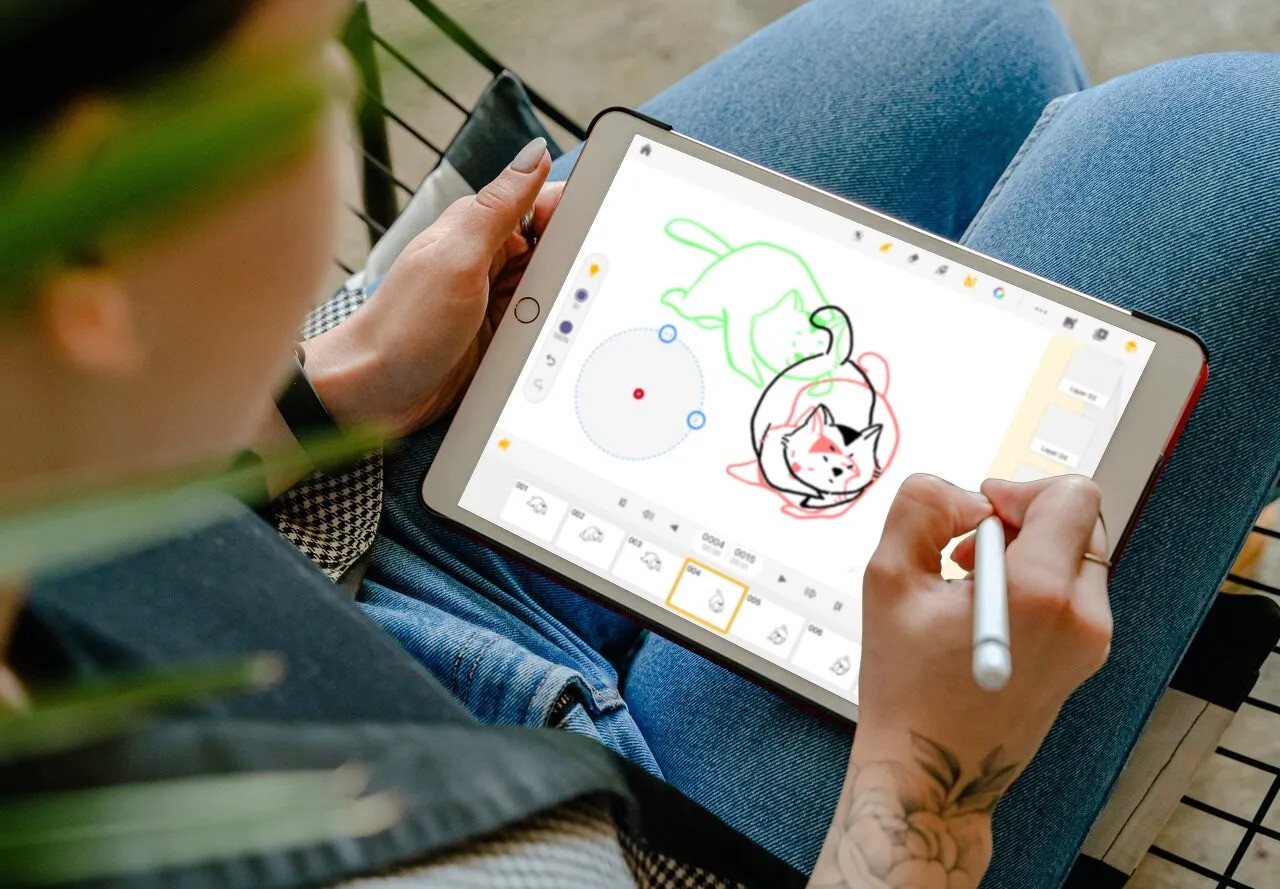
Using pressure sensitivity for more realistic drawings
One of the incredible advantages of using an iPad as a drawing tablet is the ability to leverage pressure sensitivity. Pressure sensitivity allows you to control the thickness, opacity, and transparency of your brush strokes based on the pressure applied to the stylus or Apple Pencil. This feature brings a new level of realism and depth to your digital artwork. Here are some tips for using pressure sensitivity effectively:
- Varied line thickness: Experiment with applying different levels of pressure to your stylus or Apple Pencil to create lines with varying thickness. Apply light pressure for thin, delicate lines and gradually increase the pressure for thicker, bolder lines. This technique is particularly useful for creating dynamic and expressive drawings.
- Opacity control: Take advantage of pressure sensitivity to control the opacity of your brush strokes. Apply light pressure for transparent, subtle strokes and increase the pressure for darker and more opaque areas. This technique is ideal for shading, creating gradients, or adding depth to your artwork.
- Emulating traditional media: Use pressure sensitivity to emulate the effects of traditional drawing tools like pencils, charcoals, or brushes. Varying the pressure can replicate the natural feedback and textures associated with these traditional media. Experiment with different brushes and settings to find the perfect combination that mimics your favorite traditional tools.
- Layering and blending: Combine pressure sensitivity with layering and blending modes to achieve realistic blending and shading effects. Gradually layering multiple strokes with varying pressure can create smooth transitions and realistic textures. Experiment with different brushes and techniques to achieve the desired results.
- Controlling line weight: Use pressure sensitivity to control the weight of your lines in drawings. Apply heavier pressure at certain points to create emphasis and focal points. This technique adds visual interest and can help guide the viewer’s attention within your artwork.
- Practice and experimentation: Mastering pressure sensitivity requires practice and experimentation. Take the time to explore the full range of pressure levels available to you. Experiment with different brushes, stroke techniques, and pressure profiles to develop control and precision in your drawings.
Each drawing app may have its own way of adjusting and customizing pressure sensitivity. Take the time to explore the settings and preferences of your chosen app to fine-tune the pressure sensitivity to your liking.
Remember, pressure sensitivity adds a level of nuance and realism to your digital artwork, allowing you to create stunning and visually engaging drawings. Embrace this feature to push the boundaries of your creativity and create art that truly comes to life on your iPad.
Now that you have a grasp of using pressure sensitivity, let’s move on to the next section, where we’ll explore how to customize touch gestures for smoother navigation. Let’s continue our artistic journey!
Customizing the touch gestures for smoother navigation
Customizing touch gestures on your iPad can greatly enhance the navigation and overall user experience when using it as a drawing tablet. By customizing these gestures, you can streamline your workflow, access important functions quickly, and make navigation more intuitive. Here’s how you can customize touch gestures:
- Pinch and zoom: Adjust the zoom settings to control the pinch and zoom gesture. This gesture allows you to zoom in and out of your artwork for precision work or to view details. Customize the sensitivity of the pinch and zoom gesture to match your preferred level of control.
- Two-finger tap: Assign a specific function to the two-finger tap gesture to access common actions with ease. For example, you could set it to undo or redo, toggle between brush and eraser modes, switch between layers, or invoke a quick menu for selecting tools.
- Double-tap: Double-tap gestures can be customized to trigger various functions or shortcuts. You may assign it to switch between brush sizes, activate a specific tool or function, toggle between different brush presets, or bring up a color picker.
- Swipe gestures: Explore the options to set up swipe gestures according to your preferences. Swipe gestures can be used to switch between brushes, navigate through different layers, or access additional options and menus. Customize these gestures to streamline your workflow and access frequently used functions swiftly.
- Touch and hold: Customize the touch and hold gesture to trigger advanced functions or contextual menus. This gesture can be used to access brush settings, adjust brush opacity or size, activate brush dynamics, or bring up a context-specific toolbox.
- Multi-finger gestures: Some drawing apps support multi-finger gestures, allowing you to perform complex actions with ease. These gestures may involve using three or four fingers and can be customized to switch between different workspaces, invoke quick shortcuts, or activate specific functions.
Take the time to explore the gesture settings in your drawing app and find the configuration that works best for you. Customize the gestures to match your drawing style, preferences, and the functions you use the most. By doing so, you’ll be able to navigate through your artwork more efficiently and focus on your creativity without interruption.
Remember to consult the documentation or help resources of your drawing app for specific instructions on how to customize touch gestures. Each app may have its own unique options and settings to explore.
Now that you know how to customize touch gestures, let’s move on to the next section, where we’ll address common troubleshooting issues that you may encounter when using your iPad as a drawing tablet. Let’s continue our creative journey!
Troubleshooting common issues
As with any technology, you may encounter some common issues when using your iPad as a drawing tablet. Here are a few troubleshooting tips to help you overcome these challenges:
- Unresponsive stylus or Apple Pencil: If your stylus or Apple Pencil is not responding, first ensure that it is fully charged or has a fresh battery. If the issue persists, try disconnecting and reconnecting it to your iPad. If you’re using a Bluetooth-enabled stylus, make sure it is properly paired with your iPad. Restarting your iPad or computer can also resolve minor connectivity issues.
- Lag or delay: Lag or delay in response can occur, particularly when using resource-intensive drawing apps or when your iPad is under heavy load. Close any unnecessary apps running in the background to allocate more resources to the drawing app. Updating your drawing app and ensuring that both your iPad and computer have the latest software updates can also help improve performance.
- Inaccurate touch recognition: If your iPad is not accurately recognizing your touch inputs, it may be due to a screen protector or dirt on the screen. Clean the screen gently with a microfiber cloth and remove any screen protector if necessary. Alternatively, recalibrate the touch sensitivity in your iPad’s settings to ensure accurate touch recognition.
- Pressure sensitivity issues: If pressure sensitivity is not working properly, first check the settings within your drawing app to ensure that pressure sensitivity is enabled. If it is enabled and still not functioning, disconnect and reconnect your stylus or Apple Pencil. Ensure that you are using a supported stylus or Apple Pencil model for pressure-sensitive functionality.
- Software compatibility issues: Some drawing apps or software versions may have compatibility issues with certain iPad models. Verify that your drawing app is compatible with your iPad model and operating system version. If there are known compatibility issues, check for updates or contact the app’s support team for assistance.
- Storage limitations: If you encounter storage limitations and are unable to save or export your artwork, clear up space on your iPad by deleting unused apps, files, or photos. Consider transferring files to cloud storage services or an external storage device to free up space for your artwork.
If you encounter a persistent issue that cannot be resolved using the troubleshooting tips mentioned above, it’s recommended to consult the support resources or contact the customer support of your drawing app or iPad manufacturer. They can provide you with more specific guidance based on your situation.
It’s important to remember that technology can occasionally have its hiccups, but with patience and persistence, you can usually find a solution to the issues you may face. Troubleshooting common problems will ensure that your iPad continues to function smoothly as a drawing tablet.
Now that you have some troubleshooting techniques under your belt, you’re well-equipped to tackle any potential challenges that may arise. Let’s conclude our creative journey by summarizing the key points covered.
Conclusion
Congratulations! You have learned how to transform your iPad into a powerful drawing tablet. By following the steps outlined in this guide, you can unleash your artistic talents and create stunning digital artwork.
We explored the initial steps of getting started, including connecting your iPad to your computer and configuring it for drawing. We then discussed the importance of choosing the right drawing app and explored different drawing tools and settings for customization and creativity.
You also discovered how pressure sensitivity can elevate your artwork, making it more realistic and expressive. By adjusting the pressure on your stylus or Apple Pencil, you can control the thickness, opacity, and blending of your brush strokes.
Customizing touch gestures offers smoother and more efficient navigation, allowing you to work seamlessly in your chosen drawing app. By personalizing the gestures to your preferences, you can streamline your workflow and access important functions with ease.
Lastly, we covered some common troubleshooting tips to help you overcome any issues you may encounter during your artistic journey. Remember, perseverance and patience are key to finding solutions to these challenges.
Now it’s time to unleash your creativity and let your imagination run wild. Take advantage of the incredible capabilities of your iPad as a drawing tablet and explore new realms of digital art. With practice, experimentation, and the right tools, you can create art that is truly unique and captivating.
So, grab your stylus or Apple Pencil, launch your favorite drawing app, and embark on an artistic adventure like no other. Let your creativity soar and enjoy the incredible world of digital art on your iPad!