Introduction
Facebook Messenger is a popular chat platform that allows users to connect with friends, family, and colleagues. While text-based messages are the primary mode of communication, users often share various types of media files, including audio files. However, downloading audio files from Facebook Messenger can be a bit tricky, as the platform doesn’t provide a direct option to do so.
In this article, we will explore different methods you can use to download audio files from Facebook Messenger. Whether you want to save an important voice message for sentimental reasons or need to keep an audio file for professional purposes, these methods will come in handy.
Depending on your device and personal preference, you can choose from the following methods:
1. Using a File Manager App: This method involves accessing the Messenger folder on your device using a file manager app and locating the audio file to download.
2. Using a Web Browser and Inspecting Element (Desktop): If you are using Facebook Messenger on a desktop computer, this method allows you to inspect the element of the audio file and download it using your web browser.
3. Using a Web Browser (Mobile): For mobile users, this method allows you to download audio files from Messenger directly through your mobile web browser.
4. Using a Third-Party Website or App: If the above methods don’t work for you, there are various third-party websites and apps available that can help you download audio files from Facebook Messenger.
Now, let’s delve into each method in detail and guide you through the process of downloading audio files from Facebook Messenger. Whether you are a tech-savvy individual or a novice user, you’ll find a method that suits your needs.
Method 1: Using a File Manager App
If you prefer a straightforward method to download audio files from Facebook Messenger, using a file manager app on your device is a viable option. This method works well for both Android and iOS devices. Here’s how you can do it:
1. Open your preferred file manager app on your device. If you don’t have one, you can easily find a variety of file manager apps on the Google Play Store (for Android) or the App Store (for iOS).
2. In the file manager app, navigate to the internal storage or SD card storage of your device.
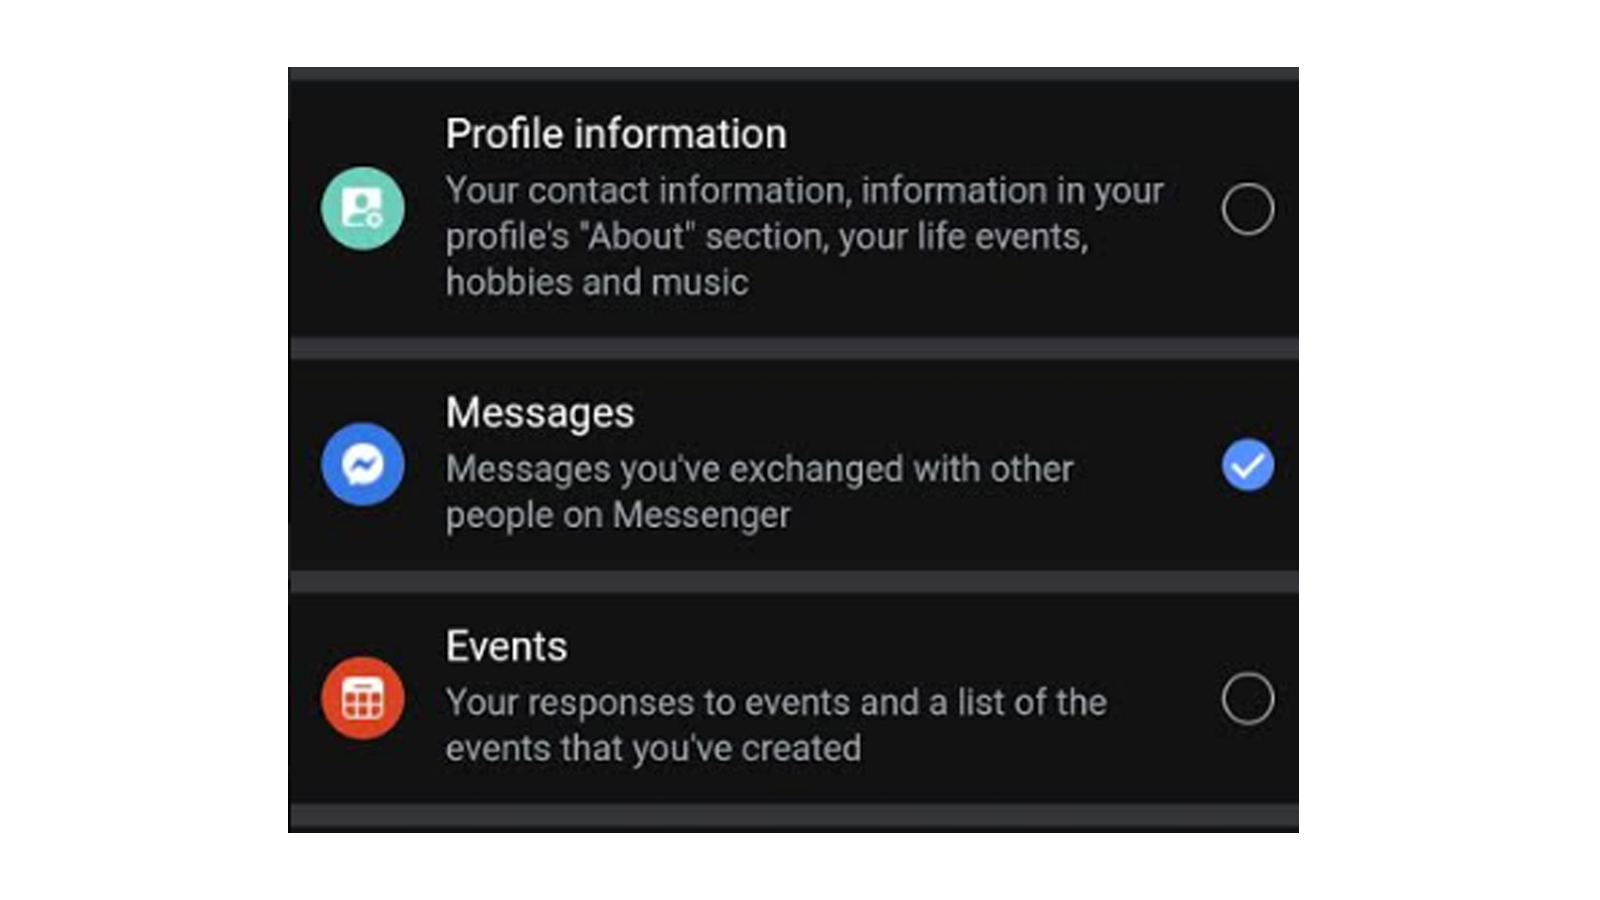
3. Locate the “Messenger” folder. This folder contains all the media files sent and received through the Facebook Messenger app.
4. Open the “Messenger” folder and look for the “Attachments” folder. This folder contains all the audio files shared through Messenger.
5. Inside the “Attachments” folder, you will find subfolders with different names, such as “audio” or a combination of numbers and letters. These are the folders where the audio files are stored.
6. Open the relevant subfolder and look for the audio file you want to download. You can identify the file by its name or file extension (.mp3, .m4a, etc.).
7. Once you locate the audio file, long-press on it to select it. You may see options like “Copy,” “Move,” or “Share.”
8. Choose the “Copy” or “Move” option and select the destination where you want to save the audio file. You can choose a specific folder on your device or an external storage option like an SD card.
9. After selecting the destination, confirm your selection, and the audio file will be downloaded and saved to the chosen location on your device.
That’s it! You have successfully downloaded the audio file from Facebook Messenger using a file manager app. You can now access and play the audio file at any time without the need for an internet connection.
Note: The file manager app method provides a quick and straightforward way to download audio files from Facebook Messenger. However, it requires access to the internal file structure of your device, so be cautious while making modifications to system folders.
Method 2: Using a Web Browser and Inspecting Element (Desktop)
If you are using Facebook Messenger on a desktop computer, you can download audio files by leveraging the inspect element feature in your web browser. This method works well for browsers like Google Chrome, Mozilla Firefox, and Microsoft Edge. Here’s how you can do it:
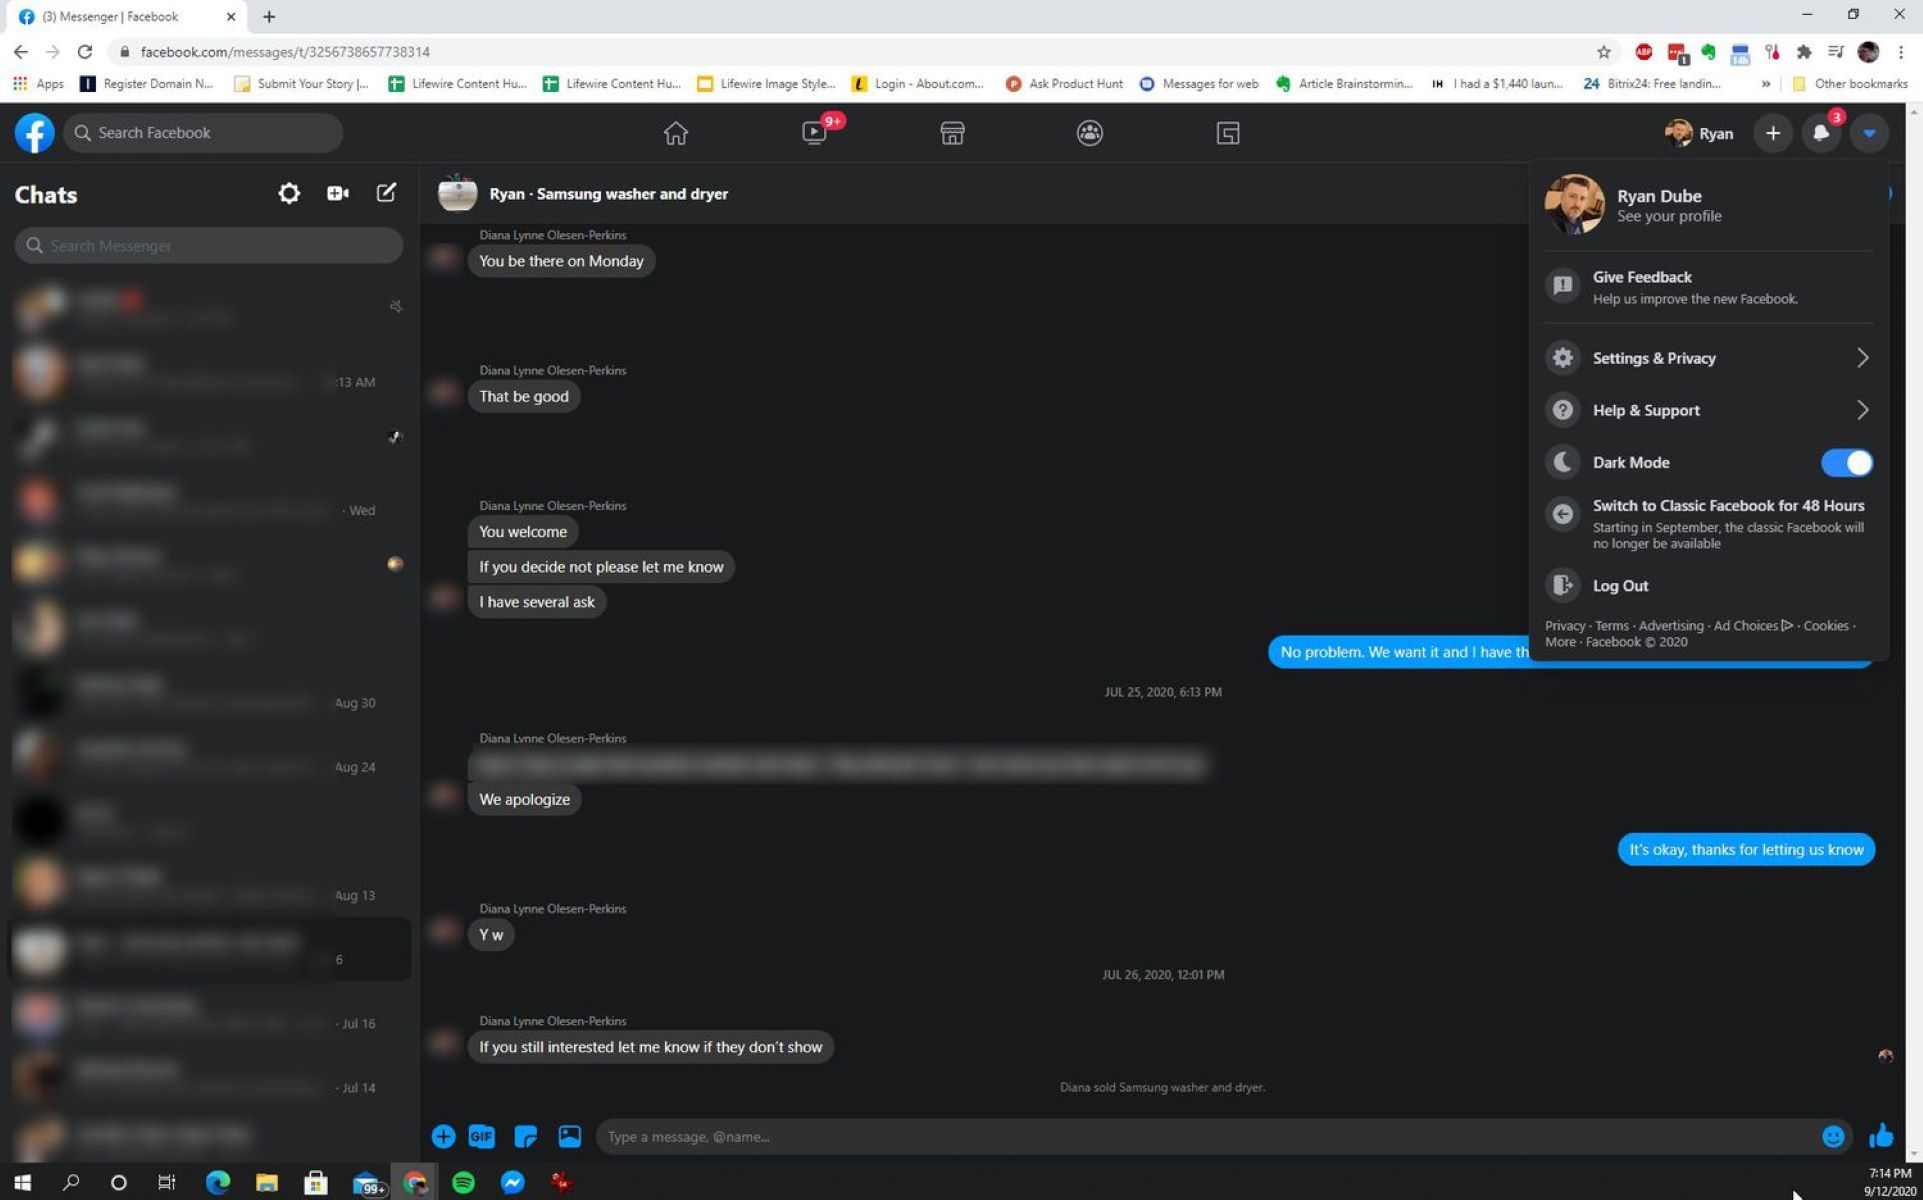
1. Open your web browser and log in to your Facebook account. Access Facebook Messenger by clicking on the Messenger icon in the top-right corner of the Facebook page.
2. Find the conversation that contains the audio file you want to download. Open the conversation by clicking on it.
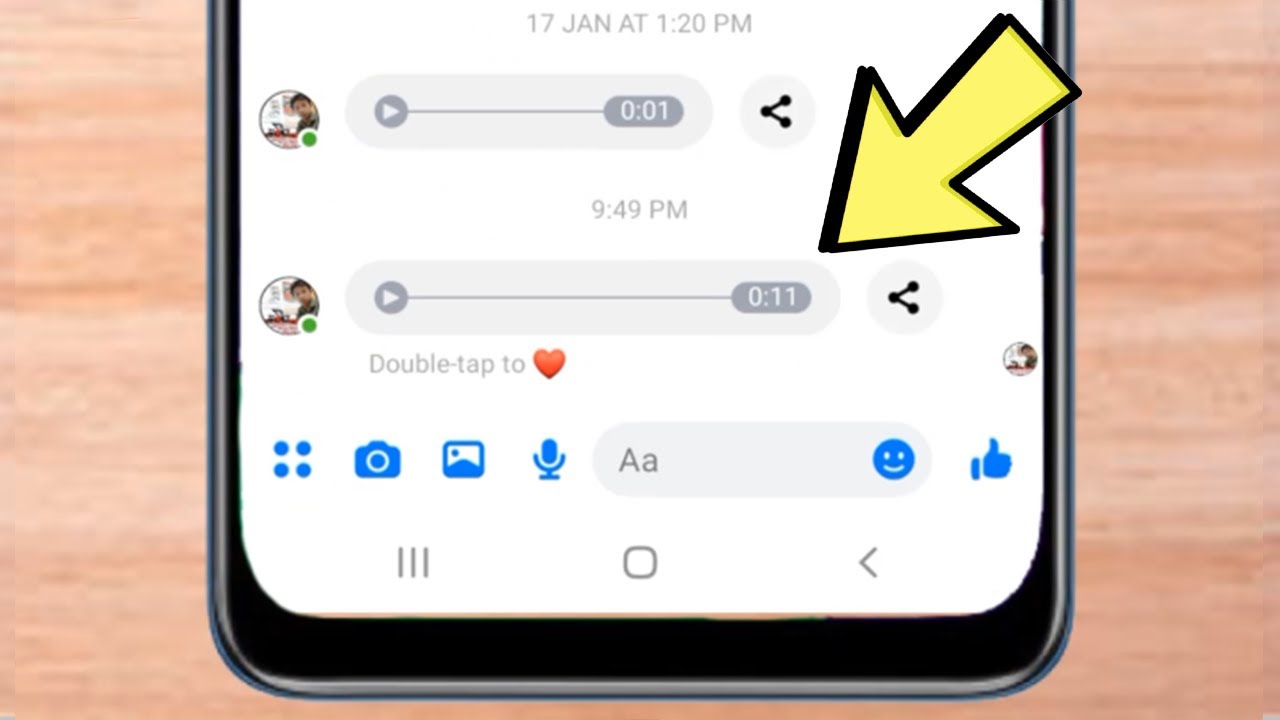
3. Locate the audio file within the conversation. It may be represented by a play button or an audio waveform icon.
4. Right-click on the audio file and select the “Inspect” or “Inspect Element” option from the context menu. This will open up the developer tools panel within your browser.
5. Within the developer tools panel, you will see a section of HTML code highlighted. Look for the “src” attribute within this code, which will contain the URL of the audio file.
6. Copy the URL by right-clicking on it and selecting the “Copy” option.
7. Open a new tab or window in your web browser and paste the copied URL into the address bar. Press Enter to load the URL.
8. The audio file will now load in the browser window. Right-click on the audio player and select the “Save Audio” or “Save Audio As” option from the context menu.
9. Choose the destination folder on your computer where you want to download and save the audio file. Provide a suitable name for the file and click Save.
The audio file will now be downloaded and saved to the chosen location on your computer. You can access and play the file using any media player installed on your system.
Remember, this method requires a basic understanding of HTML code and browser developer tools. It may seem slightly technical for those unfamiliar with inspecting elements in a web browser. However, once you get the hang of it, downloading audio files becomes a breeze.
Method 3: Using a Web Browser (Mobile)
If you’re using Facebook Messenger on your mobile device, you can download audio files directly through your web browser. This method is convenient and works well on both Android and iOS devices. Here’s how you can do it:
1. Open the web browser on your mobile device and navigate to the Facebook website. Log in to your Facebook account, if required.
2. Tap on the Menu icon (usually three horizontal lines) in the top-right or bottom-right corner of the screen to open the browser menu.
3. From the menu, select the “Desktop Site” option. This will change the view of the Facebook website to match the desktop version.
4. Once the desktop version is loaded, click on the Messenger icon to access your Facebook Messenger conversations.
5. Find the conversation that contains the audio file you want to download. Tap on the conversation to open it.
6. Locate the audio file within the conversation. It may appear as a play button or an audio waveform icon.
7. Tap and hold on the audio file until a context menu appears. Select the “Save Link” or “Save Audio” option, depending on your web browser.
8. Choose the destination folder or location on your mobile device where you want to save the audio file. Confirm your selection.
The audio file will now be downloaded and saved to the specified location on your mobile device. You can access and play the file using any media player app on your device.
Note that using a web browser on a mobile device to download audio files from Facebook Messenger provides a more straightforward method compared to inspecting elements. It eliminates the need to dive into HTML code and allows for a seamless downloading experience.
Once you’re done downloading the audio file, you can switch back to the mobile view of Facebook by accessing the browser menu and disabling the “Desktop Site” option.
Method 4: Using a Third-Party Website or App
If the previous methods don’t work for you or if you prefer a more user-friendly approach, using a third-party website or app can be an alternative option to download audio files from Facebook Messenger. These services specialize in extracting media files from various sources, including Messenger. Here’s how you can use a third-party website or app:
1. Open your preferred web browser on your device and search for “Facebook Messenger audio downloader” or similar keywords.
2. From the search results, choose a reliable and reputable third-party website or app. Some popular options include fbdown.net, getfbstuff.com, or certain browser extensions.
3. Once on the third-party website, follow the instructions provided to download the audio file from Facebook Messenger. Usually, you will need to enter the URL of the Messenger audio message or select the conversation containing the audio file.
4. After providing the necessary information, click on the “Download” or similar button/link to initiate the download process.
5. Depending on the website or app, you may need to select the desired audio file format (such as MP3 or WAV) before the download starts.
6. If prompted, choose the destination folder on your device where you want to save the downloaded audio file.
7. Wait for the download to complete, and the audio file will be saved to the specified location on your device.
Using a third-party website or app simplifies the download process and doesn’t require any technical knowledge. However, it’s important to be cautious while choosing a third-party service. Ensure the website or app is trustworthy and has positive reviews from users.
Furthermore, be aware that third-party services may have limitations or restrictions, such as the number of downloads per day or file size limitations. Additionally, keep in mind that using third-party websites or apps may involve sharing your Messenger audio message URLs or other personal information, so exercise caution and prioritize your privacy and security.
By utilizing a third-party website or app, you can bypass the complexities of the other methods and easily download audio files from Facebook Messenger with just a few simple steps.
Conclusion
Downloading audio files from Facebook Messenger might not be a built-in feature, but with the methods outlined in this article, you can easily save and access those important audio messages. Whether you prefer using a file manager app, inspecting elements in a web browser, or relying on third-party websites or apps, there’s a method that suits your needs and device.
Using a file manager app provides a straightforward way to locate and save audio files stored in the Messenger folder on your device. It’s a great option if you prefer managing files locally.
If you’re using Facebook Messenger on a desktop computer, leveraging the inspect element feature within your web browser allows you to extract the audio file’s URL and save it directly to your computer.
On the other hand, if you’re using Facebook Messenger on a mobile device, downloading audio files through a web browser provides a more streamlined approach.
Lastly, if you prefer a user-friendly experience and don’t want to go through the technicalities, you can rely on third-party websites or apps, specifically designed to extract audio files from Facebook Messenger. Just ensure you choose a reputable service.
Remember, it’s important to respect privacy and seek permission before downloading and sharing any audio files received through Facebook Messenger. Additionally, make sure you comply with local copyright laws and use these methods responsibly.
Now that you have the knowledge and tools to download audio files from Facebook Messenger, you can easily save and cherish those meaningful voice messages or utilize audio files for professional purposes. So go ahead and try out these methods to save those important audio memories!