Introduction
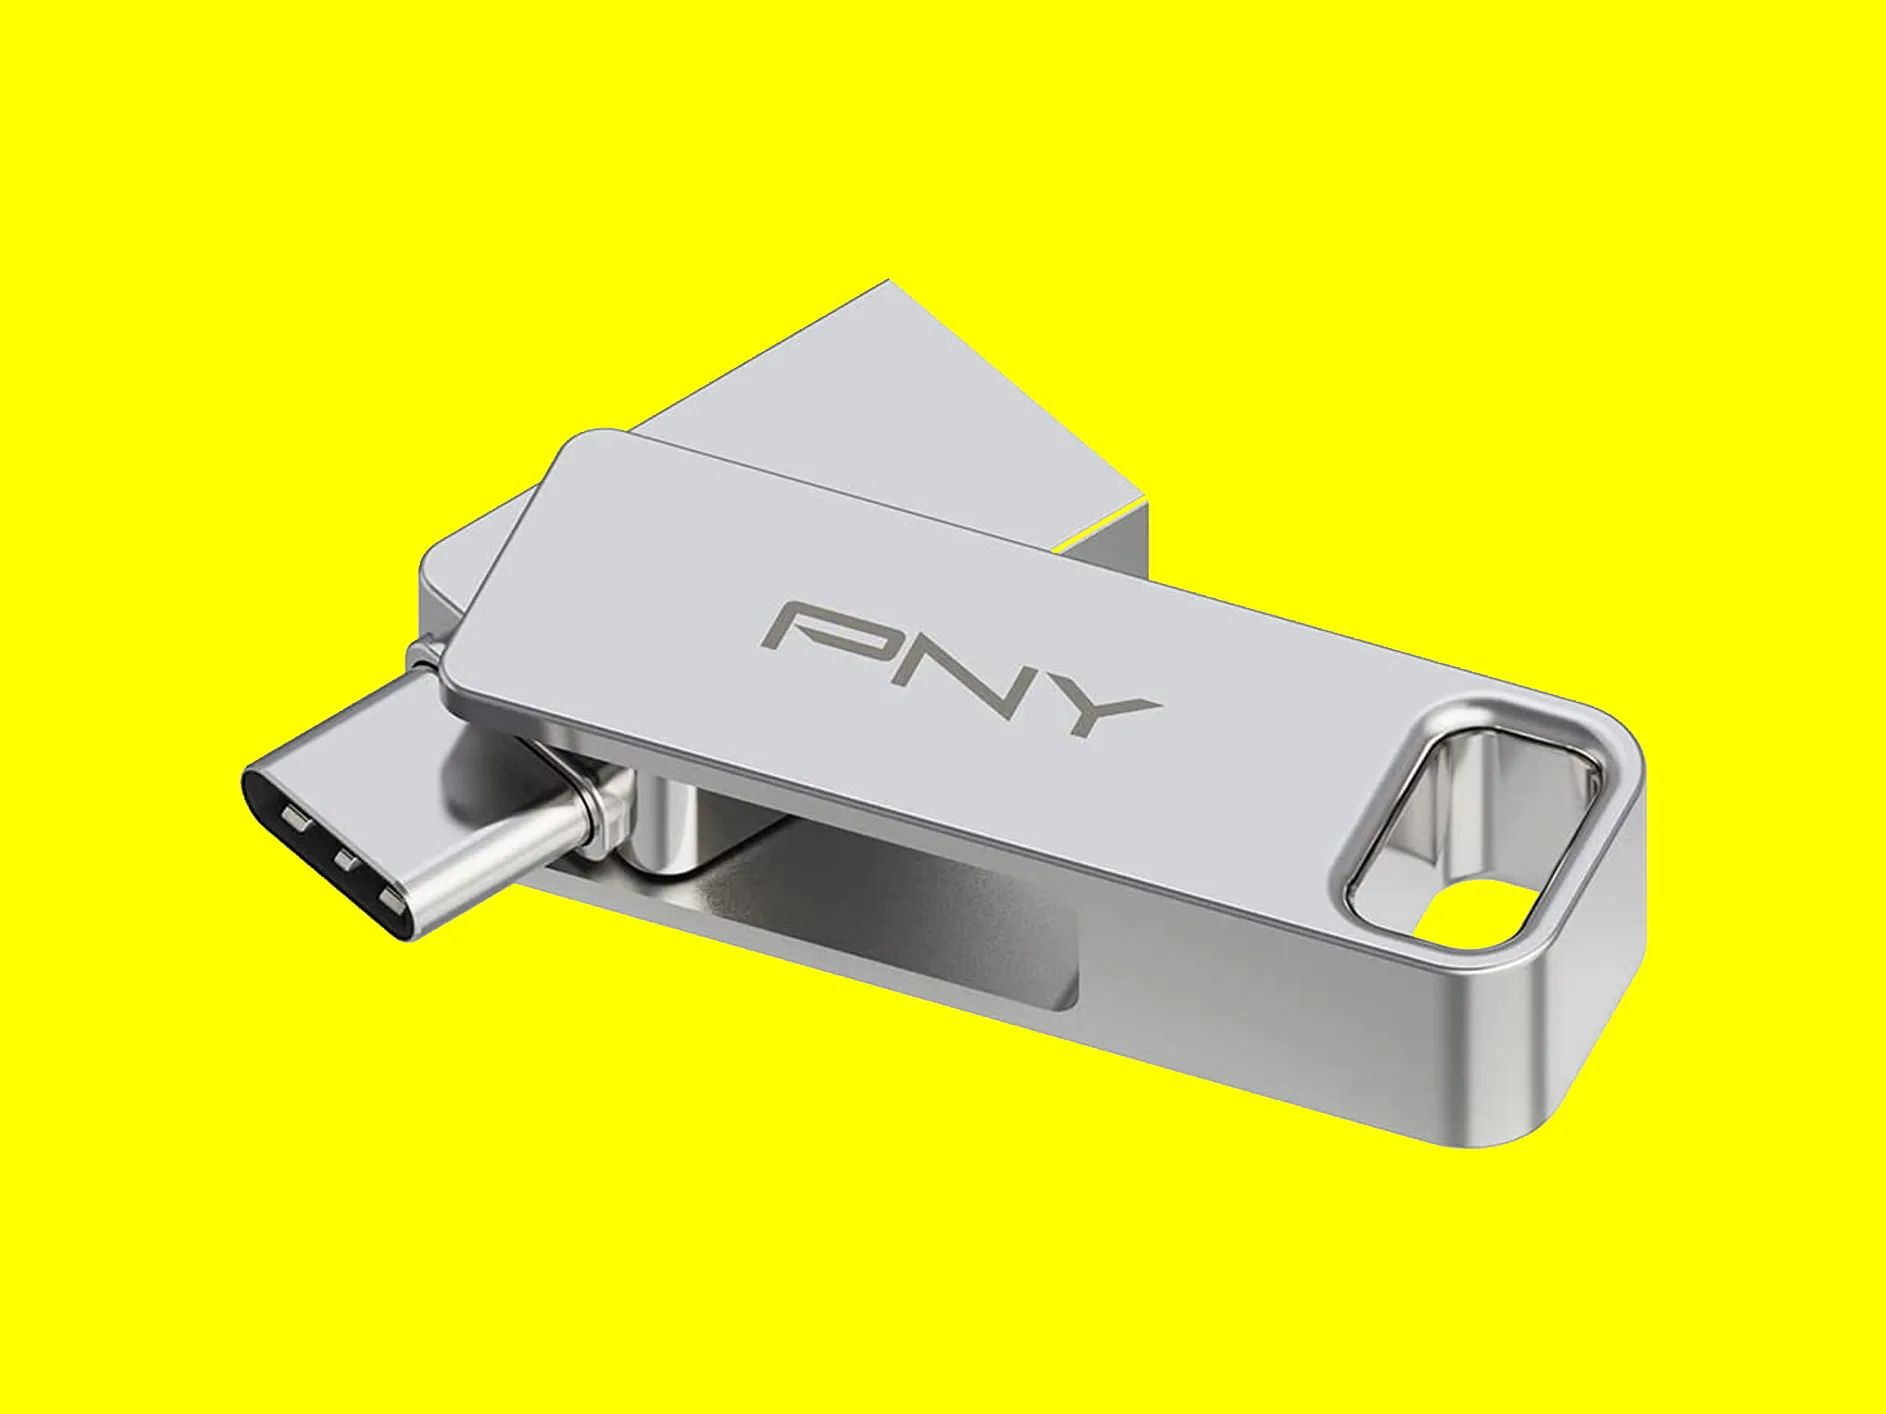
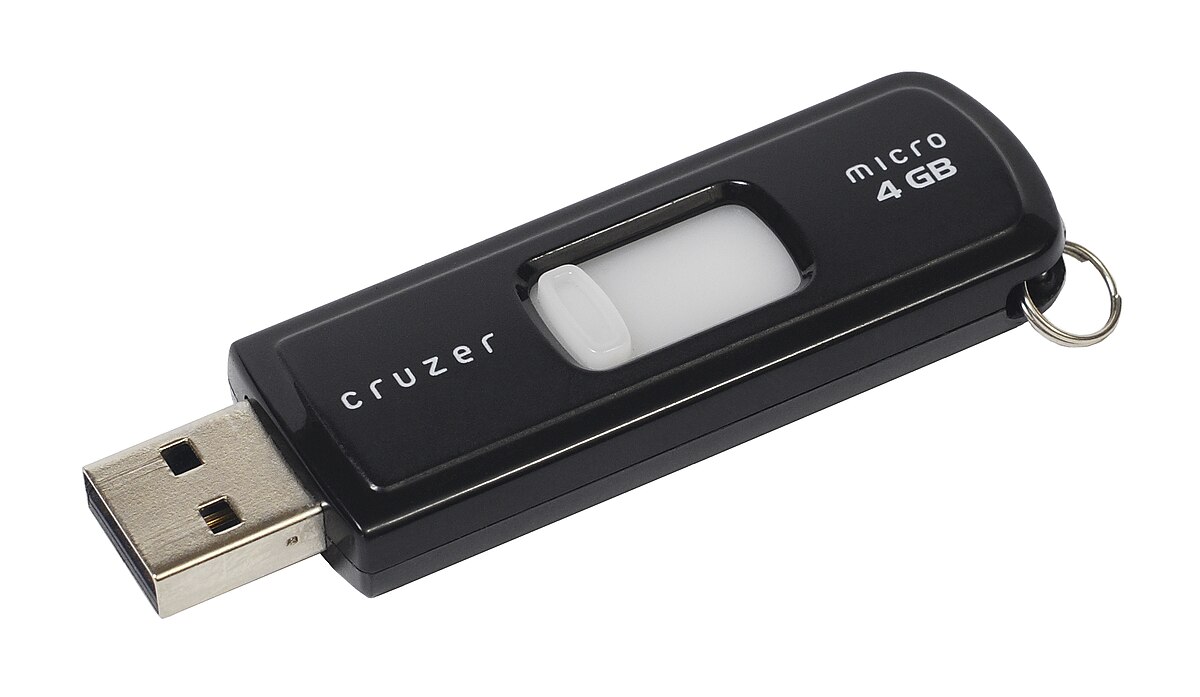
Welcome to the world of technology where transferring and storing data has become an essential part of our lives. One of the most convenient ways to transfer data is through a thumb drive, also known as a USB flash drive. This small yet powerful device allows us to easily download and store a multitude of files, from documents and photos to videos and music.
In this article, we will guide you through the process of downloading a thumb drive, ensuring that you can effortlessly transfer your data from your computer to this portable storage solution. We will provide step-by-step instructions and helpful tips to make the process simple and hassle-free.
Before we dive into the steps, it’s important to note that the instructions provided are applicable to Windows, Mac, and Linux operating systems. Whether you’re a novice or an experienced user, this guide will equip you with the knowledge you need to successfully download your thumb drive.
Now, let’s get started and discover how you can easily download a thumb drive to transfer and store your important files!
Step 1: Check the Compatibility
Before proceeding with the download process, it’s important to ensure that your computer is compatible with the thumb drive. Compatibility issues can prevent the successful transfer of files, so taking a few moments to verify compatibility can save you time and frustration.
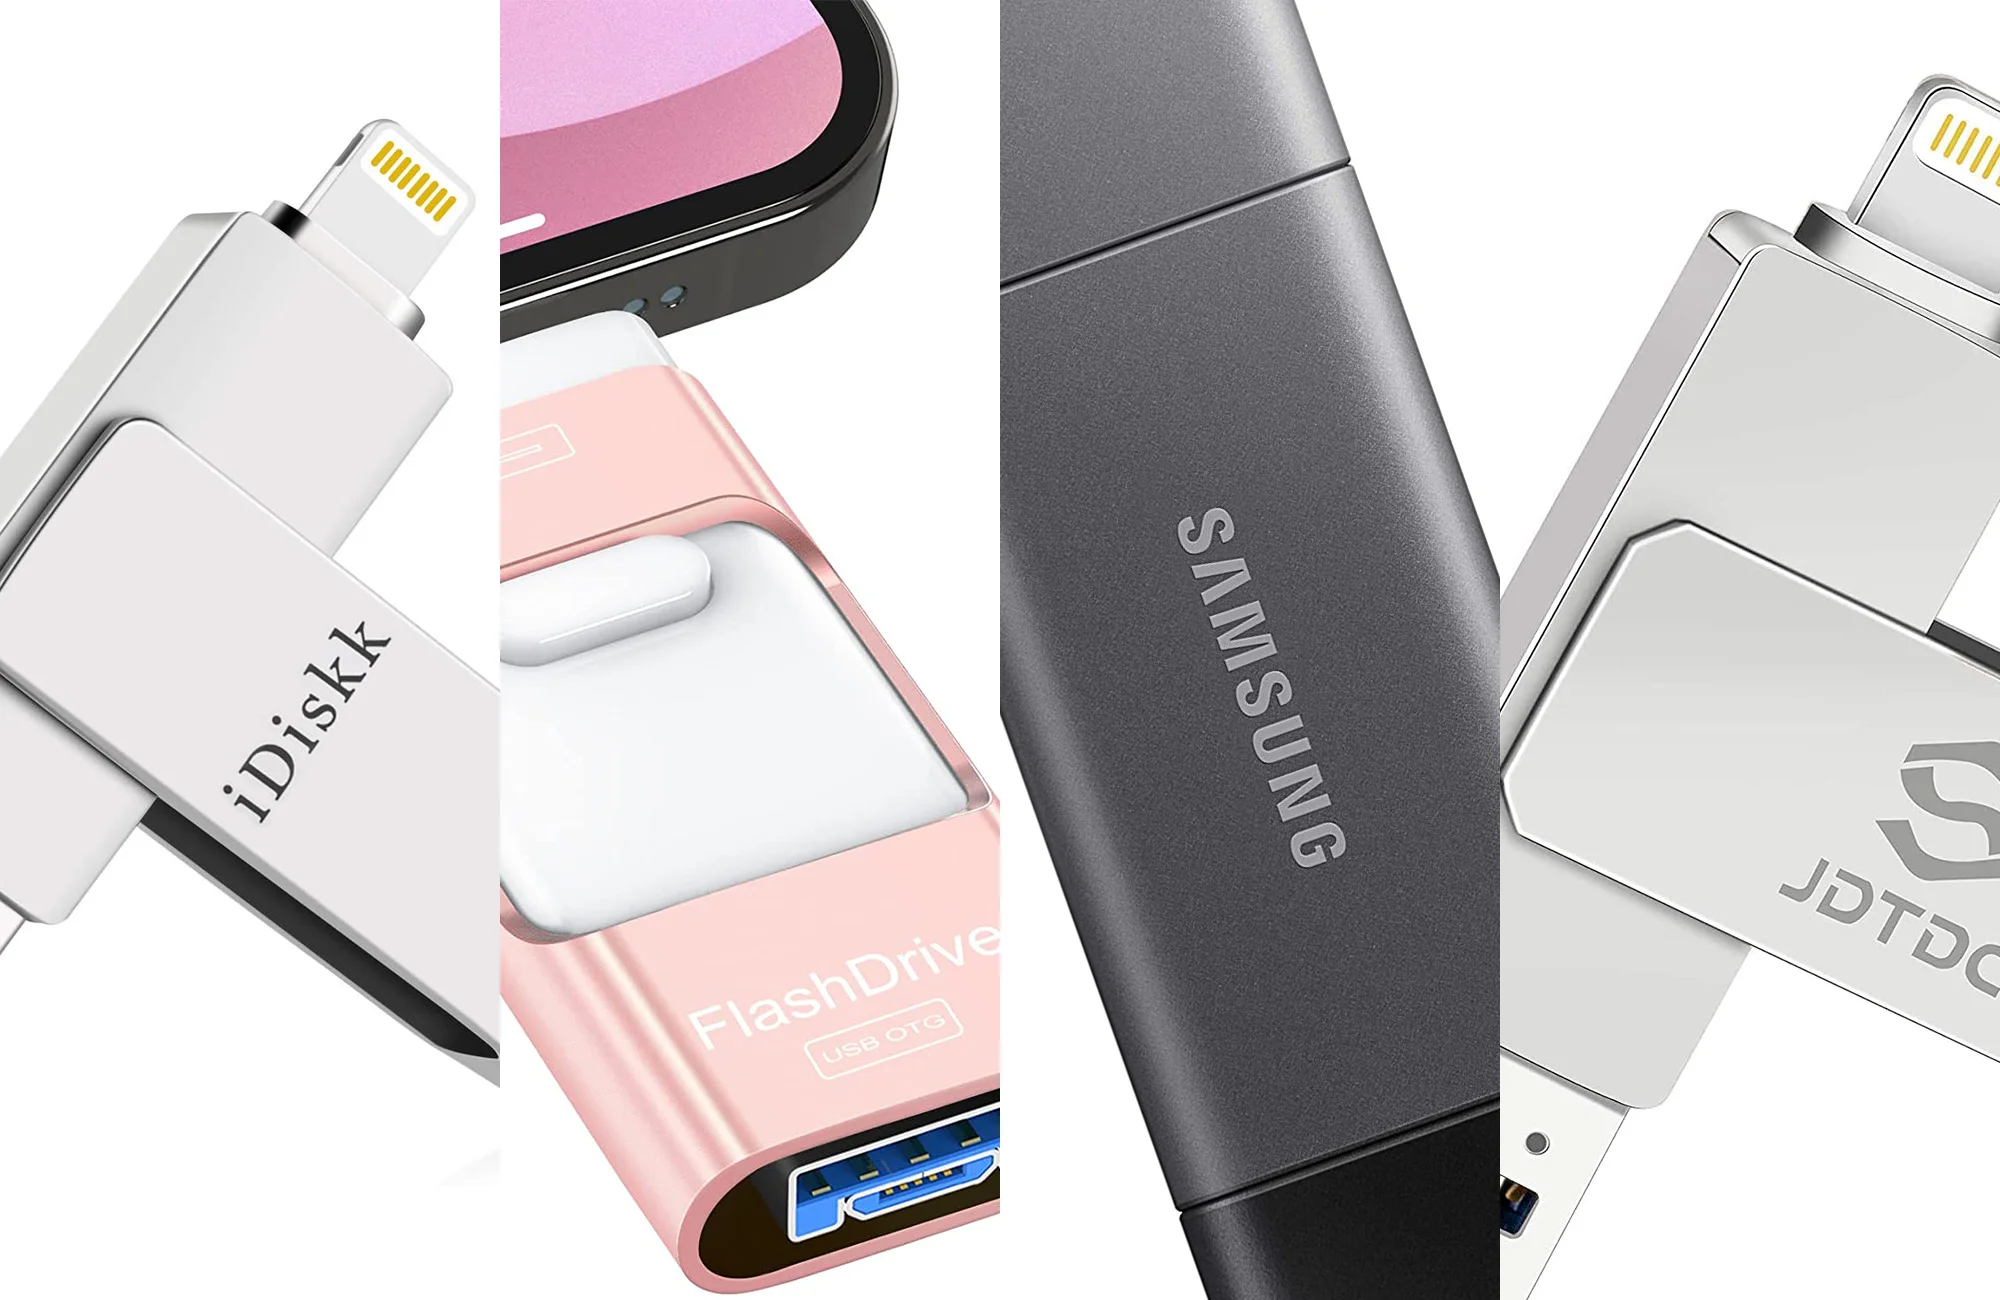
First, check the operating system requirements of your thumb drive. Most thumb drives are compatible with major operating systems such as Windows, Mac, and Linux. However, it’s still a good idea to double-check the compatibility specifications mentioned by the manufacturer to ensure a smooth downloading process.
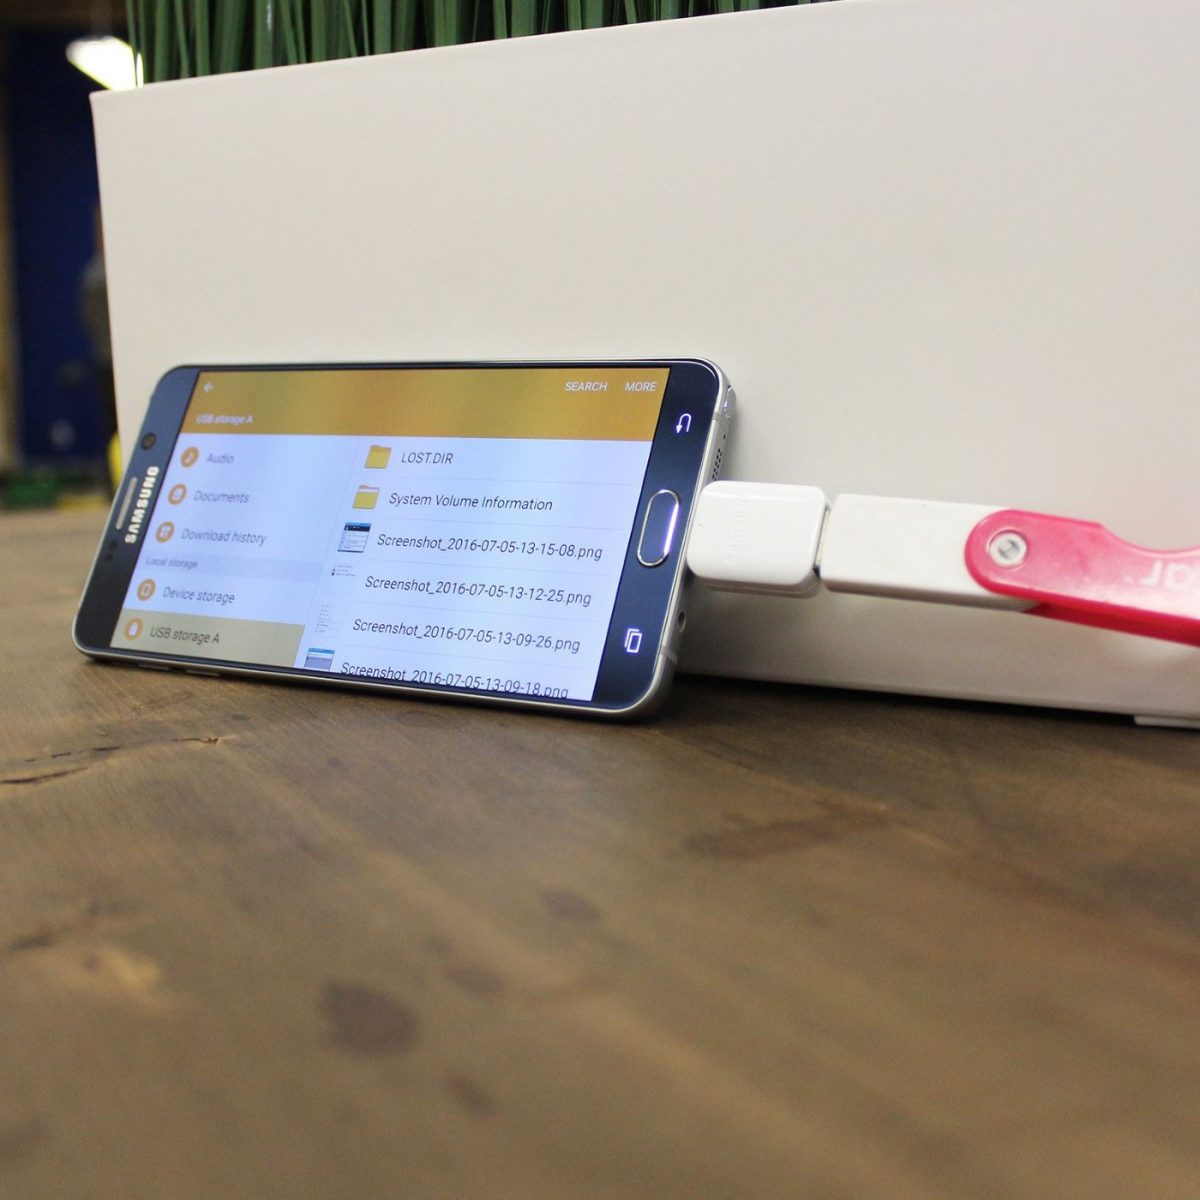
Next, make sure that your computer has an available USB port. Thumb drives are designed to connect to USB ports, so it’s important to confirm that your computer has an open USB slot where you can insert the thumb drive. In some cases, you may need to use a USB hub or adapter if your computer does not have enough available ports.
Furthermore, check if your computer meets the minimum system requirements for using a thumb drive. While thumb drives are generally compatible with a wide range of devices, some older computers or operating systems may have limitations. Verify that your computer meets the minimum requirements, such as available memory, operating system version, and USB version compatibility.
Lastly, ensure that any necessary drivers or software are installed on your computer. Most modern operating systems have built-in drivers that recognize and support thumb drives automatically. However, if you are using an older system, you may need to install specific drivers provided by the thumb drive manufacturer. Visit the manufacturer’s website or refer to the documentation to download and install any required drivers or software.
By diligently checking the compatibility of your computer with the thumb drive, you are setting the foundation for a successful download process. With this important step out of the way, you can now proceed with confidence to the next step of downloading your thumb drive.
Step 2: Insert the Thumb Drive
Now that you have ensured the compatibility of your computer, it’s time to insert the thumb drive. This step is straightforward, but it’s important to follow the correct procedure to prevent any potential damage.
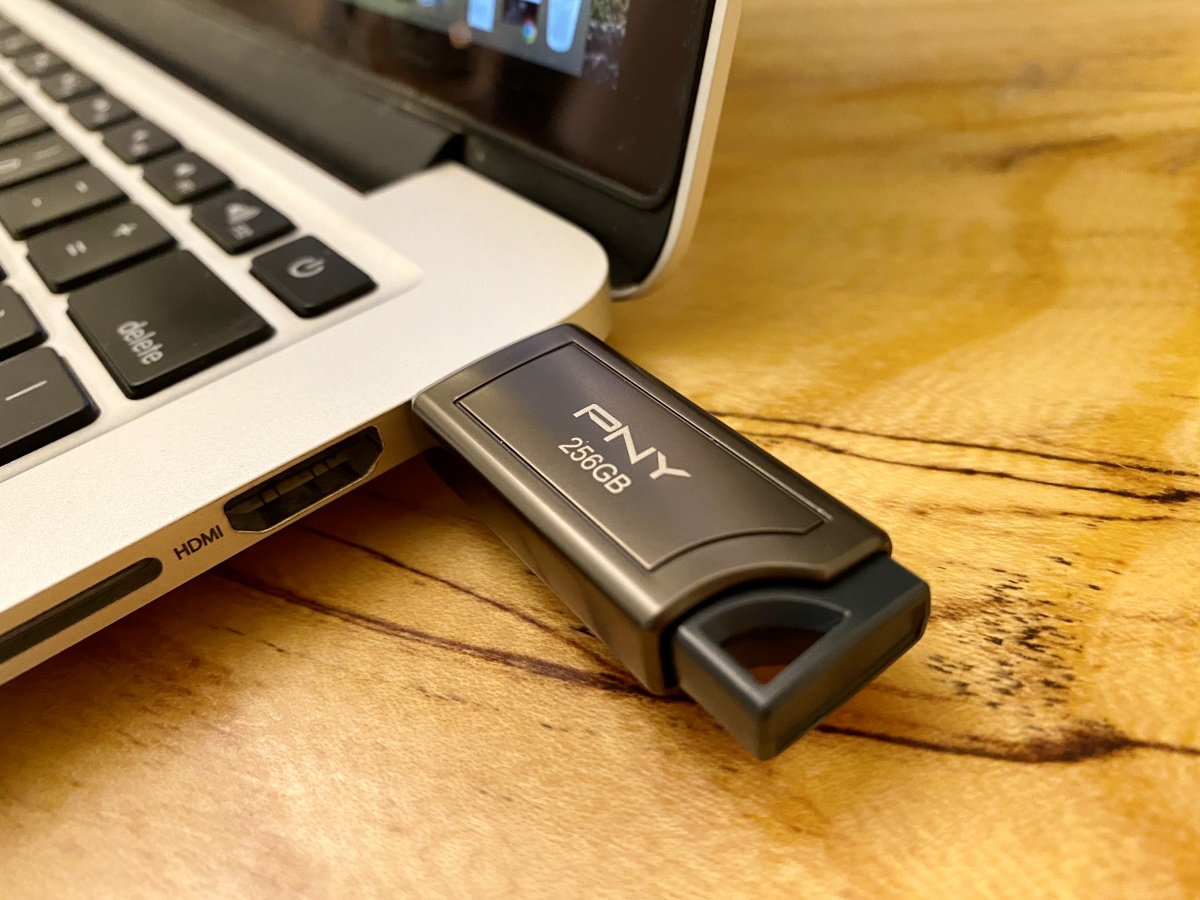
First, locate the USB port on your computer. This is typically located on the side or back of a desktop computer or on the side or front of a laptop. The USB port is rectangular in shape and has small metal pins inside.
Take your thumb drive and hold it firmly but gently. Align the USB connector on the thumb drive with the USB port on your computer. Insert the thumb drive into the USB port, applying gentle pressure until it fits snugly into place. Be careful not to force the thumb drive, as this can damage the USB port or the thumb drive itself.
Once the thumb drive is inserted, your computer may display a notification or icon indicating that a new device has been connected. This signifies that your computer has recognized the thumb drive.
It’s important to note that some thumb drives have a cap or cover to protect the USB connector. Before inserting the thumb drive, make sure to remove the cap or cover to expose the USB connector. This prevents any damage to the USB port and ensures proper connectivity.
If you are using a USB hub or adapter for additional ports, follow the same procedure of inserting the thumb drive into the available USB slot on the hub or adapter.
Now that you have successfully inserted the thumb drive into your computer, you are ready to move on to the next step of downloading your files onto the thumb drive.
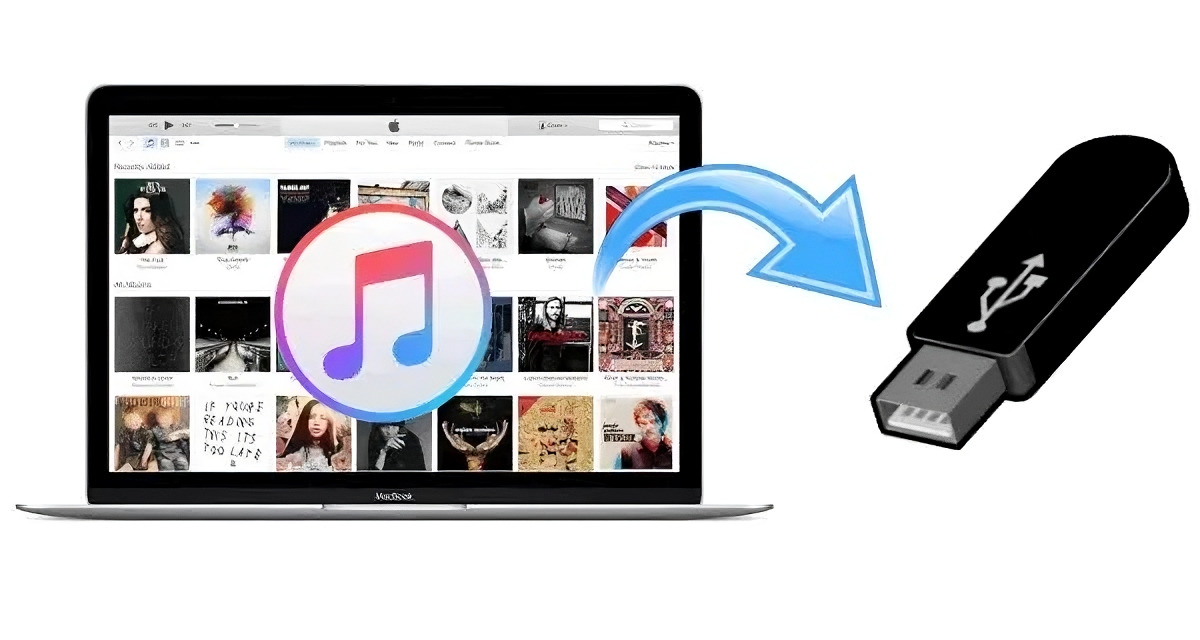
Step 3: Downloading the Thumb Drive
With the thumb drive securely inserted into your computer, it’s time to download your files onto the thumb drive. This step involves transferring the desired files from your computer’s storage to the thumb drive’s storage, allowing you to access and carry them with you anywhere.
Start by opening the file explorer on your computer. In Windows, this is usually accessed by clicking on the “File Explorer” or “This PC” icon on your desktop or by pressing the Windows key + E on your keyboard. In Mac, the file explorer is called “Finder,” which can be found in the dock or by pressing Command + Space and typing “Finder.”
Navigate to the location where the files you want to download are stored. This may be in your documents folder, downloads folder, or any specific folder on your computer. Use the file explorer’s navigation pane to locate the desired files.
Select the files you want to download onto the thumb drive. To select multiple files, hold down the Ctrl key (Windows) or the Command key (Mac) while clicking on the files. You can also select all files in a folder by pressing Ctrl + A (Windows) or Command + A (Mac).
Once the files are selected, right-click on one of the selected files and choose “Copy.” Alternatively, you can use the keyboard shortcut Ctrl + C (Windows) or Command + C (Mac) to copy the files.
Now, go back to the file explorer and locate the thumb drive. It is usually displayed as a removable disk or as the manufacturer’s name. Double-click on the thumb drive to open its storage.
Right-click on an empty space inside the thumb drive’s storage and choose “Paste” from the context menu. Alternatively, you can use the keyboard shortcut Ctrl + V (Windows) or Command + V (Mac) to paste the files onto the thumb drive.
The file transfer will begin, and the time required depends on the size and number of files being transferred. It’s important to avoid disconnecting the thumb drive or shutting down the computer during the transfer to prevent data loss or corruption.
Once the transfer is complete, you can safely eject the thumb drive from your computer to ensure that all data has been written properly. We will cover the safe removal process in the next step.
Congratulations! You have successfully downloaded your files onto the thumb drive, making them portable and easily accessible on any compatible device. Now, let’s move on to the final step of safely removing the thumb drive.
Step 4: Safely Remove the Thumb Drive
Once you have finished downloading your files onto the thumb drive, it is important to safely remove the thumb drive from your computer. This ensures that all data is written and saved properly, reducing the risk of data corruption or loss.
To begin, make sure all file transfer processes involving the thumb drive are complete. If there are any ongoing transfers or file operations, wait until they are finished before proceeding with the removal process.
In the file explorer, locate the thumb drive among the list of connected drives. Right-click on the thumb drive and select “Eject” or “Safely Remove” from the context menu. This action prepares the thumb drive for safe removal and ensures that all data is properly closed and saved.
Wait for a notification or confirmation message that it is safe to remove the thumb drive. In some operating systems, a message may appear indicating that the thumb drive can now be safely removed. Alternatively, you may see an indicator light on the thumb drive that stops flashing or turns off when it is safe to remove.
Once you have received the confirmation, gently pull the thumb drive out of the USB port. Avoid using excessive force or yanking the thumb drive out, as this can damage the USB port or the thumb drive itself.
If you are using a USB hub or adapter, follow the same procedure of safely removing the thumb drive from the hub or adapter.
It is worth mentioning that failing to eject the thumb drive properly can lead to data loss or corruption. Therefore, it is always recommended to follow the safe removal process outlined above to ensure the integrity of your data.
You have successfully completed the process of safely removing the thumb drive from your computer. Congratulations! Your files are now stored on the thumb drive and ready to be used on any compatible device. Take a moment to double-check that the files are accessible on the thumb drive before storing it securely or using it to transfer the files to another device.
Conclusion
Congratulations on successfully downloading a thumb drive! By following the step-by-step instructions provided in this guide, you have learned how to check compatibility, insert the thumb drive, download files onto the thumb drive, and safely remove it from your computer. Now, you can conveniently store and transfer your important files on this portable device.
Remember, before starting the download process, always verify the compatibility of your computer with the thumb drive. Ensure that the operating system requirements are met, there is an available USB port, and any necessary drivers or software are installed.
When inserting the thumb drive into the USB port, handle it gently and avoid forcing it. Be mindful of removing any caps or covers on the thumb drive before inserting it, as this can prevent damage to the USB port.
Downloading files onto the thumb drive involves selecting the desired files, copying them, and pasting them into the thumb drive’s storage using the file explorer. It’s important to avoid interrupting the transfer process to prevent data loss.
Lastly, always remember to safely remove the thumb drive from your computer before physically unplugging it from the USB port. This ensures that all data is properly saved and reduces the risk of data corruption or loss.
With your files securely stored on the thumb drive, you can now enjoy the convenience of having your data readily accessible on any compatible device. Whether you need to transfer files between computers, carry important documents with you, or simply create backups, the thumb drive is a reliable and portable solution.
Remember to always keep your thumb drive in a safe place to prevent loss or damage and create backups of your files to avoid any unexpected data loss.
We hope this guide has been helpful in assisting you with downloading a thumb drive. Embrace the convenience and flexibility of this storage solution as you continue to explore the world of technology.
Happy downloading!