Introduction
Welcome to the world of optimizing your computer’s performance by using a thumb drive as RAM. In today’s fast-paced digital age, having enough memory is crucial for multitasking and running resource-intensive applications. While upgrading physical RAM is typically the go-to solution, it can be costly and time-consuming.
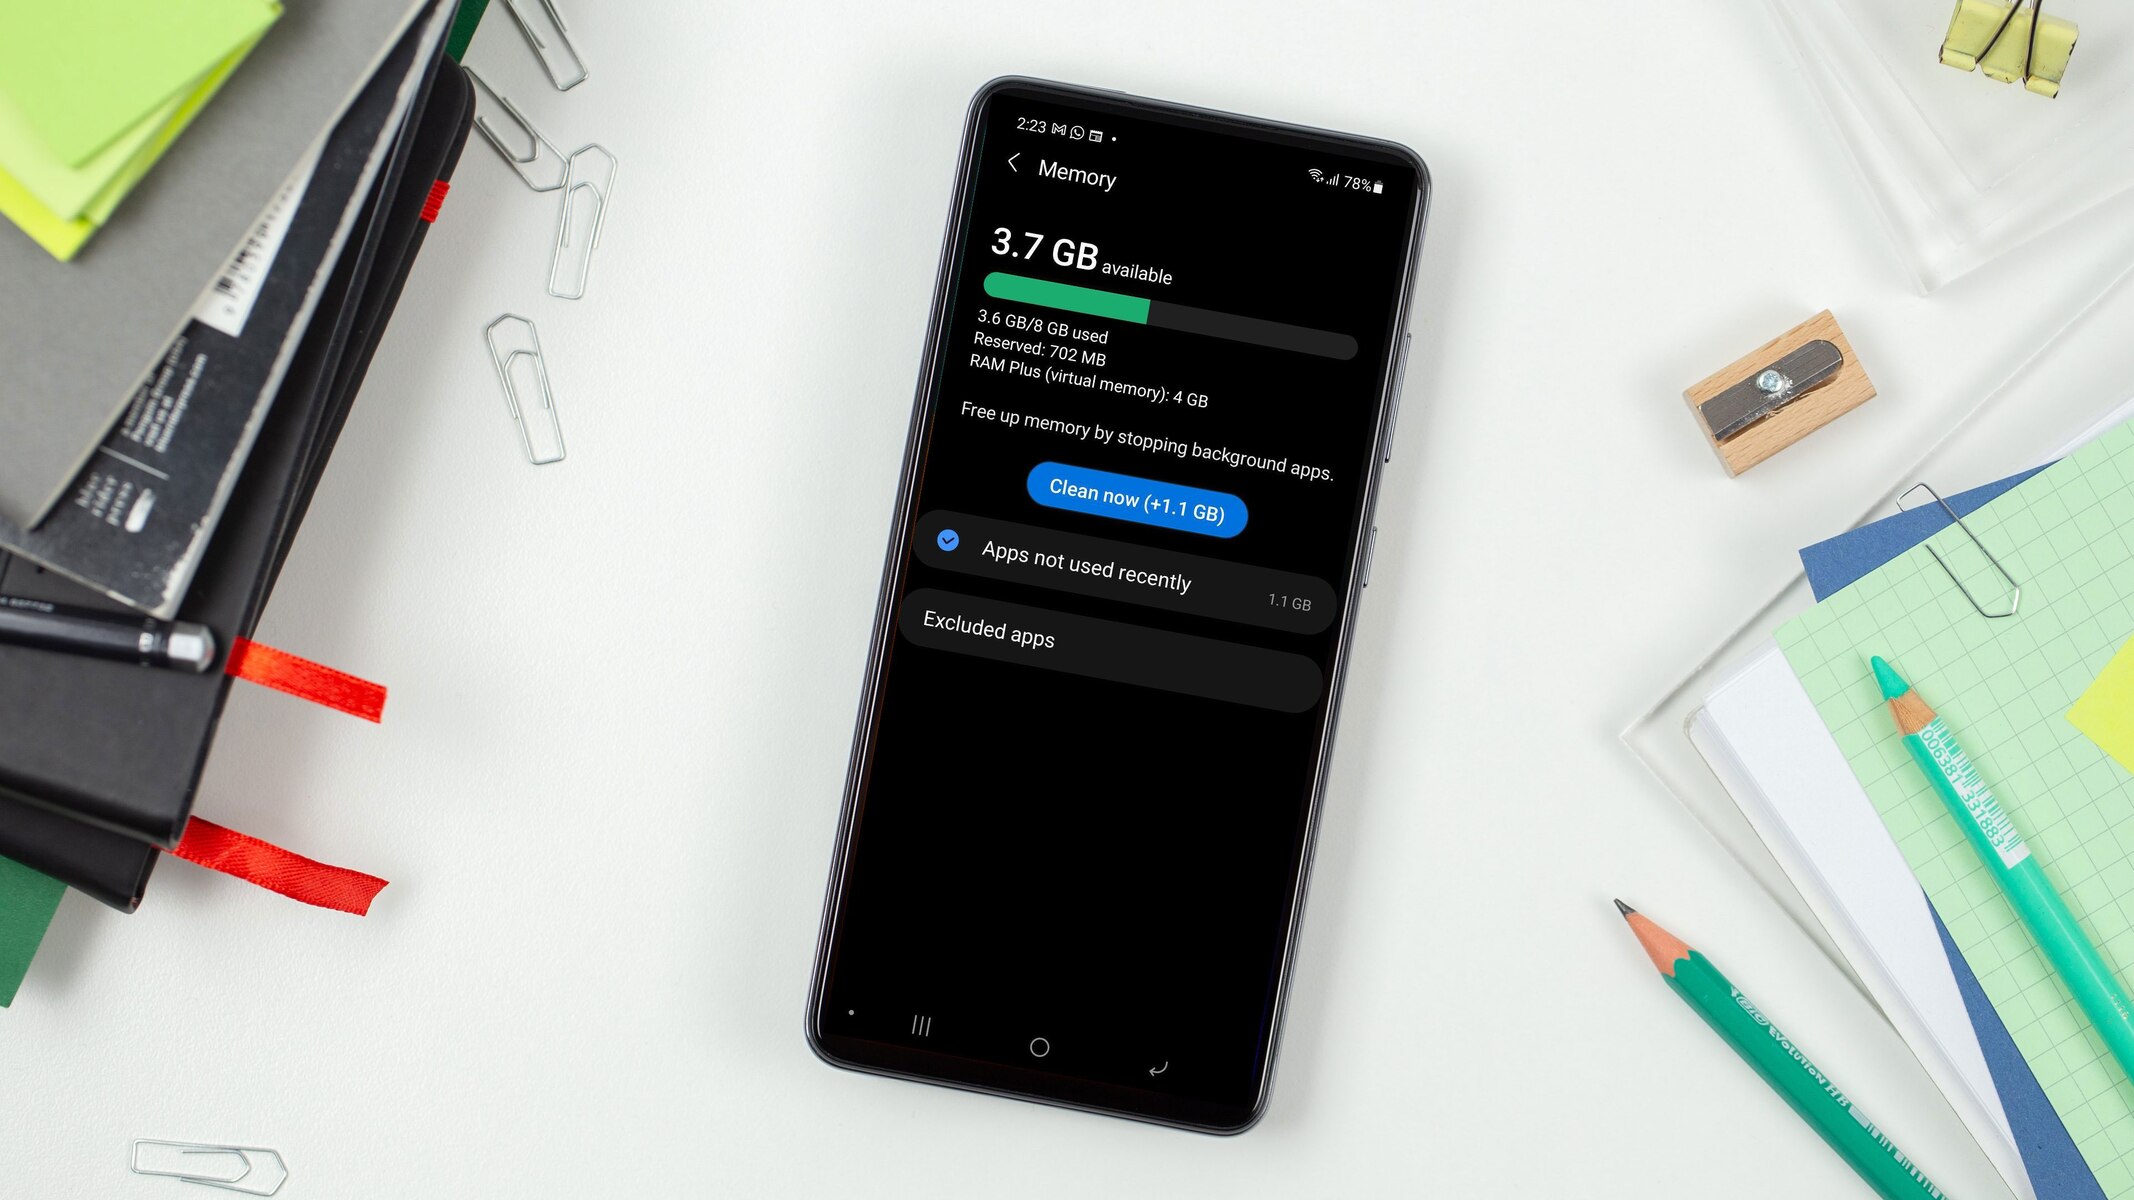
Fortunately, there is an alternative solution that can give your computer an instant boost without breaking the bank – using a thumb drive as virtual RAM. Virtual RAM, also known as “ReadyBoost” in the Windows operating system, allows you to utilize the storage capacity of a USB thumb drive to supplement your computer’s physical RAM.
In this guide, we will provide step-by-step instructions on how to effectively use a thumb drive as RAM and enhance your computer’s performance. Whether you are experiencing slow load times, lagging applications, or frequent crashes, utilizing a thumb drive as RAM can help alleviate these issues and provide a smoother computing experience.
Before we dive into the nitty-gritty details, it’s essential to understand what a thumb drive is and why it can serve as an effective substitute for physical RAM. So let’s explore the basics before delving into the implementation process.
What is a Thumb Drive?
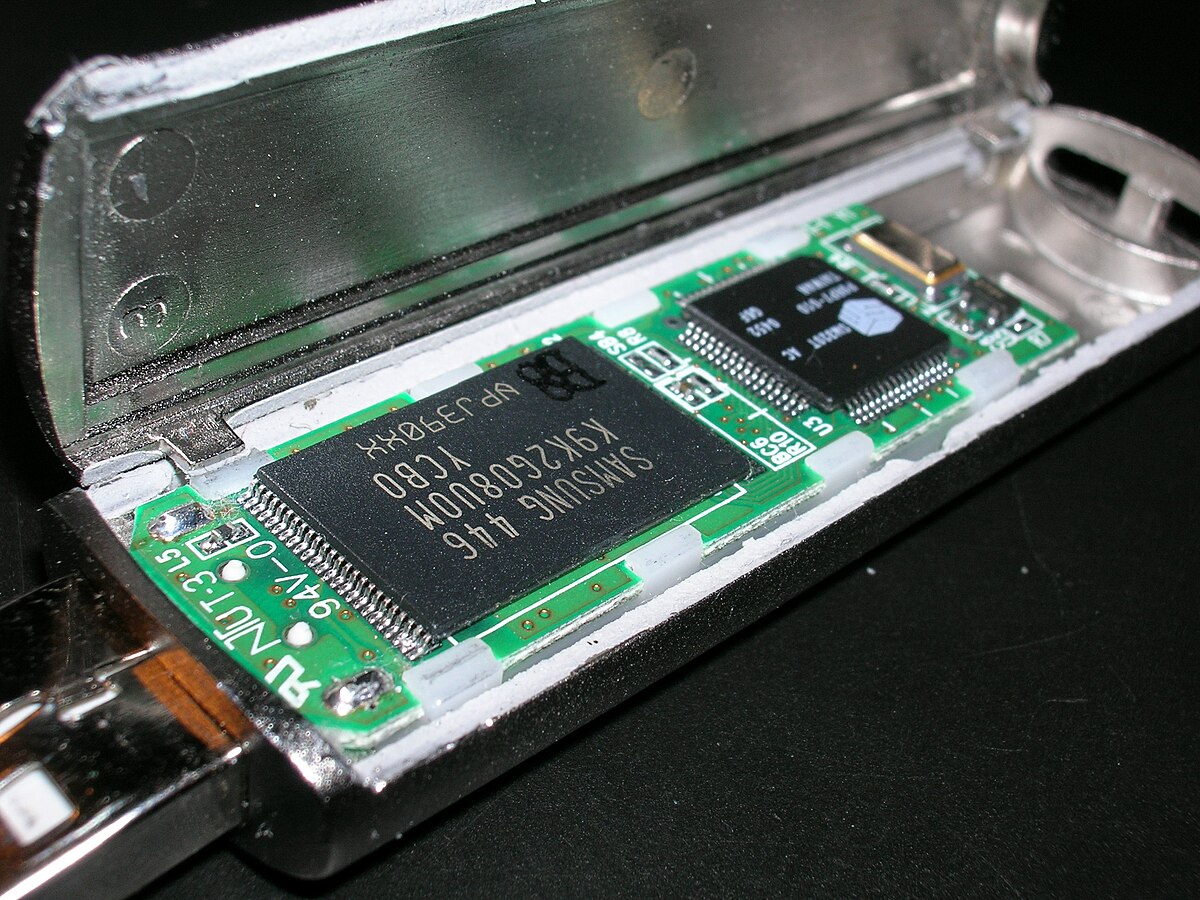
Also known as a USB flash drive, a thumb drive is a portable storage device that has revolutionized the way we store and transfer data. It is a small, lightweight device that plugs into a computer’s USB port and can hold a large amount of data.
Thumb drives have become increasingly popular due to their convenience and versatility. They have replaced traditional magnetic storage devices such as floppy disks and CDs, offering significantly more storage capacity and faster data transfer speeds. With a thumb drive, you can easily carry your files, documents, photos, and videos wherever you go.
Thumb drives typically come in various storage capacities, ranging from a few gigabytes to several terabytes. They are compatible with most computers and operating systems, making them a widely-used storage solution for personal and professional purposes.
One of the key advantages of using a thumb drive is its plug-and-play functionality. You can simply plug it into a computer’s USB port, and it will be recognized as a removable storage device. This ease of use makes thumb drives a convenient option for transferring files between different systems without the need for additional software or drivers.
Furthermore, thumb drives are durable and portable, making them ideal for storing and transporting sensitive data. Unlike traditional hard drives, which contain moving parts and are more susceptible to damage, thumb drives use solid-state technology, making them more resistant to shocks, drops, and vibrations.
Overall, a thumb drive is a versatile and reliable storage device that offers a convenient and portable solution for storing and transferring data. In the next section, we will explore why using a thumb drive as RAM can be a valuable strategy to improve your computer’s performance.
Why Use a Thumb Drive as RAM?
Before we delve into the details of using a thumb drive as RAM, it’s crucial to understand the benefits and advantages of this approach. While physical RAM plays a critical role in a computer’s performance, there may be situations where you need more memory than what is available in your system. In such cases, using a thumb drive as virtual RAM can be an effective solution.
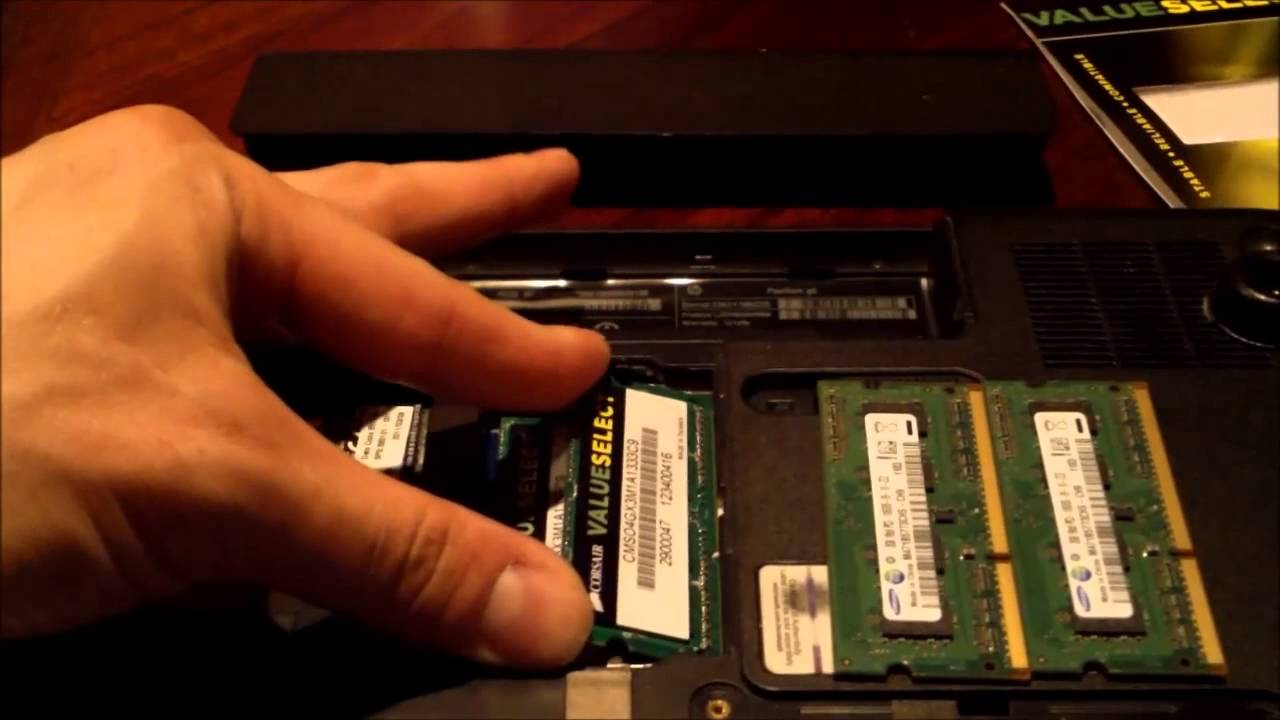
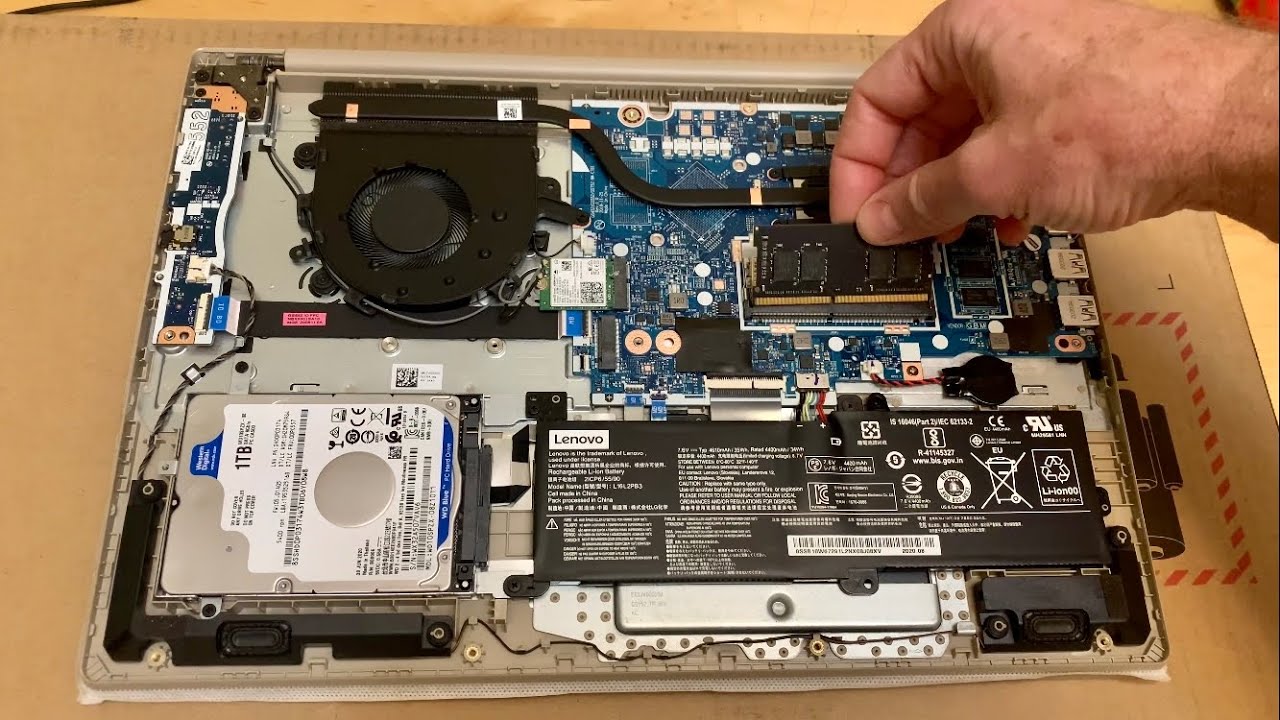
The primary advantage of using a thumb drive as RAM is the potential to increase your computer’s memory capacity without having to invest in new physical RAM modules. This is particularly beneficial for older computers or laptops with limited RAM slots or systems that do not support RAM upgrades.
By leveraging a thumb drive as virtual RAM, you can enjoy the benefits of added memory, such as improved multitasking capabilities and faster application load times. This can significantly enhance your computer’s performance, especially when running resource-intensive applications like video editing software or gaming programs.
Additionally, using a thumb drive as RAM can help mitigate the risk of system crashes and freezing. When your computer runs out of physical RAM, it starts using the thumb drive as virtual memory to store temporary data. This allows your system to continue running smoothly and prevents sudden crashes caused by insufficient memory resources.
Another advantage of using a thumb drive as virtual RAM is its portability. Unlike installed physical RAM modules, which are fixed and cannot be easily transferred between systems, a thumb drive can be quickly plugged into any computer’s USB port. This makes it a practical solution for improving the performance of multiple systems without the need for additional hardware investments.
However, it is important to note that while using a thumb drive as RAM can provide a temporary performance boost, it is not a substitute for upgrading your physical RAM if you are consistently running out of memory. Physical RAM is still the most efficient and reliable solution for improving your computer’s overall performance and responsiveness.
In the following sections, we will guide you through the process of using a thumb drive as RAM, from checking compatibility to adjusting the necessary settings. Let’s dive in and explore how to make the most of this virtual memory enhancement.
Requirements
Before you can use a thumb drive as RAM, there are a few requirements that you need to fulfill. Ensuring that your system and thumb drive meet these requirements is crucial to the success and compatibility of this virtual memory enhancement.
1. Operating System Compatibility: Using a thumb drive as RAM is primarily applicable to Windows operating systems. This virtual memory feature called ReadyBoost is available in Windows 7 and later versions. Therefore, make sure your computer is running a compatible version of Windows.
2. Thumb Drive Capacity: The thumb drive you plan to use as virtual RAM should have sufficient storage capacity to accommodate the additional memory requirements. While there is no strict minimum requirement, it is recommended to use a thumb drive with a capacity of at least 4GB to notice a significant improvement in performance. However, larger thumb drives with higher capacities can offer even better results.
3. USB Port Speed: The speed of the USB port is another crucial factor to consider. The higher the USB port speed, the faster the data transfer between the thumb drive and the computer. Ideally, you should use a USB 3.0 or higher port for better performance. However, USB 2.0 ports can still work, albeit with slightly slower transfer speeds.
4. Thumb Drive Read/Write Speed: Apart from the USB port speed, the read/write speed of the thumb drive itself is essential for optimal performance. A thumb drive with faster read/write speeds will ensure that data is transferred quickly and efficiently, minimizing any potential bottlenecks. Look for thumb drives with higher read/write speeds for best results.
5. Empty and Formattable Thumb Drive: The thumb drive you intend to use as virtual RAM should be empty and formatted correctly before you can set it up for ReadyBoost. Make sure to back up any important data on the thumb drive as it will be formatted during the process.
Once you have made sure that your system and thumb drive meet these requirements, you can proceed with the steps to utilize the thumb drive as virtual RAM. In the next sections, we will guide you through the process, starting with checking compatibility and preparing the thumb drive for ReadyBoost.
Step 1: Check Compatibility
Before you begin using a thumb drive as RAM, it’s important to check the compatibility of your computer and operating system. ReadyBoost, the feature that enables the use of a thumb drive as virtual RAM, is available in Windows 7 and later versions. If you are using a different operating system, this method may not be applicable.
To check if your computer supports ReadyBoost, follow these steps:
- Insert the thumb drive into a USB port on your computer.
- Open File Explorer (Windows key + E) and locate the thumb drive under “This PC” or “My Computer.”
- Right-click on the thumb drive and select “Properties” from the context menu.
- In the Properties window, go to the “ReadyBoost” tab.
- Check the option that says “Use this device” if it is available.
- Note the recommended amount of space for ReadyBoost, or any limitations mentioned.
If the “ReadyBoost” tab or the option to use the device for ReadyBoost is not present, it means that your computer or operating system does not support this feature. In this case, using a thumb drive as virtual RAM may not be possible.
It’s worth noting that even if your computer supports ReadyBoost, the effectiveness of using a thumb drive as RAM depends on various factors such as the computing tasks you perform, the amount of physical RAM available, and the overall system configuration. ReadyBoost is a complementary feature that can provide a performance boost, but it is not meant to replace physical RAM upgrades for significant memory requirements.
With compatibility checked and verified, you can proceed to the next step, which involves preparing the thumb drive for ReadyBoost. This step ensures that the thumb drive is formatted correctly and ready to be used as virtual RAM. Let’s explore this process in the next section.
Step 2: Prepare the Thumb Drive
Before you can use a thumb drive as virtual RAM, it’s essential to properly prepare the thumb drive by formatting it correctly. This ensures that the thumb drive is ready to be used for ReadyBoost and can efficiently serve as additional memory for your computer.
Follow these steps to prepare the thumb drive for ReadyBoost:
- Insert the thumb drive into a USB port on your computer.
- Open File Explorer (Windows key + E) and locate the thumb drive under “This PC” or “My Computer.”
- Right-click on the thumb drive and select “Format” from the context menu.
- In the Format window, ensure that the “File system” is set to “NTFS.” This file format is recommended for ReadyBoost.
- Leave the “Allocation unit size” as “Default.”
- Make sure the “Quick Format” option is checked to speed up the formatting process. However, note that this will erase all data on the thumb drive.
- Click on the “Start” button to begin the formatting process.
Depending on the size of the thumb drive, the formatting process may take a few minutes. Once the formatting is complete, your thumb drive is now prepared for ReadyBoost and can be used as virtual RAM.
It’s important to note that formatting the thumb drive for ReadyBoost will erase all existing data on the drive. Therefore, ensure that you have backed up any important files before proceeding.
With the thumb drive prepared, it’s time to move on to the next step, which involves inserting the thumb drive into your computer and configuring it as virtual RAM. This will enable your computer to utilize the storage capacity of the thumb drive to supplement its physical RAM and improve overall performance. Let’s proceed to the next section to learn how to insert the thumb drive correctly.
Step 3: Insert the Thumb Drive
Now that you have prepared the thumb drive for ReadyBoost by formatting it correctly, the next step is to insert the thumb drive into your computer. Properly inserting the thumb drive ensures that it is recognized by the operating system as a viable option for virtual RAM.
- Locate an available USB port on your computer.
- Ensure that the thumb drive is inserted into the port securely. You should feel a slight click or resistance when the thumb drive is fully inserted.
- Wait for a few moments to allow the computer to detect and recognize the thumb drive.
- If a notification pops up indicating that a new device has been detected, you can simply close the notification.
- If there is no notification, you can proceed to the next step, which involves formatting the thumb drive specifically for ReadyBoost.
By inserting the thumb drive into the USB port, you have made the necessary physical connection between the computer and the thumb drive. This allows the computer to access and utilize the storage capacity of the thumb drive for virtual RAM purposes.
In the next step, we will guide you through the process of formatting the thumb drive specifically for ReadyBoost. This step ensures that the thumb drive is configured correctly and ready to be utilized as virtual RAM for enhanced performance. Let’s move on to the next section and format the thumb drive.
Step 4: Format the Thumb Drive as ReadyBoost
Now that you have inserted the thumb drive into your computer, the next step is to format it specifically for ReadyBoost. Formatting the thumb drive as ReadyBoost allows your computer to utilize its storage capacity as virtual RAM, providing a significant performance boost.
Follow these steps to format the thumb drive as ReadyBoost:
- Open File Explorer (Windows key + E) and locate the thumb drive under “This PC” or “My Computer.”
- Right-click on the thumb drive and select “Properties” from the context menu.
- In the Properties window, go to the “ReadyBoost” tab.
- Select the option that says “Use this device” to enable ReadyBoost for the thumb drive.
- You can adjust the amount of space to be used for ReadyBoost by moving the slider. It is recommended to use the maximum available space for better performance, but you can choose a lower amount if desired.
- Click on the “Apply” or “OK” button to save the changes and start the formatting process.
- Wait for the formatting process to complete. This may take a while, depending on the size of the thumb drive.
Once the formatting process is complete, the thumb drive is now configured and ready to be used as virtual RAM using ReadyBoost. The computer will recognize the thumb drive as an additional memory source and allocate it accordingly to improve system performance.
It’s worth noting that the amount of space you allocate for ReadyBoost should be determined based on the size of the thumb drive and the available capacity. Using a larger portion of the thumb drive’s storage capacity for ReadyBoost can provide better performance improvements.
In the next step, we will guide you through adjusting the necessary settings to optimize the performance of the thumb drive as virtual RAM. Let’s proceed to the next section and fine-tune the settings for maximum efficiency.
Step 5: Adjust Settings
After formatting the thumb drive as ReadyBoost, the next step is to adjust the settings to optimize the performance of the thumb drive as virtual RAM. These settings allow you to fine-tune the utilization of the thumb drive and ensure that it effectively enhances your computer’s memory and overall performance.
Follow these steps to adjust the settings for optimal performance:
- Open the “Start” menu and type “Performance” in the search bar.
- Select “Adjust the performance of Windows” from the search results.
- In the Performance Options window, go to the “Advanced” tab.
- Click on the “Change” button under the “Virtual memory” section.
- Uncheck the option that says “Automatically manage paging file size for all drives.”
- Select the thumb drive that you formatted for ReadyBoost from the list of available drives.
- Check the option that says “Custom size.”
- Enter a value for the initial and maximum size of the paging file, which is the virtual memory used by the thumb drive.
- The recommended size is generally around 1.5 times the amount of physical RAM installed in your computer. However, you can adjust the size based on your specific needs and the available space on the thumb drive.
- Click on the “Set” button to save the changes.
- Click on the “OK” button to close the windows and apply the settings.
By adjusting the settings for the paging file and virtual memory, you ensure that your computer utilizes the thumb drive as virtual RAM efficiently. Customizing the size of the paging file based on your specific needs and the available space on the thumb drive can further optimize the performance of your computer.
With the settings adjusted, your computer is now utilizing the thumb drive as virtual RAM, supplementing the physical RAM to provide better performance and responsiveness. In the next step, we will discuss how to monitor the performance and effectiveness of using the thumb drive as RAM. Let’s continue to the next section and learn about monitoring the performance.
Step 6: Monitor Performance
Once you have set up the thumb drive as virtual RAM and adjusted the necessary settings, it’s important to monitor the performance to ensure that using the thumb drive as RAM is effectively enhancing your computer’s performance.
Here are a few ways to monitor the performance of your computer:
- Task Manager: Open the Task Manager by pressing Ctrl + Shift + Esc and navigate to the “Performance” tab. Here, you can view real-time information about memory usage, including the utilization of physical RAM and virtual memory (the thumb drive).
- Resource Monitor: Access the Resource Monitor by opening the Task Manager, clicking on the “Performance” tab, and then selecting “Open Resource Monitor” at the bottom of the window. The Resource Monitor provides more detailed information about memory usage and the impact of using the thumb drive as virtual RAM.
- Benchmarking Tools: Utilize benchmarking tools such as PassMark or Prime95 to run performance tests before and after utilizing the thumb drive as virtual RAM. These tools can provide detailed reports on overall system performance, including memory utilization and improvements.
By monitoring the performance of your computer, you can assess the effectiveness of using the thumb drive as virtual RAM. Keep an eye on memory usage, application responsiveness, and overall system stability to determine if the performance enhancement is satisfactory.
It’s important to note that the performance improvement may vary depending on your specific system configuration and the tasks you perform on your computer. Some applications might experience more noticeable enhancements than others, especially those that rely heavily on memory resources.
If you find that the performance improvement is not significant or satisfactory, you may consider other options, such as upgrading your physical RAM or optimizing your system in other ways to enhance performance.
Congratulations! You have successfully gone through the steps to use a thumb drive as RAM and improve the performance of your computer. Remember to periodically monitor the performance and make adjustments as needed to maintain optimal functionality.
In the next section, we will provide some additional tips and considerations to help you get the most out of using a thumb drive as virtual RAM. Let’s proceed to the next section and explore these valuable insights.
Tips and Considerations
As you use a thumb drive as virtual RAM, here are some tips and considerations to keep in mind to ensure the best possible experience:
- Choose a High-Quality Thumb Drive: Opt for a thumb drive with fast read/write speeds and a reputable brand to ensure optimal performance and reliability.
- Keep the Thumb Drive Connected: It’s recommended to keep the thumb drive connected to your computer at all times to maintain the benefits of using it as virtual RAM. Removing the thumb drive can cause the system to revert to its original memory configuration.
- Regularly Monitor the Thumb Drive: Keep an eye on the health of the thumb drive by checking for any errors or issues using the built-in Windows tools or third-party software.
- Backup Important Data: Since the thumb drive will be used for ReadyBoost and virtual RAM, make sure to have backups of any critical data stored on the thumb drive, as it can be erased during the formatting process.
- Consider Upgrading Physical RAM: While using a thumb drive as virtual RAM can provide a performance boost, it’s not a substitute for upgrading physical RAM if you consistently require more memory for resource-intensive tasks or demanding applications.
- Manage Background Apps and Startup Programs: Close unnecessary background applications and limit the number of programs that start automatically with your computer. This helps free up memory resources and improves overall system performance.
- Regularly Clean Up and Optimize Your System: Perform regular system maintenance tasks such as disk cleanup, defragmentation, and updating drivers to keep your computer running smoothly and optimize its performance.
By considering these tips and following best practices, you can maximize the benefits of using a thumb drive as virtual RAM and enjoy improved performance and responsiveness on your computer.
Remember, while utilizing a thumb drive as RAM can enhance your computer’s memory capacity, it does have limitations compared to upgrading physical RAM. If you consistently require more memory, it may be worth considering a physical RAM upgrade for optimal performance.
Now that you have explored the tips and considerations, you are equipped with the knowledge to effectively use a thumb drive as virtual RAM. Enjoy the improved performance and multitasking capabilities while working and using resource-intensive applications on your computer.
Feel free to refer back to this guide whenever you need a refresher or encounter any issues while utilizing a thumb drive as RAM. Happy computing!
Conclusion
Using a thumb drive as virtual RAM can be a cost-effective and practical solution to enhance your computer’s performance. By following the steps outlined in this guide and considering the tips provided, you can effectively utilize the storage capacity of a thumb drive to supplement your computer’s physical RAM.
Remember, using a thumb drive as virtual RAM is not a substitute for upgrading physical RAM. It is a complementary solution that can provide a temporary performance boost and alleviate memory-related issues. If you consistently require more memory for resource-intensive tasks or demanding applications, upgrading your physical RAM may be a more suitable option.
Throughout this guide, we covered the necessary steps, including checking compatibility, preparing the thumb drive, inserting it properly, formatting it for ReadyBoost, adjusting the settings, and monitoring the performance. By following these steps and considering the additional tips and considerations provided, you can optimize the utilization of a thumb drive as virtual RAM.
Ultimately, the effectiveness of using a thumb drive as virtual RAM depends on your specific system configuration, the tasks you perform, and the available resources. It’s important to monitor the performance, assess the improvements, and make adjustments as needed to ensure optimal functionality.
Now that you have gained the knowledge and understanding of how to use a thumb drive as virtual RAM, you can put this technique into practice and enjoy a faster and more responsive computing experience. Whether you are tackling demanding applications or multitasking efficiently, utilizing a thumb drive as RAM can provide that extra boost to keep you productive.
Remember to keep your thumb drive connected, regularly monitor its health, and back up any important data. Additionally, manage background applications, optimize your system, and consider upgrading physical RAM if needed.
Thank you for following this guide, and we hope that utilizing a thumb drive as virtual RAM enhances your computing experience and boosts your productivity.