Introduction
Welcome to this guide on how to change the default download file type. Have you ever encountered the frustration of always having to convert or open downloaded files because they are saved in a format that is not convenient for you? Whether it’s PDFs, images, or documents, it can be a hassle to constantly go through the extra step of changing the file type before you can access or use the downloaded files.
Fortunately, there is a way to change the default file type for your downloads, so that they are automatically saved in the format that suits your needs. This simple adjustment can save you time and effort, allowing you to quickly access your downloaded files right away.
In this guide, we will walk you through the steps necessary to change the default download file type on your computer. No matter what operating system you are using, whether it’s Windows, macOS, or even Linux, we’ve got you covered. So, let’s get started and make your downloading experience more efficient and tailored to your preferences.
Step 1: Accessing the Downloads folder
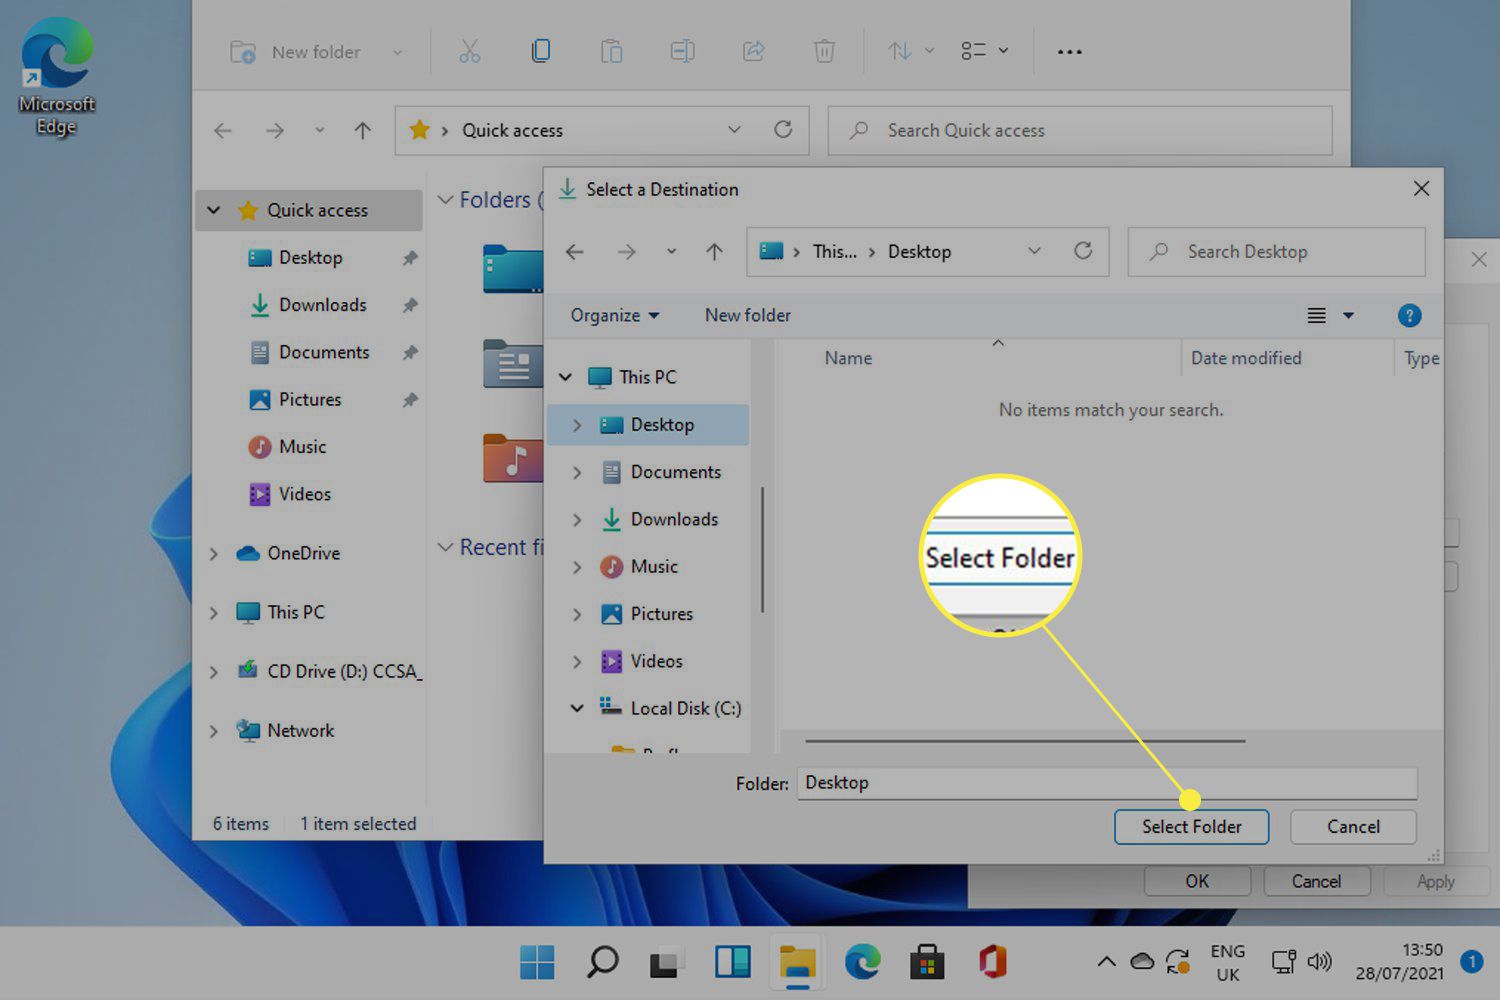
Before we can change the default download file type, we need to first access the Downloads folder on your computer. This is where all your downloaded files are stored by default.
The location of the Downloads folder may vary depending on the operating system you are using. Here’s how to find it:
- Windows: Click on the Start menu and navigate to your user folder. You will find the Downloads folder listed there.
- macOS: Go to the Finder and click on the “Go” menu at the top of the screen. Select “Downloads” from the drop-down menu.
- Linux: Open the File Manager and look for the Downloads folder in your home directory.
Once you have located the Downloads folder, you can proceed to the next step to find the settings for changing the default file type.
Step 2: Locating the default file type settings
Now that we have accessed the Downloads folder, we can proceed to locate the settings for changing the default file type. The process for finding these settings may vary depending on your operating system and the web browser you are using. Here’s how to do it:
- For Windows users:
- For macOS users:
- For Linux users:
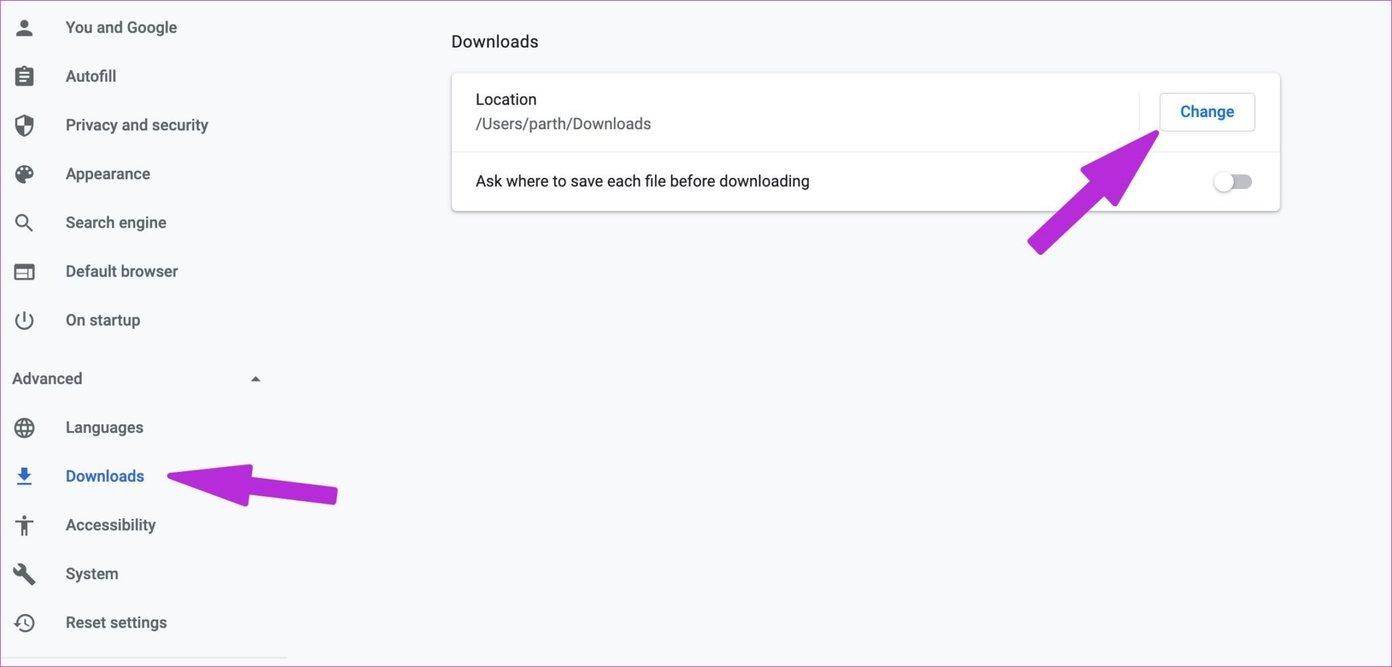
If you are using Windows, open your preferred web browser and click on the menu icon (usually represented by three dots or lines) in the top-right corner of the window. From the drop-down menu, select “Settings” or “Options”. Look for a section or tab related to “Downloads” or “File settings”. Here, you should find an option to change the default file type.
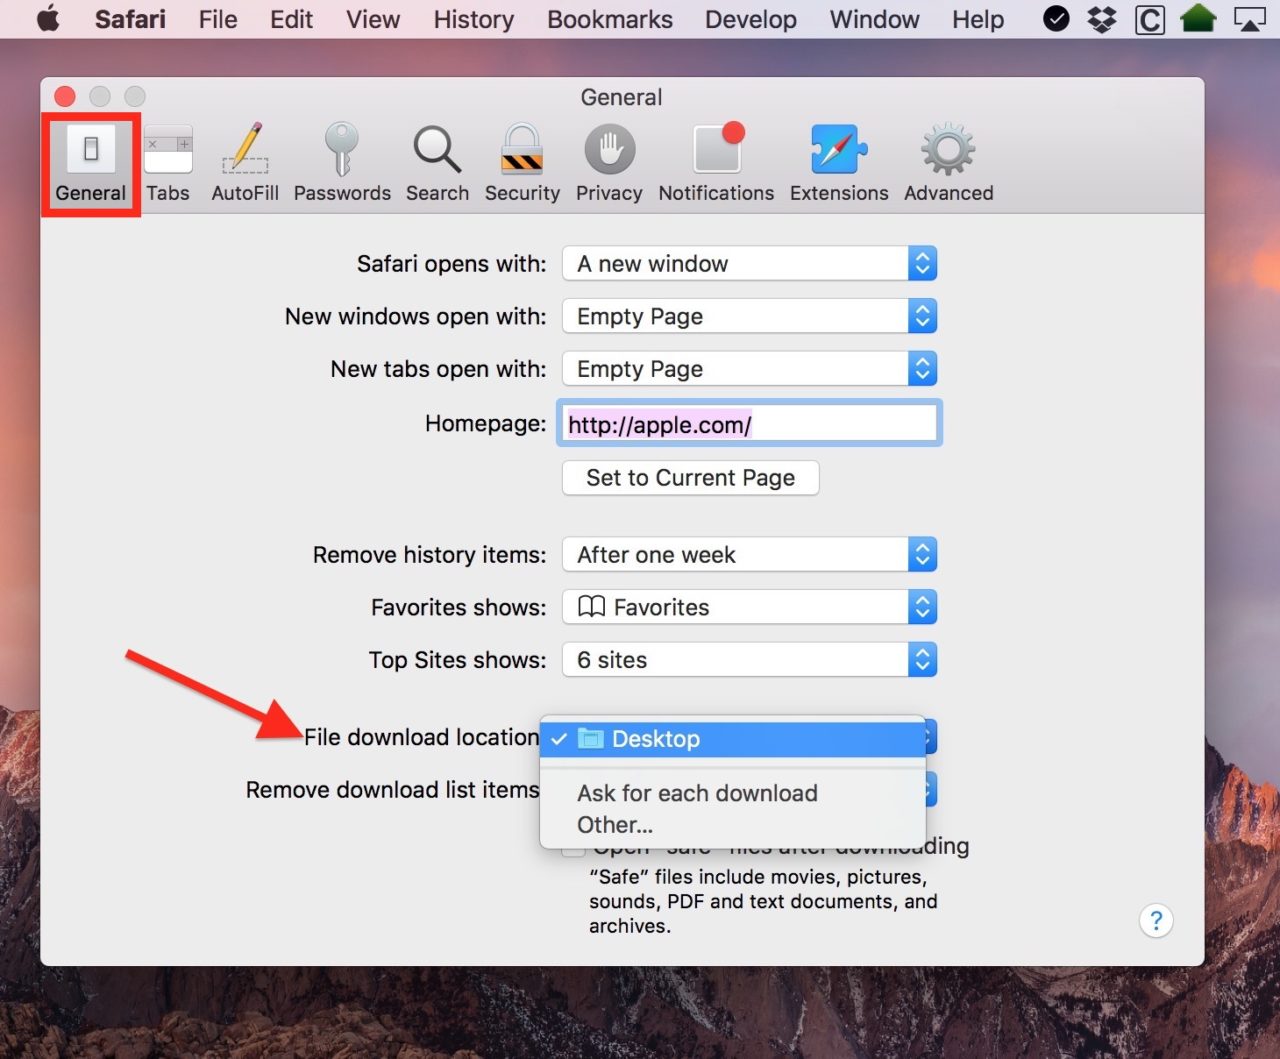
MacOS users can follow a similar process. Open your web browser and click on the menu icon in the top-left corner of the screen. From the drop-down menu, select “Preferences” or “Settings”. Look for a section or tab related to “Downloads” or “File settings”. Here, you should find an option to change the default file type.
If you are using Linux, the process may vary depending on the distribution and web browser you are using. Generally, you can try accessing the preferences or settings menu of your web browser, and look for options related to “Downloads” or “File settings”. Alternatively, you can use the search function in your web browser’s settings page to search for specific keywords related to changing the default file type.
Once you have located the settings for changing the default file type, we can move on to the next step and make the necessary adjustments.
Step 3: Changing the default file type
Now that we have found the settings to modify the default file type, let’s proceed with changing it to our desired format. The process will differ slightly depending on your operating system and web browser. Here’s how to do it:
- Windows users:
- macOS users:
- Linux users:
In the settings or options menu of your web browser, locate the section related to downloads or file settings. Look for an option that allows you to change the default file type. It might be a drop-down menu or a list of file extensions. Select the file type you prefer to set as the default, such as PDF, JPG, or DOCX. Make sure to save the changes before closing the settings menu.
Similar to Windows, find the preferences or settings menu in your web browser. Look for options related to downloads or file settings. Locate the setting that allows you to change the default file type and select your preferred format, such as PNG, MP3, or XLSX. Save the changes before closing the settings menu.
The process may vary slightly depending on your Linux distribution, but generally, you’ll find the preferences or settings menu in your web browser. Look for options related to downloads or file settings. Within these settings, you should find the option to change the default file type. Select your preferred format, such as GIF, MP4, or PPTX. Save the changes before exiting the settings menu.
Great! We have successfully changed the default file type for our downloads. Now, any future downloads will be saved in the format you selected.
Let’s move on to the last step to ensure our changes have taken effect.
Step 4: Testing the changes
After making the necessary adjustments to the default file type settings, it’s important to test the changes to ensure they have taken effect. This will help verify that any future downloads are indeed saved in the desired file format. Here’s how you can test the changes:
- Open any web browser and find a file that you commonly download, such as a PDF document, an image file, or a Word document.
- Click on the download link or button for the file, and the download should begin automatically.
- Once the download is complete, navigate to your Downloads folder and locate the downloaded file.
- Check the file extension of the downloaded file to verify that it matches the format you set as the default. For example, if you set the default file type as PDF, the downloaded file should have a .pdf extension.
- Double-click on the downloaded file to open it and confirm that it can be accessed and viewed correctly.
If the downloaded file has the expected file extension and can be opened without any trouble, it means that the changes you made to the default file type settings have been successfully applied. Congratulations!
However, if the file still does not have the desired file format or encounters any issues when attempting to open it, you may need to revisit the settings and make sure the changes were saved correctly. Repeat the previous steps to modify the default file type settings if necessary.
By following these steps and testing the changes, you can ensure that your downloads are automatically saved in the format you prefer, saving you time and effort when accessing and using your downloaded files.
Conclusion
Changing the default download file type can greatly improve your downloading experience by allowing you to save files in a format that suits your needs. No longer will you have to go through the extra step of converting or opening downloaded files in order to access them.
In this guide, we’ve walked through the steps to change the default file type for downloads on your computer. From accessing the Downloads folder to locating the settings and making the necessary changes, each step has been outlined to help you successfully modify the default file type.
By following these steps, you can customize your downloads to be saved in the format that is most convenient for you. Whether it’s PDFs, images, documents, or any other file type, you now have the power to ensure that your downloads are automatically saved exactly as you want them.
Remember to test the changes to ensure they have taken effect and that your downloaded files are indeed saved in the desired format. If any issues arise, simply revisit the settings and make the necessary adjustments.
Now that you are equipped with the knowledge to change the default download file type, you can enhance your productivity and streamline your workflow when accessing downloaded files. Enjoy the convenience and efficiency of having your downloads automatically saved in the format of your choice!


