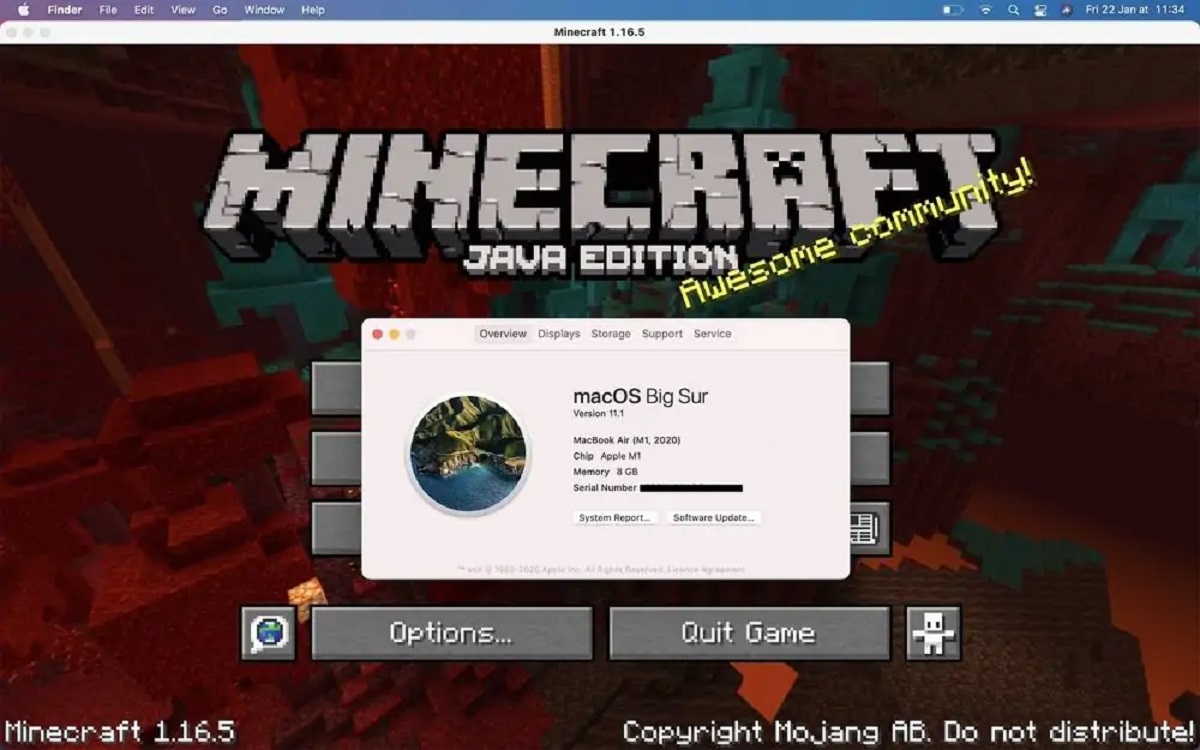
How To Get Minecraft On Mac: A Step-by-Step Guide
Welcome to the exciting world of Minecraft, where you can unleash your creativity and embark on incredible adventures. If you’re a Mac user eager to join the millions of players already enjoying this popular game, you’ve come to the right place! In this step-by-step guide, we’ll show you exactly how to get Minecraft on your Mac, so you can dive into this blocky universe in no time.
Key Takeaways:
- Downloading Minecraft on Mac requires a Mojang account and purchasing the game from the official website.
- Ensure your Mac meets the required system specifications and update your Java software to the latest version before installation.
Now, let’s get started with the process of installing Minecraft on your Mac:
1. Create a Mojang account
If you don’t have one already, head over to the official Mojang website (www.minecraft.net) and click on “Sign up” to create your account. Make sure to provide accurate information during the registration process.
2. Purchase Minecraft
Once you have a Mojang account, log in and navigate to the Minecraft game page. Here, you can purchase the game using various payment methods available. Follow the instructions provided on the website to complete your purchase. Remember to keep your account details secure!
3. Check system requirements
Before proceeding with the installation, it’s essential to ensure that your Mac meets the minimum system requirements for Minecraft. These requirements typically include specific OS versions, CPU power, and RAM. Refer to the official Minecraft website for detailed information on the system specifications.
4. Update Java software
Minecraft relies on Java software to run smoothly. To avoid any compatibility issues, it is recommended to update your Java installation to the latest version before starting the game installation. You can download the latest Java software from the official Java website (www.java.com/download).
5. Download Minecraft
Once you’ve completed the previous steps, log in to your Mojang account and navigate to the Minecraft download page. Select the version of Minecraft compatible with your Mac and click on the download button. The installation file will then be saved to your computer.
6. Install Minecraft
Locate the downloaded Minecraft installation file on your Mac, usually in the “Downloads” folder, and double-click on it. Follow the on-screen instructions to install Minecraft on your Mac.
7. Launch Minecraft
Once the installation is complete, you can find the Minecraft application in your Applications folder. Double-click on the Minecraft icon to launch the game. Log in using your Mojang account credentials, and you’re ready to start your Minecraft adventure!
So, there you have it! By following these simple steps, you can easily get Minecraft on your Mac and join the community of passionate players. Remember to have fun, be creative, and explore the endless possibilities that Minecraft offers!


