Introduction
Understanding the Zoom Feature on Your Lenovo Mouse Pad
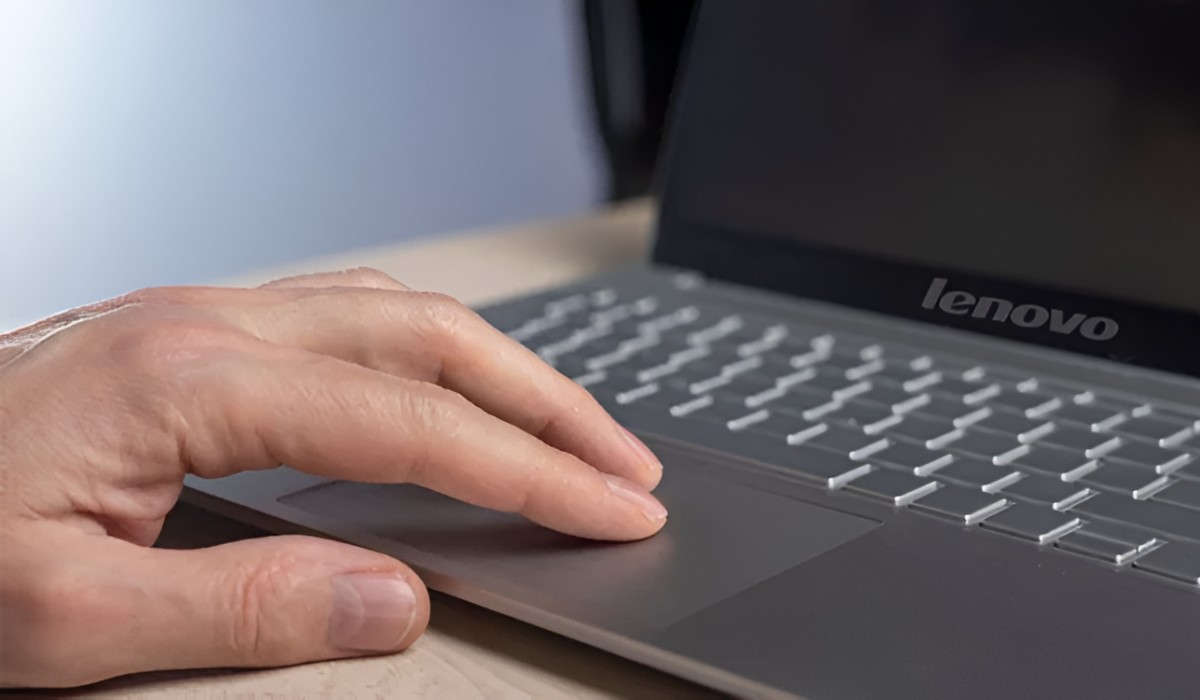
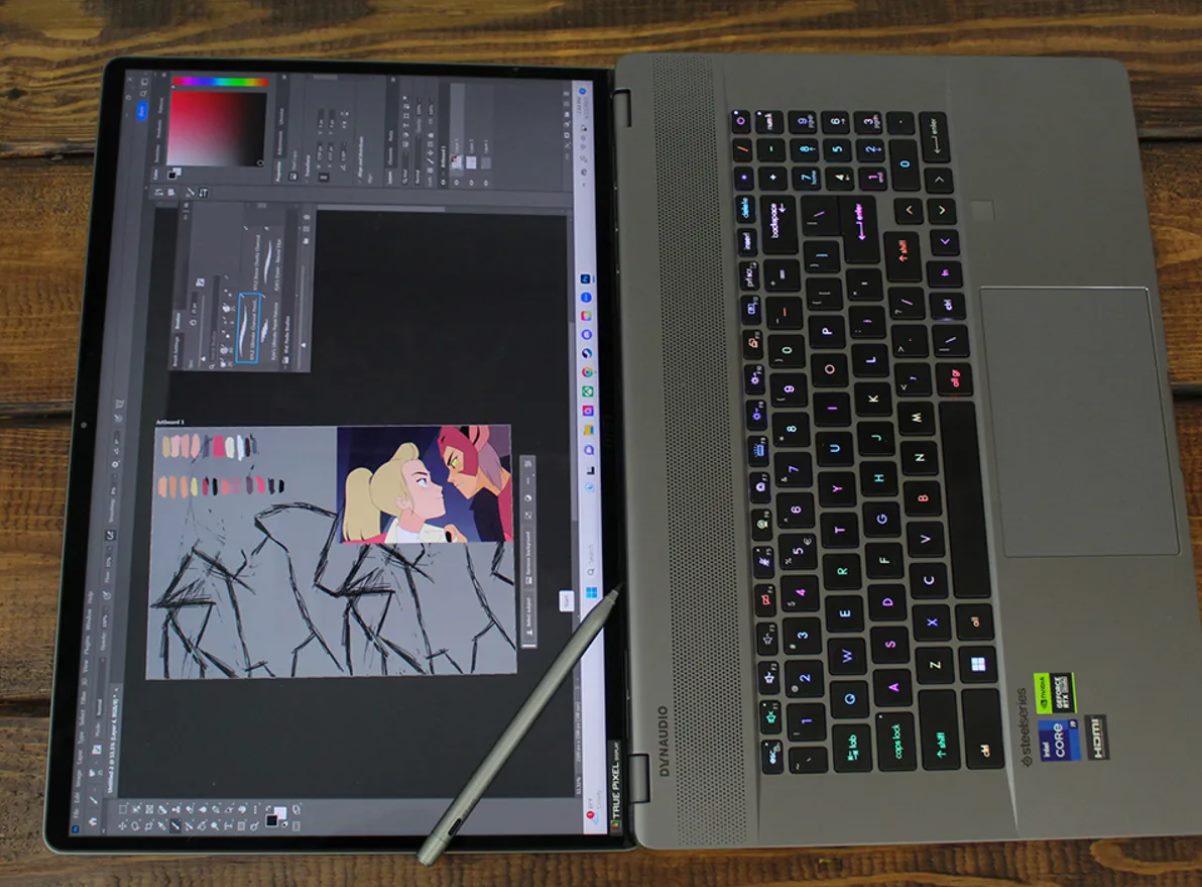
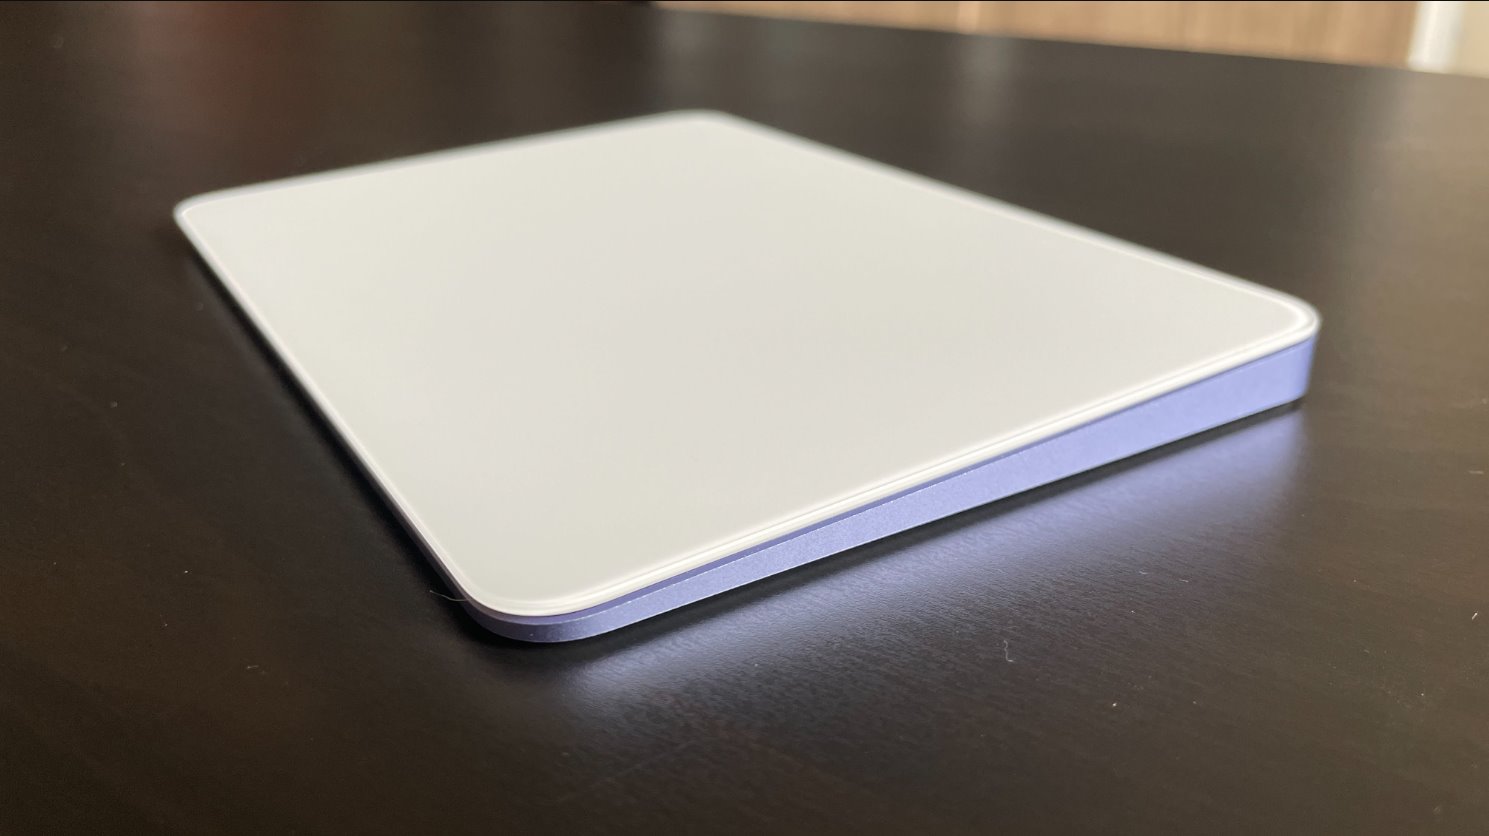
The touchpad on your Lenovo laptop is a convenient and intuitive way to navigate your computer, allowing you to move the cursor, click, and perform various gestures to interact with the operating system. One common feature found on many touchpads is the zoom function, which enables users to zoom in and out by pinching or spreading their fingers on the touchpad. While this feature can be useful for certain tasks, it may not be to everyone's liking. If you find the zoom function on your Lenovo touchpad more of a nuisance than a benefit, you can easily turn it off to streamline your computing experience.
In this guide, we will walk you through the steps to disable the zoom feature on your Lenovo laptop's touchpad. Whether you're a seasoned computer user or a newcomer to the world of laptops, this tutorial will provide clear and straightforward instructions to help you customize your touchpad settings to suit your preferences. By following these steps, you can regain full control of your touchpad and eliminate any unwanted zooming actions that may disrupt your workflow.
Now, let's delve into the process of accessing the touchpad settings on your Lenovo laptop and disabling the zoom feature to enhance your overall user experience. Whether you use your laptop for work, entertainment, or both, taking control of your touchpad settings can significantly improve your daily computing activities. Let's get started on customizing your touchpad to better suit your needs.
Step 1: Accessing the Lenovo Settings
To begin the process of disabling the zoom feature on your Lenovo laptop’s touchpad, you’ll first need to access the Lenovo Settings app. This application provides a centralized location for managing various settings and features on your Lenovo device, including touchpad configurations.
Here’s how you can access the Lenovo Settings app:
- Open the Start Menu: Click on the Start icon located at the bottom-left corner of your screen to open the Start Menu.
- Locate the Lenovo Settings App: In the Start Menu, scroll through the list of installed applications or use the search function to find the Lenovo Settings app. You can simply type “Lenovo Settings” into the search bar to quickly locate the app.
- Launch the Lenovo Settings App: Once you’ve located the Lenovo Settings app, click on it to launch the application. This will open the Lenovo Settings interface, where you can access a range of device settings and configurations.
By following these steps, you can easily access the Lenovo Settings app on your laptop, setting the stage for the next steps in the process of disabling the zoom feature on your touchpad. With the Lenovo Settings app readily available, you’re now prepared to navigate to the touchpad settings and make the necessary adjustments to customize your touchpad experience.
Step 2: Navigating to the Touchpad Settings
With the Lenovo Settings app open, the next step is to navigate to the touchpad settings where you can modify the configuration to disable the zoom feature. Here’s how you can access the touchpad settings:
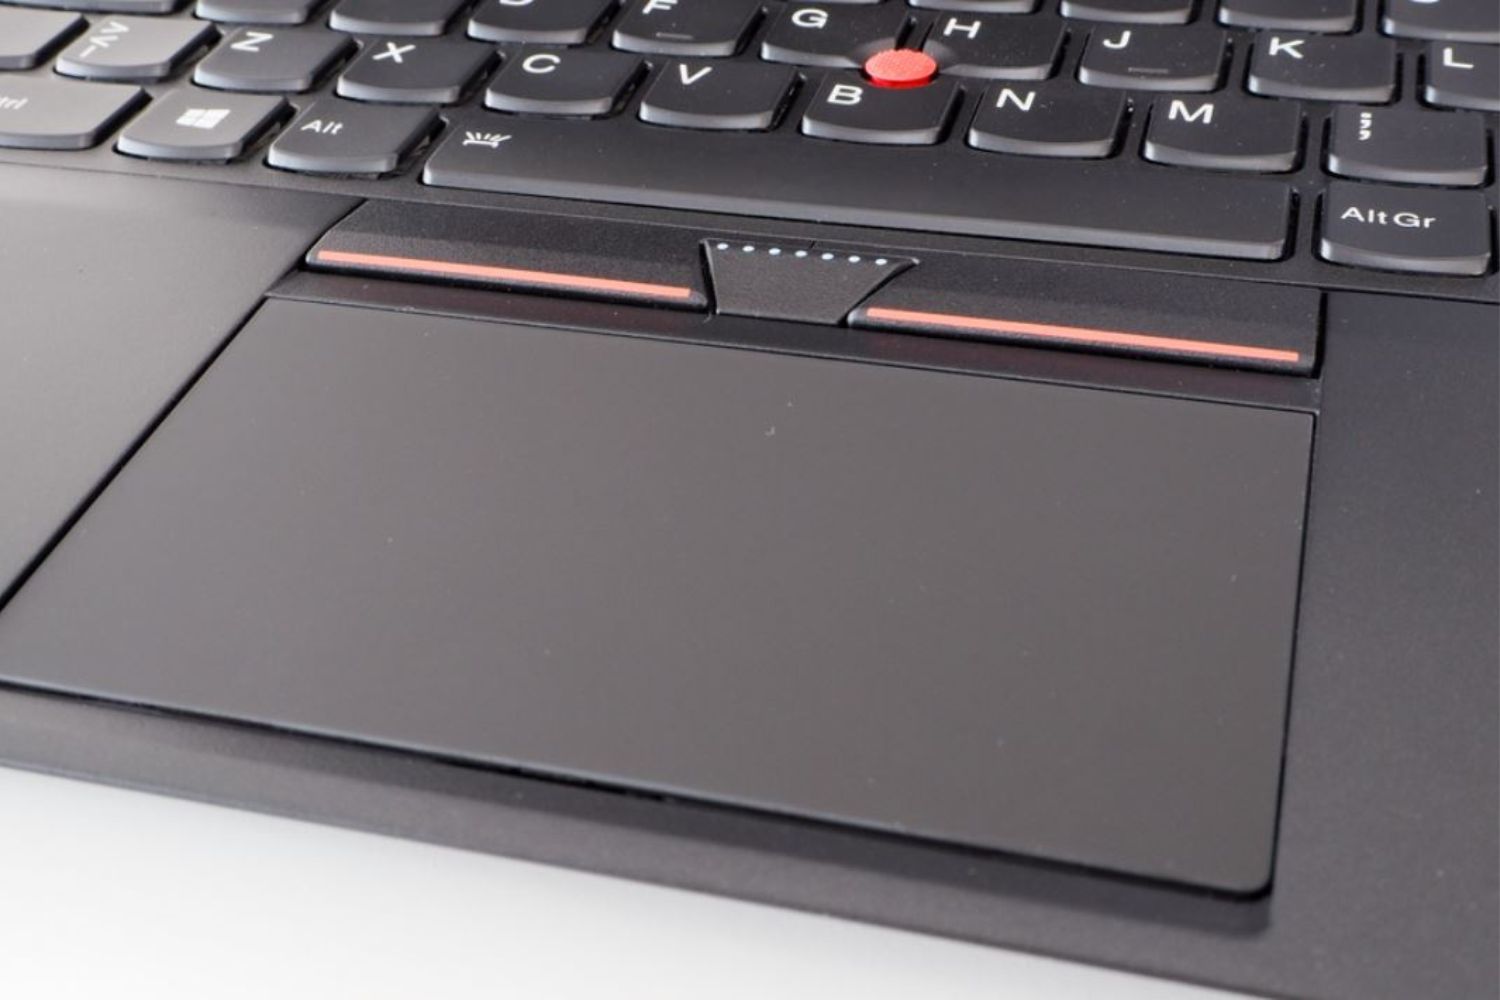
- Locate the Touchpad Tab: Within the Lenovo Settings interface, look for the tab or section specifically dedicated to touchpad settings. This may be labeled as “Touchpad,” “Pointing Devices,” or a similar designation, depending on your specific Lenovo model and the version of the Lenovo Settings app.
- Click on the Touchpad Tab: Once you’ve located the touchpad settings section, click on the tab to access the touchpad configuration options. This will open a new window or panel where you can view and modify the settings related to your laptop’s touchpad functionality.
As you navigate to the touchpad settings, it’s important to familiarize yourself with the available options and features that can be adjusted. In this section, you’ll have the opportunity to customize various touchpad gestures, sensitivity settings, and other related configurations. By accessing the touchpad settings, you can gain greater control over how your touchpad responds to different gestures and inputs, allowing you to tailor its behavior to better suit your preferences.
Once you’ve successfully located and accessed the touchpad settings within the Lenovo Settings app, you’re now ready to proceed to the next step of disabling the zoom feature on your touchpad. By following these straightforward instructions, you’re well on your way to customizing your touchpad settings and optimizing your overall user experience on your Lenovo laptop.
Step 3: Disabling the Zoom Feature
Now that you’ve accessed the touchpad settings within the Lenovo Settings app, you’re ready to disable the zoom feature to prevent unintended zooming actions on your touchpad. Here’s how you can proceed:
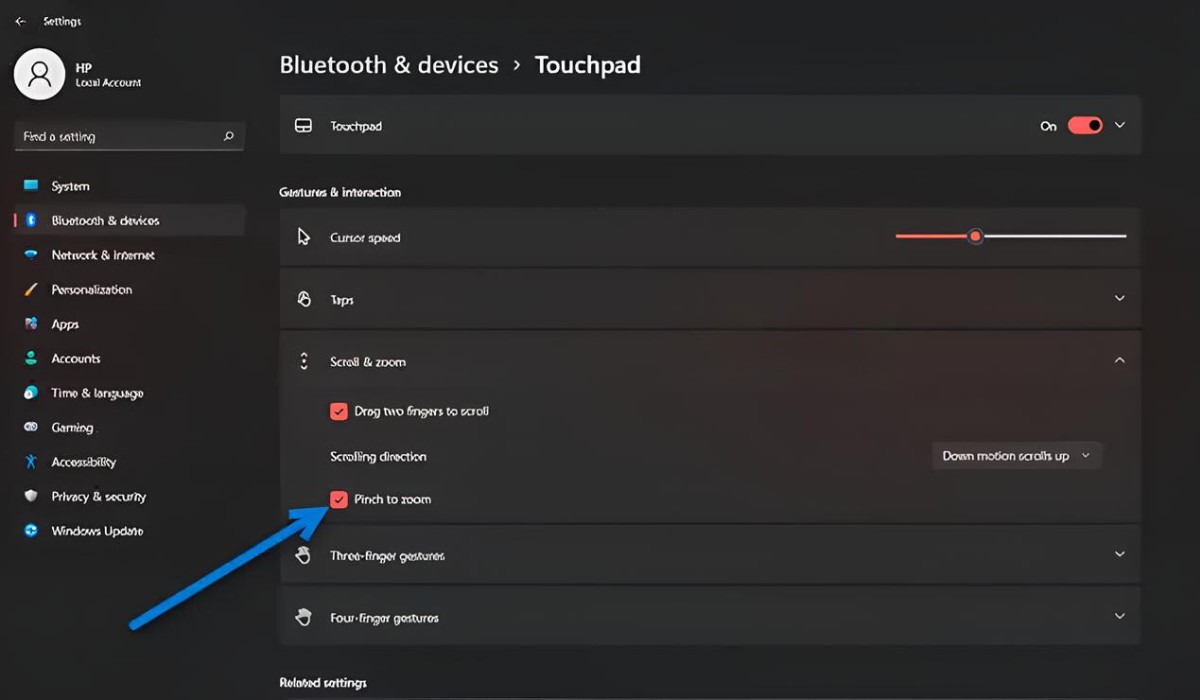
- Locate the Zoom Feature Option: Within the touchpad settings window or panel, look for the specific option related to the zoom feature. This may be listed as “Zoom,” “Pinch Zoom,” or a similar term, depending on the interface and terminology used in the Lenovo Settings app.
- Disable the Zoom Feature: Once you’ve located the zoom feature option, you can proceed to disable it by toggling the corresponding setting. This action will turn off the zoom functionality, preventing any accidental or unwanted zooming gestures on your touchpad.
By following these simple steps, you can effectively deactivate the zoom feature on your Lenovo laptop’s touchpad, providing a more predictable and consistent touchpad experience. With the zoom feature disabled, you can navigate your touchpad with confidence, knowing that you won’t inadvertently trigger zooming actions during your regular use of the laptop.
After disabling the zoom feature, take a moment to explore other touchpad settings that may enhance your overall user experience. You may find additional options for customizing gestures, sensitivity, and other touchpad behaviors, allowing you to further tailor the touchpad to your liking.
With the zoom feature successfully disabled, you’ve taken proactive steps to refine the functionality of your touchpad, ensuring that it aligns with your preferences and usage habits. By following these instructions, you’ve empowered yourself to personalize your touchpad experience and optimize its performance to better suit your needs.
Conclusion
Congratulations! By following the steps outlined in this guide, you’ve successfully disabled the zoom feature on your Lenovo laptop’s touchpad, reclaiming control over your touchpad experience. With the zoom functionality turned off, you can now navigate your touchpad with greater confidence and precision, free from the interruptions caused by unintended zooming actions.
Customizing your touchpad settings is just one of the many ways you can tailor your computing environment to better suit your preferences and workflow. Whether you use your laptop for work, creative projects, or entertainment, having the ability to adjust settings like the touchpad configuration empowers you to create a personalized and efficient computing experience.
As you continue to explore the various settings and features on your Lenovo laptop, consider experimenting with other customization options to further enhance your user experience. From keyboard shortcuts to display preferences, there are numerous settings waiting to be tailored to your liking, allowing you to make the most of your device.
Remember that personalizing your technology to align with your unique needs and habits can significantly improve your overall productivity and enjoyment. By taking the initiative to customize your touchpad settings and disable the zoom feature, you’ve demonstrated a proactive approach to optimizing your computing environment.
With these newfound skills in adjusting touchpad settings, you’re better equipped to fine-tune other aspects of your laptop, creating a personalized setup that supports your individual style of working and interacting with technology. Your Lenovo laptop is now more attuned to your preferences, providing a seamless and tailored user experience.
By mastering the process of customizing touchpad settings, you’ve unlocked the potential to transform your laptop into a more intuitive and responsive tool that complements your daily tasks and activities. Embrace the power of personalization, and continue to explore the myriad ways you can make your computing environment uniquely your own.


