Introduction
Setting up a mouse pad on your Lenovo laptop can significantly enhance your user experience, providing precise cursor control and seamless navigation. Whether you prefer a traditional mouse pad or a wireless mouse, Lenovo laptops offer a range of options to accommodate your preferences. In this guide, we will walk you through the step-by-step process of setting up a mouse pad on your Lenovo laptop, ensuring that you can optimize its functionality to suit your needs.
The mouse pad, also known as a touchpad, is a built-in input device that allows you to control the cursor and interact with your laptop without the need for an external mouse. Understanding how to properly set up and customize the mouse pad settings can improve your productivity and comfort while using your Lenovo laptop. By following the instructions outlined in this guide, you will be able to seamlessly integrate the mouse pad into your daily computing activities, whether you are browsing the web, working on documents, or engaging in multimedia tasks.
Navigating through the setup process, you will learn how to check for compatibility, connect the mouse pad, adjust the settings, and test its functionality. These steps are designed to ensure that you can leverage the full potential of the mouse pad, customizing its behavior to align with your preferences and usage patterns. Whether you are a seasoned Lenovo user or a newcomer to the brand, this guide will equip you with the knowledge and skills to effortlessly configure the mouse pad on your laptop.
As we delve into the setup process, it is essential to note that the instructions provided in this guide are applicable to a wide range of Lenovo laptop models. However, it is recommended to refer to the specific user manual or support documentation for your laptop model for any model-specific nuances in the setup process. With these considerations in mind, let's embark on this journey to optimize your Lenovo laptop's mouse pad functionality, empowering you to navigate your digital world with precision and ease.
Next, we will explore the first step: checking for compatibility to ensure a seamless setup process for your Lenovo laptop's mouse pad.
Step 1: Check for Compatibility
Before proceeding with the setup of the mouse pad on your Lenovo laptop, it is crucial to verify the compatibility of the device with your specific laptop model. While Lenovo laptops typically come equipped with built-in touchpads, ensuring compatibility will help avoid any potential issues during the setup process.
Start by referring to the user manual or official documentation provided by Lenovo for your laptop model. This documentation will contain detailed information about the touchpad specifications, compatible input devices, and any additional requirements for setting up the mouse pad. If you no longer have the physical manual, you can often find the digital version on the Lenovo support website by entering your laptop’s model number.
Additionally, it is advisable to check for any available software updates or drivers related to the touchpad. Lenovo frequently releases driver updates and software patches to enhance the performance and functionality of input devices, including the touchpad. By ensuring that your laptop’s operating system and drivers are up to date, you can mitigate potential compatibility issues and optimize the performance of the mouse pad.
Furthermore, if you are considering using an external mouse in conjunction with the touchpad, ensure that the mouse is compatible with your Lenovo laptop. Wireless mice typically require compatible drivers or software for seamless integration with the laptop’s operating system. Familiarize yourself with the specific requirements of the external mouse to ensure a smooth setup process.
By diligently checking for compatibility and staying informed about the touchpad specifications and potential external devices, you can lay a solid foundation for a successful mouse pad setup on your Lenovo laptop. Once you have confirmed compatibility and updated any necessary drivers, you are ready to proceed to the next step: connecting the mouse pad to your laptop.
Step 2: Connect the Mouse Pad
Connecting the mouse pad to your Lenovo laptop is a straightforward process that involves leveraging the built-in touchpad to seamlessly integrate it with your computing experience. Whether you are setting up the touchpad for the first time or re-establishing the connection, the following steps will guide you through the process.
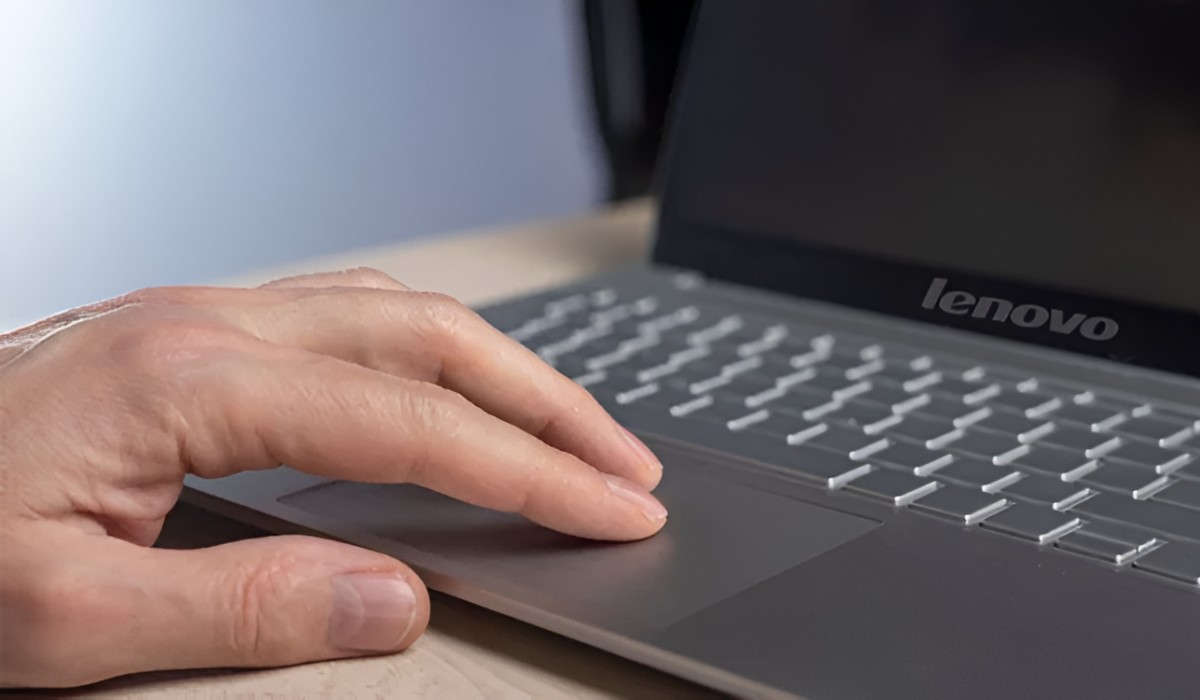
Begin by ensuring that your Lenovo laptop is powered on and fully operational. Once the laptop is ready, locate the touchpad, which is typically positioned below the keyboard. The touchpad may feature distinct markings or indicators to help identify its precise location on the laptop’s surface.
To activate the touchpad, lightly tap or press the designated activation area, which is often located at the top-left or top-right corner of the touchpad. This action will enable the touchpad and allow you to navigate the cursor on the laptop’s screen. If the touchpad does not respond to the initial activation, refer to the user manual or support documentation for your laptop model to troubleshoot any potential issues.
Once the touchpad is activated, you can begin familiarizing yourself with its functionality and responsiveness. Experiment with different gestures, such as tapping, swiping, and scrolling, to gauge the touchpad’s accuracy and responsiveness. This exploration will help you adapt to the touchpad’s behavior and optimize its settings to align with your personal preferences.
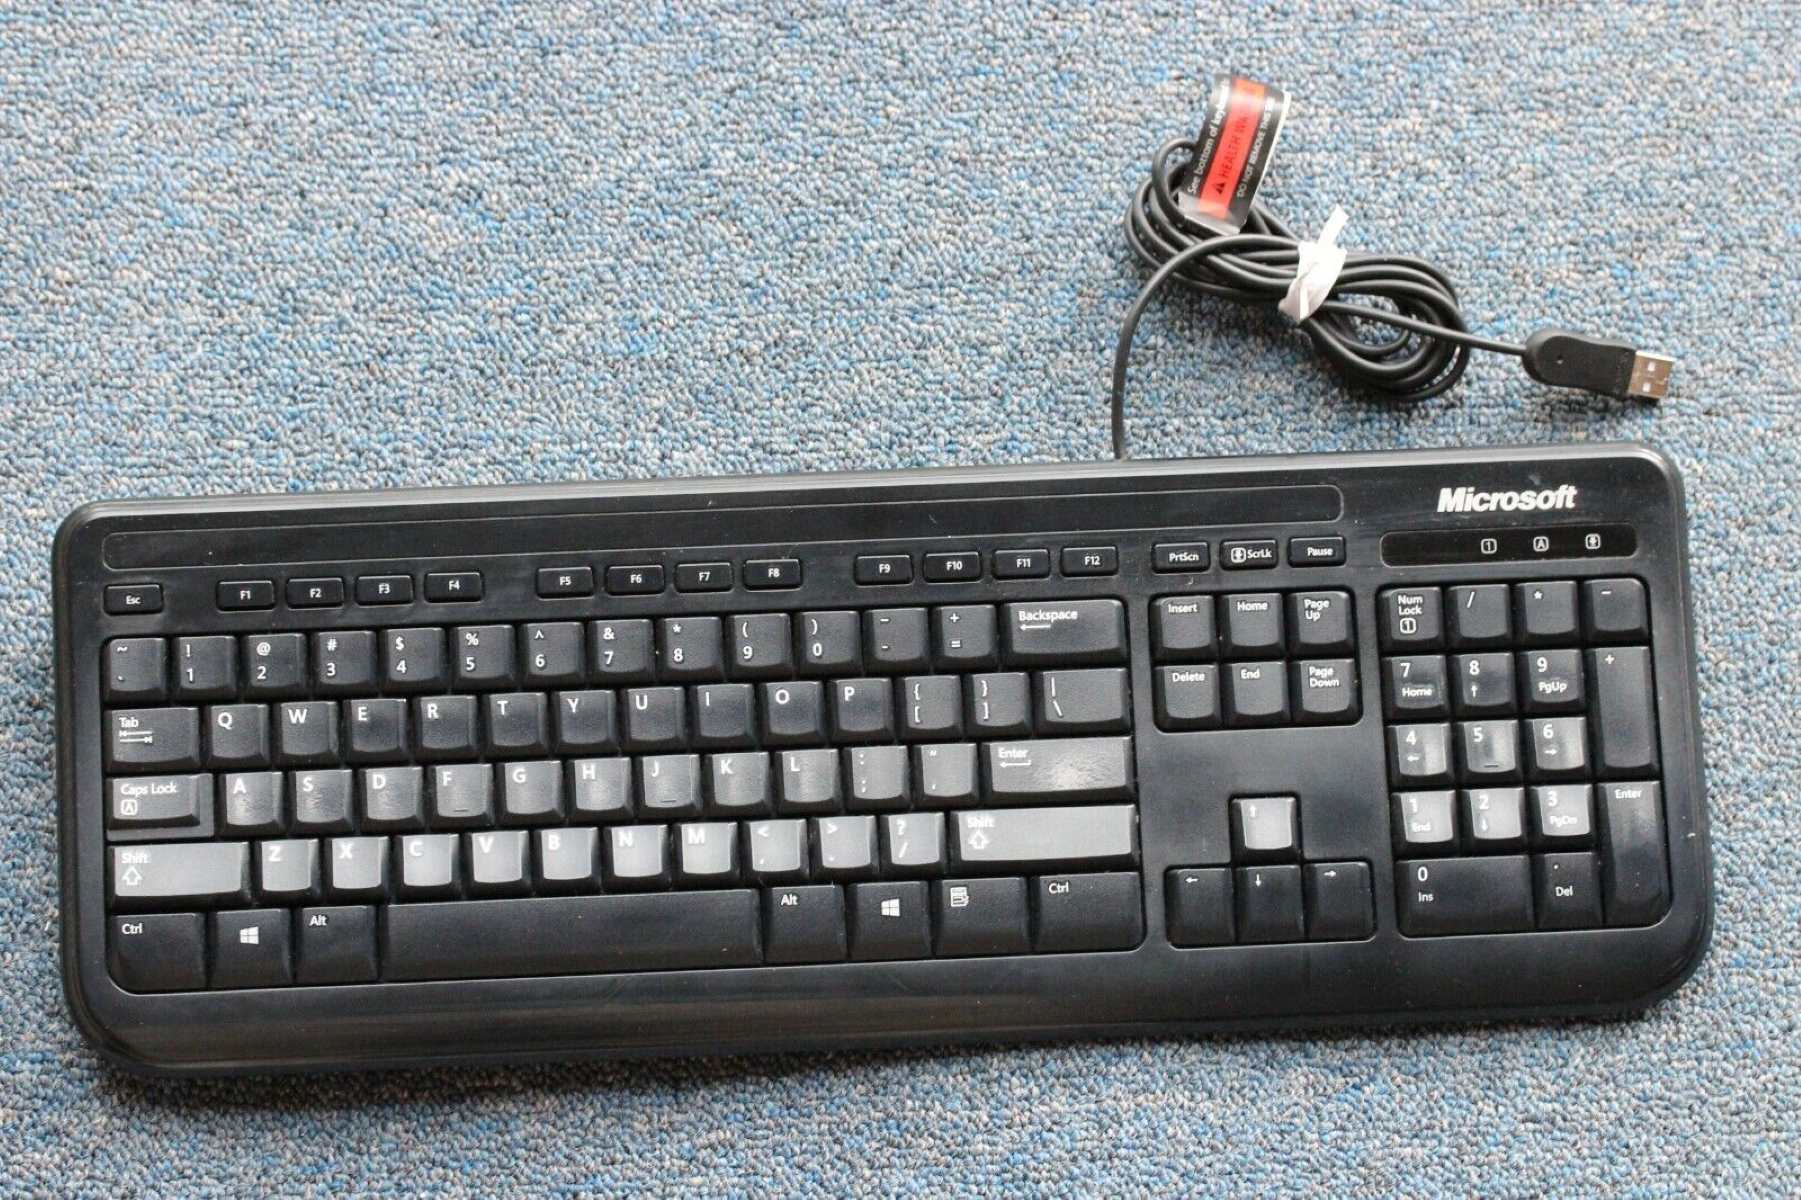
If you are using an external mouse in conjunction with the touchpad, connecting the mouse is equally straightforward. For a traditional wired mouse, simply plug the USB connector into an available USB port on your laptop. If you are using a wireless mouse, follow the manufacturer’s instructions to establish the wireless connection, which may involve inserting batteries, activating the mouse, and synchronizing it with your laptop.
Upon successfully connecting the touchpad and, if applicable, an external mouse, you are ready to proceed to the next step: adjusting the mouse pad settings to customize its behavior and optimize your user experience.
Step 3: Adjust Mouse Pad Settings
Customizing the mouse pad settings on your Lenovo laptop allows you to tailor its behavior to your specific preferences, enhancing your overall user experience. By fine-tuning the settings, you can optimize cursor control, gesture recognition, and other touchpad functionalities. The following steps will guide you through the process of adjusting the mouse pad settings to align with your individual usage patterns.
Access the touchpad settings by navigating to the “Control Panel” or “Settings” on your Lenovo laptop. Depending on your laptop model and operating system, the precise location of the touchpad settings may vary. If you encounter difficulty locating the settings, refer to the user manual or support documentation for your laptop for detailed instructions.
Upon accessing the touchpad settings, you will encounter a range of customization options, including sensitivity, scrolling behavior, gesture recognition, and additional features specific to your touchpad model. Begin by adjusting the sensitivity of the touchpad to suit your preferred cursor control. Fine-tune the sensitivity settings to achieve a balance between precision and ease of navigation, ensuring that the cursor responds accurately to your touchpad gestures.
Next, explore the scrolling behavior settings to configure how the touchpad responds to scrolling gestures. You may have the option to enable or disable specific scrolling features, adjust scrolling speed, and customize the scrolling direction based on your personal preference. Experiment with these settings to create a scrolling experience that aligns with your natural scrolling tendencies.
Furthermore, if your touchpad supports gesture recognition, such as multi-finger gestures for navigation and app switching, take the time to familiarize yourself with these features and customize their behavior. Configure the gesture settings to enable or disable specific gestures and adjust their responsiveness to ensure seamless integration with your daily computing tasks.
Depending on the touchpad model and accompanying software, you may encounter additional settings related to palm rejection, tap-to-click functionality, and other advanced features. Take advantage of these settings to refine the touchpad’s behavior according to your unique preferences and usage scenarios.
After adjusting the touchpad settings to your satisfaction, you are prepared to move on to the final step: testing the mouse pad to validate its responsiveness and functionality.
Step 4: Test the Mouse Pad
After adjusting the touchpad settings on your Lenovo laptop, it is essential to thoroughly test the mouse pad to validate its responsiveness and functionality. By conducting comprehensive testing, you can ensure that the touchpad behaves in accordance with your customized settings and provides a seamless user experience. The following steps will guide you through the process of testing the mouse pad to confirm its performance and reliability.
Begin by navigating through various tasks and applications on your laptop, utilizing the touchpad to interact with the interface. Test the cursor control, responsiveness to gestures, and scrolling behavior across different applications and windows. Pay close attention to the accuracy of cursor movements and the consistency of touchpad gestures, ensuring that the touchpad aligns with your desired user experience.
Experiment with multi-finger gestures, if supported by your touchpad, to verify their responsiveness and accuracy. Test common gestures such as two-finger scrolling, pinch-to-zoom, and three-finger swiping to navigate between open applications. By validating these gestures, you can ensure that the touchpad seamlessly integrates advanced navigation features into your computing activities.
Furthermore, engage in tasks that require precise cursor control, such as graphic design work or detailed document editing. Evaluate the touchpad’s ability to facilitate intricate movements and fine adjustments, ensuring that it enhances your productivity and accuracy in these tasks.
If you are using an external mouse in conjunction with the touchpad, test the transition between the touchpad and the mouse to confirm a smooth and seamless handover of cursor control. Switch between the touchpad and the external mouse to ensure that both input devices complement each other without interruptions or inconsistencies.
Finally, assess the overall comfort and ergonomics of using the touchpad for extended periods. Pay attention to any potential strain or discomfort associated with touchpad usage, and make adjustments to the settings if necessary to enhance your comfort and reduce fatigue during prolonged computing sessions.
By thoroughly testing the touchpad and assessing its performance across various usage scenarios, you can validate the effectiveness of the customized settings and ensure that the touchpad seamlessly integrates into your computing workflow. Once you are satisfied with the touchpad’s responsiveness and functionality, you have successfully completed the setup process, empowering you to leverage the full potential of the mouse pad on your Lenovo laptop.
Conclusion
Setting up the mouse pad on your Lenovo laptop is a pivotal step in optimizing your computing experience, providing precise cursor control and intuitive navigation. By following the comprehensive steps outlined in this guide, you have gained the knowledge and skills to seamlessly integrate the mouse pad into your daily workflow, enhancing your productivity and comfort while using your Lenovo laptop.
Throughout the setup process, you learned to check for compatibility, connect the mouse pad, adjust the settings, and thoroughly test its functionality. These steps equipped you with the foundational understanding and practical insights necessary to ensure a seamless and tailored setup for the mouse pad on your Lenovo laptop.
By verifying the compatibility of the mouse pad with your laptop model and updating any necessary drivers, you established a solid foundation for a successful setup. Connecting the mouse pad and, if applicable, an external mouse, allowed you to explore different input options and customize your computing environment to suit your preferences.
Adjusting the mouse pad settings provided you with the opportunity to fine-tune its behavior, sensitivity, scrolling, and gesture recognition to align with your individual usage patterns. This customization empowered you to tailor the touchpad’s functionality to complement your unique computing needs and enhance your overall user experience.
Thoroughly testing the mouse pad across various tasks and usage scenarios enabled you to validate its responsiveness, accuracy, and comfort, ensuring that it seamlessly integrates into your computing workflow without interruptions or inconsistencies. By conducting comprehensive testing, you confirmed the effectiveness of the customized settings and verified the touchpad’s ability to enhance your productivity and comfort during daily computing activities.
As you embark on your journey with the newly set up mouse pad on your Lenovo laptop, remember that the knowledge and skills you have acquired through this guide empower you to navigate your digital world with precision and ease. Whether you are browsing the web, working on documents, or engaging in multimedia tasks, the optimized mouse pad functionality will serve as a reliable and intuitive input device, enhancing your overall computing experience.
Embrace the flexibility and convenience offered by the mouse pad on your Lenovo laptop, and feel confident in your ability to tailor its behavior to suit your unique preferences and usage patterns. With the mouse pad seamlessly integrated into your computing environment, you are well-equipped to embark on your digital endeavors with enhanced precision and comfort, empowered by the optimized functionality of your Lenovo laptop’s mouse pad.