Introduction
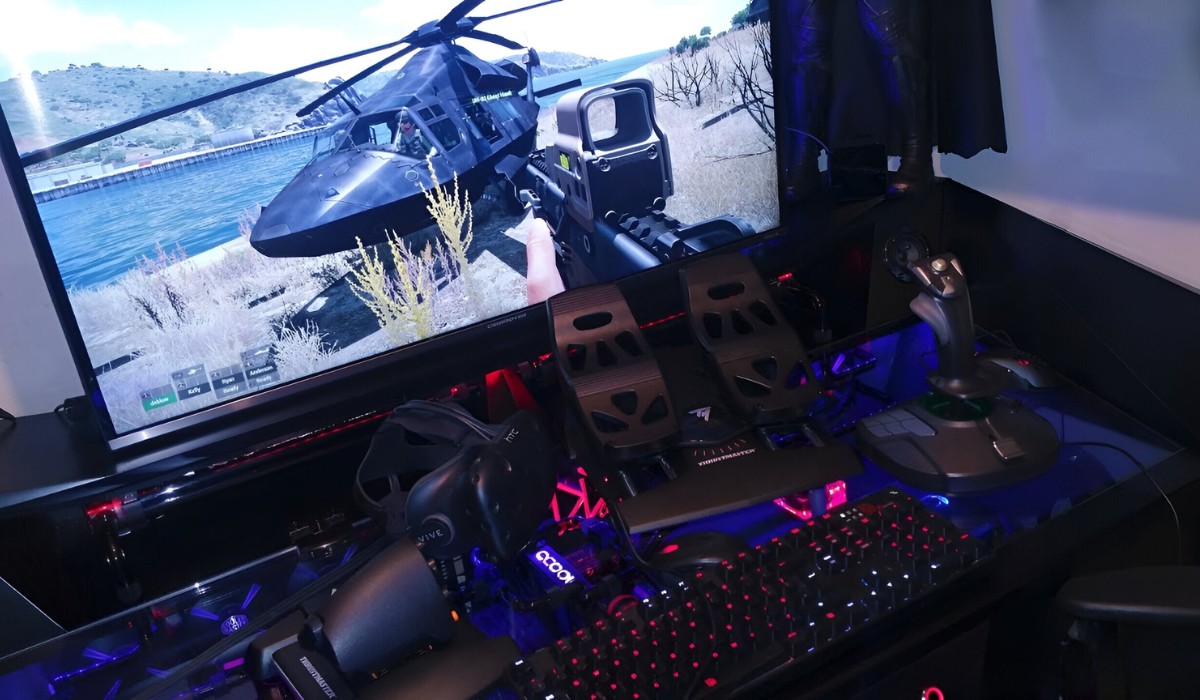
Flying an aircraft in Arma 3 can be an exhilarating experience, especially when using a flight stick. The precision and control offered by a flight stick can greatly enhance the immersion and realism of the gameplay. However, setting up a flight stick for Arma 3 may seem daunting at first, but with the right guidance, it can be a straightforward process.
In this guide, we will walk through the essential steps to set up a flight stick for Arma 3, from choosing the right flight stick to configuring it within the game. Whether you're a seasoned pilot looking to elevate your flying experience or a newcomer eager to delve into the world of flight simulation, this tutorial will provide you with the necessary knowledge to get your flight stick up and running seamlessly.
So, buckle up and get ready to soar through the virtual skies of Arma 3 with your newly configured flight stick. Whether you're piloting a nimble helicopter or a powerful fighter jet, having a well-configured flight stick can make all the difference in your aerial maneuvers. Let's dive into the process of setting up your flight stick and unleashing its full potential in Arma 3.
Choosing the Right Flight Stick
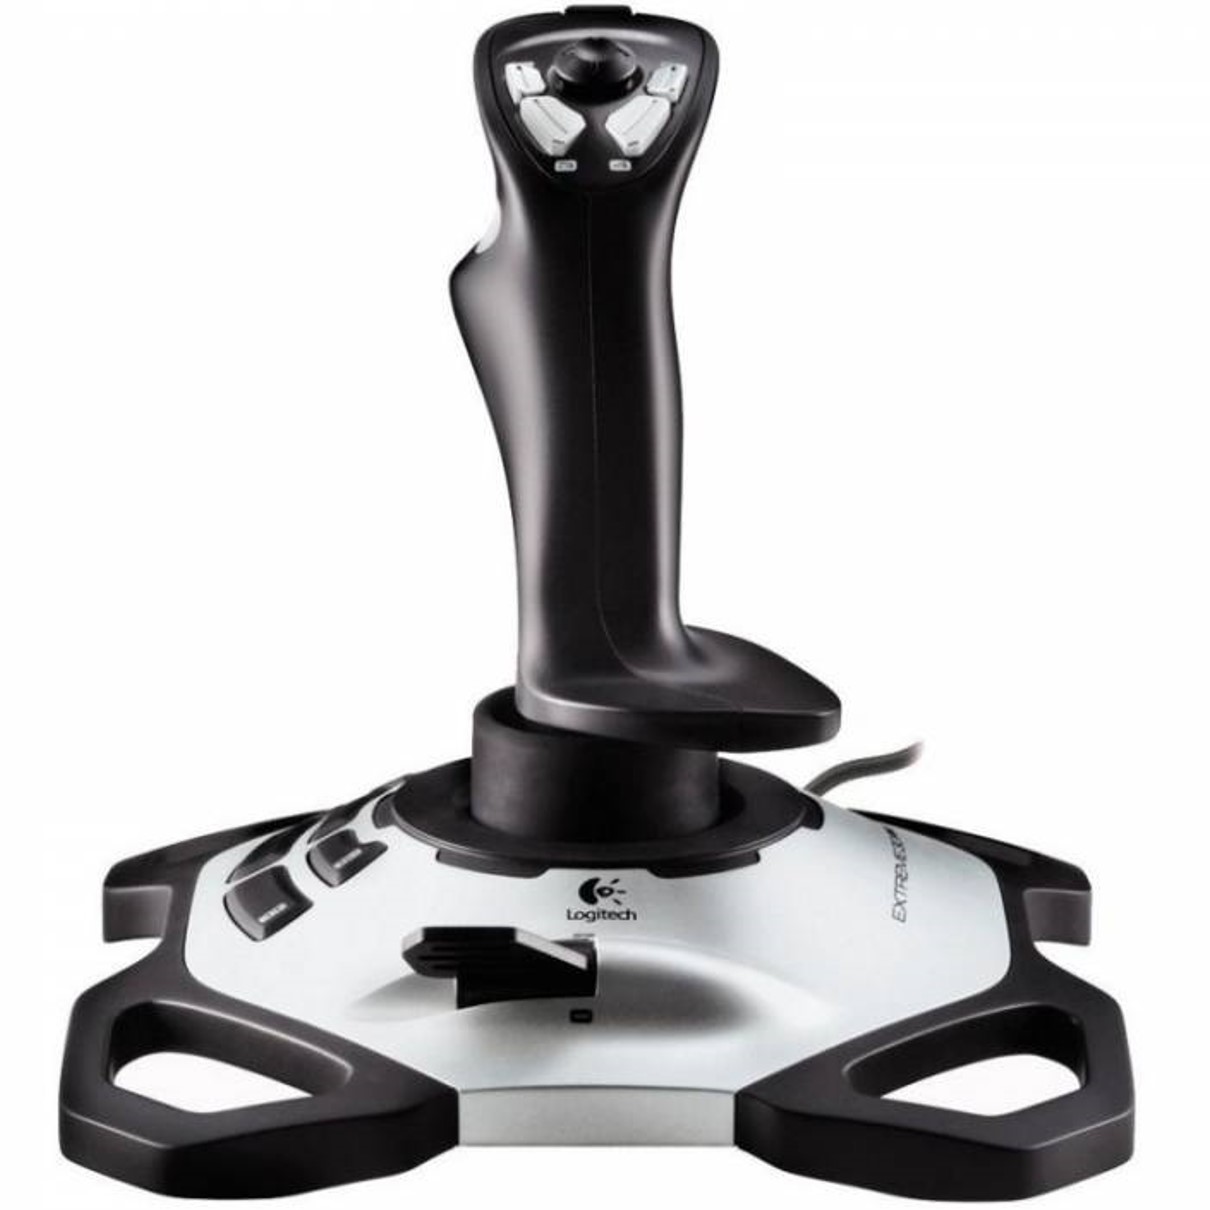
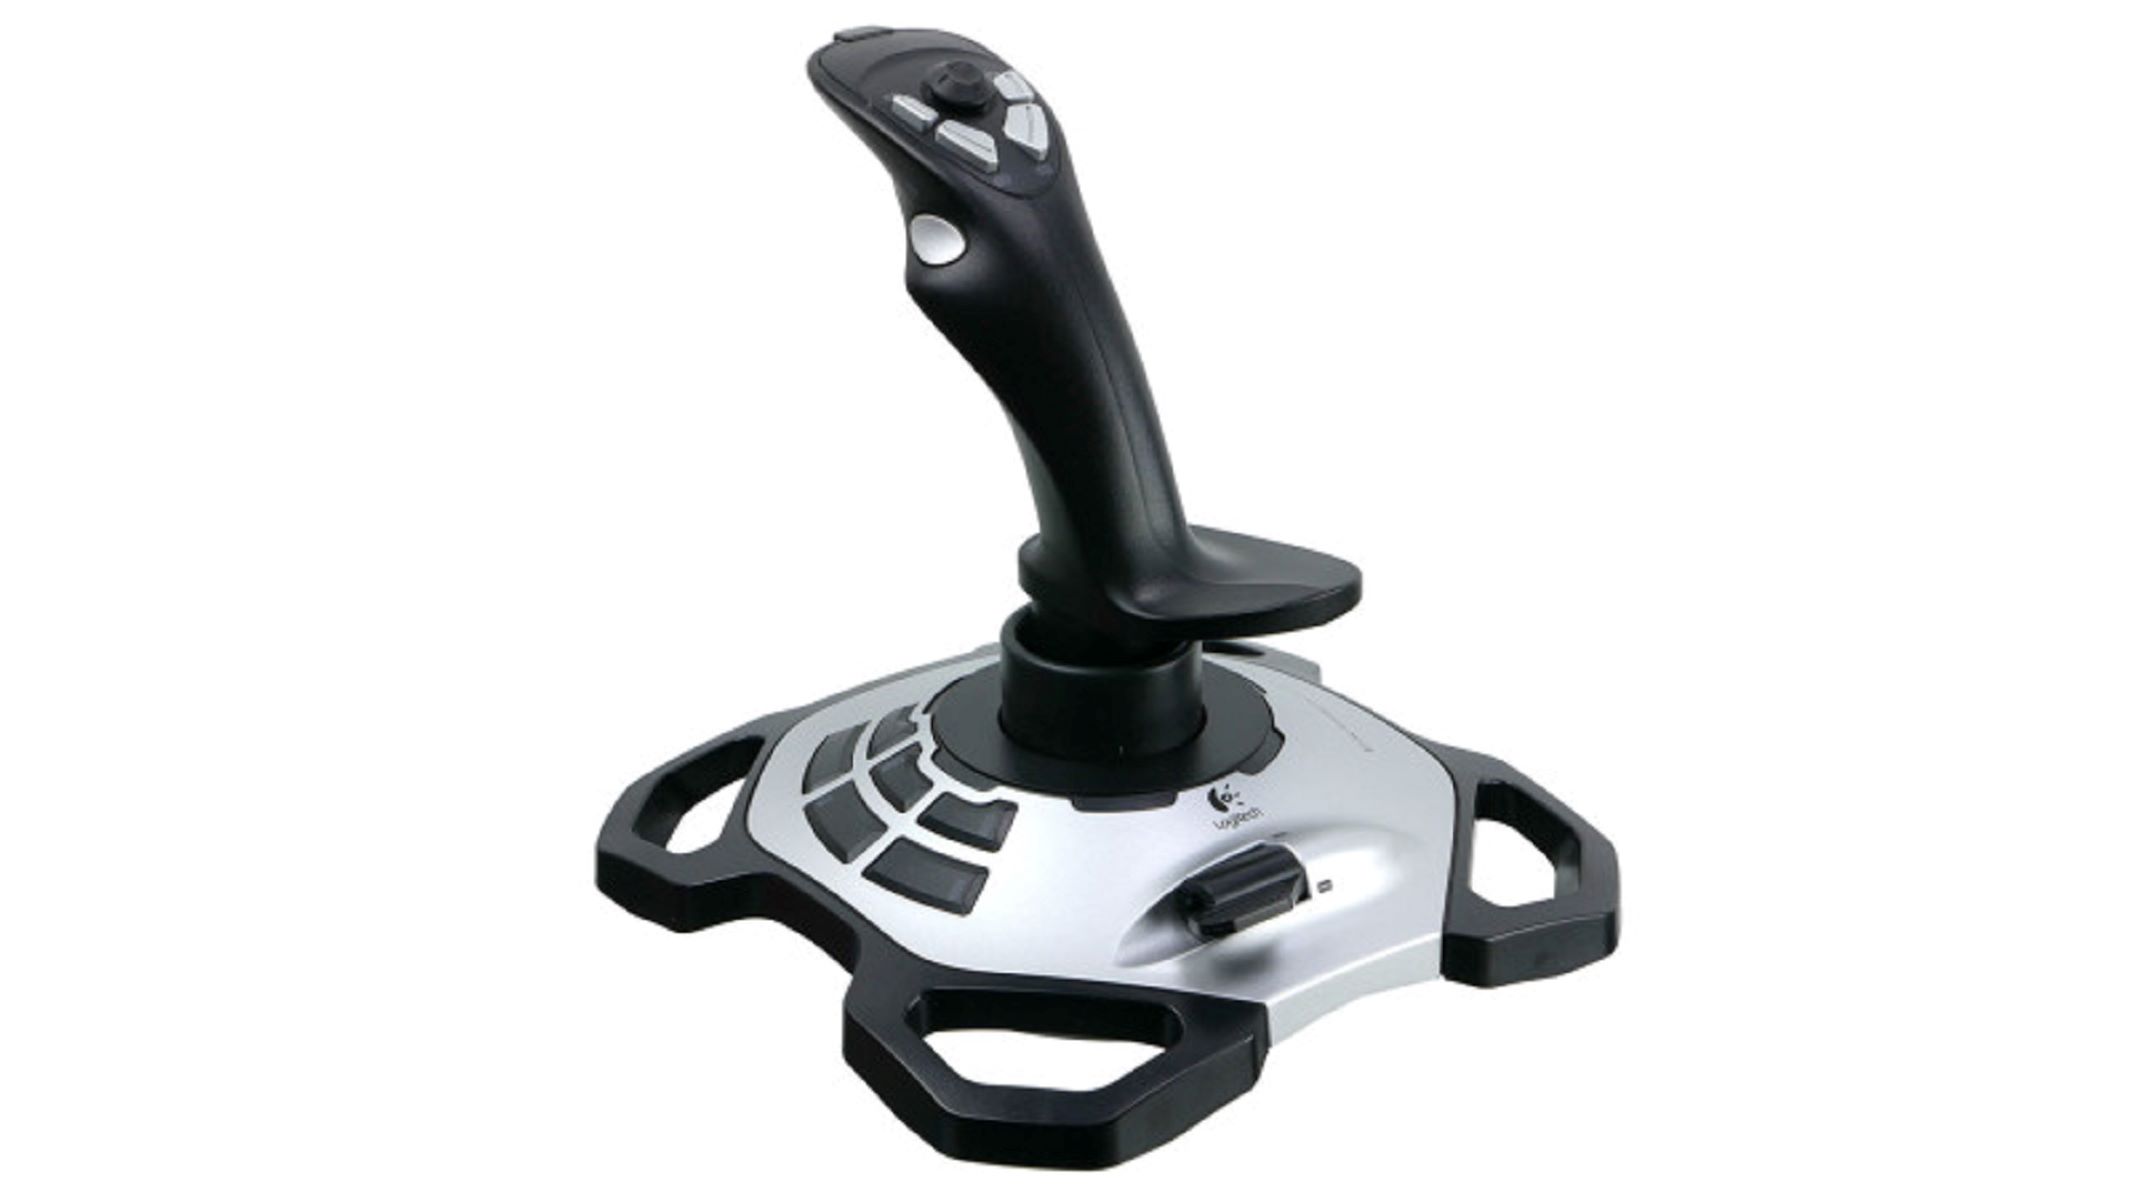
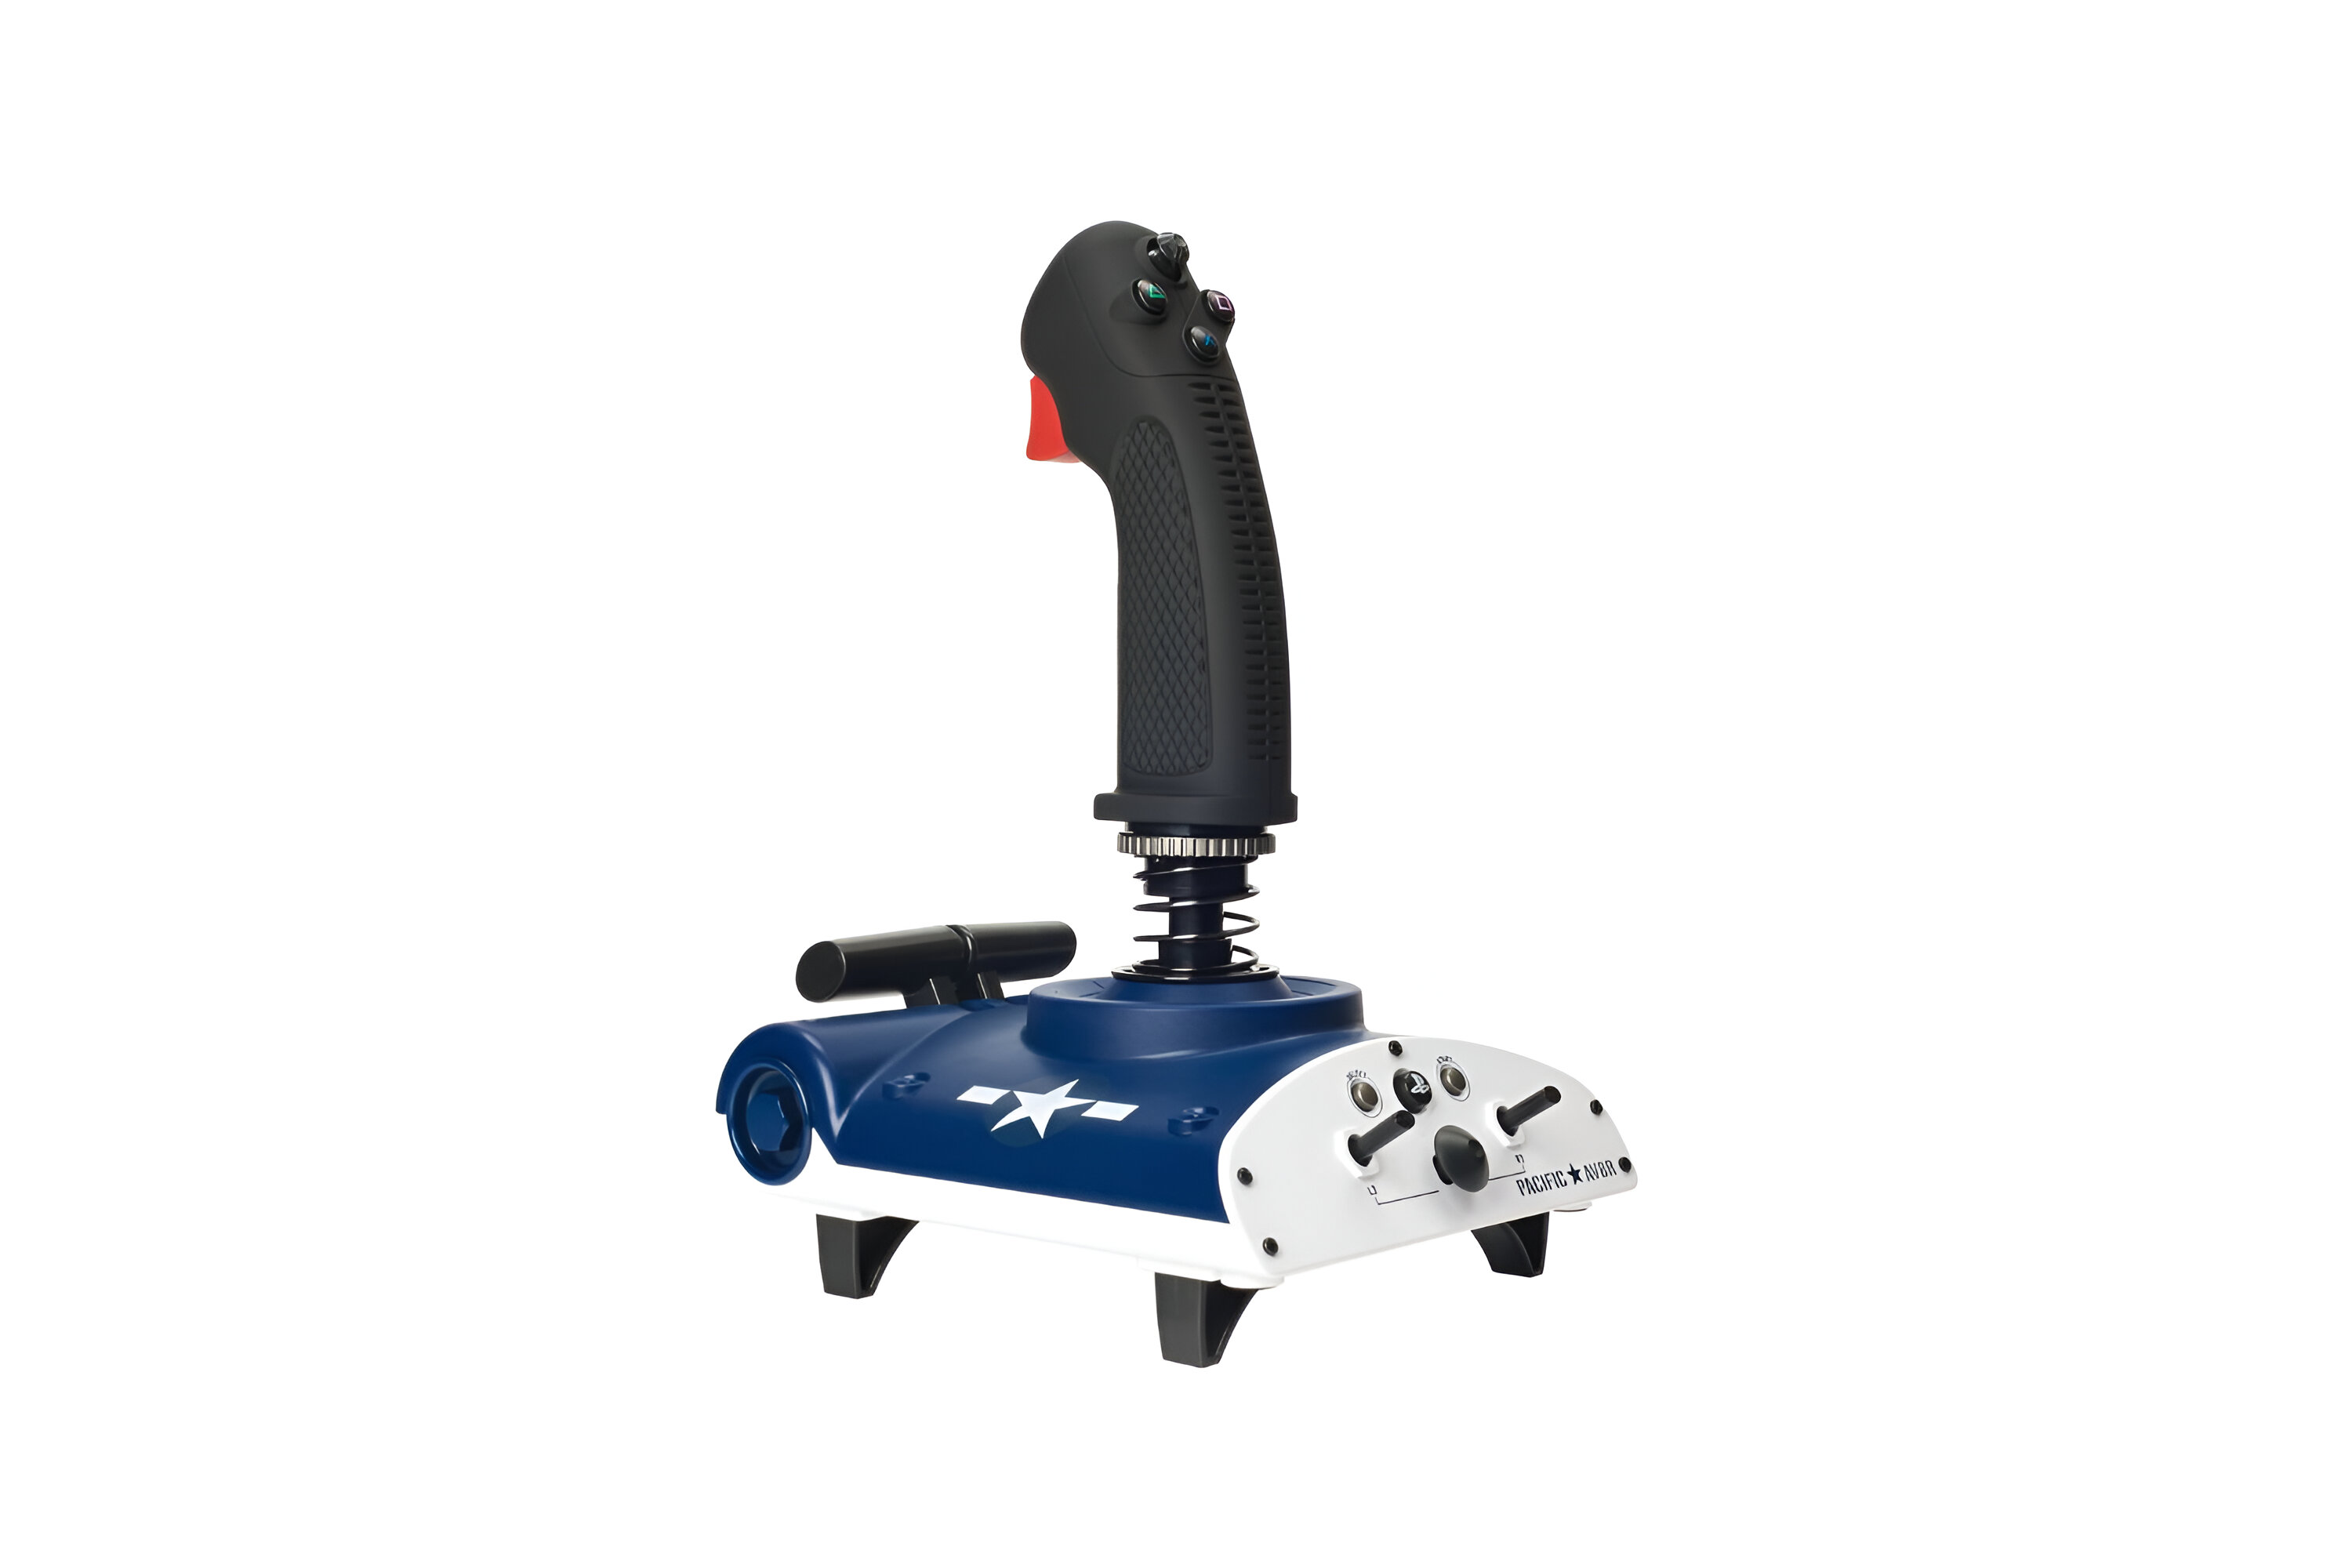
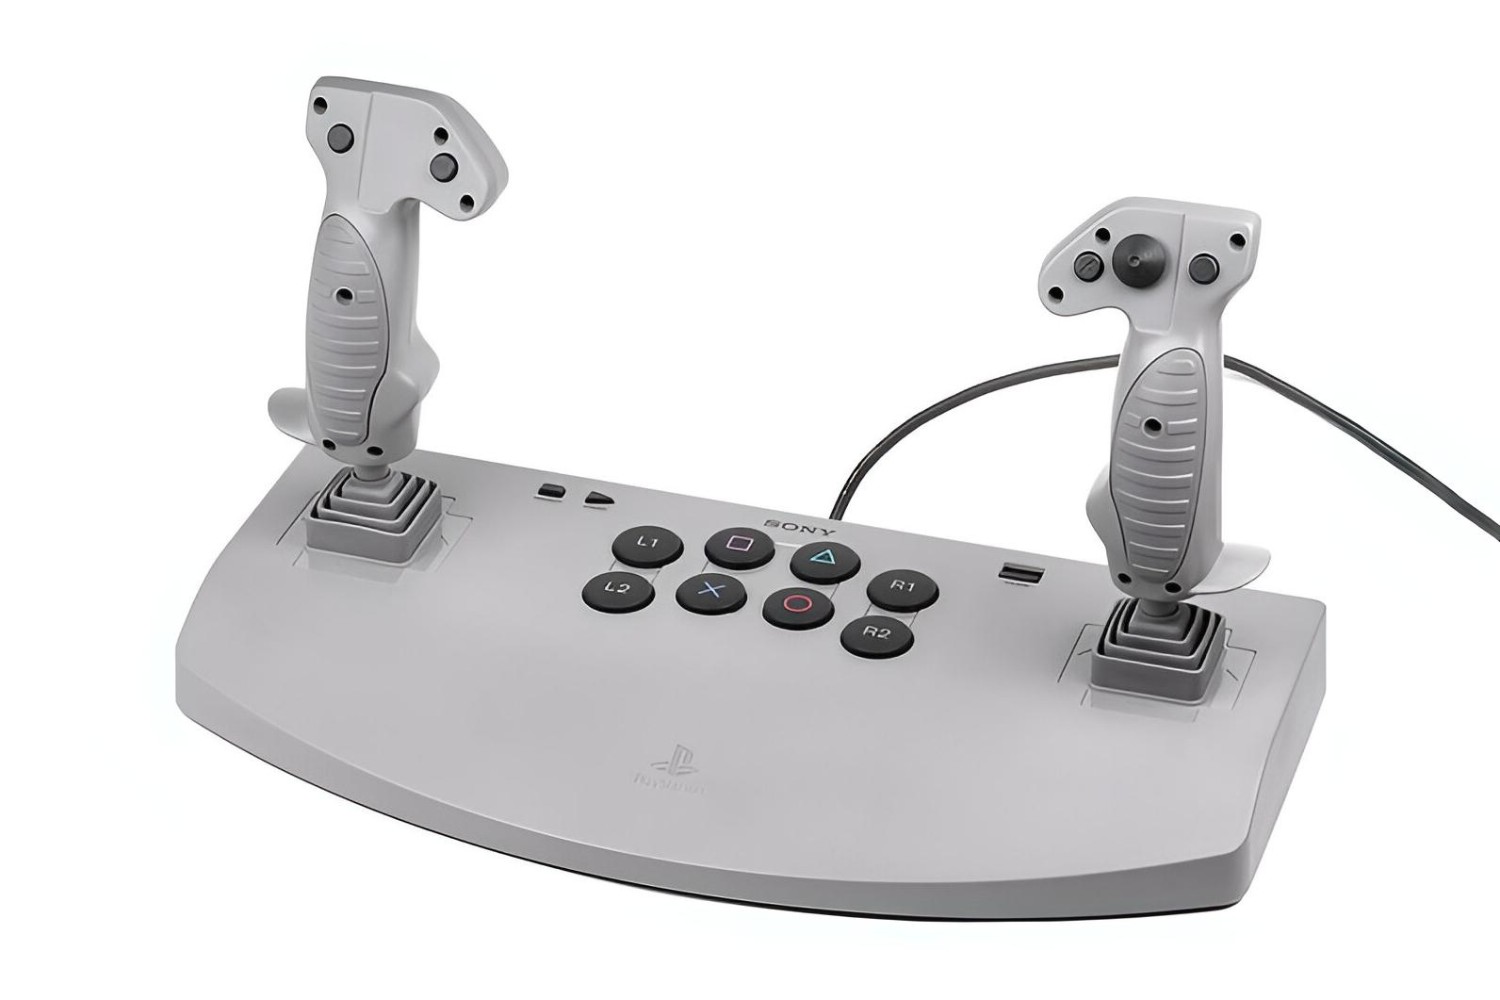
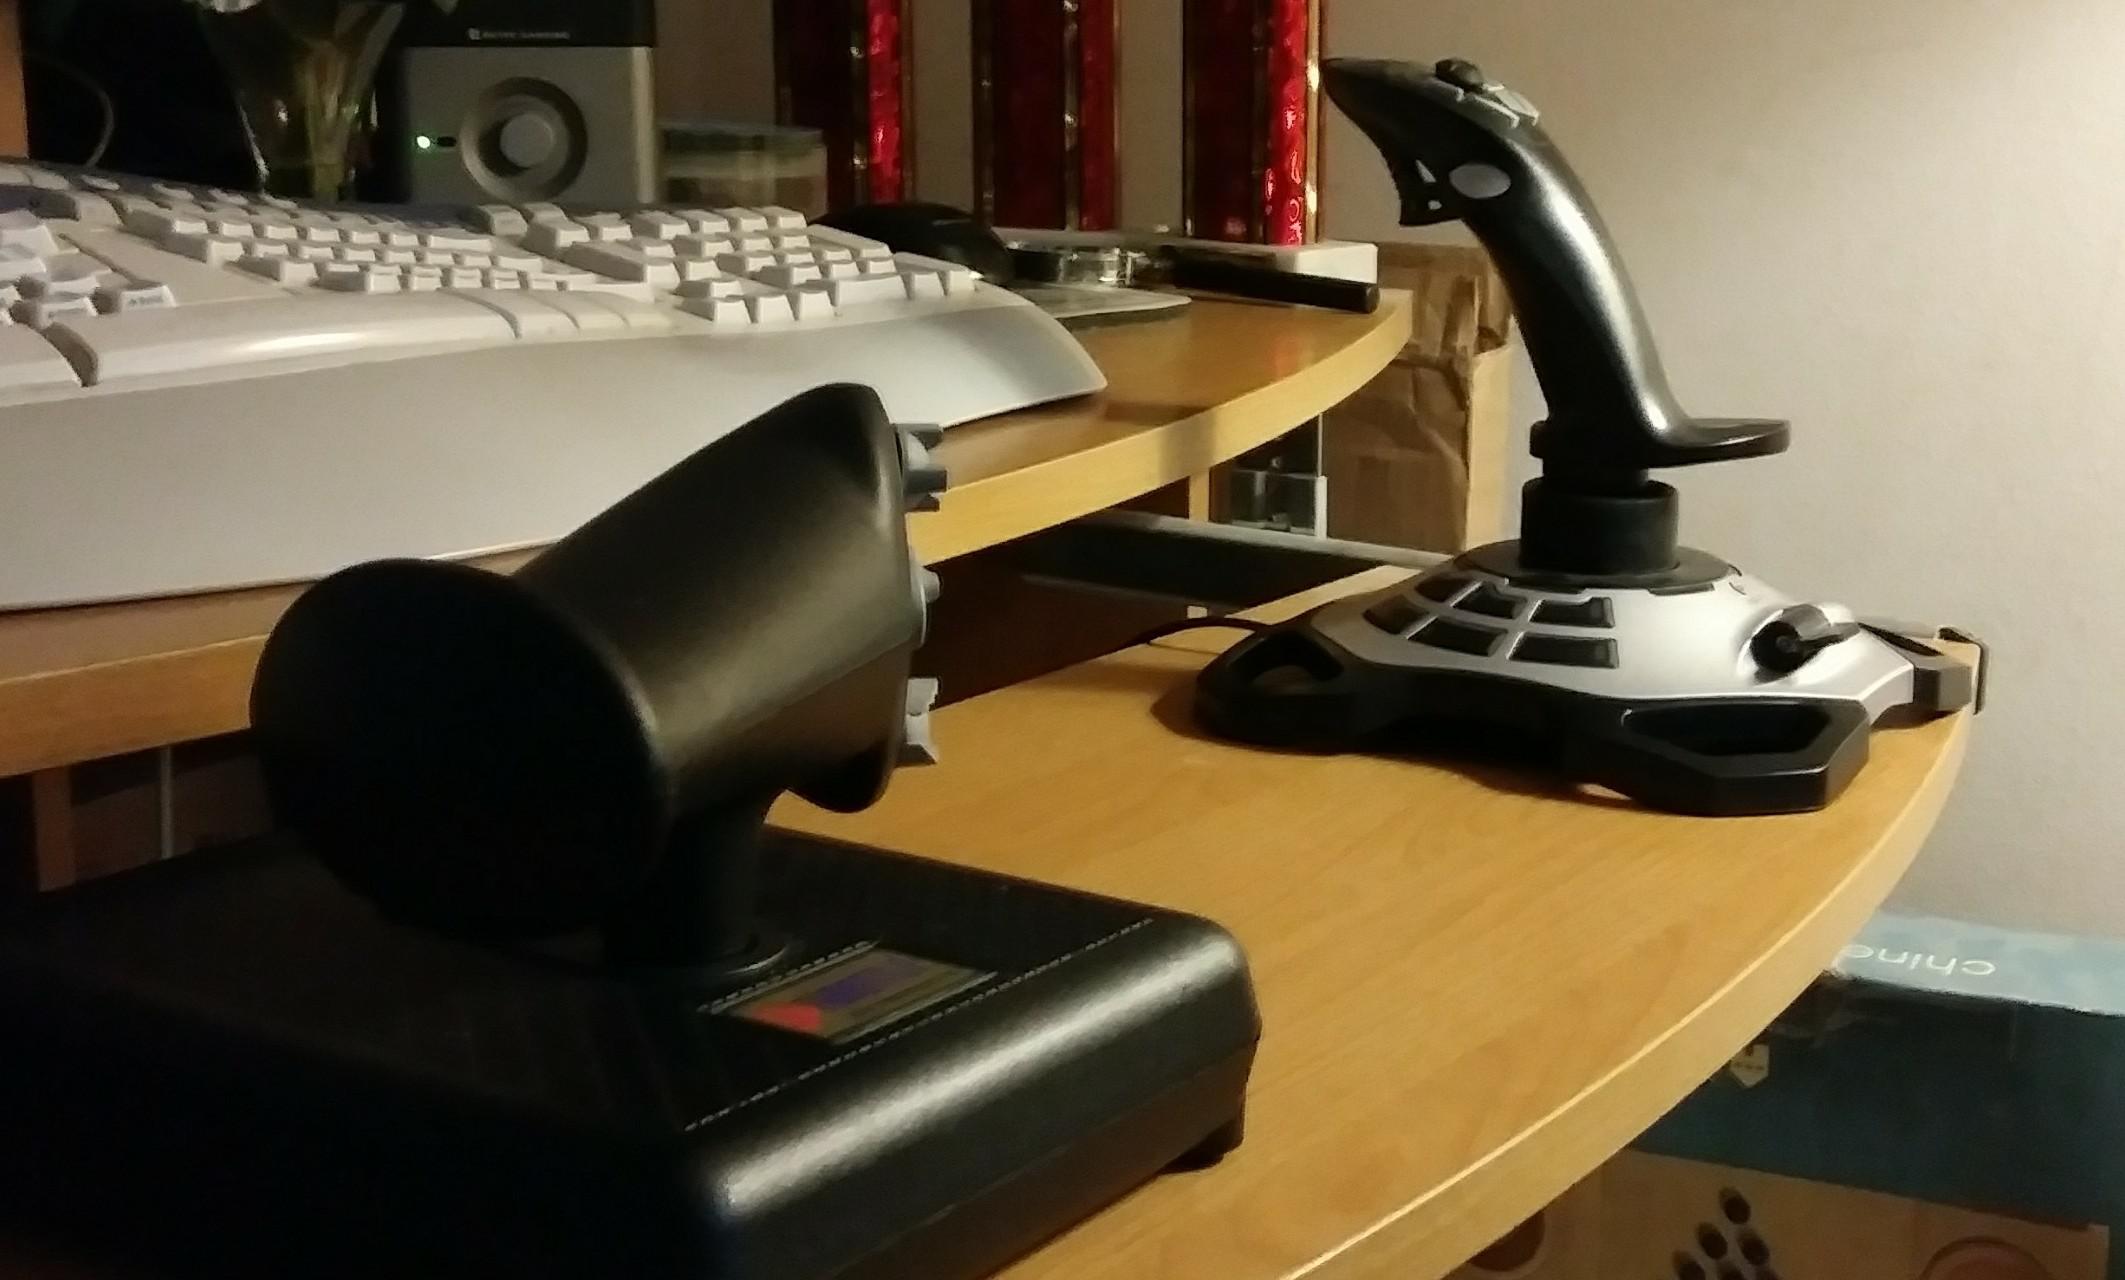
When it comes to selecting a flight stick for Arma 3, several factors should be considered to ensure an optimal gaming experience. The market offers a wide range of flight sticks, each with unique features and capabilities. Here are some key considerations to keep in mind when choosing the right flight stick:
- Compatibility: Ensure that the flight stick is compatible with your gaming platform and operating system. Most modern flight sticks are designed to work seamlessly with popular platforms such as PC, ensuring broad compatibility.
- Accuracy and Precision: Look for a flight stick that offers high precision and accuracy. A smooth and responsive joystick with a wide range of motion can significantly enhance your control over the aircraft in Arma 3.
- Throttle Control: Consider whether the flight stick includes a separate throttle control. Having a dedicated throttle component can provide a more immersive flying experience and greater control over engine power.
- Button Customization: Check if the flight stick allows for button customization and programming. The ability to map various aircraft functions to different buttons and switches can streamline your gameplay and make complex maneuvers more manageable.
- Ergonomics: Comfort is key during extended gaming sessions. Look for a flight stick that offers ergonomic design and a comfortable grip, reducing fatigue and enhancing overall enjoyment.
- Build Quality: Durability is essential for a flight stick, especially if you plan to use it frequently. Opt for a well-built and sturdy device that can withstand the rigors of intense flying simulations.
By carefully considering these factors, you can select a flight stick that aligns with your preferences and enhances your aerial gaming experience in Arma 3. Whether you prioritize precision, customization options, or overall comfort, the right flight stick can elevate your virtual piloting endeavors to new heights.
Installing the Necessary Drivers
Before delving into the world of virtual aviation in Arma 3 with your newly acquired flight stick, it’s crucial to ensure that the required drivers are installed to facilitate seamless communication between the device and your computer. The following steps outline the process of installing the necessary drivers for your flight stick:
- Check Manufacturer’s Website: Visit the official website of the flight stick’s manufacturer to locate the latest drivers for your specific model. Manufacturers often provide driver downloads and support documentation to assist users in setting up their devices.
- Download and Install: Once you’ve identified the appropriate drivers for your flight stick, download the installation package from the manufacturer’s website. Follow the provided instructions to install the drivers on your computer. It’s essential to ensure that you’re installing the drivers compatible with your operating system, whether it’s Windows, macOS, or Linux.
- Connect the Flight Stick: After the drivers are successfully installed, connect your flight stick to a USB port on your computer. The operating system should recognize the device and establish the necessary connections using the newly installed drivers.
- Verify Functionality: To confirm that the drivers have been installed correctly, check the device manager or system preferences on your computer to ensure that the flight stick is recognized and listed without any errors. Additionally, you can perform a quick test to verify that the joystick and buttons respond as expected.
By following these steps, you can ensure that your flight stick is equipped with the essential drivers, enabling seamless integration with your computer and preparing it for configuration within Arma 3. Proper driver installation is a fundamental step in the setup process, laying the groundwork for a smooth and responsive gaming experience as you take to the virtual skies.
Configuring the Flight Stick in Arma 3
Once the necessary drivers are installed, the next step is to configure your flight stick within Arma 3 to ensure that it accurately translates your physical inputs into precise and responsive aircraft controls. Arma 3 provides robust customization options for input devices, allowing you to tailor the settings to your preferences. Here’s how you can configure your flight stick in Arma 3:
- Accessing Controls Menu: Launch Arma 3 and navigate to the “Options” menu. From there, select “Controls” to access the control settings interface.
- Joystick Configuration: Locate the section dedicated to joystick settings within the controls menu. Here, you can assign functions to various axes and buttons on your flight stick. Assign pitch, roll, yaw, throttle, and other essential aircraft controls to the corresponding axes and buttons on your flight stick.
- Button Mapping: Take advantage of Arma 3’s button mapping feature to assign specific in-game actions to the buttons and switches on your flight stick. This allows for seamless interaction with the aircraft’s systems, such as weapon deployment, landing gear operation, and communication functions.
- Sensitivity and Deadzones: Adjust the sensitivity and deadzone settings for your flight stick to achieve optimal responsiveness. Fine-tuning these settings can enhance the precision of your inputs, ensuring smooth and accurate control over the aircraft.
- Save and Test: Once you’ve configured the flight stick to your satisfaction, save the settings and exit the controls menu. Proceed to test the functionality of the flight stick within Arma 3 by piloting an aircraft in a controlled environment, such as a training mission or free flight scenario.
By customizing the flight stick settings within Arma 3, you can tailor the controls to suit your flying style and preferences, ultimately enhancing the overall gaming experience. Whether you prefer a more nuanced and realistic control scheme or streamlined inputs for swift maneuvers, Arma 3’s configurable control options empower you to optimize the flight stick to your liking.
Testing and Fine-Tuning the Flight Stick
After configuring the flight stick in Arma 3, it’s essential to conduct thorough testing and fine-tuning to ensure that the device operates seamlessly and aligns with your piloting preferences. The following steps outline the process of testing and fine-tuning your flight stick within the game:
- Flight Simulation: Engage in various flight scenarios within Arma 3 to put the configured flight stick to the test. Experiment with different aircraft types, from helicopters to fixed-wing planes, and assess how the flight stick handles the diverse flight characteristics.
- Control Responsiveness: Pay close attention to the responsiveness of the flight stick during flight maneuvers. Evaluate how the aircraft reacts to your inputs and assess whether the controls exhibit the desired level of precision and smoothness.
- Comfort and Ergonomics: Consider the comfort and ergonomics of using the flight stick over extended gaming sessions. Fine-tune the button assignments and sensitivity settings to minimize fatigue and ensure a comfortable piloting experience.
- Realism and Immersion: Assess the overall realism and immersion achieved with the configured flight stick. Evaluate how well the device enhances the sense of being in control of a virtual aircraft, adding depth and authenticity to the gameplay experience.
- Iterative Adjustments: Based on your testing observations, make iterative adjustments to the flight stick settings within Arma 3. Refine the sensitivity, deadzone, and button mapping to address any areas that require improvement or further customization.
By rigorously testing and fine-tuning the flight stick, you can ensure that it meets your expectations in terms of performance, comfort, and realism within the virtual aviation environment of Arma 3. The iterative nature of this process allows for continuous refinement, enabling you to achieve an optimal configuration that aligns with your piloting style and preferences.
Conclusion
Setting up a flight stick for Arma 3 is a rewarding endeavor that can greatly enhance the immersion and enjoyment of virtual aviation. By carefully selecting the right flight stick, installing the necessary drivers, and configuring it within the game, you can unlock a heightened level of control and realism in your aerial adventures. The process of testing and fine-tuning the flight stick ensures that it aligns with your piloting preferences, ultimately culminating in a tailored and responsive control scheme.
Choosing the right flight stick is the foundational step in this journey, as it sets the stage for a seamless and enjoyable flying experience. Factors such as compatibility, precision, throttle control, button customization, ergonomics, and build quality play pivotal roles in determining the suitability of a flight stick for Arma 3. Selecting a device that aligns with your preferences and gaming platform sets the groundwork for a fulfilling virtual aviation experience.
Installing the necessary drivers is a critical step that facilitates the seamless integration of the flight stick with your computer, ensuring that it is recognized and operates optimally within Arma 3. Accessing the official website of the flight stick’s manufacturer, downloading the appropriate drivers, and verifying the successful installation are essential tasks that pave the way for a smooth setup process.
Configuring the flight stick within Arma 3 empowers you to tailor the controls to your liking, assigning functions to various axes and buttons, mapping in-game actions, and adjusting sensitivity settings. The flexibility offered by Arma 3’s control customization options allows for a personalized and immersive piloting experience, catering to a wide range of flying styles and preferences.
Finally, the process of testing and fine-tuning the flight stick within the game environment ensures that it operates seamlessly, exhibits the desired level of responsiveness, and aligns with your comfort and realism expectations. Iterative adjustments based on testing observations enable you to refine the flight stick settings, ultimately achieving an optimal configuration that enhances your virtual aviation endeavors in Arma 3.
With your flight stick successfully set up and fine-tuned, you’re now ready to take to the virtual skies of Arma 3 with enhanced control, realism, and immersion. Whether you’re embarking on daring combat missions or navigating scenic landscapes, the configured flight stick will serve as your trusted companion, elevating your aerial exploits to new heights of excitement and authenticity.


