Introduction
Removing a game controller driver on Windows 10 can become necessary for various reasons, such as troubleshooting driver-related issues, upgrading to a new controller, or simply performing routine maintenance. A corrupted or outdated driver can cause malfunctions, erratic behavior, or complete failure of the controller, impacting your gaming experience. Fortunately, the process of removing a game controller driver on Windows 10 is straightforward and can be accomplished in just a few simple steps.
In this guide, we will walk through the steps to remove a game controller driver on Windows 10, ensuring that you can seamlessly transition between different controllers or troubleshoot any driver-related problems. Whether you are a casual gamer or a dedicated enthusiast, having a clear understanding of this process can help you maintain an optimized gaming setup and ensure that your controllers function as intended.
By following the steps outlined in this guide, you will be able to efficiently remove a game controller driver on your Windows 10 system, empowering you to address any driver-related issues and maintain a smooth gaming experience. Let's dive into the process of removing a game controller driver on Windows 10, ensuring that you can confidently manage your gaming peripherals and troubleshoot any driver-related concerns.
Step 1: Open Device Manager
Before you can remove the game controller driver, you need to access the Device Manager on your Windows 10 system. The Device Manager is a built-in utility that allows you to view and manage the hardware devices installed on your computer, including game controllers and their respective drivers.
To open Device Manager, you can utilize several methods:
- Using the Search Bar: Click on the search bar located next to the Start menu and type “Device Manager.” Select the Device Manager option from the search results to open the utility.
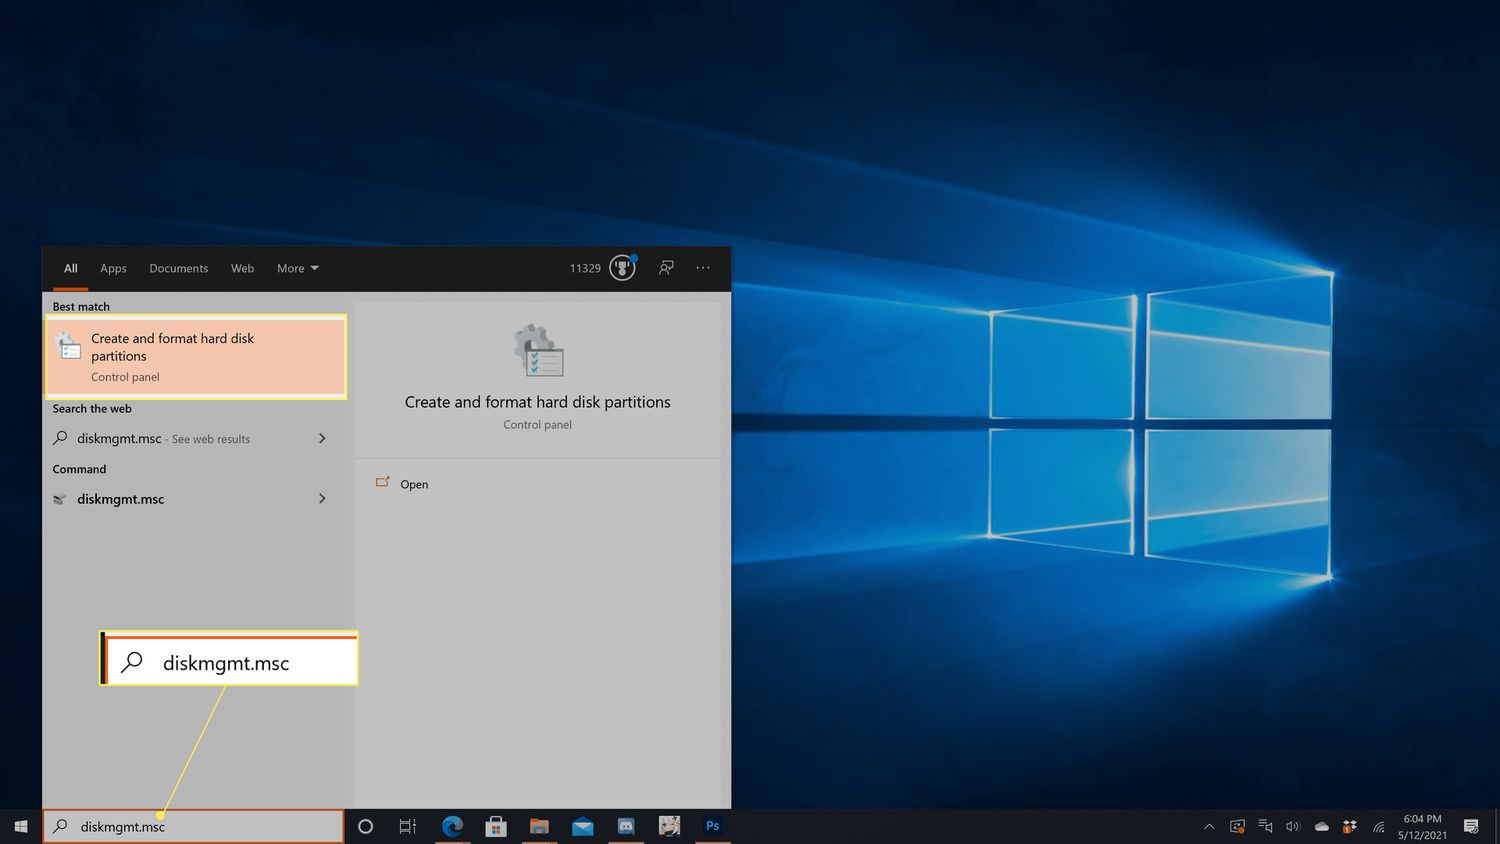
- Using the Run Dialog: Press the
Windows key + Rto open the Run dialog, then type “devmgmt.msc” and press Enter. This will launch Device Manager directly. - Using the Control Panel: Open the Control Panel, navigate to the “System and Security” section, and click on “Device Manager” under the “System” category.
Once you have successfully opened Device Manager, you will be ready to proceed to the next step of locating and removing the game controller driver from your Windows 10 system.
Step 2: Locate the Game Controller Driver
After accessing the Device Manager, the next step is to locate the game controller driver within the list of installed devices. The game controller driver is typically listed under the “Human Interface Devices” category, but it may also appear under the “Sound, video and game controllers” category, depending on the specific controller and its associated drivers.
To locate the game controller driver, follow these steps:
- Expand the Relevant Category: If the game controller driver is expected to be under the “Human Interface Devices” category, click on the arrow next to this category to expand the list of devices. If the driver is likely under “Sound, video and game controllers,” expand this category instead.
- Identify the Game Controller: Look for a device name that corresponds to your game controller. It may include the manufacturer’s name, model number, or a generic descriptor such as “Game Controller” or “Joystick.”
- Verify the Driver Details: Double-click on the game controller device to view its properties. Navigate to the “Driver” tab to confirm the details of the installed driver, including the provider, version, and release date.
By carefully navigating through the Device Manager and identifying the specific game controller driver, you will be prepared to proceed with the next step of uninstalling the driver from your Windows 10 system. Locating the driver ensures that you are targeting the correct device for removal, preventing any unintended changes to other system components.
Step 3: Uninstall the Game Controller Driver
Once you have located the game controller driver in the Device Manager, the next step is to uninstall the driver from your Windows 10 system. Uninstalling the driver will remove its associated files and configurations, allowing you to perform a clean reinstallation or switch to a different controller without any conflicting drivers.
To uninstall the game controller driver, follow these steps:
- Right-Click on the Driver: Right-click on the game controller driver listed in the Device Manager to open the context menu.
- Select “Uninstall Device”: From the context menu, select the “Uninstall device” option. This will initiate the uninstallation process for the selected driver.
- Confirm the Uninstallation: If prompted for confirmation, ensure that the “Delete the driver software for this device” option is unchecked, unless you intend to completely remove the driver files from your system. Click “Uninstall” to proceed.
- Complete the Uninstallation: Wait for the uninstallation process to complete. Once finished, the game controller driver will be removed from your system.
By following these steps, you will effectively uninstall the game controller driver from your Windows 10 system, allowing you to proceed with any necessary driver updates, replacements, or troubleshooting. This process ensures that the driver and its associated files are removed, preventing any conflicts or issues when installing a new driver or connecting a different game controller to your computer.
Step 4: Restart Your Computer
After successfully uninstalling the game controller driver, it is essential to restart your computer to complete the removal process and allow the system to reconfigure itself without the driver. Restarting your computer will ensure that any lingering configurations or dependencies related to the driver are cleared, providing a clean slate for future driver installations or system operations.
Follow these steps to restart your computer:
- Save and Close Applications: If you have any unsaved work or open applications, save your work and close all programs to prepare for the restart.
- Initiate the Restart: Click on the “Start” menu, select the power icon, and choose the “Restart” option from the menu. Alternatively, you can press the
Ctrl + Alt + Deletekeys and select the “Restart” option from the screen that appears. - Wait for the Restart: Allow your computer to shut down and restart. Depending on your system’s configuration, this process may take a few moments to complete.
Upon restarting your computer, the removal of the game controller driver will be finalized, and your system will be ready to accommodate any new driver installations or controller connections. Restarting the computer is a crucial step in ensuring that the changes made to the driver configurations are fully implemented and that the system is prepared for any subsequent actions related to game controllers or device drivers.
Conclusion
Removing a game controller driver on Windows 10 is a fundamental process that allows you to manage and maintain your gaming peripherals effectively. By following the steps outlined in this guide, you have acquired the knowledge and skills necessary to navigate the Device Manager, locate the game controller driver, uninstall the driver, and restart your computer to finalize the removal process.
Through the systematic approach presented in this guide, you can confidently address driver-related issues, upgrade to new controllers, or perform routine maintenance on your gaming setup. The ability to remove a game controller driver empowers you to troubleshoot and optimize your gaming experience, ensuring that your controllers function seamlessly within your Windows 10 environment.
By understanding the process of removing a game controller driver, you are better equipped to manage the hardware components of your computer system, fostering a smooth and efficient gaming environment. Whether you are an avid gamer, a casual enthusiast, or a tech-savvy user, the knowledge gained from this guide enables you to take control of your gaming peripherals and maintain an optimized gaming setup on your Windows 10 system.
As you continue to explore the world of gaming and technology, the ability to manage and maintain your game controller drivers will serve as a valuable skill, allowing you to adapt to new hardware, troubleshoot issues, and optimize your gaming experience. With this guide, you have taken a significant step toward mastering the management of game controller drivers on your Windows 10 system, empowering you to navigate the ever-evolving landscape of gaming technology with confidence and proficiency.