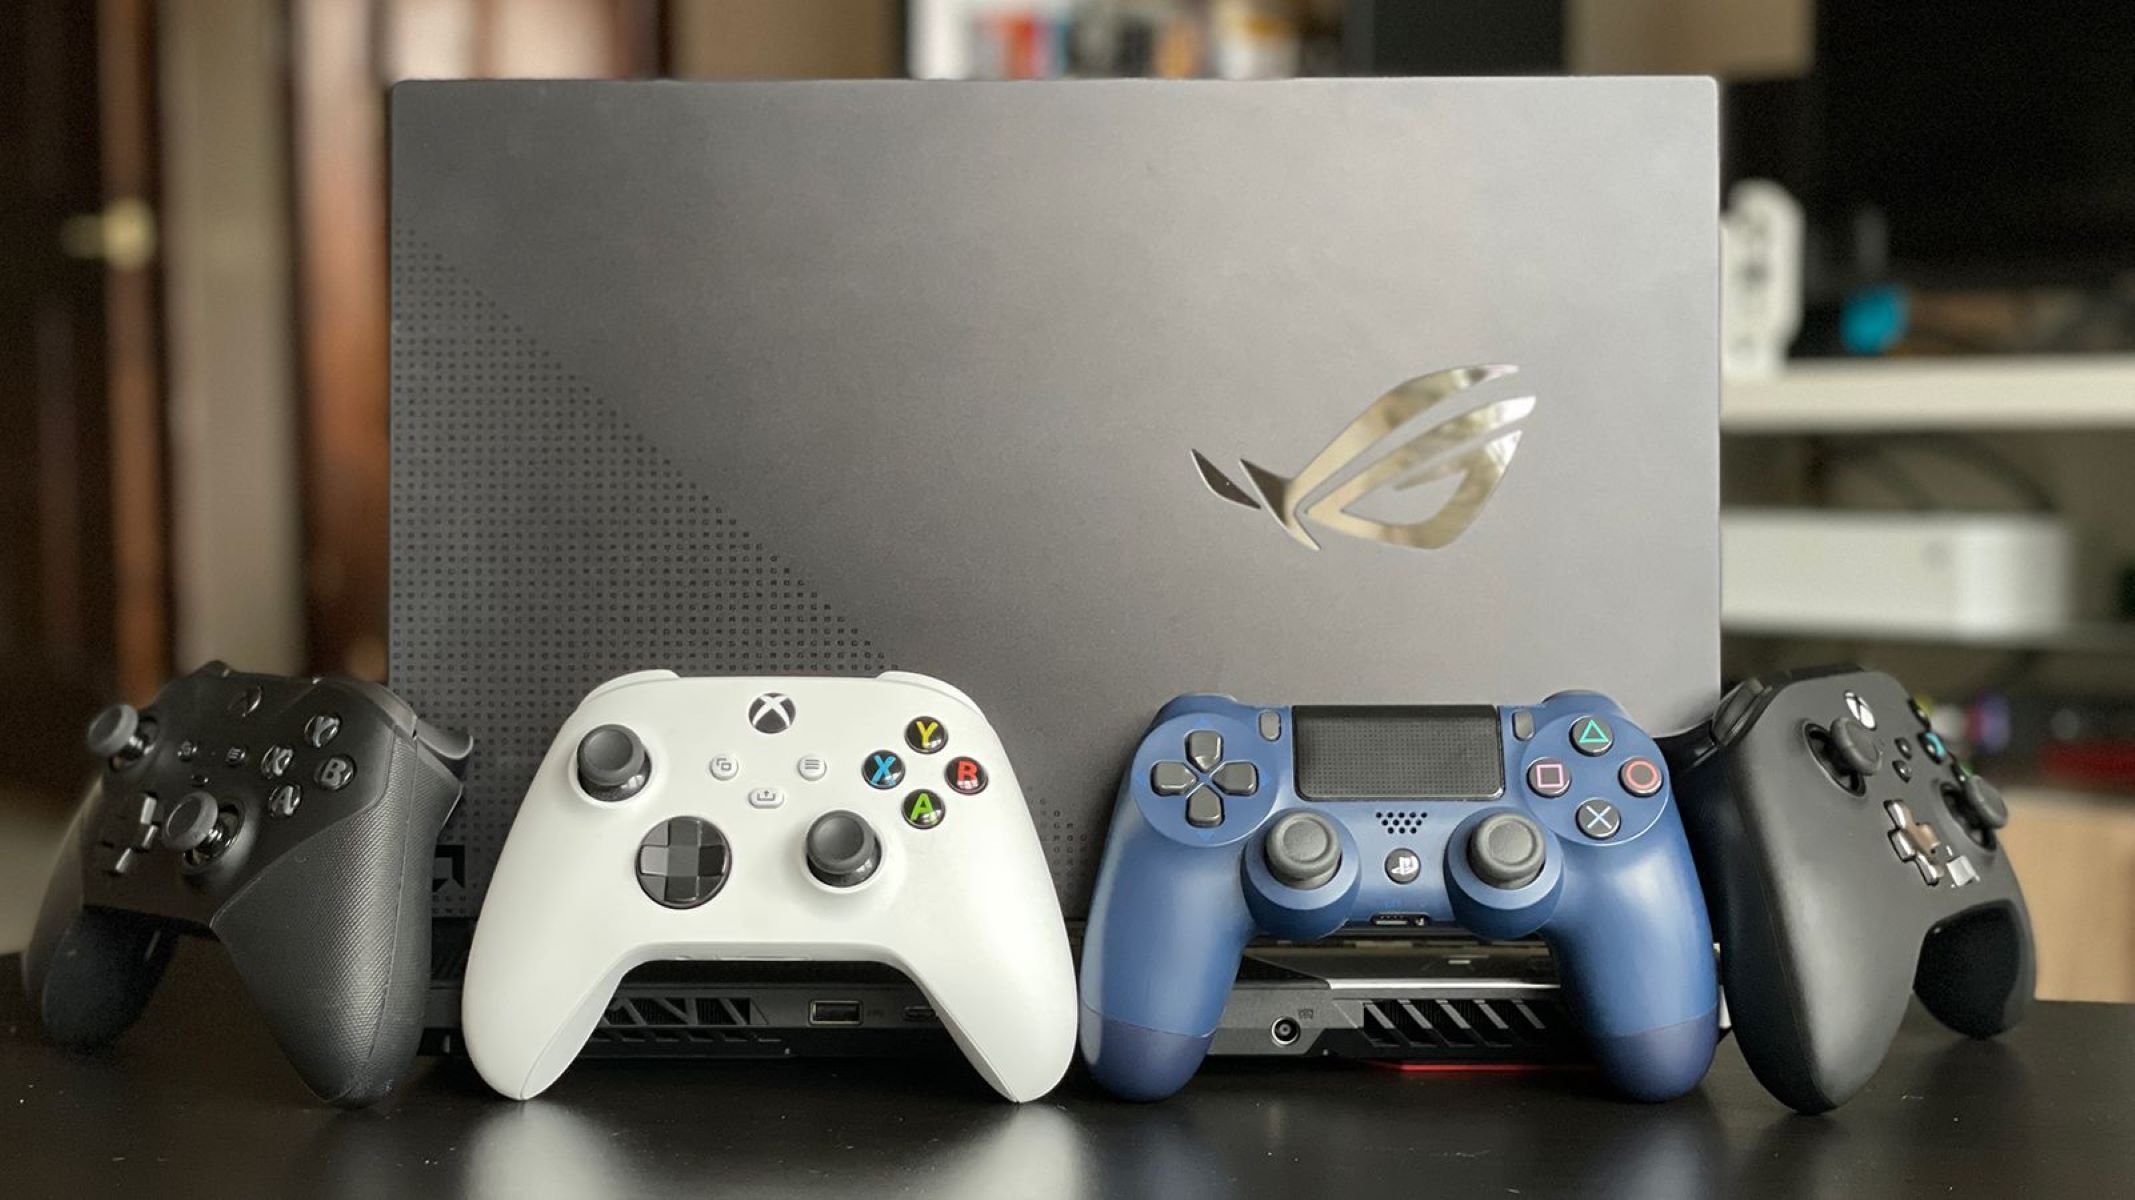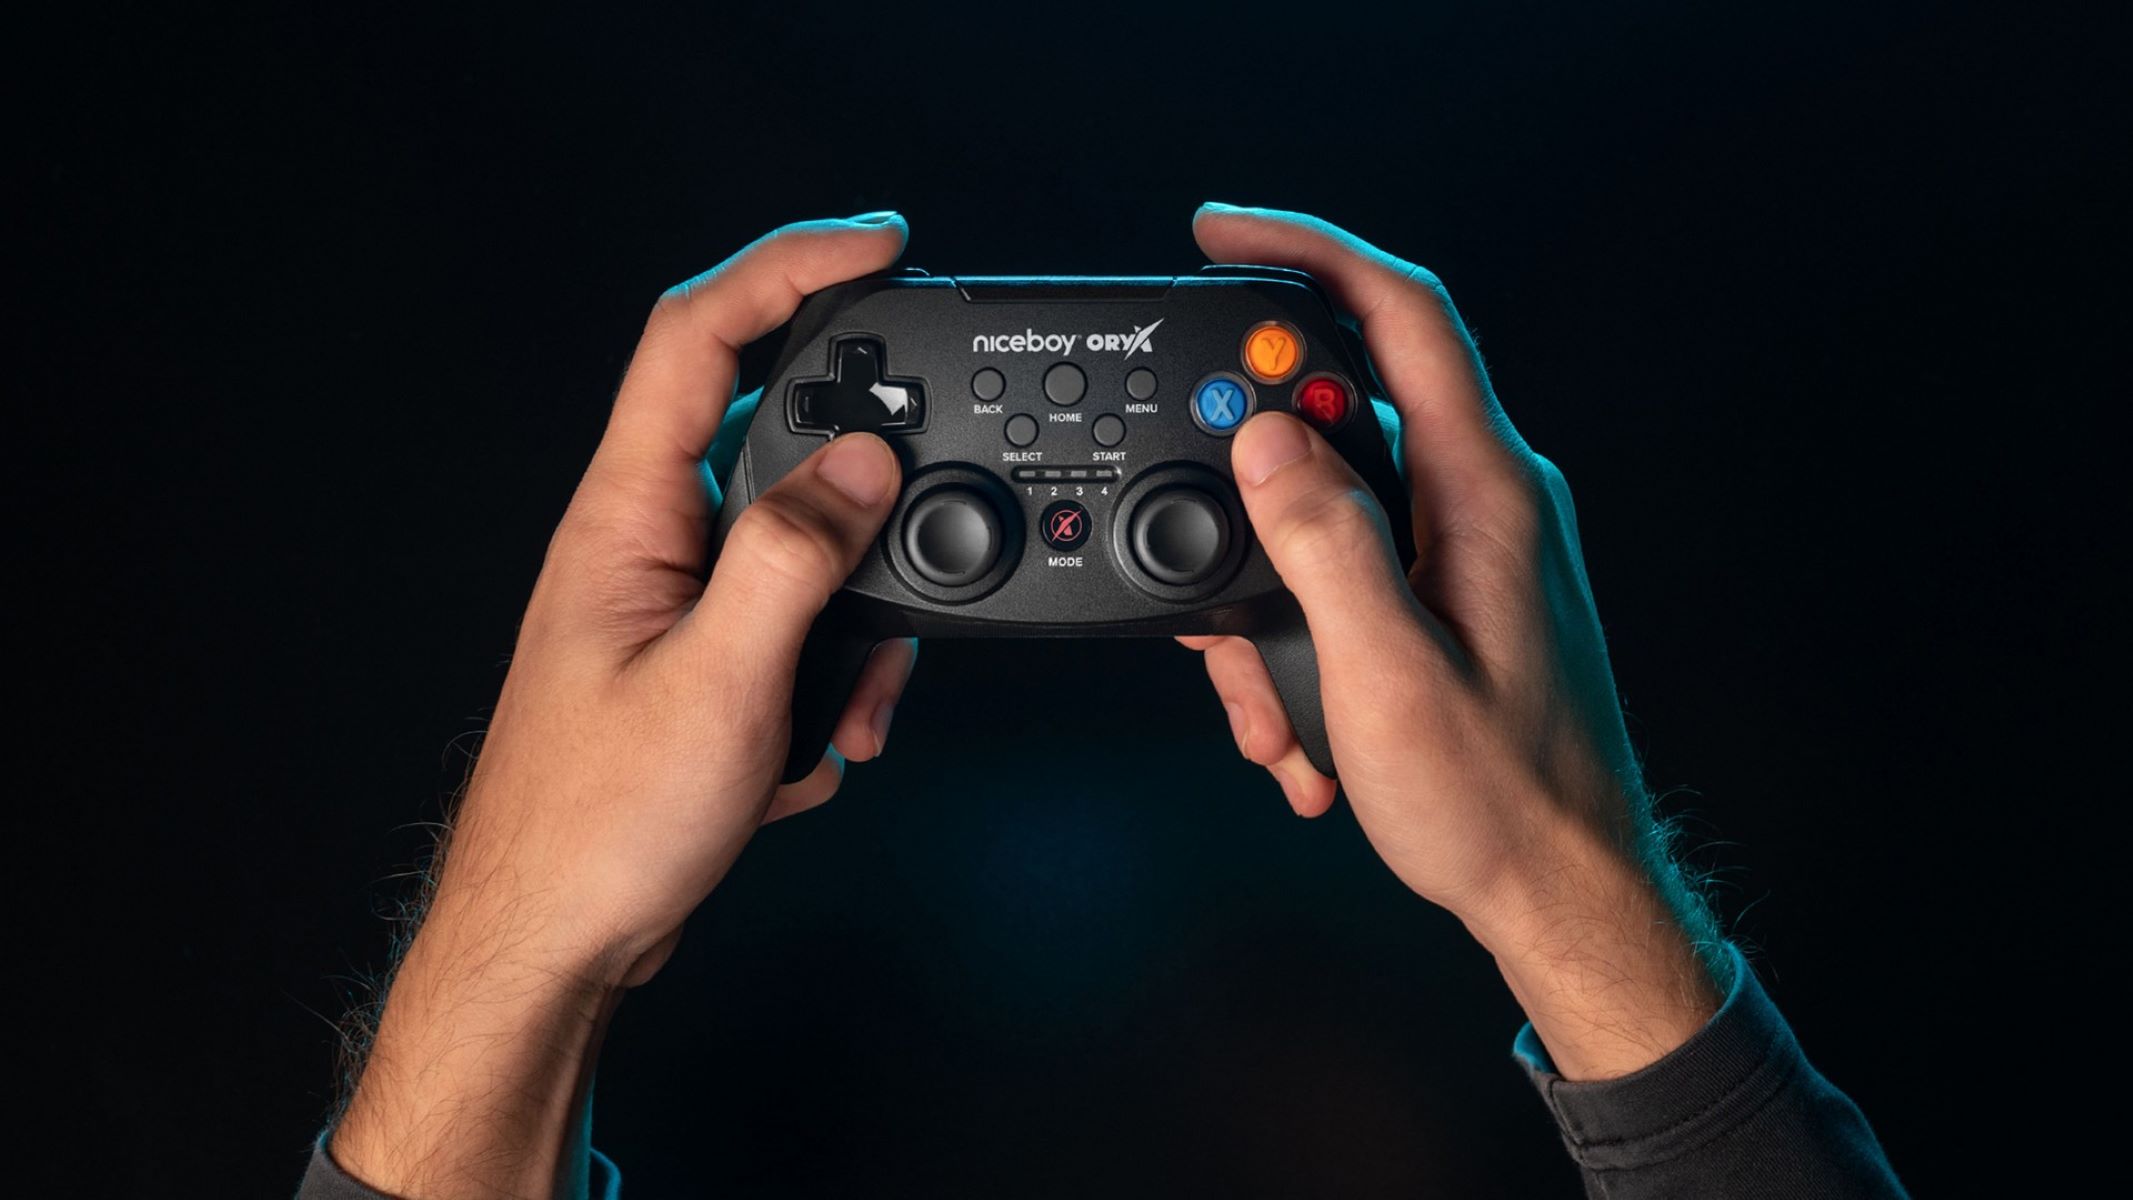
To open game controller settings in Windows, press the Windows Key + R, type joy.cpl, and press Enter. This is the fastest way to access the Game Controllers window, where you can test, calibrate, and configure your joystick or gamepad.
How to open game controller settings in Windows using Run
The Run command is the quickest route to game controller settings windows because it bypasses multiple menu layers. Press the Windows Key + R simultaneously to open the Run dialog box. Type joy.cpl into the text field and press Enter. The Game Controllers window will appear immediately, listing all connected gamepads and joysticks.
From there, select your controller from the list and click Properties. Navigate to the Settings tab and click Calibrate to begin the calibration process. If you need finer control afterward, you can adjust game controller axis sensitivity for more precise movements. This method works across all recent Windows versions and is ideal when you need to quickly test a controller's responsiveness or adjust its axis alignment.
Open settings through the Control Panel
For users who prefer navigating through graphical menus, the Control Panel offers a straightforward path to the same Game Controllers window. This method is useful when you want to visually confirm which devices are recognized by Windows before making changes.
- Open the Control Panel by searching for it in the Windows search bar.
- Select Hardware and Sound.
- Click Devices and Printers.
- Right-click your controller's icon in the device list.
- Select Game controller settings from the context menu.
This opens the same Game Controllers window you'd get with joy.cpl. From here, select the controller and click Properties to access the Test tab, where you can verify button presses and stick movements, or the Settings tab for calibration.
Access advanced properties with Device Manager
The Device Manager provides a more technical route that gives you direct access to driver information and hardware properties. This path is particularly useful when troubleshooting connection issues or updating drivers for a controller that isn't behaving correctly.
- Right-click the Start button and select Device Manager from the menu.
- Expand the Human Interface Devices category.
- Locate your controller, which may appear as HID-compliant game controller or with the manufacturer's name.
- Right-click the device and select Properties.
- Go to the Driver tab to update, roll back, or uninstall the driver.
While this method doesn't directly open the calibration interface, it's the right place to resolve driver-related issues that prevent the controller from appearing in the Game Controllers window. If your controller shows a warning icon here, updating the driver often fixes the problem.
Troubleshooting and what to do next
After opening game controller settings windows, the first step is to verify button responsiveness. Select your controller in the Game Controllers window and click Properties, then go to the Test tab. Press each button and move each axis to confirm they register correctly. If any input doesn't respond, the controller may need calibration or driver updates.
If your controller isn't listed in the Game Controllers window, check the physical connection first, whether USB or wireless. For wireless controllers, ensure they're paired properly with Windows. If the device still doesn't appear, revisit the Device Manager path to check for driver errors.
For controllers that appear but feel unresponsive or have noticeable input lag, the issue is often related to calibration rather than hardware failure. Use the Settings tab in the controller's Properties to run the calibration wizard, which walks you through centering the sticks and setting the correct range of motion.
If you're setting up a new gamepad for the first time, the same joy.cpl command works for verifying it's recognized before you start playing. The Test tab gives you immediate visual feedback on every button and axis, so you can confirm everything works before launching a game.
When troubleshooting persistent issues, check whether the controller appears correctly in Device Manager under Human Interface Devices. If it shows as an unknown device or with an error icon, updating the driver from that location is the most effective fix. After updating, return to the Game Controllers window to re-test the input.
For input lag problems that persist after calibration and driver updates, the issue may lie elsewhere in your system setup rather than the controller itself. Checking USB port power management settings or trying a different port can help isolate the cause.
If you need to configure a new device from scratch, see setting up a game controller on Windows.