Introduction
Setting the default game controller on Windows 10 can significantly enhance your gaming experience. Whether you prefer using a specific gamepad, joystick, or other input devices, customizing the default controller ensures that your favorite device is always ready for action. This guide will walk you through the process of checking the connected controllers, setting a default game controller, and testing its functionality.
Customizing your default game controller not only simplifies your gaming setup but also ensures that your preferred controller is always recognized by Windows 10. This means no more hassle of manually selecting the desired input device every time you launch a game. With the default game controller set, you can seamlessly dive into your gaming adventures without interruptions or setup delays.
In the following sections, we will explore the steps to check the connected controllers, set a default game controller, and verify its functionality. By following these straightforward instructions, you can tailor your gaming experience to suit your preferences and enjoy a more streamlined and immersive gameplay. Let's dive into the process of customizing your default game controller on Windows 10.
Checking Connected Controllers
Before setting the default game controller on Windows 10, it’s essential to verify the connected controllers to ensure that the intended device is recognized by the system. Here’s how to check the connected controllers:
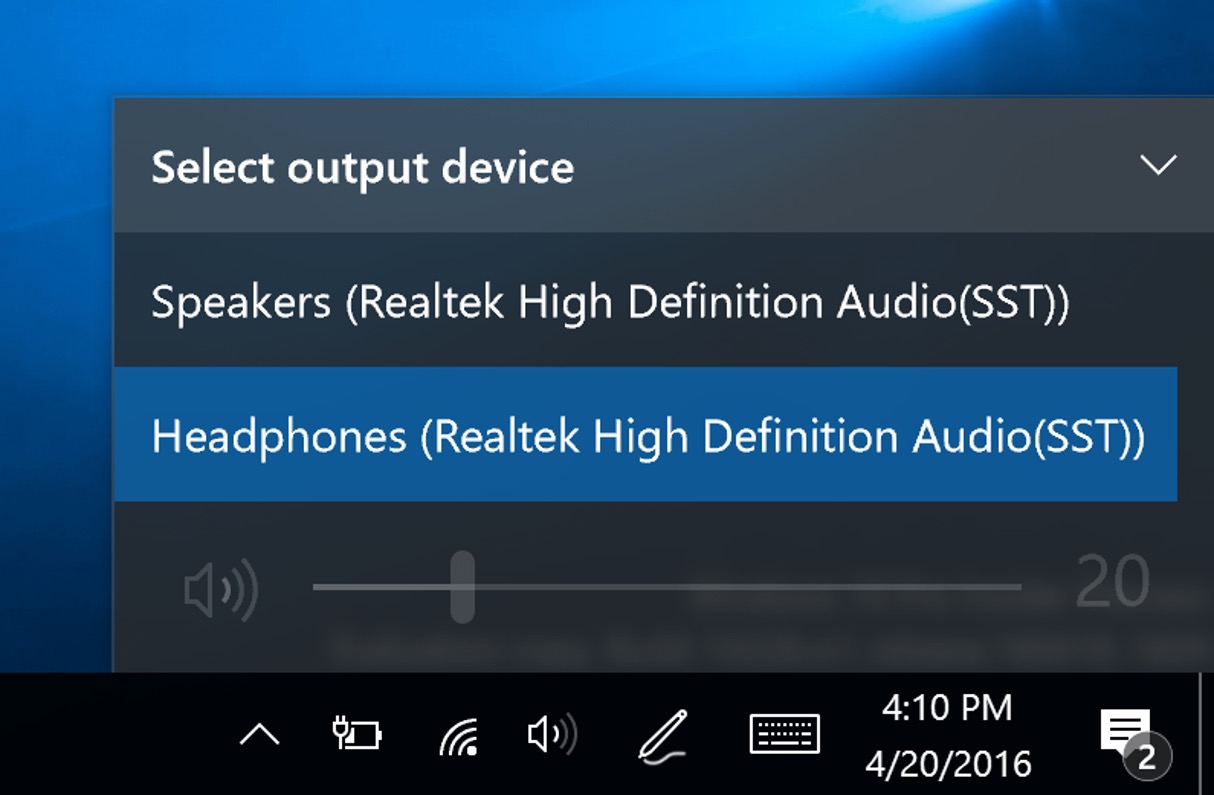
- Open Settings: Click on the Start menu, then select “Settings” (the gear icon) to open the Windows Settings.
- Access Devices: Within the Settings window, click on “Devices.” This will open the Devices settings, where you can manage various hardware devices connected to your system.
- Select Bluetooth & other devices: In the Devices settings, choose “Bluetooth & other devices” from the left-hand menu. This option allows you to view and manage all connected Bluetooth and other devices, including game controllers.
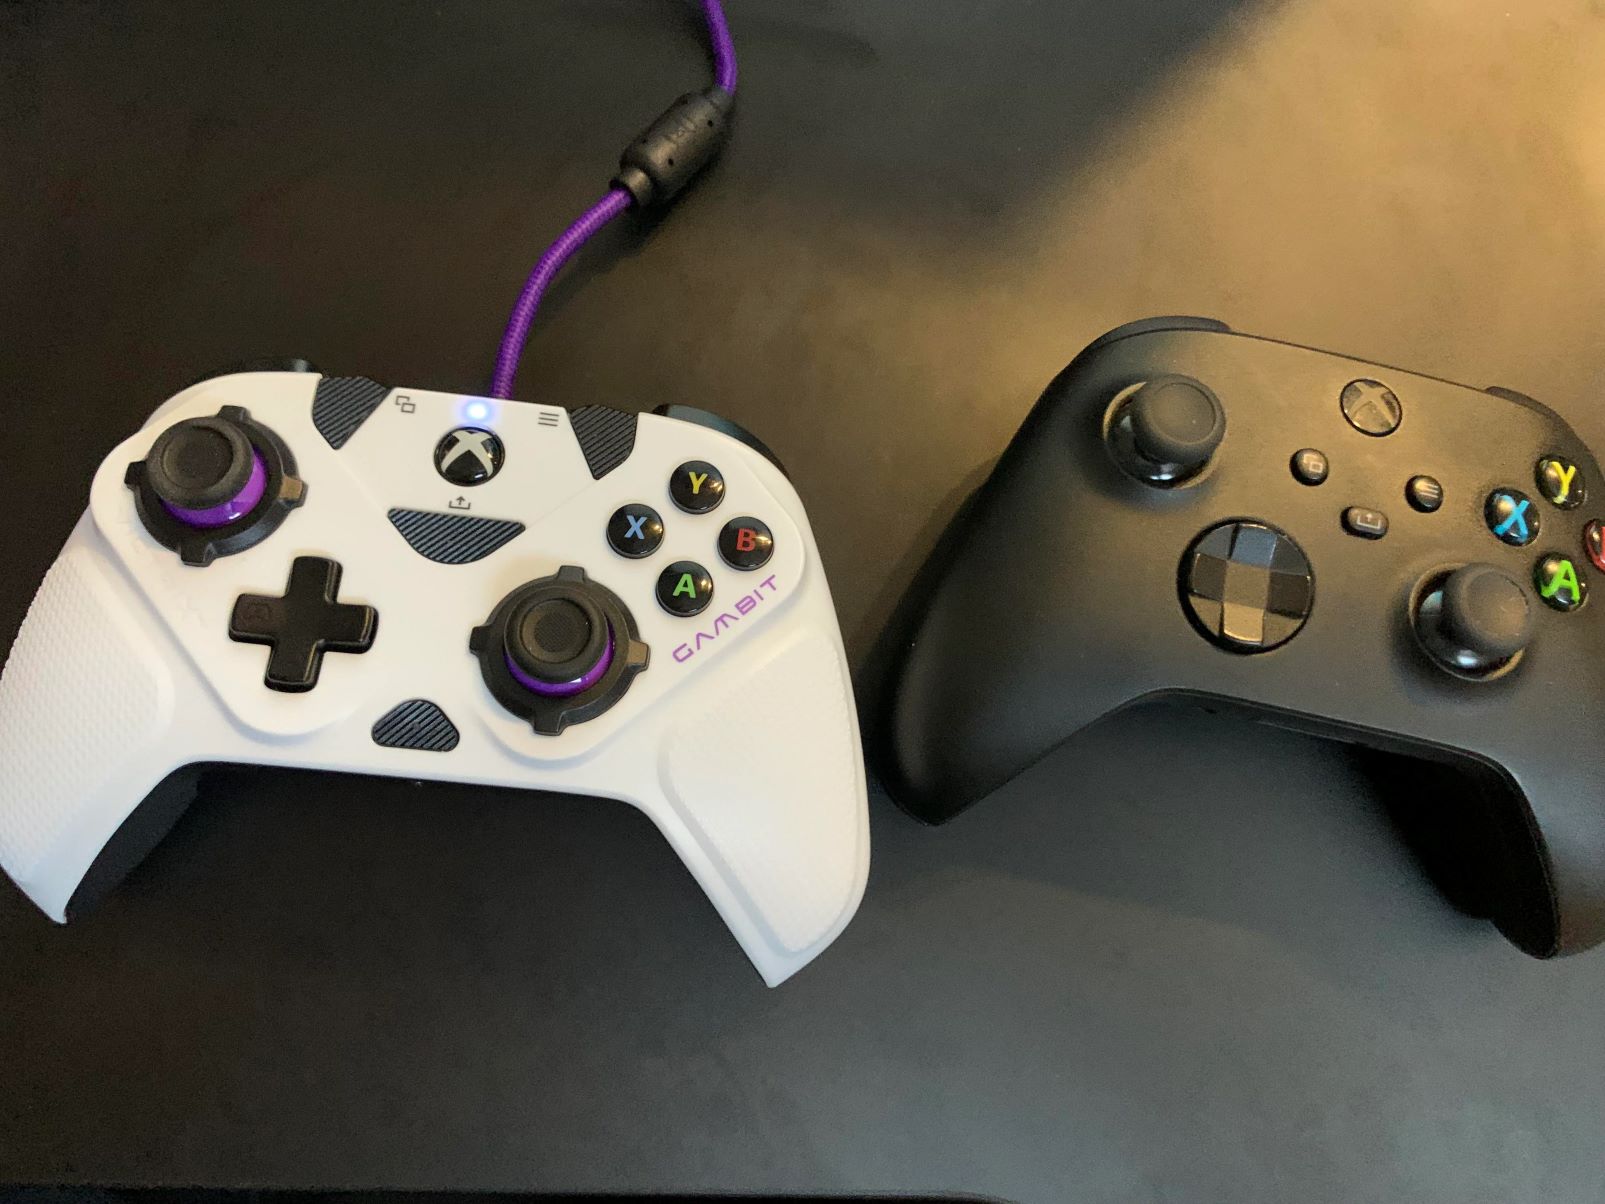
- Check Connected Controllers: Under the “Other devices” section, you can review the list of connected controllers. Ensure that your preferred game controller is listed and recognized by the system. If the desired controller is not displayed, ensure that it’s properly connected to your computer and powered on.
By following these steps, you can easily confirm whether your preferred game controller is successfully connected to your Windows 10 system. Once you have verified the presence of the controller, you can proceed to set it as the default game controller for a seamless gaming experience.
Setting Default Game Controller
Once you have confirmed the presence of your preferred game controller among the connected devices, you can proceed to set it as the default game controller on Windows 10. Follow these steps to customize your default game controller:
- Open Settings: Click on the Start menu, then select “Settings” (the gear icon) to open the Windows Settings.
- Access Devices: Within the Settings window, click on “Devices.” This will open the Devices settings, where you can manage various hardware devices connected to your system.
- Select Connected Devices: In the Devices settings, choose “Connected devices” from the left-hand menu. This option allows you to manage devices that are currently connected to your Windows 10 system.
- Choose the Game Controller: Under the “Devices” section, select your preferred game controller from the list of connected devices. Click on the controller to access its settings.
- Set as Default: Within the controller’s settings, look for an option to set it as the default game controller. This setting may be labeled differently based on the type of controller you are using, but it typically allows you to designate the selected controller as the default input device for gaming.
- Confirm the Default Setting: After selecting the option to set the controller as the default game controller, ensure that the changes are saved. Once confirmed, your chosen game controller will be configured as the default input device for gaming on Windows 10.
By following these straightforward steps, you can seamlessly designate your preferred game controller as the default input device for gaming on your Windows 10 system. This ensures that your chosen controller is always recognized and ready for action whenever you engage in gaming sessions.
Testing Default Game Controller
After setting your preferred game controller as the default input device on Windows 10, it’s essential to verify its functionality to ensure a seamless gaming experience. Here’s how you can test the default game controller:
- Launch a Game: Open a game on your Windows 10 system that supports the use of game controllers. This can be a PC game from your library that is compatible with your chosen controller.
- Verify Controller Recognition: Once the game is launched, navigate to the game’s settings or options menu. Look for a section related to input devices or controllers. Here, you should be able to view the recognized input devices. Ensure that your default game controller is listed among the recognized devices.
- Test Controller Inputs: Within the game, engage in gameplay using your default game controller. Test the various buttons, triggers, joysticks, or any other input features of the controller to ensure that it responds accurately within the game environment. Verify that the controller’s inputs are correctly mapped and functional.
- Adjust Game Settings: If you encounter any issues with the controller’s responsiveness or button mapping, you may need to adjust the in-game controller settings. Look for options to customize the controller inputs within the game’s settings menu and make any necessary adjustments to ensure optimal functionality.
- Enjoy Seamless Gameplay: Once you have confirmed that the default game controller is recognized and functions as expected within the game, you can enjoy a seamless gaming experience with your preferred input device. With the controller set as the default input device, you can immerse yourself in gameplay without interruptions or compatibility concerns.
By following these steps and verifying the functionality of your default game controller within a compatible game, you can ensure that the controller is seamlessly integrated into your gaming experience on Windows 10. This allows you to enjoy your favorite games with the input device of your choice, enhancing both comfort and precision during gameplay.