Introduction
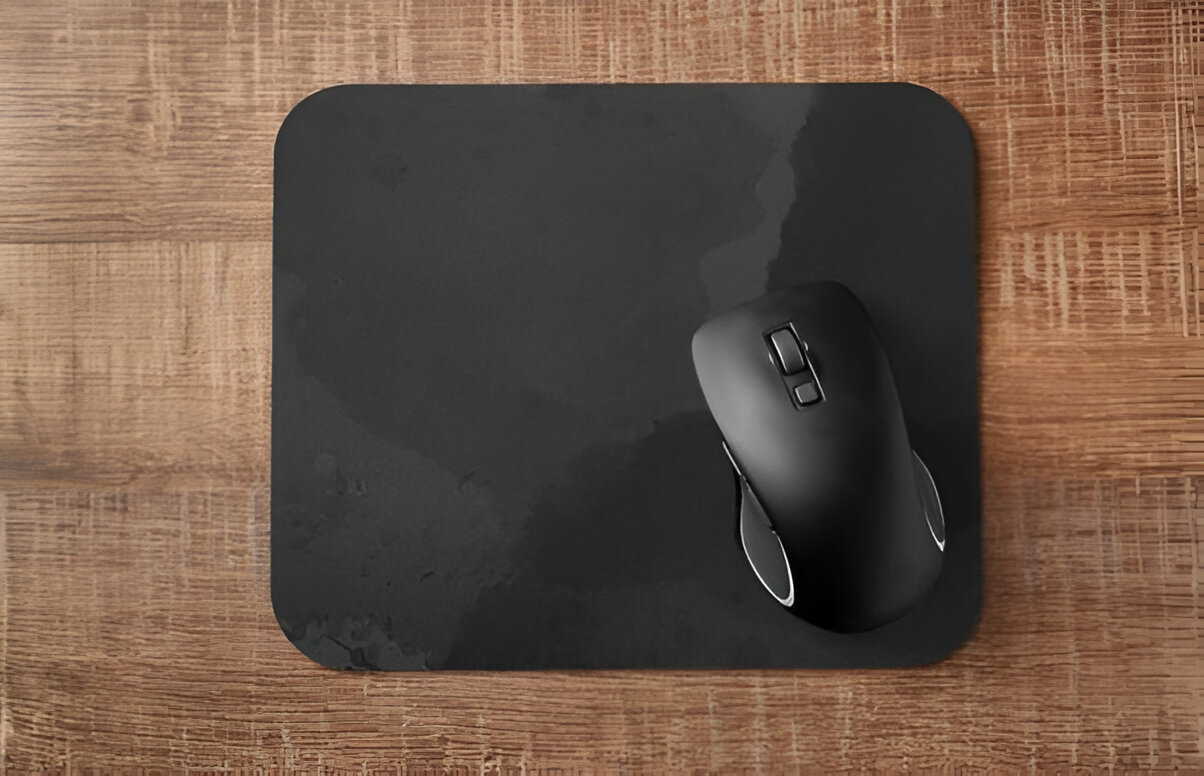
Creating a mouse pad that sticks securely to your desk is essential for smooth and uninterrupted computer usage. A slippery or shifting mouse pad can be frustrating and detrimental to productivity, making it crucial to find a solution that ensures a stable and reliable surface for your mouse. Fortunately, with the right materials and techniques, you can easily make your mouse pad stick to your desk, providing a seamless and efficient computing experience.
In this guide, we will explore the step-by-step process of making a mouse pad stick to your desk effectively. From selecting the appropriate mouse pad material to applying adhesive and securing the pad in place, each stage is essential for achieving the desired result. By following these instructions, you can enhance your workspace and optimize your computer usage by ensuring that your mouse pad remains firmly in position.
Whether you are a professional or casual computer user, having a secure and stable mouse pad is essential for precision and comfort. By taking the time to implement the methods outlined in this guide, you can enjoy a hassle-free and seamless computing experience, free from the inconvenience of a shifting or sliding mouse pad. Let's delve into the details of choosing the right mouse pad material, cleaning and preparing the surface, applying adhesive, and securing the mouse pad to create a reliable and steadfast workspace.
Choosing the Right Mouse Pad Material
When it comes to ensuring that your mouse pad stays in place, selecting the appropriate material is the first crucial step. Different materials offer varying levels of grip and compatibility with different surfaces, so it’s important to choose a material that suits your specific needs.
1. Rubber-based Mouse Pads: These are popular for their excellent grip on most surfaces. The natural friction of rubber helps the pad stay in place, making it a reliable choice for those seeking stability.
2. Textured Cloth Mouse Pads: These pads are known for their smooth surface and ability to provide a good grip on desks and tables. The textured underside prevents slipping, making it an ideal choice for many users.
3. Silicone Mouse Pads: These pads are designed with a sticky silicone base that adheres well to most surfaces. They are particularly effective at staying in place, making them a great option for those seeking a secure and stable mouse pad.
Consider the surface of your desk or table when choosing the material for your mouse pad. If your desk has a smooth surface, a rubber-based or silicone mouse pad may be the best choice. For textured surfaces, a textured cloth mouse pad may provide the ideal level of grip.
By selecting the right material for your mouse pad, you can lay the foundation for a stable and secure workspace. The next step involves preparing the surface and ensuring it is clean and ready for the application of adhesive.
Cleaning and Preparing the Surface
Before applying any adhesive to secure your mouse pad, it is essential to thoroughly clean and prepare the surface of your desk or table. This step is crucial for ensuring that the adhesive bonds effectively and that the mouse pad remains firmly in place.
1. Clear the Surface: Begin by removing any objects or debris from the surface where the mouse pad will be placed. A clean, unobstructed surface is essential for achieving a strong and lasting bond between the adhesive and the desk or table.
2. Clean with Mild Detergent: Use a mild detergent or cleaning solution to thoroughly clean the surface. This will remove any dust, dirt, or residue that could hinder the adhesion of the mouse pad. Ensure that the surface is completely dry before proceeding to the next step.
3. Consider Surface Material: Take into account the material of the surface. Different materials, such as wood, plastic, or glass, may require specific cleaning methods to ensure optimal adhesion. Follow the manufacturer’s recommendations for cleaning and preparing the surface based on its material.
4. Smooth and Even Surface: Inspect the surface for any rough or uneven areas. If necessary, use sandpaper or a similar tool to smooth out any imperfections. A smooth and even surface will promote a strong bond between the adhesive and the desk or table.
By taking the time to clean and prepare the surface, you are laying the groundwork for a secure and long-lasting bond between the mouse pad and the desk or table. Once the surface is clean and ready, the next step involves applying the adhesive to the mouse pad in preparation for securing it in place.
Applying Adhesive to the Mouse Pad
After choosing the right mouse pad material and preparing the surface, the next crucial step is to apply adhesive to the mouse pad. This adhesive will create a strong and reliable bond between the pad and the desk or table, ensuring that it remains firmly in place during use.
1. Selecting the Adhesive: Choose an adhesive that is suitable for both the material of the mouse pad and the surface of the desk or table. Double-sided adhesive tape or adhesive putty are popular choices for securing mouse pads, providing a strong bond without damaging the surface.
2. Applying the Adhesive: Cut the adhesive to fit the dimensions of the mouse pad, ensuring that it covers the entire underside of the pad. If using adhesive putty, knead it until it becomes pliable and then press it onto the underside of the mouse pad, distributing it evenly to ensure comprehensive coverage.
3. Ensuring Even Distribution: Whether using adhesive tape or putty, it is essential to ensure that the adhesive is distributed evenly across the entire underside of the mouse pad. This will promote a consistent bond and prevent any areas from lifting or shifting during use.
4. Peel and Stick: If using double-sided adhesive tape, carefully peel off the protective backing to expose the adhesive, then firmly press the mouse pad onto the clean and prepared surface. For adhesive putty, simply press the mouse pad onto the surface, ensuring that the putty makes full contact for a secure bond.
By applying adhesive to the mouse pad in a thorough and even manner, you are taking a significant step toward creating a stable and secure workspace. The final stage involves pressing and securing the mouse pad to ensure that it remains firmly in place during use.
Pressing and Securing the Mouse Pad
Once the adhesive has been applied to the mouse pad and it has been positioned on the clean and prepared surface, the final step is to press and secure the pad to ensure a strong and lasting bond. This process is essential for maximizing the effectiveness of the adhesive and preventing the pad from shifting or lifting during use.
1. Even Pressure: Apply even pressure across the entire surface of the mouse pad to ensure that the adhesive makes full contact with the desk or table. This can be achieved by pressing down on the pad with your hands or using a flat, smooth object to distribute the pressure evenly.
2. Firm Bonding: The goal is to create a firm and secure bond between the mouse pad and the surface. Pay particular attention to the edges and corners of the pad, as these areas are prone to lifting if not adequately secured. Apply additional pressure to these areas to ensure a strong bond.
3. Allow for Setting Time: After pressing the mouse pad onto the surface, allow sufficient time for the adhesive to set and bond effectively. Follow the manufacturer’s recommendations for the setting time of the specific adhesive used to ensure optimal results.
4. Test for Stability: Once the adhesive has set, gently test the stability of the mouse pad by applying light pressure and attempting to shift or lift it. If the pad remains firmly in place without any movement, it is successfully secured to the surface.
By pressing and securing the mouse pad with care and attention to detail, you can ensure that it remains steadfast and reliable during your computer usage. A well-secured mouse pad provides a stable and comfortable surface for using your mouse, enhancing your overall computing experience.


