Introduction
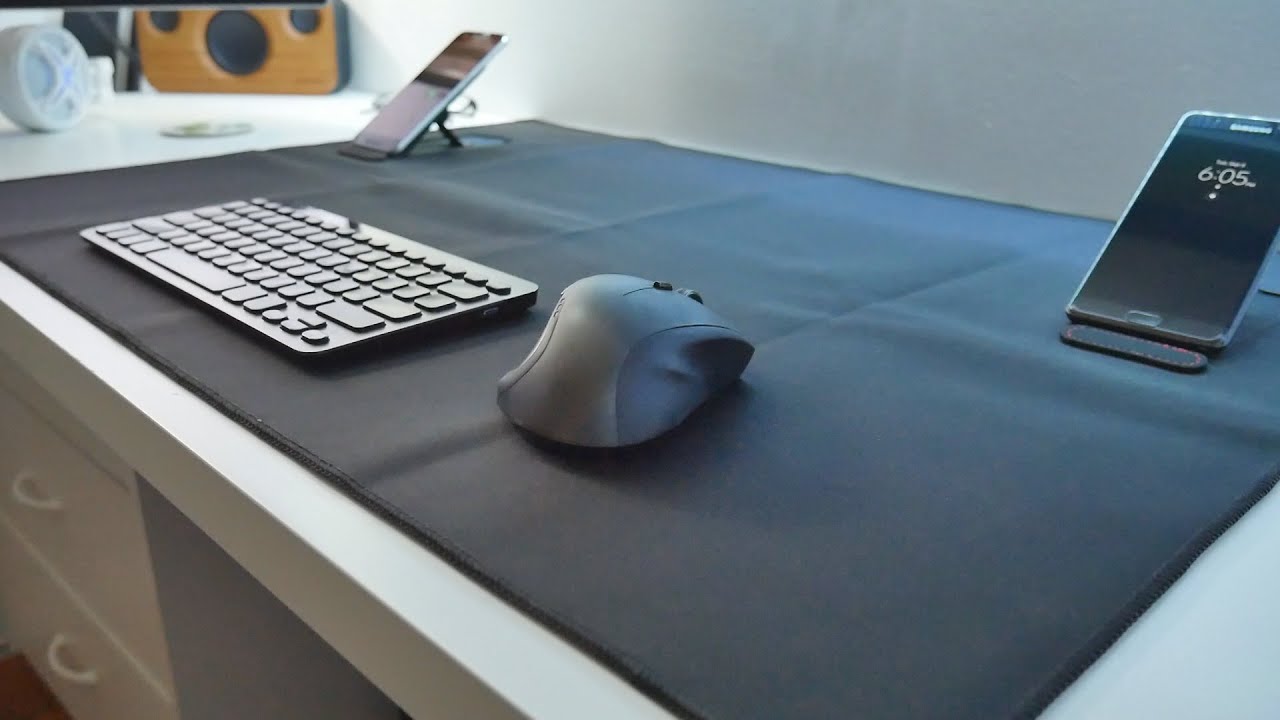
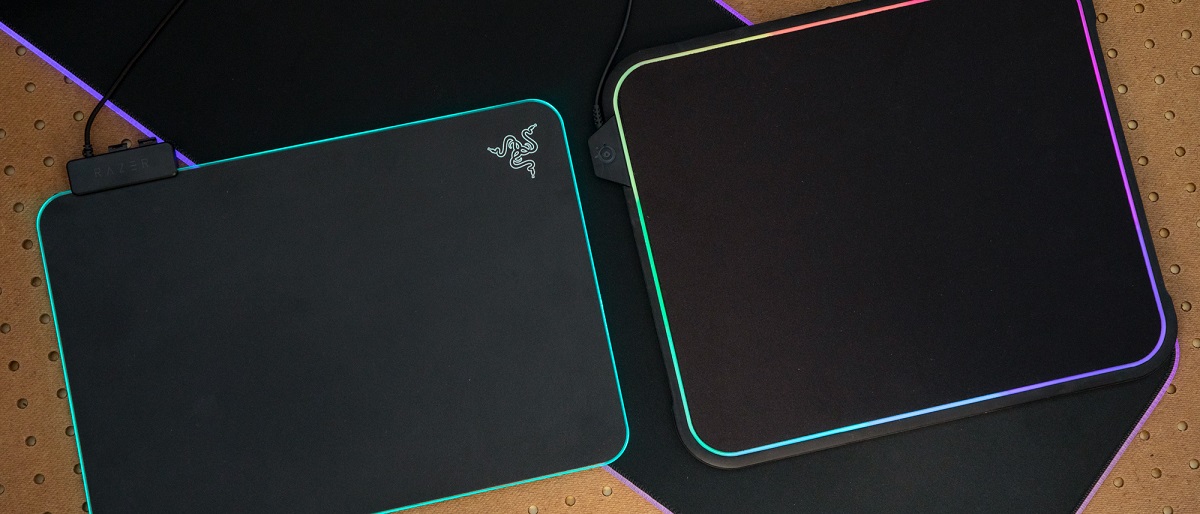
Welcome to the comprehensive guide on how to clean a big mouse pad. Whether you're an avid gamer, a design professional, or simply someone who spends a significant amount of time on the computer, a clean mouse pad is essential for optimal performance and hygiene. Over time, dust, oils, and grime can accumulate on the surface of your mouse pad, affecting its appearance and functionality. By following the steps outlined in this guide, you can restore your mouse pad to its pristine condition and prolong its lifespan.
A clean mouse pad not only enhances the overall aesthetic of your workspace but also ensures smooth and accurate mouse movements, which is crucial for gaming and precision tasks. Additionally, maintaining a clean mouse pad promotes a hygienic environment by reducing the buildup of bacteria and allergens that can thrive in dirty surfaces.
In the following sections, we will walk you through the step-by-step process of cleaning your large mouse pad, covering everything from gathering the necessary supplies to effectively removing stains and odors. Whether your mouse pad is made of cloth, rubber, or other materials, these methods are designed to accommodate various types of surfaces, ensuring that you can maintain a clean and comfortable workspace.
By investing a small amount of time and effort into cleaning your big mouse pad, you can significantly improve its appearance, functionality, and hygiene. With the right approach and the tips provided in this guide, you can easily incorporate mouse pad cleaning into your regular maintenance routine, ensuring that your workspace remains inviting and conducive to productivity.
So, let's dive into the step-by-step process of cleaning your big mouse pad and discover the best practices for maintaining a clean and efficient workspace.
Gather Your Supplies
Before embarking on the cleaning process, it’s essential to gather the necessary supplies to ensure thorough and effective cleaning of your big mouse pad. The following items are commonly used and can be easily acquired:
- Mild detergent or soap: Choose a gentle detergent or soap that is suitable for handwashing delicate fabrics. Avoid using harsh chemicals or bleach, as they may damage the surface of the mouse pad.
- Soft-bristled brush or sponge: Opt for a soft-bristled brush or a sponge to gently scrub the surface of the mouse pad. This will help dislodge dirt and grime without causing damage to the fabric or material.
- Warm water: Warm water is effective for breaking down oils and stains. Ensure that the water is not too hot, as extreme temperatures can affect the integrity of the mouse pad.
- Lint-free cloth: Use a lint-free cloth, such as a microfiber cloth, to dry the mouse pad after cleaning. This will help prevent lint or fibers from sticking to the surface.
- Stain remover (if needed): If your mouse pad has stubborn stains, consider using a gentle stain remover that is suitable for the material of the pad. Always test the stain remover on a small, inconspicuous area first to ensure compatibility.
- Large sink or basin: Having access to a spacious sink or basin will make the cleaning process more convenient, allowing you to maneuver the mouse pad and rinse it thoroughly.
- Drying rack or flat surface: Prepare a drying rack or a flat surface where the mouse pad can air dry after cleaning. Ensure that the drying area is clean and well-ventilated.
By assembling these supplies, you’ll be well-equipped to tackle the cleaning process with confidence and achieve optimal results. With the right tools at your disposal, you can effectively remove dirt, stains, and odors from your big mouse pad, restoring it to a fresh and pristine condition.
Brush Off Loose Debris
Before delving into the cleaning process, it’s important to remove any loose debris and surface-level dirt from your big mouse pad. This initial step will prevent the spread of dirt and grime during the cleaning process and pave the way for more thorough cleaning. Here’s how to effectively brush off loose debris from your mouse pad:
- Shake or tap the mouse pad: Take the mouse pad outdoors, if possible, and gently shake it to dislodge loose debris such as dust, crumbs, and hair. Alternatively, you can tap the mouse pad against a solid surface to release the trapped particles.
- Use a soft brush or lint roller: Employ a soft-bristled brush or a lint roller to gently brush the surface of the mouse pad. This will help lift and remove any remaining debris that may be embedded in the fabric or material.
- Inspect the edges and seams: Pay close attention to the edges and seams of the mouse pad, as these areas are prone to accumulating debris. Use the brush or lint roller to carefully clean along the edges and seams, ensuring that no dirt is left behind.
By thoroughly brushing off loose debris, you’ll create a clean canvas for the subsequent cleaning steps, allowing you to focus on removing deeper stains and grime. This preparatory step is essential for achieving a comprehensive and effective cleaning outcome, ensuring that your mouse pad is restored to a pristine condition.
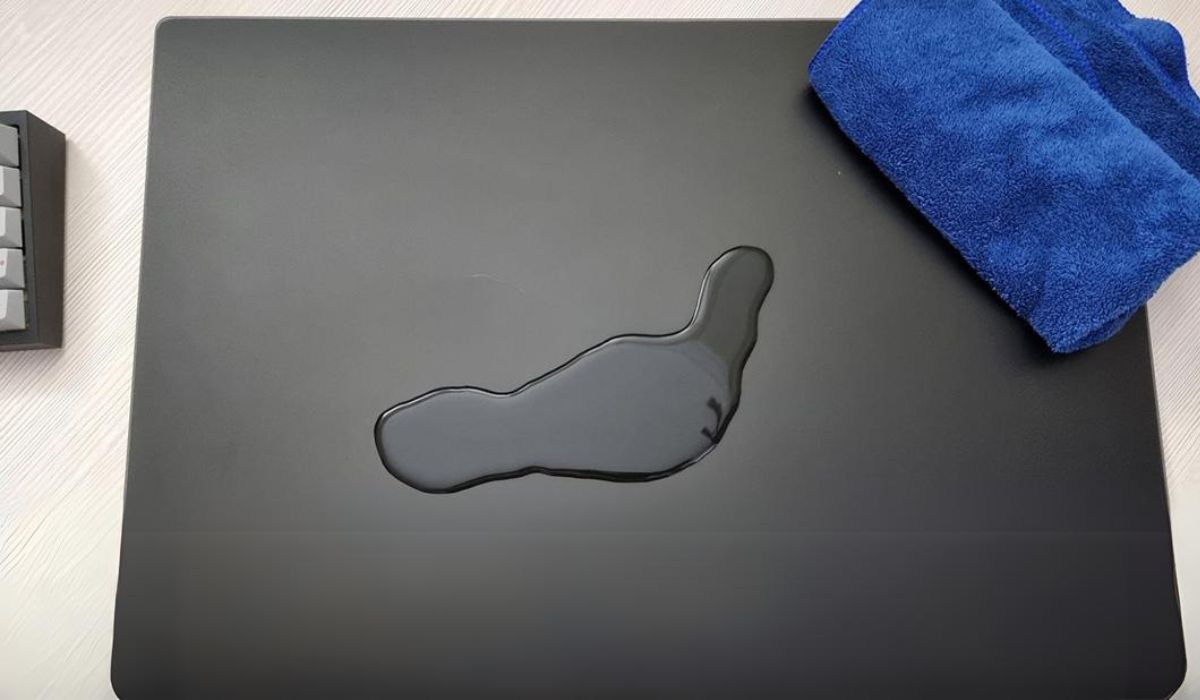
Spot Clean Stains
Dealing with stains on a big mouse pad requires a targeted approach to effectively remove the blemishes without compromising the integrity of the pad. Whether it’s coffee spills, ink marks, or other stubborn stains, employing the following spot-cleaning techniques will help restore the appearance of your mouse pad:
- Blot the stain: If the stain is fresh, immediately blot the affected area with a clean, absorbent cloth to soak up excess liquid. Avoid rubbing the stain, as this can spread it further into the fabric.
- Prepare a mild cleaning solution: Mix a small amount of mild detergent or soap with warm water to create a gentle cleaning solution. Test the solution on a discreet area of the mouse pad to ensure colorfastness and compatibility.
- Apply the cleaning solution: Dampen a soft cloth or sponge with the cleaning solution and gently dab the stained area. Allow the solution to penetrate the stain without saturating the pad excessively.
- Gently agitate the stain: Use a soft-bristled brush or sponge to lightly agitate the stained area, working the cleaning solution into the fabric. Avoid aggressive scrubbing, as this can damage the surface of the mouse pad.
- Blot and rinse: After treating the stain, blot the area with a clean, damp cloth to remove the cleaning solution. Rinse the cloth and continue blotting until the residue is thoroughly removed.
- Air dry and assess: Allow the spot-cleaned area to air dry completely. Once dry, assess the stain to determine if further treatment is necessary. Repeat the spot-cleaning process if the stain persists.
By addressing stains promptly and employing gentle spot-cleaning techniques, you can effectively lift and remove blemishes from your big mouse pad, restoring its appearance and ensuring a clean and inviting workspace.
Machine Wash (If Applicable)
If your big mouse pad is machine washable, taking advantage of this cleaning method can provide a thorough and convenient way to refresh the entire pad. Before proceeding with machine washing, it’s important to review the manufacturer’s instructions and care label to ensure that the mouse pad is suitable for this cleaning method. Here’s how to machine wash your mouse pad effectively:
- Check for compatibility: Verify that your mouse pad is labeled as machine washable and review any specific instructions provided by the manufacturer regarding water temperature and detergent recommendations.
- Pre-treat stains: If your mouse pad has noticeable stains, consider spot treating them using the techniques outlined in the previous section before placing the pad in the washing machine.
- Use a gentle cycle: Place the mouse pad in the washing machine along with a few towels or other soft items to balance the load. Select a gentle or delicate cycle with cold or lukewarm water to prevent damage to the pad.
- Mild detergent: Add a small amount of mild detergent to the washing machine, avoiding bleach or harsh chemicals that can compromise the integrity of the mouse pad’s material.
- Avoid fabric softeners: Refrain from using fabric softeners, as they can leave a residue on the mouse pad and diminish its texture and performance.
- Gentle drying: After the washing cycle is complete, remove the mouse pad from the machine and air dry it on a flat surface. Avoid using a dryer, as high heat can damage the pad’s material and shape.
By following these steps, you can effectively machine wash your big mouse pad, ensuring that it is thoroughly cleaned and rejuvenated without compromising its quality. This method is particularly beneficial for removing accumulated dirt, oils, and odors from the entire surface of the pad, providing a fresh and hygienic workspace for your daily activities.
Air Dry
After cleaning your big mouse pad, whether through spot cleaning or machine washing, it’s crucial to allow it to air dry thoroughly. Proper air drying helps maintain the integrity of the pad’s material and prevents potential damage that may occur from heat exposure. Here’s how to effectively air dry your mouse pad:
- Remove excess moisture: After cleaning, use a clean, dry towel to gently blot the surface of the mouse pad and absorb excess moisture. Avoid wringing or twisting the pad, as this can cause deformation.
- Choose a well-ventilated area: Select a clean and well-ventilated area for air drying the mouse pad. Avoid direct sunlight and high humidity, as these conditions can impact the drying process and the pad’s material.
- Lay flat to dry: Place the mouse pad on a flat surface, ensuring that it retains its original shape. Smooth out any wrinkles or folds to facilitate even drying and maintain the pad’s appearance.
- Rotate if necessary: If one side of the mouse pad is in contact with the drying surface, periodically rotate it to ensure that both sides dry evenly. This helps prevent moisture retention and potential odors.
- Allow ample drying time: Depending on the material and thickness of the mouse pad, air drying may take several hours to a full day. Exercise patience and avoid using the pad until it is completely dry.
By following these air drying guidelines, you can effectively preserve the quality and appearance of your big mouse pad, ensuring that it is thoroughly dried and ready for use. Proper air drying contributes to the longevity of the pad and maintains its cleanliness, providing a comfortable and hygienic surface for your mouse and enhancing the overall aesthetics of your workspace.
Final Tips and Considerations
As you embark on the journey of cleaning your big mouse pad, it’s important to keep the following tips and considerations in mind to ensure a successful and effective cleaning process:
- Regular maintenance: Incorporate mouse pad cleaning into your regular maintenance routine to prevent the accumulation of dirt and grime. A clean mouse pad not only looks better but also contributes to a more hygienic workspace.
- Test cleaning solutions: Before applying any cleaning solution to the entire mouse pad, test it on a small, inconspicuous area to check for colorfastness and adverse reactions. This helps prevent damage to the entire pad.
- Read manufacturer’s instructions: Always review the manufacturer’s care instructions and recommendations for cleaning your specific type of mouse pad. Following these guidelines can help maintain the pad’s quality and longevity.
- Prevent heat exposure: Avoid exposing the mouse pad to high heat, whether during washing or drying, as excessive heat can cause the material to warp, shrink, or degrade.
- Address odors: If your mouse pad develops odors over time, sprinkle baking soda on the surface and let it sit for a few hours before brushing or vacuuming it off. This can help absorb and neutralize odors.
- Consider a protective cover: To minimize the accumulation of dirt and stains, consider using a protective cover or desk mat under your mouse pad. This extra layer can shield the pad from spills and wear.
- Inspect and replace when necessary: Periodically inspect your mouse pad for signs of wear, such as fraying edges or deep-seated stains that cannot be removed. If the pad is beyond cleaning, consider replacing it to maintain a clean and functional workspace.
By incorporating these final tips and considerations into your mouse pad cleaning routine, you can effectively maintain a clean, hygienic, and visually appealing workspace. With the right approach and regular care, your big mouse pad can continue to enhance your computing experience and provide a comfortable surface for precise mouse movements.