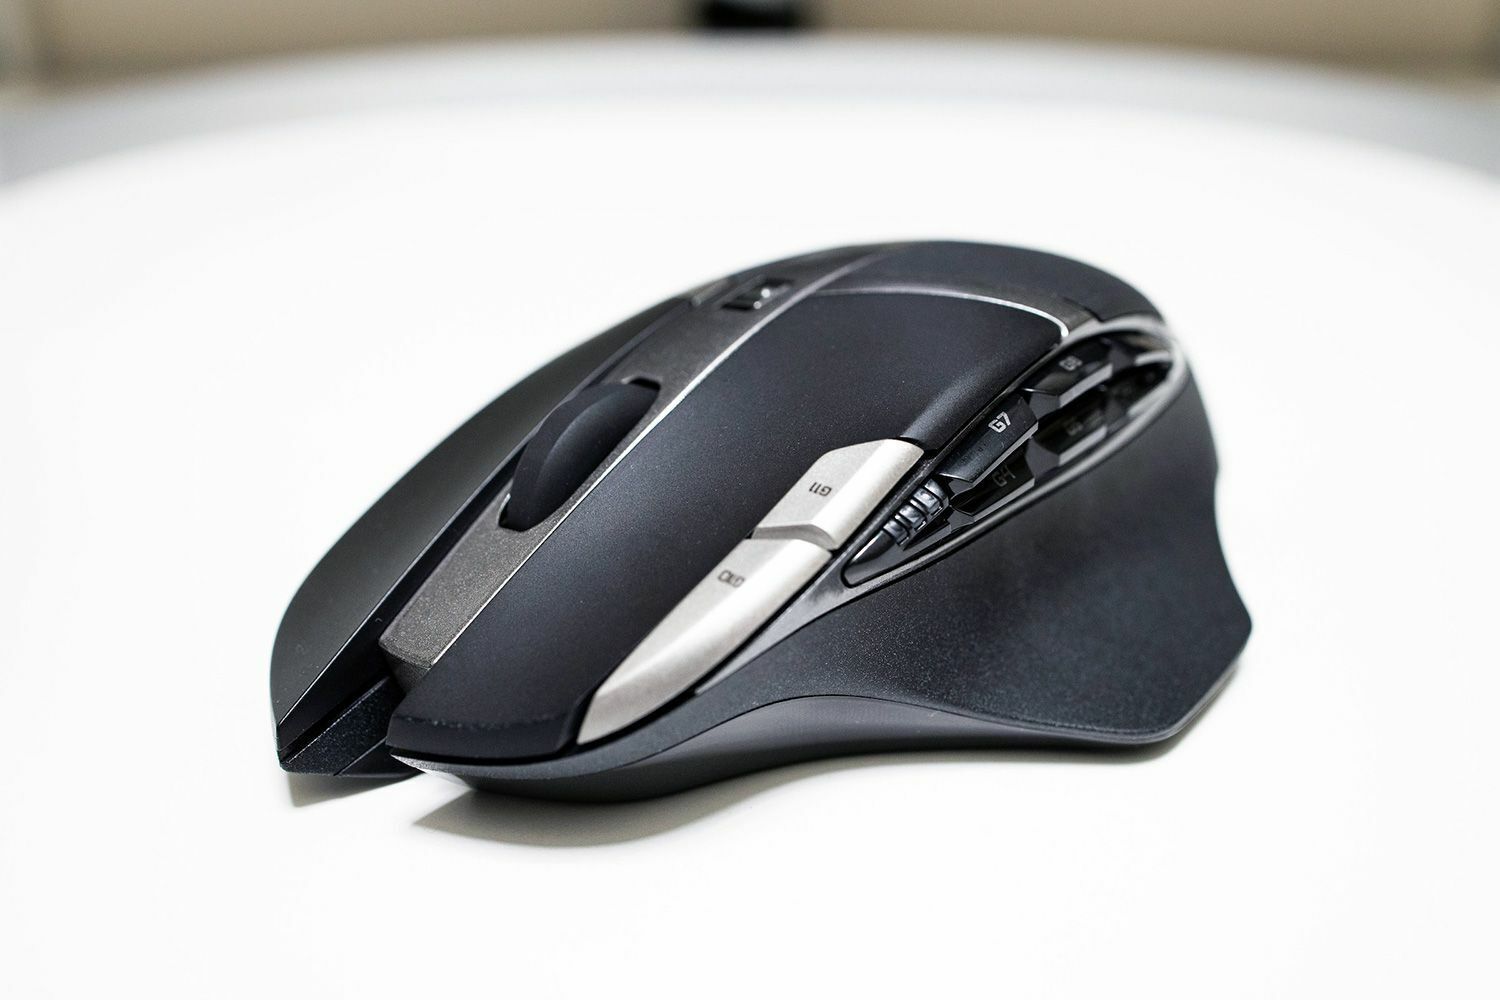
Introduction
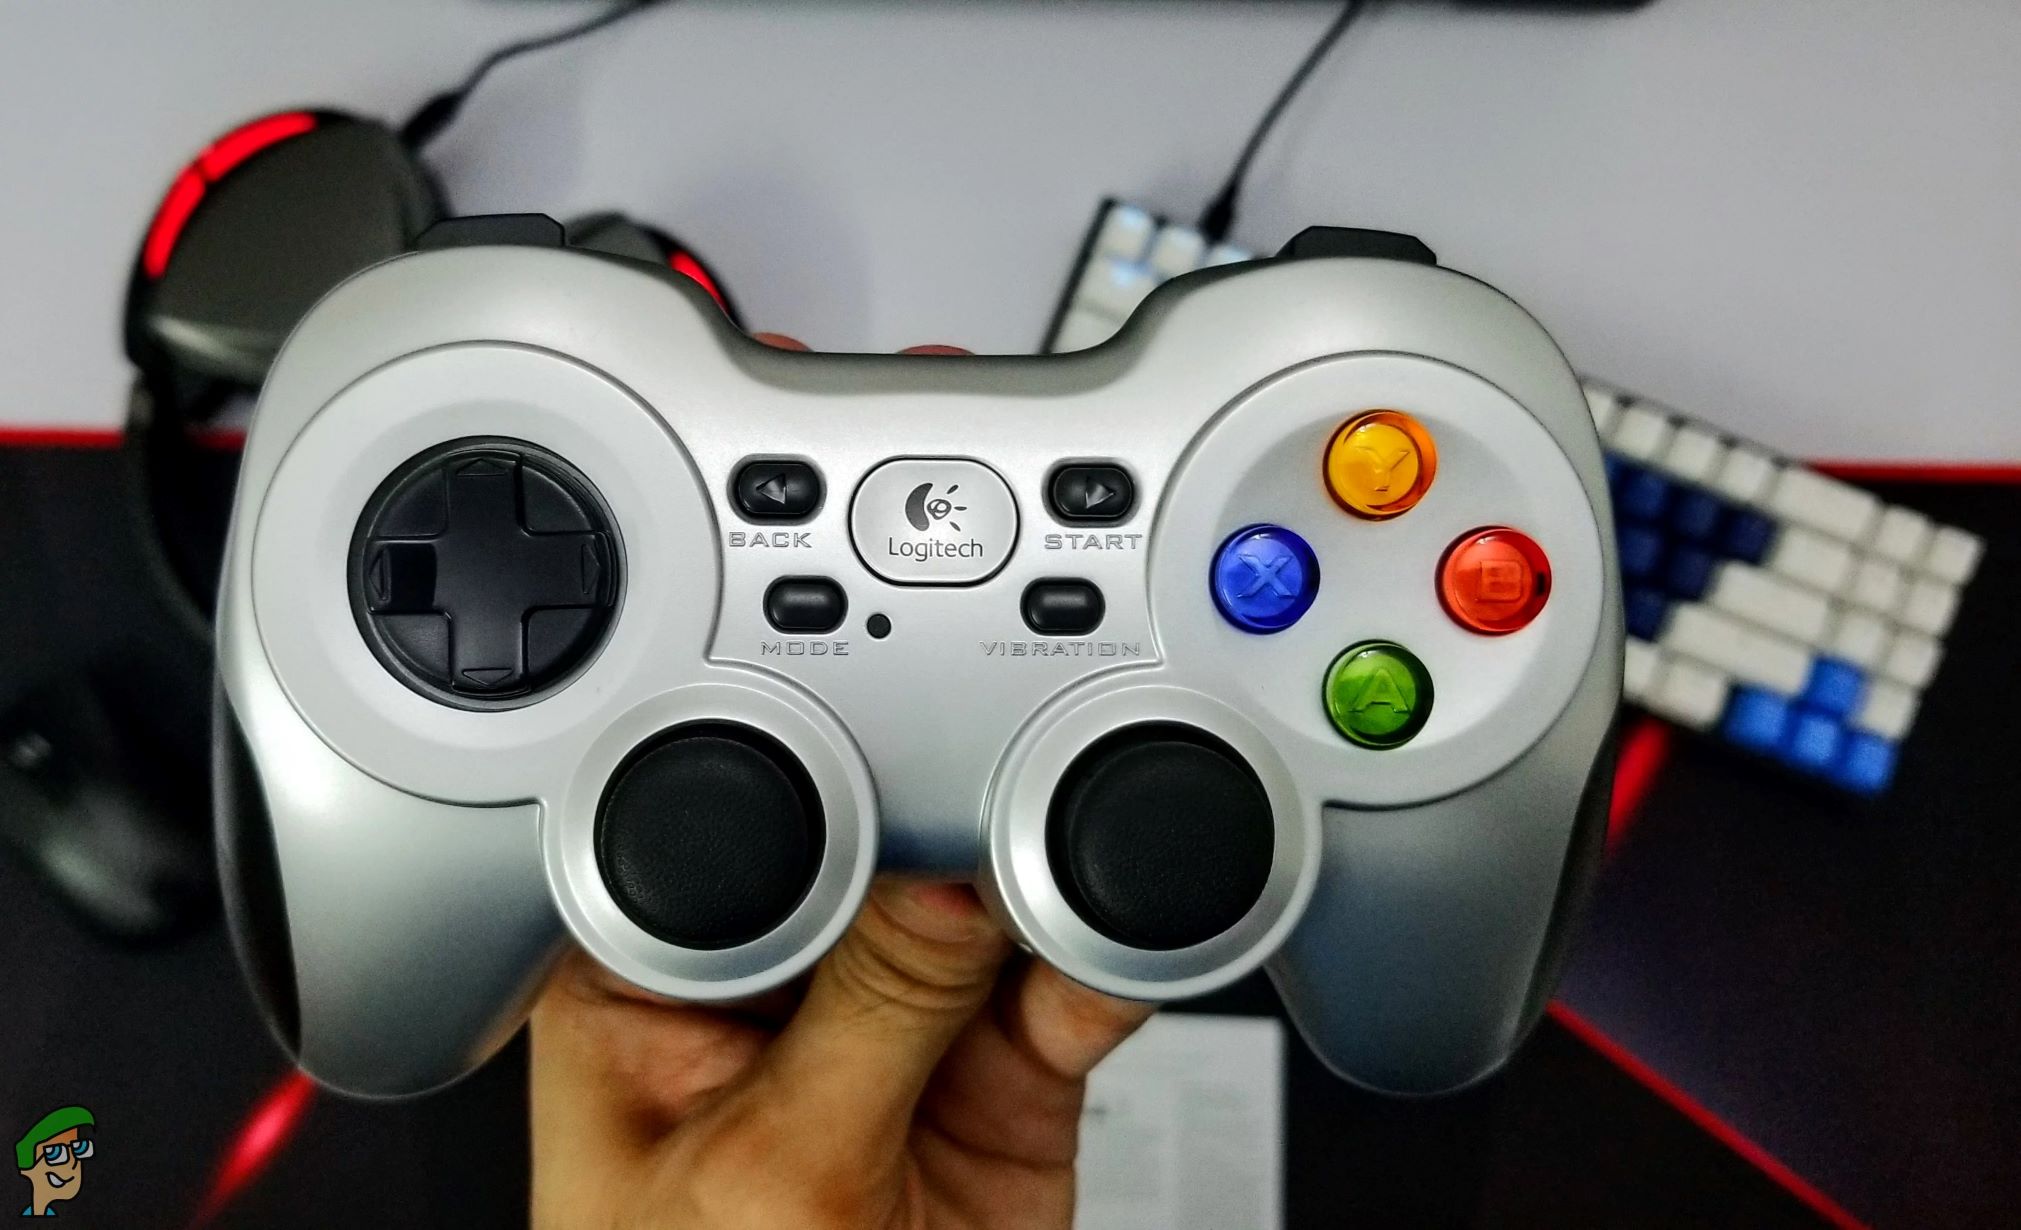
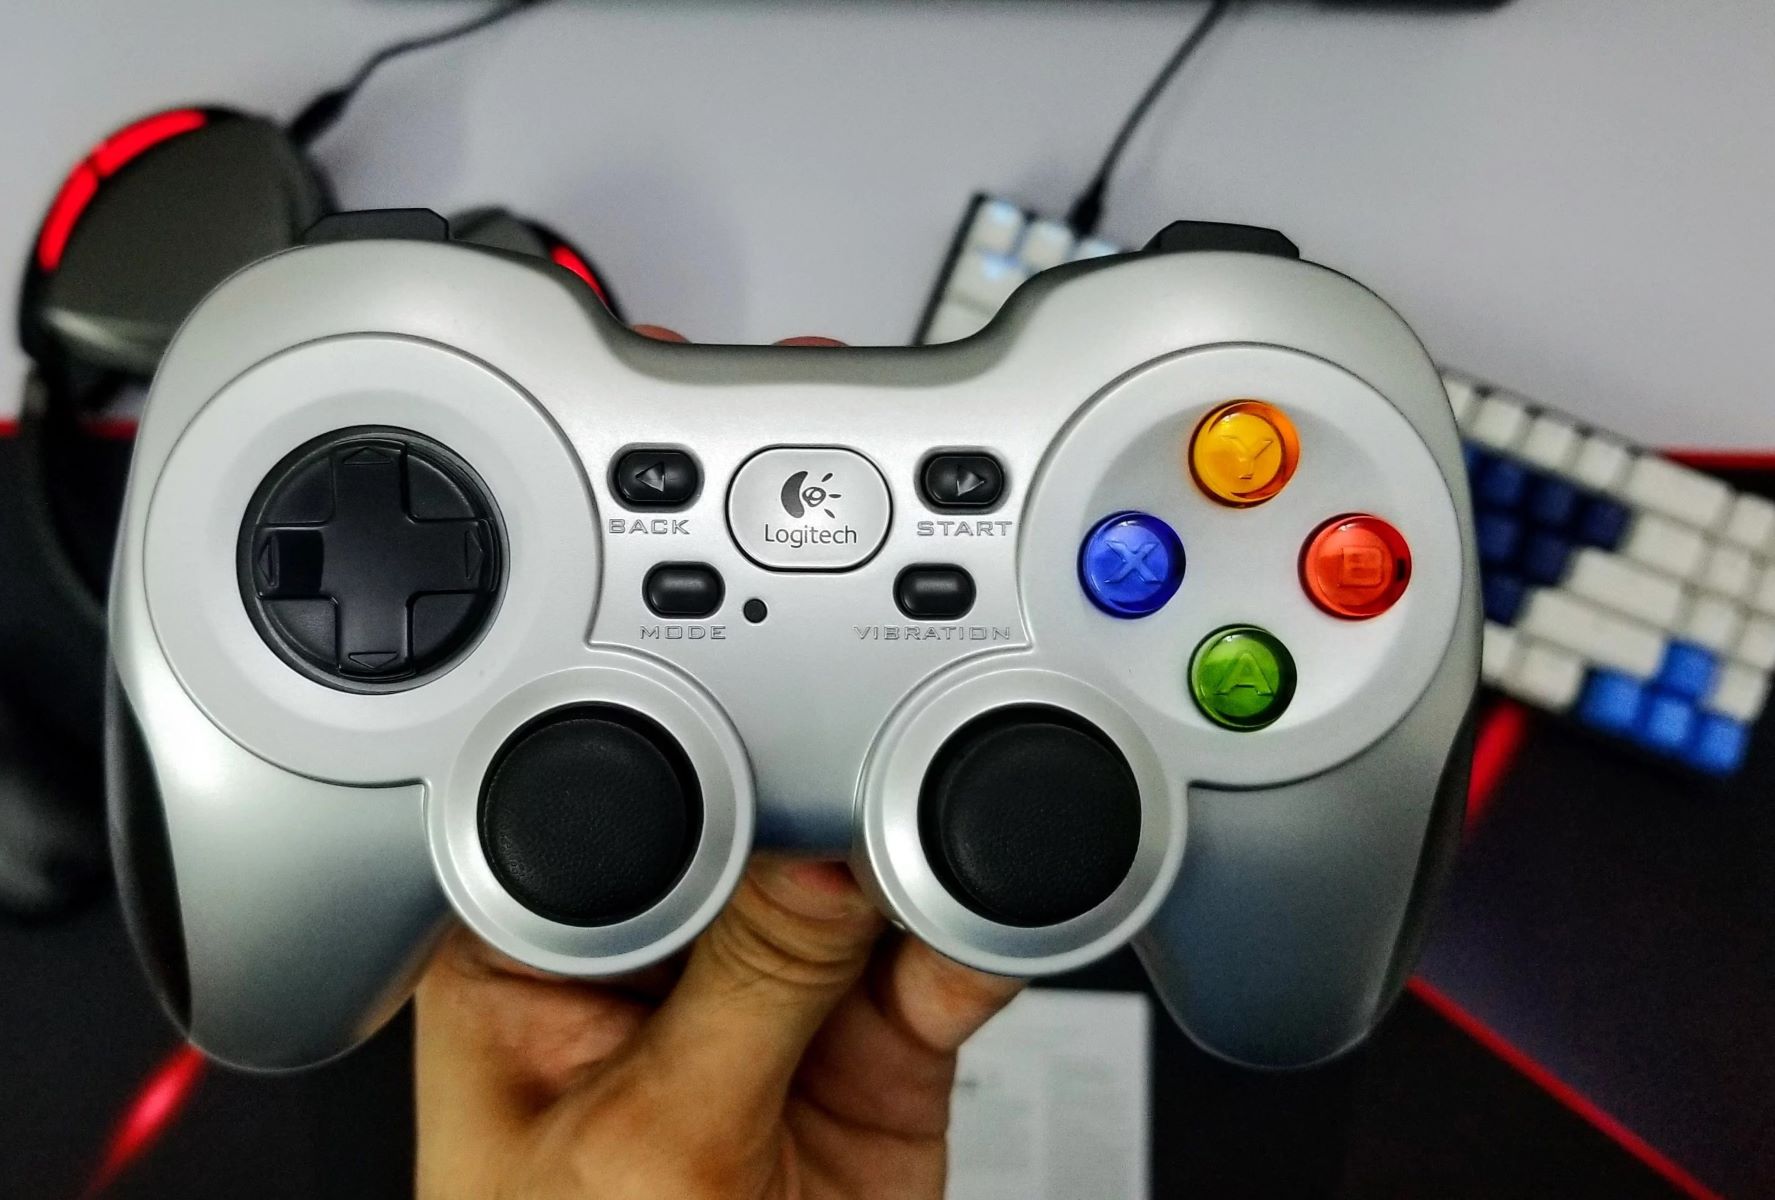
Welcome to the world of Logitech gaming! Logitech game controllers are renowned for their precision, comfort, and versatility, providing an immersive gaming experience across a wide array of platforms. To maximize the potential of your Logitech game controller, creating a custom profile tailored to your gaming preferences is paramount. A profile allows you to fine-tune button mappings, sensitivity settings, and other parameters, giving you a competitive edge and a more enjoyable gaming experience.
In this guide, we'll walk you through the process of creating a profile for your Logitech game controller using the Logitech Gaming Software. Whether you're a casual gamer looking to enhance your gameplay or a seasoned pro seeking the perfect configuration, this step-by-step tutorial will empower you to unleash the full potential of your Logitech game controller.
By the end of this tutorial, you'll have a personalized profile that caters to your unique gaming style, elevating your gaming experience to new heights. So, let's dive in and discover how to create and customize a profile for your Logitech game controller!
Now, let's get started with the first step: downloading and installing the Logitech Gaming Software.
Step 1: Download and Install Logitech Gaming Software
Before you can begin creating a profile for your Logitech game controller, you need to download and install the Logitech Gaming Software, which serves as the central hub for customizing and optimizing your gaming peripherals.
To start, navigate to the official Logitech support website or use the provided installation disc to download the Logitech Gaming Software. Ensure that you download the version compatible with your operating system, whether it's Windows or macOS.
Once the software is downloaded, double-click the installer file and follow the on-screen instructions to install it on your computer. After the installation is complete, launch the Logitech Gaming Software to begin the process of creating your custom profile for the game controller.
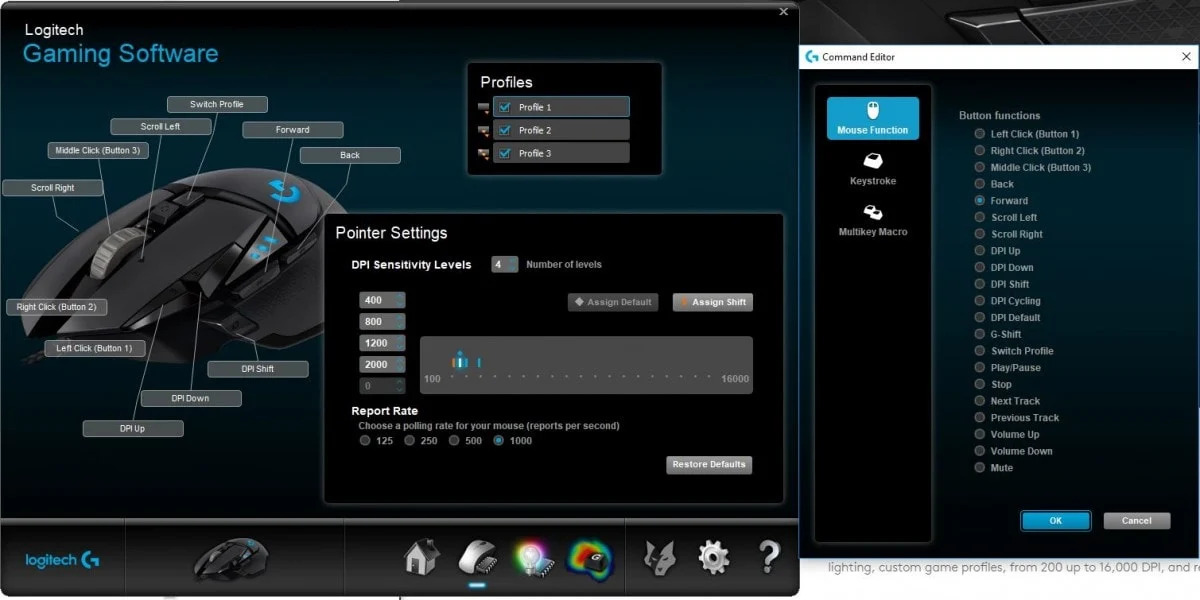
The Logitech Gaming Software provides an intuitive interface that allows you to seamlessly manage and customize your Logitech gaming peripherals. From creating and fine-tuning profiles to adjusting lighting effects and sensitivity settings, this software is your gateway to unlocking the full potential of your gaming devices.
With the Logitech Gaming Software installed and ready to go, you're one step closer to optimizing your gaming experience. Now, let's move on to the next step: connecting your Logitech game controller to your computer.
Step 2: Connect Your Logitech Game Controller
Once you have the Logitech Gaming Software installed on your computer, the next step is to connect your Logitech game controller. Depending on the model of your controller, there are different methods for establishing the connection.
If you have a wired Logitech game controller, simply plug the USB cable into an available USB port on your computer. The Logitech Gaming Software should automatically detect the controller, and you can proceed to the next step of creating a profile.
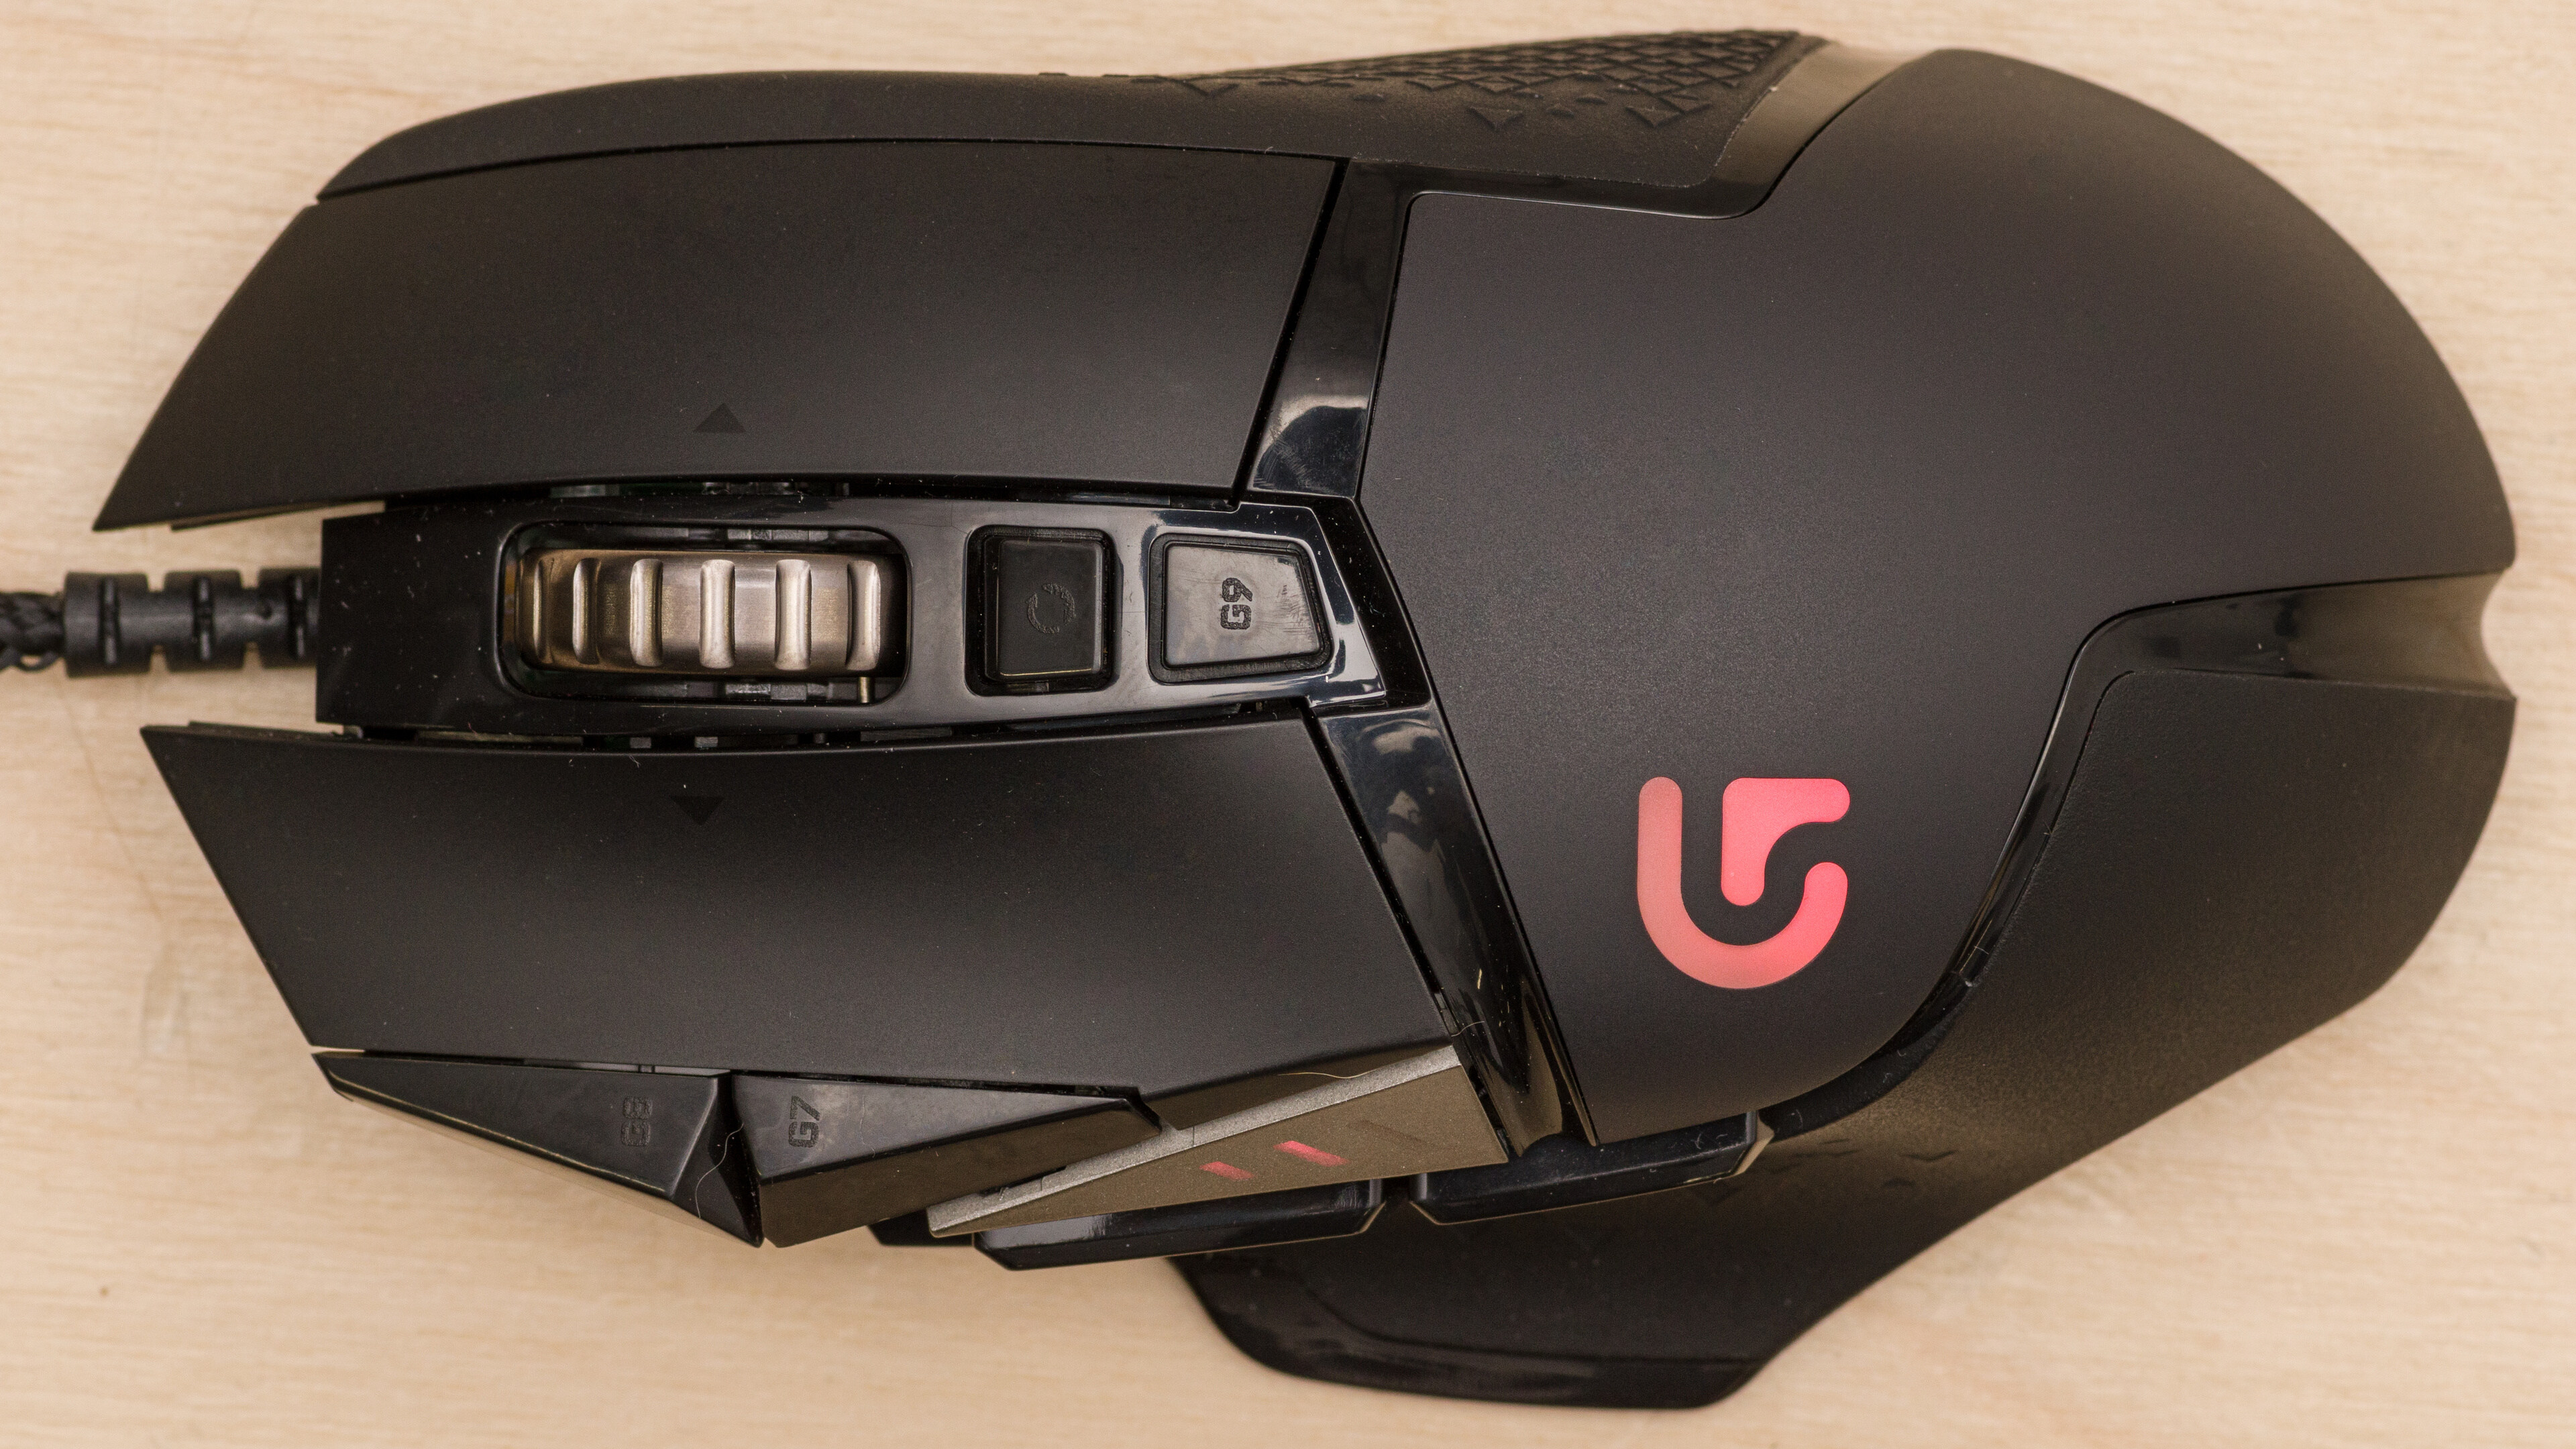
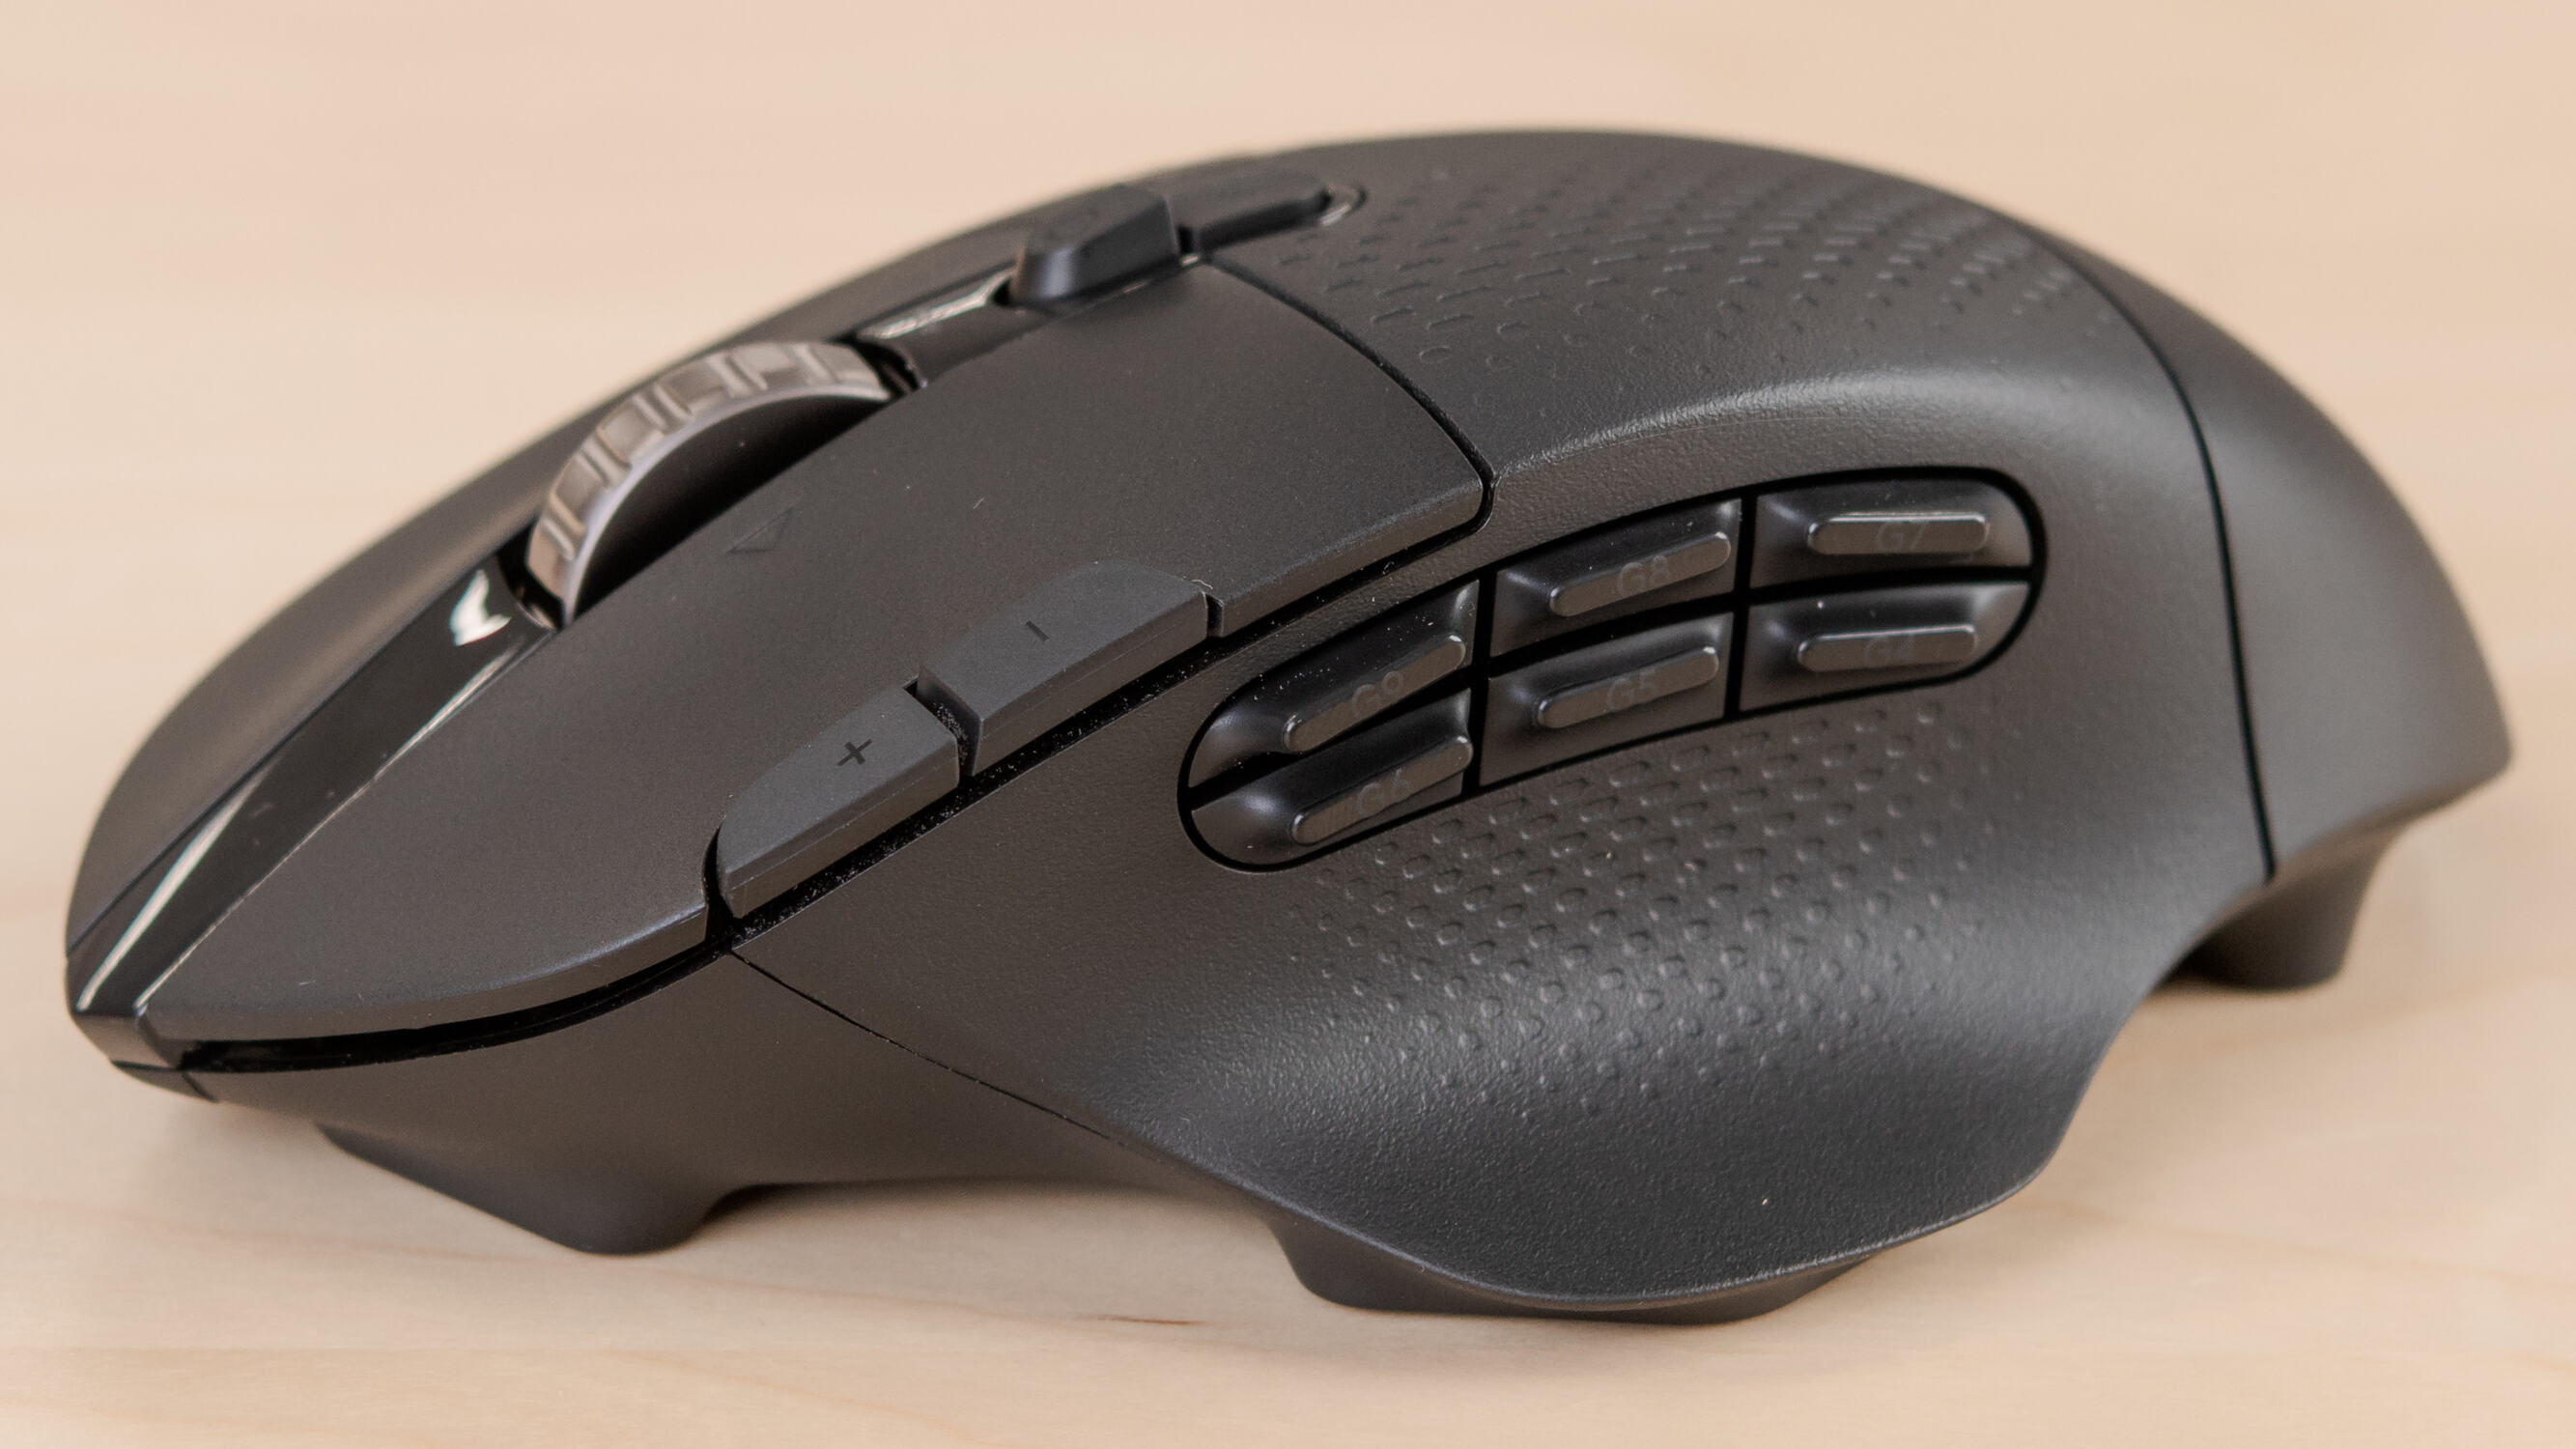
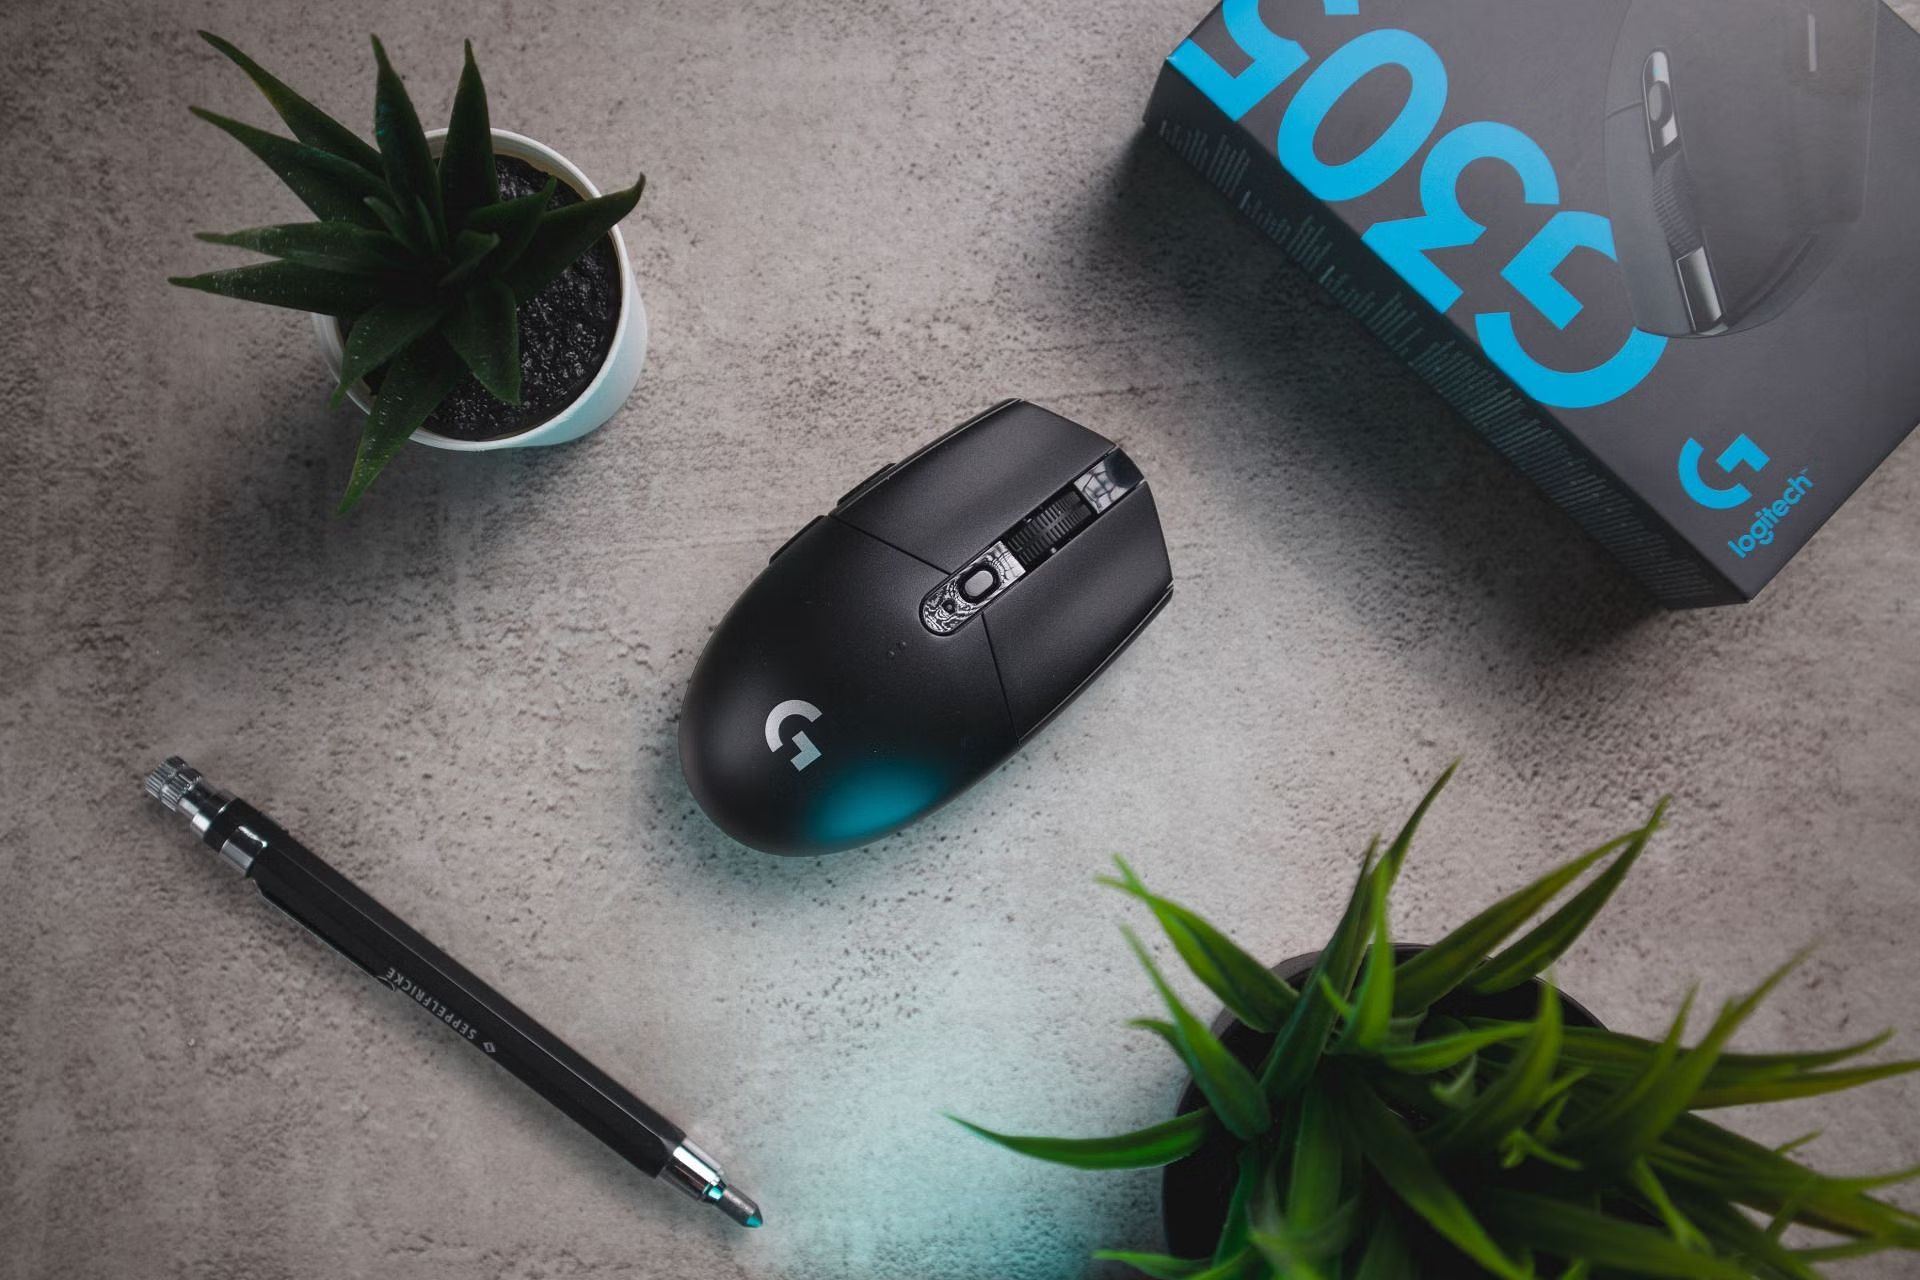
For wireless Logitech game controllers, such as the Logitech G Pro Wireless, G502 Lightspeed, or other wireless models, you’ll need to follow the specific pairing instructions provided with your controller. Typically, this involves activating the pairing mode on the controller and using the Logitech Gaming Software to establish the wireless connection with your computer.
Once your Logitech game controller is successfully connected to your computer, you’re ready to delve into the exciting process of creating a personalized profile that aligns with your gaming preferences and play style. With the controller in hand and the connection established, let’s proceed to the next step: creating a profile for your Logitech game controller.
Step 3: Create a Profile
With your Logitech game controller connected and the Logitech Gaming Software up and running, it’s time to embark on the pivotal step of creating a custom profile. A profile allows you to tailor the controller’s settings to your precise specifications, optimizing it for the games you love to play.
To create a profile, navigate to the Logitech Gaming Software interface and locate the section dedicated to managing your game controller. Within this section, you’ll find the option to create a new profile or customize an existing one. Click on the “Create New Profile” or similar button to initiate the profile creation process.
When creating a profile, consider the specific game or genre you intend to play. Each game may benefit from a unique configuration, such as customized button mappings, sensitivity adjustments, or specialized macros. By creating individual profiles for different games or genres, you can seamlessly switch between optimized settings without the need for manual adjustments.
Throughout the profile creation process, take advantage of the software’s user-friendly interface to fine-tune various aspects of the controller, including button assignments, DPI settings, and lighting preferences. Experiment with different configurations to find the perfect setup that enhances your gaming performance and overall enjoyment.
Remember that the goal of creating a profile is to tailor the controller to your preferences, providing a personalized gaming experience that aligns with your unique play style. Once you’ve customized the profile to your satisfaction, you’re ready to move on to the next step: customizing your profile settings to further refine the gaming experience.
Step 4: Customize Your Profile Settings
After creating a profile for your Logitech game controller, the next crucial step is to customize the profile settings to align with your gaming preferences and requirements. This phase allows you to delve deeper into the nuances of controller customization, empowering you to fine-tune various parameters to optimize your gaming experience.
Within the Logitech Gaming Software interface, navigate to the section dedicated to profile management. Select the newly created profile or the one you wish to customize, and delve into the myriad of settings available for modification.
One of the key areas for customization is button mapping. Assign specific in-game actions or commands to different buttons on the controller, ensuring that your controls are intuitive and tailored to your preferred play style. Whether it’s assigning weapon slots, skill activations, or movement commands, personalized button mappings can significantly enhance your gaming performance.
Additionally, explore the sensitivity settings to adjust the responsiveness of the controller’s joysticks or other input mechanisms. Fine-tuning sensitivity can have a profound impact on your aiming accuracy, camera control, and overall maneuverability within games, providing a competitive edge in fast-paced action or precision-oriented titles.
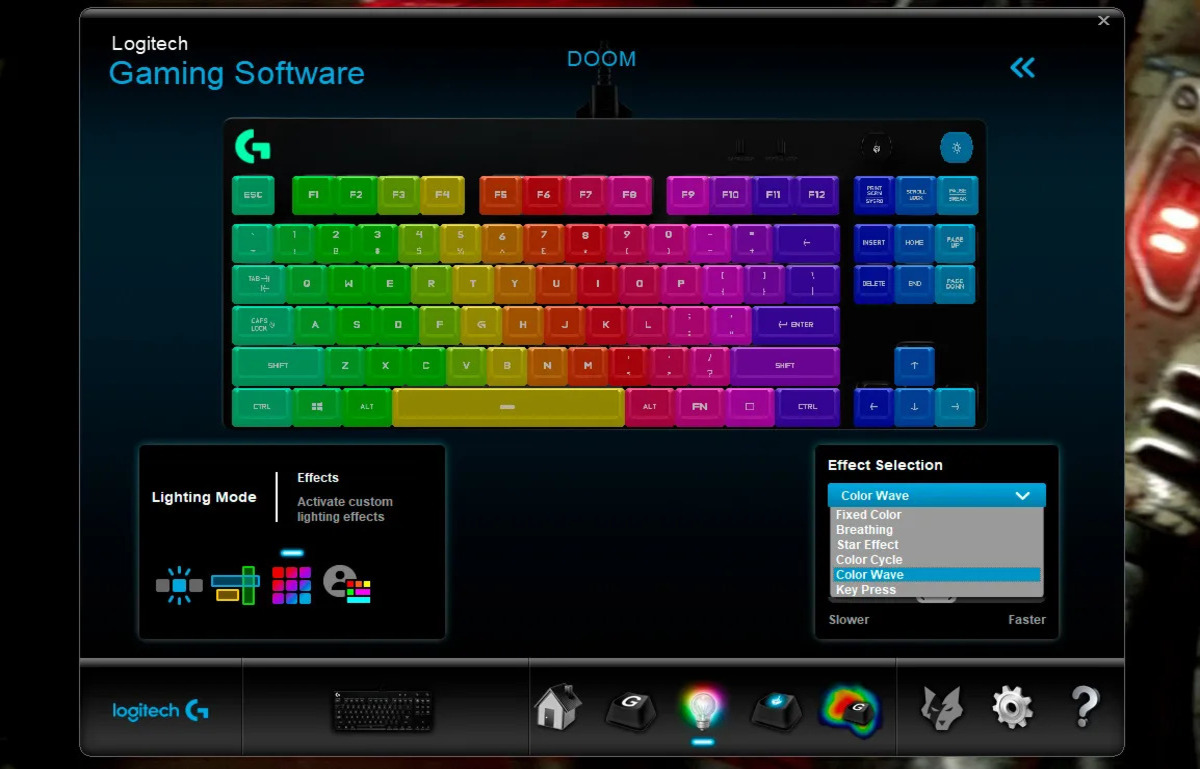
Moreover, if your Logitech game controller features customizable lighting effects, take advantage of this feature to add a touch of personalization to your gaming setup. Whether it’s choosing a specific color scheme, creating dynamic lighting patterns, or synchronizing lighting effects with in-game events, lighting customization can elevate the aesthetic appeal of your gaming environment.
As you navigate through the profile settings, consider experimenting with different configurations to find the optimal setup that resonates with your gaming style. The customization phase empowers you to tailor the controller to your exact specifications, fostering a more immersive and enjoyable gaming experience.
Once you’ve fine-tuned the profile settings to your satisfaction, it’s time to proceed to the final step: saving and applying your customized profile to unleash its full potential during gaming sessions.
Step 5: Save and Apply Your Profile
Having meticulously customized the settings of your profile, it’s essential to save and apply your configurations to ensure that your Logitech game controller is optimized for your gaming endeavors.
Once you’ve finalized the adjustments to your profile settings within the Logitech Gaming Software, locate the option to save your profile. This action ensures that all the personalized configurations, including button mappings, sensitivity adjustments, and lighting preferences, are preserved for future use.
When saving your profile, consider assigning a descriptive and memorable name that reflects the game or genre it’s tailored for. This naming convention can streamline the process of selecting the appropriate profile when switching between different games, simplifying the overall gaming experience.
After saving your profile, it’s time to apply it to your Logitech game controller. Depending on the model of your controller and the software interface, this typically involves a straightforward process of selecting the saved profile and applying it to the connected controller.
Once the profile is applied, your Logitech game controller is now equipped with the customized configurations that cater to your gaming preferences. Whether you’re engaging in intense battles, embarking on epic adventures, or navigating intricate environments, your personalized profile is poised to elevate your gaming performance and immersion.
By saving and applying your profile, you’re ensuring that the meticulous customization work you’ve invested in translates into a tangible advantage during your gaming sessions. With the profile seamlessly integrated into your Logitech game controller, you’re primed to unleash its full potential and experience gaming in a way that resonates with your individual style and preferences.
With your customized profile saved and applied, you’ve successfully completed the process of optimizing your Logitech game controller to align with your gaming aspirations. Now, armed with a tailored profile, you’re poised to embark on gaming adventures with enhanced precision, comfort, and enjoyment.
Conclusion
Congratulations! You’ve now mastered the art of creating a personalized profile for your Logitech game controller, unlocking a world of customization and optimization tailored to your unique gaming preferences. By following the step-by-step process outlined in this guide, you’ve gained the knowledge and skills to elevate your gaming experience to new heights.
Through the installation of the Logitech Gaming Software, the establishment of a seamless connection with your controller, and the meticulous customization of profile settings, you’ve harnessed the full potential of your Logitech game controller. This personalized profile empowers you to navigate virtual worlds, engage in thrilling battles, and execute precise maneuvers with enhanced comfort, precision, and control.
With your custom profile in place, you’re poised to conquer new challenges, immerse yourself in captivating narratives, and compete with confidence in the competitive gaming arena. The ability to switch between tailored profiles for different games or genres provides unparalleled flexibility, allowing you to adapt your controller’s settings to suit the unique demands of each gaming experience.
As you continue your gaming journey, remember that the process of creating and customizing a profile for your Logitech game controller is a dynamic and iterative endeavor. Feel empowered to revisit and refine your profiles as you explore new games, discover fresh play styles, and seek to optimize your gaming performance even further.
By embracing the art of profile creation and customization, you’ve embraced a key aspect of the gaming experience – the ability to tailor your equipment to suit your individual preferences and play style. Your Logitech game controller, armed with a personalized profile, is now a seamless extension of your gaming prowess, ready to enhance your adventures and triumphs in the virtual realms.
So, as you embark on your next gaming session, take pride in the personalized profile you’ve crafted, knowing that it stands as a testament to your commitment to excellence and your dedication to optimizing every aspect of your gaming experience.


