Introduction
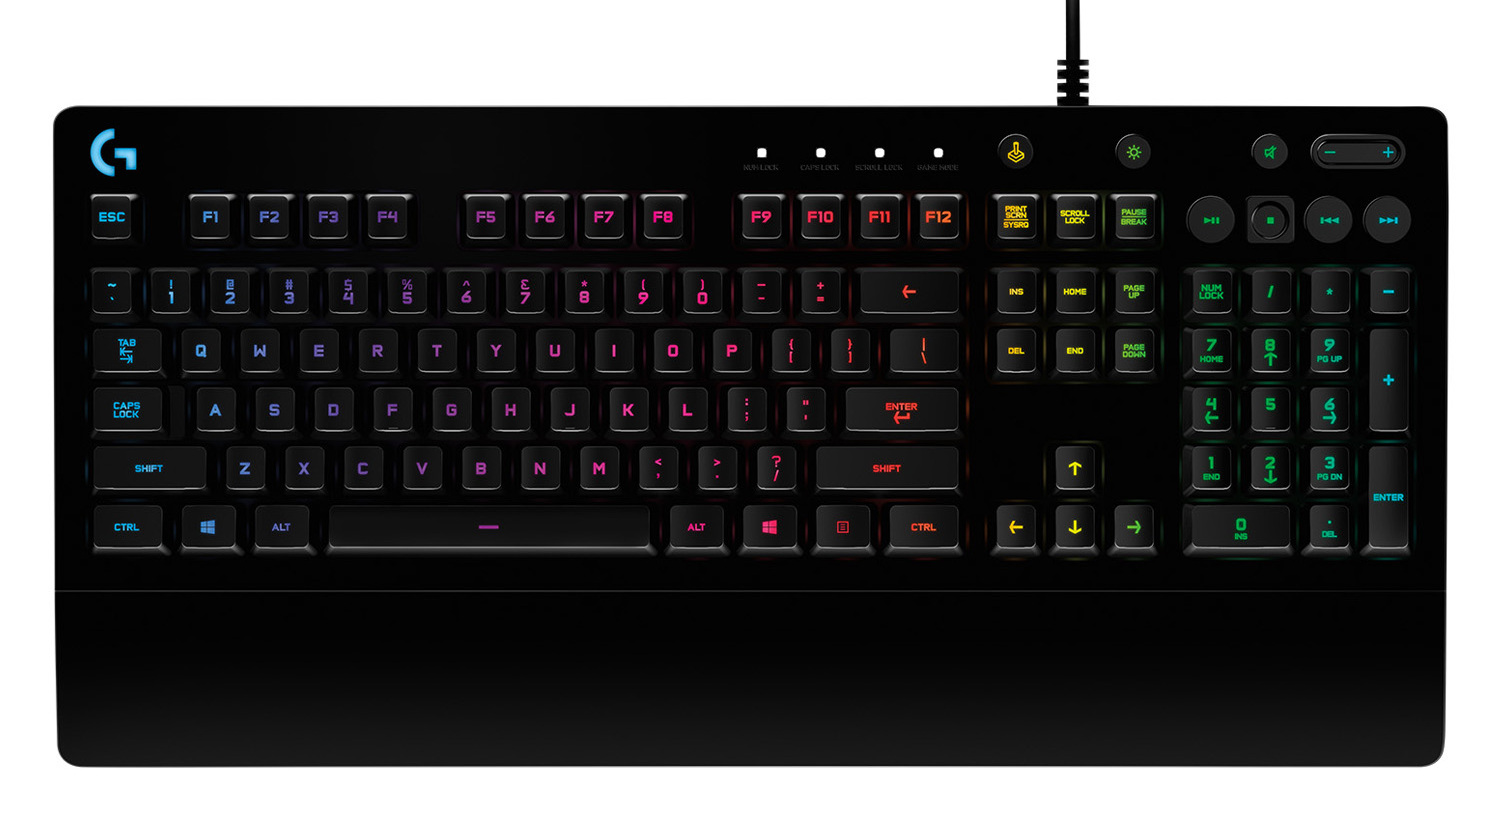
Welcome to the world of customizable keyboard lighting! Logitech keyboards are known for their RGB lighting features, allowing you to personalize your keyboard to match your style or create a vibrant gaming setup. With Logitech G HUB software, you have the power to control and customize the lighting effects, colors, and patterns of your Logitech keyboard. Whether you’re a gamer looking to create an immersive gaming experience or simply want to add some flair to your workspace, changing your Logitech keyboard’s color is a fun and creative way to do it.
In this article, we will guide you through the process of changing the color of your Logitech keyboard step by step. We’ll cover everything from installing the Logitech G HUB software to customizing individual keys and creating profiles. By the end of this guide, you’ll have the knowledge and tools to transform your keyboard into a stunning visual centerpiece.
Before we dive into the step-by-step instructions, it’s important to note that not all Logitech keyboards are supported by the Logitech G HUB software. Make sure to check if your specific model is compatible before proceeding. Additionally, we recommend keeping your Logitech G HUB software up to date to ensure the best performance and access to the latest features.
Now, let’s get started on the exciting journey of customizing your Logitech keyboard’s color!
Getting Started
Before we begin customizing the color of your Logitech keyboard, there are a few things you’ll need to have in place. Here’s what you need to get started:
- A Logitech keyboard with RGB lighting capabilities: Make sure you have a Logitech keyboard that supports RGB lighting. Not all Logitech keyboards have this feature, so double-check your model’s specifications to ensure compatibility.
- The Logitech G HUB software: This is the software that allows you to control and customize your Logitech keyboard’s lighting. If you haven’t installed it yet, head over to the official Logitech website and download the latest version of Logitech G HUB software. It’s compatible with both Windows and macOS operating systems.
- A USB connection: Ensure that your Logitech keyboard is connected to your computer using a USB cable. This connection is necessary for the Logitech G HUB software to communicate with your keyboard and apply the lighting changes.
Once you have all these prerequisites in place, you’re ready to embark on your journey of transforming the color of your Logitech keyboard. Don’t worry if you’re new to the world of RGB lighting customization – we’ll guide you through each step to make the process as smooth as possible.
In the next section, we’ll walk you through the process of installing the Logitech G HUB software. So let’s dive in and get started!
Step 1: Install Logitech G HUB software
The first step in changing the color of your Logitech keyboard is to install the Logitech G HUB software. Follow these instructions to get the software up and running:
- Visit the official Logitech website: Launch your preferred web browser and go to the official Logitech website. Navigate to the support or downloads section.
- Find your keyboard model: Look for your specific Logitech keyboard model in the list of supported devices. Once you find it, click on the corresponding link to download the Logitech G HUB software.
- Download and install the software: Click on the download link to start the software download. Once the download is complete, locate the setup file in your downloads folder and double-click on it. Follow the on-screen prompts to install the Logitech G HUB software on your computer.
- Launch the Logitech G HUB software: After the installation is complete, launch the Logitech G HUB software. You can typically find it in your computer’s Start menu or desktop shortcut. If prompted, sign in to your Logitech account or create a new one.
Congratulations! You have successfully installed the Logitech G HUB software on your computer. This software is the command center for customizing the lighting effects on your Logitech keyboard.
In the next step, we’ll guide you through the process of connecting your Logitech keyboard to the Logitech G HUB software. So let’s move on to step 2!
Step 2: Connect your Logitech keyboard
Now that you have the Logitech G HUB software installed on your computer, it’s time to connect your Logitech keyboard to it. Follow these simple steps to establish the connection:
- Locate the USB cable: Find the USB cable that came with your Logitech keyboard. It is typically a standard USB Type-A to USB Type-B cable.
- Connect the USB cable: Plug one end of the USB cable into an available USB port on your computer. Then, connect the other end to the USB port on your Logitech keyboard.
- Wait for the connection: Give your computer a few moments to detect the keyboard and establish the connection. You may see a notification or hear a sound indicating that the keyboard has been successfully connected.
That’s it! Your Logitech keyboard is now connected to your computer. The Logitech G HUB software will recognize the keyboard, and you’ll be ready to customize its color and lighting effects.
If you encounter any issues with the connection, make sure the USB cable is securely plugged into both the keyboard and the computer. Additionally, check that the keyboard is powered on and that the Logitech G HUB software is properly installed and running.
In the next step, we’ll show you how to open the Logitech G HUB software on your computer. Let’s continue to step 3!
Step 3: Open the Logitech G HUB software
With your Logitech keyboard connected to your computer, it’s time to open the Logitech G HUB software. Follow these steps to launch the software:
- Locate the Logitech G HUB software icon: Look for the Logitech G HUB software icon on your computer’s desktop or in the Start menu. It is usually represented by the Logitech G logo.
- Double-click the icon to open the software: Once you have located the Logitech G HUB software icon, double-click on it to launch the program.
- Wait for the software to load: Give the Logitech G HUB software a few moments to load. Depending on your computer’s speed, it may take a few seconds to open.
After performing these steps, the Logitech G HUB software should open, revealing its user-friendly interface. You may be prompted to sign in to your Logitech account if you haven’t done so already.
If, for some reason, you are unable to locate the Logitech G HUB software icon on your computer, you can search for it in the Start menu or use the search function on your operating system. Make sure you have installed the software correctly and that it is compatible with your keyboard model.
In the next step, we’ll dive into the exciting part – customizing your Logitech keyboard’s lighting! Let’s proceed to step 4.
Step 4: Customize your lighting
Now that you have the Logitech G HUB software open, it’s time to unleash your creativity and customize the lighting of your Logitech keyboard. Follow these steps to get started:
- Select your Logitech keyboard: In the Logitech G HUB software interface, you will see a list of connected devices. Locate your Logitech keyboard in the list and click on it to select it as the target device for customization.
- Access the lighting settings: Once you have selected your Logitech keyboard, navigate to the lighting settings section. This is where you can control various aspects of the lighting, such as colors, effects, and brightness.
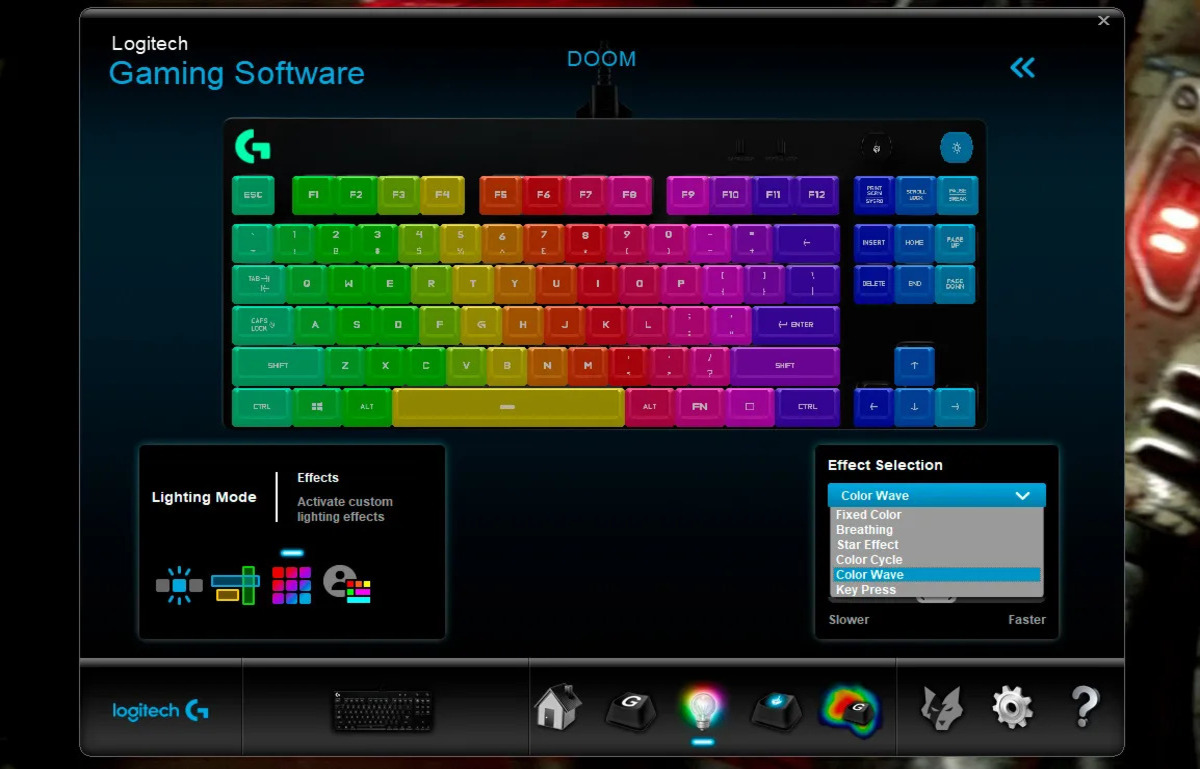
- Choose a lighting effect: Explore the different lighting effects available in the Logitech G HUB software. These effects can range from static colors to dynamic patterns and animations. Click on the effect that appeals to you the most.
- Adjust the color: If you prefer a specific color or want to create a custom color scheme, you can do so in the Logitech G HUB software. Select the color palette or RGB sliders to create the desired color. You can also choose from predefined color presets.
- Modify the brightness and speed: Depending on the lighting effect you have selected, you may have the option to adjust the brightness and speed. Play around with these settings to find the perfect balance for your preference.
As you make changes to the lighting settings, you will see them being applied to your Logitech keyboard in real-time. This allows you to preview and fine-tune the lighting to your liking.
Feel free to experiment with different lighting effects and color combinations until you achieve the desired look for your Logitech keyboard. The Logitech G HUB software provides a wide range of customization options to help you create a unique and personalized lighting setup.
In the next step, we’ll show you how to customize individual keys on your Logitech keyboard. Let’s move on to step 5!
Step 5: Customize individual keys
If you want to take your Logitech keyboard customization to the next level, you can personalize the lighting of individual keys. This allows you to highlight specific keys or create unique lighting patterns for different parts of your keyboard. Follow these steps to customize individual keys:
- Select the key customization option: In the Logitech G HUB software, look for the key customization section. It may be labeled as “Key Assignment” or something similar.
- Choose the key you want to customize: Click on the key that you want to customize. You can select multiple keys by holding down the CTRL key (Command key on macOS) and clicking on the desired keys.
- Apply a lighting effect: Once you have selected the desired keys, choose a lighting effect or color for those keys. You can apply different effects or colors to each individual key or group of keys.
- Experiment with advanced customization: For more advanced users, the Logitech G HUB software offers additional options to customize individual keys. These options may include assigning macros, functions, or multimedia controls to specific keys.
- Save and apply the changes: After customizing the individual keys, make sure to save your changes. Click on the “Apply” or “Save” button to apply the customized lighting to your Logitech keyboard.
Customizing individual keys gives you the opportunity to create a keyboard layout that matches your specific needs and preferences. Whether you want to highlight important gaming keys, create a color-coded layout for different applications, or simply add some visual flair, the Logitech G HUB software provides the tools to bring your vision to life.
Now that you know how to customize individual keys, let’s move on to step 6, where we’ll explore how to create and manage profiles for your Logitech keyboard.
Step 6: Create profiles
Creating profiles in the Logitech G HUB software allows you to save and switch between different lighting configurations for your Logitech keyboard. With profiles, you can have custom lighting setups for various tasks or games. Follow these steps to create profiles:
- Access the profile settings: In the Logitech G HUB software, locate the profile settings section. It may be labeled as “Profiles” or something similar.
- Create a new profile: Click on the “New Profile” or “Add Profile” button to create a new profile. Give your profile a descriptive name, such as “Gaming” or “Work”.
- Customize the lighting for the new profile: Once you have created the new profile, customize its lighting settings just like you did in step 4. Choose the lighting effects, colors, and individual key customization for this specific profile.
- Switch between profiles: After creating multiple profiles, you can easily switch between them within the Logitech G HUB software. Look for the profile switching options, which may be in the form of a drop-down menu or buttons.
Creating profiles allows you to quickly switch between different lighting setups without having to manually adjust the settings each time. This feature is especially useful for gamers who want specific lighting configurations for different games or professionals who have different lighting preferences for various tasks.
Additionally, the Logitech G HUB software may offer more advanced profile settings, such as linking profiles to specific applications. This means that the software can automatically switch to a predefined profile when a particular application is launched.
Take advantage of the profile feature to organize and manage your customized lighting setups effectively. It adds another layer of versatility to your Logitech keyboard customization.
In the next step, we’ll explore how to sync lighting effects across multiple Logitech devices. Let’s move on to step 7!
Step 7: Sync lighting effects across devices
If you have multiple Logitech devices with RGB lighting, you can synchronize the lighting effects across all your devices for a cohesive and immersive experience. This feature allows you to create stunning lighting displays that extend beyond your keyboard. Follow these steps to sync lighting effects across devices:
- Select the devices you want to sync: In the Logitech G HUB software, access the device settings and look for the option to sync lighting effects. Choose the Logitech devices you want to synchronize, such as keyboards, mice, headsets, or other compatible devices.
- Choose a lighting effect: Once you’ve selected the devices, choose a lighting effect or color scheme that you want to apply to all the synchronized devices. This could be a static color, a dynamic animation, or a customized effect.
- Apply the synchronized lighting: After selecting the desired lighting effect, click on the “Apply” or “Sync” button to synchronize the lighting across all the connected Logitech devices.
With the lighting effects synchronized, you’ll experience a harmonious visual display that spans across your Logitech devices. Whether you’re gaming, working, or simply showcasing your setup, synchronized lighting adds an extra level of immersion and aesthetic appeal.
Keep in mind that not all Logitech devices support lighting synchronization. Ensure that your devices are compatible with this feature and have the necessary drivers and firmware installed.
Now that you know how to sync lighting effects across multiple Logitech devices, you can create a captivating and unified lighting setup that enhances your overall experience.
Congratulations! You have successfully learned how to change the color of your Logitech keyboard using the Logitech G HUB software. Experiment with different lighting effects, colors, and profiles to make your keyboard truly unique and personalized.
Remember to save your settings and update the Logitech G HUB software regularly to access the latest features and improvements.
We hope that this guide has been helpful in transforming your Logitech keyboard into a stunning visual centerpiece. Enjoy the immersive and mesmerizing lighting effects as you embark on your gaming adventures or accomplish your work with style!
Conclusion
Customizing the color of your Logitech keyboard is a fantastic way to add a personal touch to your gaming setup or workspace. With the Logitech G HUB software, you have the power to control and unleash a world of vibrant and dynamic lighting effects. Throughout this guide, we’ve walked you through the step-by-step process of changing the color of your Logitech keyboard, from installing the software to customizing individual keys and creating profiles.
By following these instructions, you can transform your Logitech keyboard into a visually captivating masterpiece. Whether you prefer a subtle and elegant lighting scheme or want to create an eye-catching rainbow of colors, the Logitech G HUB software offers a variety of options to suit your style.
Remember to explore different lighting effects, experiment with color combinations, and even synchronize lighting across multiple Logitech devices for a truly immersive experience. Let your creativity be your guide as you tailor your keyboard’s lighting to match your personality and enhance your gaming or work sessions.
We hope that this guide has inspired you to unlock the full potential of your Logitech keyboard’s lighting capabilities. Keep in mind that the Logitech G HUB software is regularly updated, so it’s worth staying up to date to access new features and improvements.
Now, it’s time for you to dive in and start customizing your Logitech keyboard’s color. Have fun, and enjoy the personalized and visually stunning experience that awaits you!