Introduction
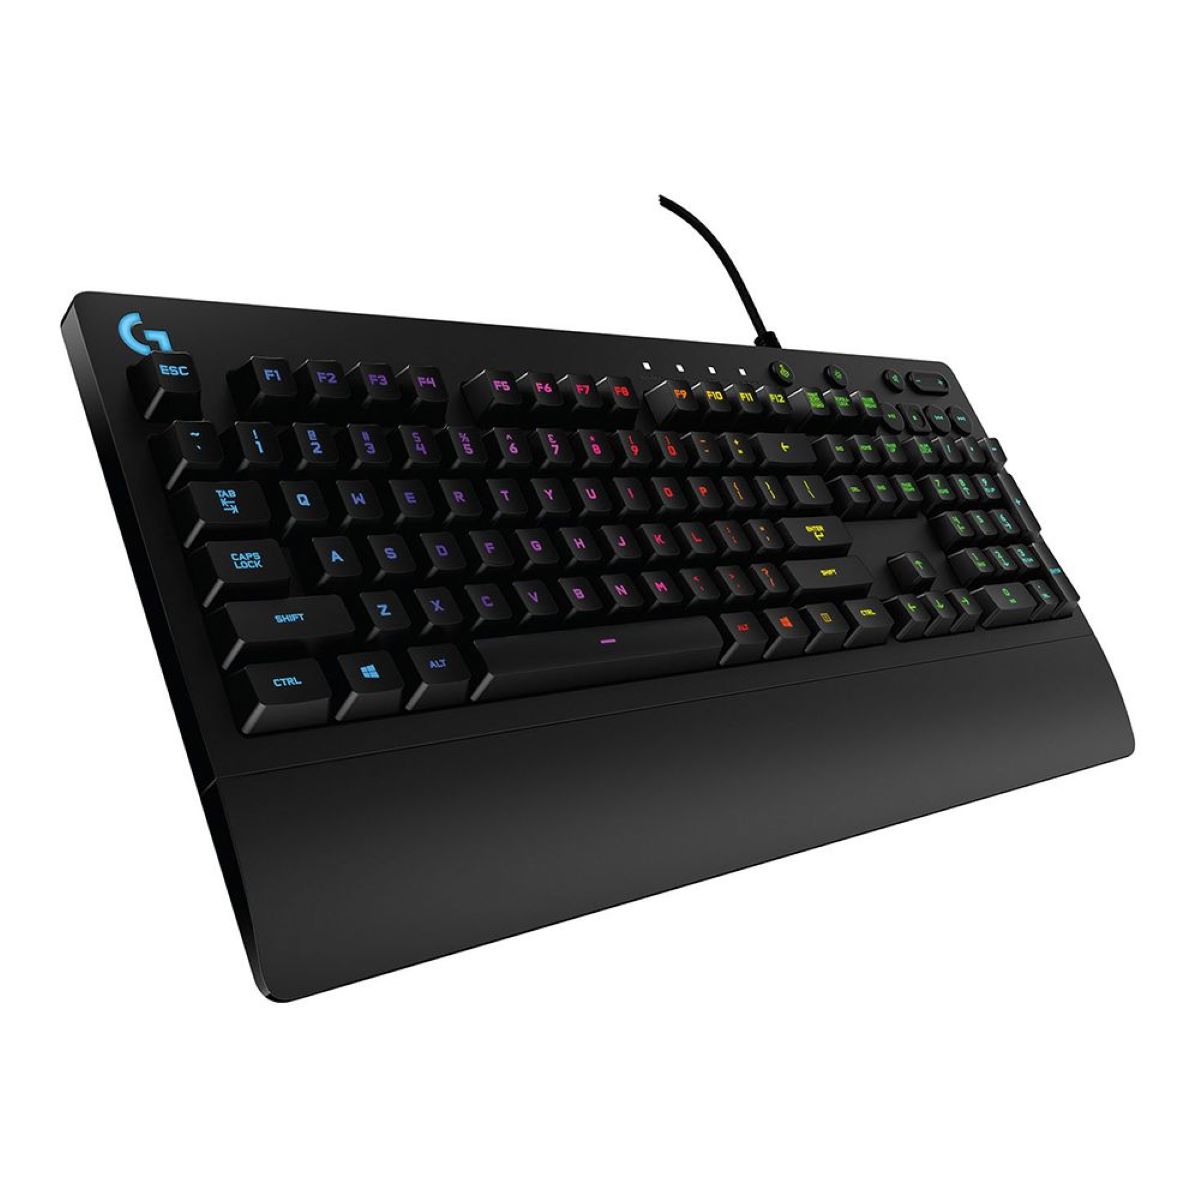
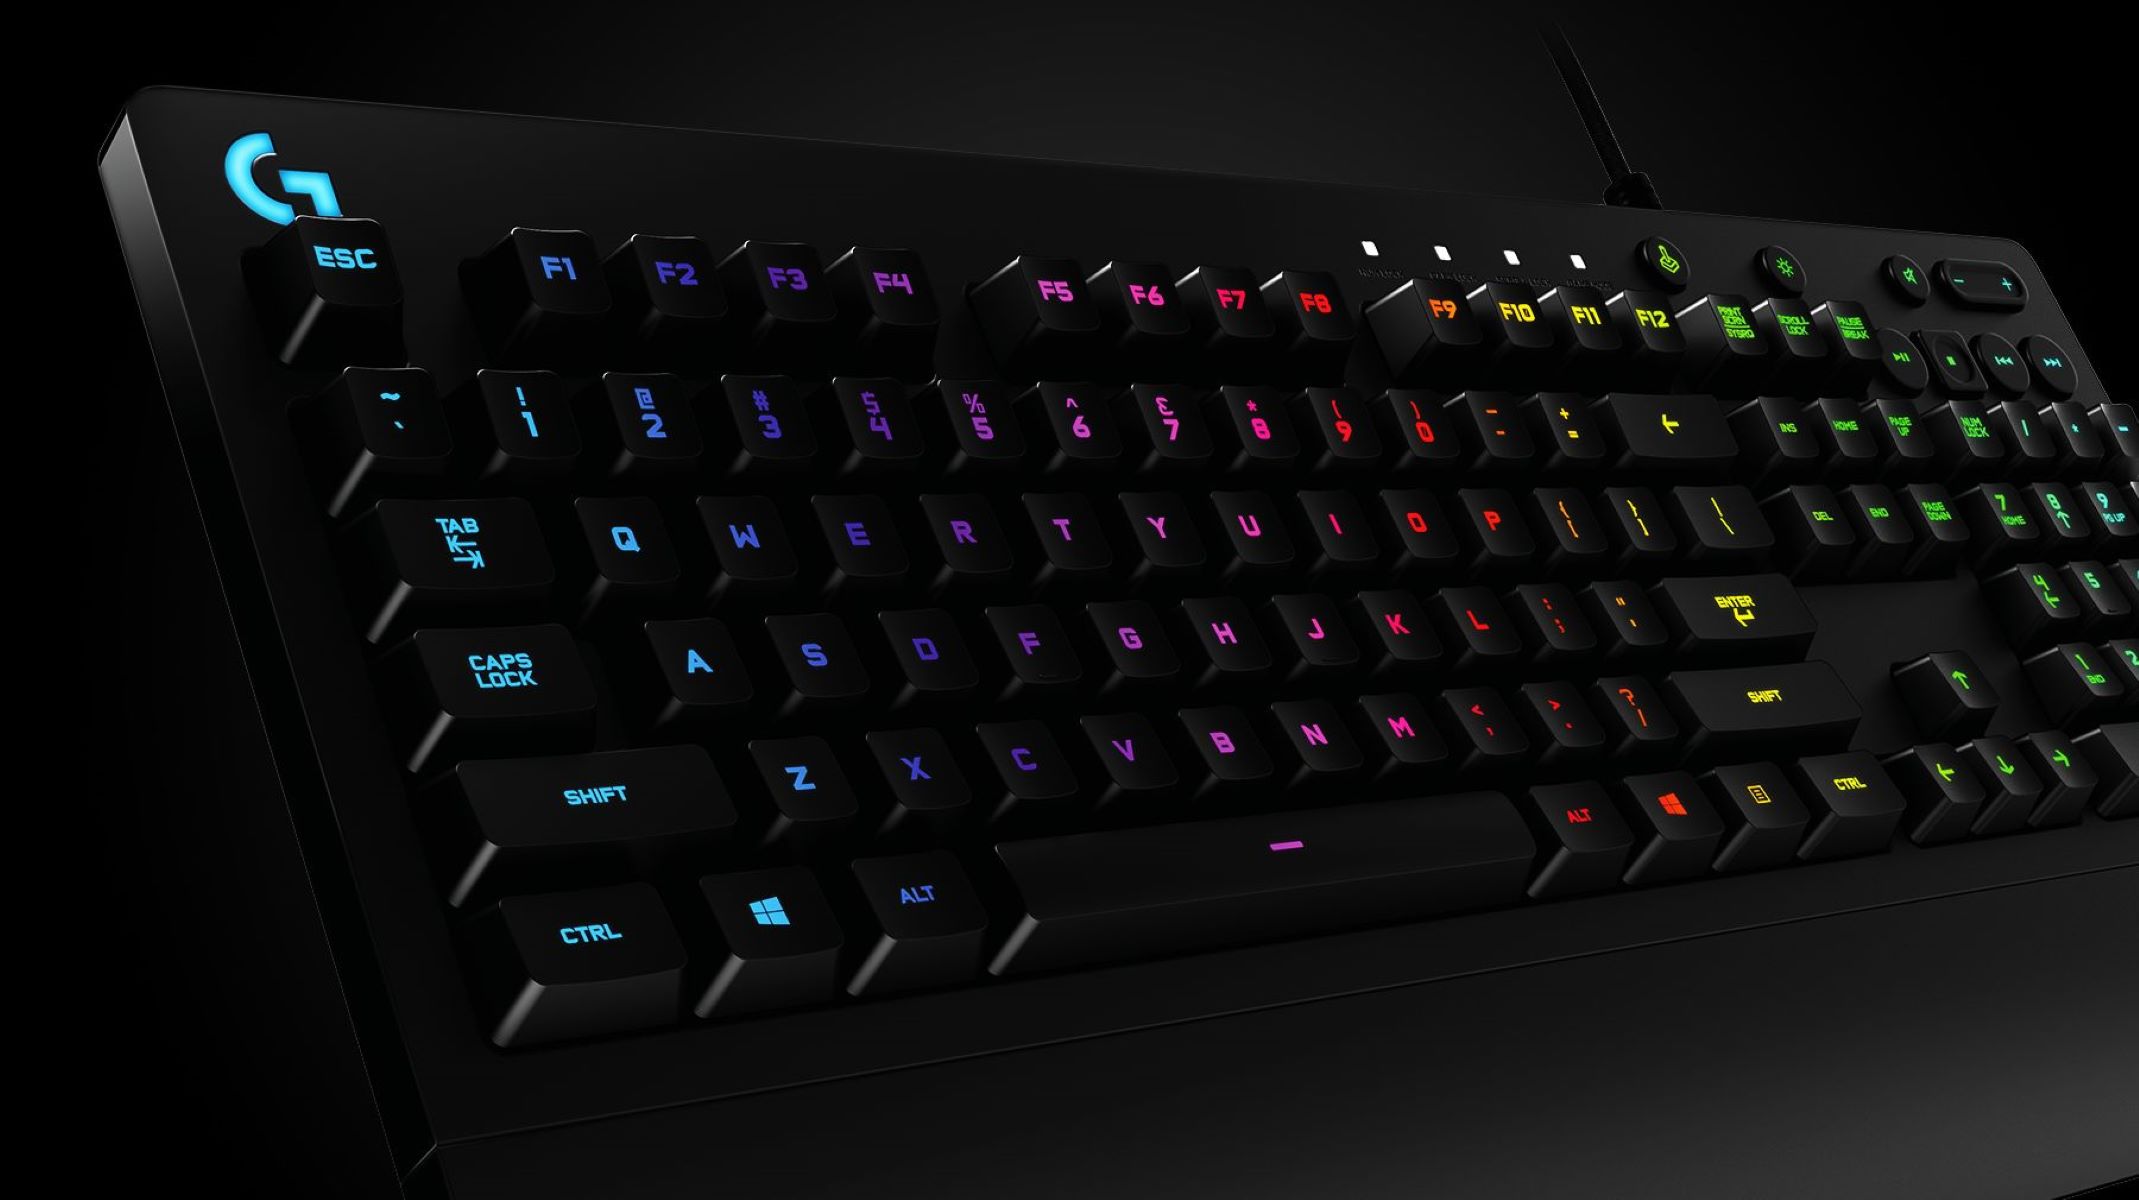
Are you ready to elevate your gaming experience with a vibrant and personalized keyboard? The Logitech G213 Prodigy Gaming Keyboard offers customizable RGB lighting that allows you to immerse yourself in a spectrum of colors while you conquer virtual worlds. However, over time, you may find the need to change the LED lights on your keyboard to refresh its appearance or address any malfunctioning lights. Fortunately, with the right tools and a systematic approach, you can easily replace the LED lights on your Logitech G213 Prodigy Gaming Keyboard.
In this guide, we will walk you through the step-by-step process of changing the lights on your Logitech G213 Prodigy Gaming Keyboard. From removing the keycaps to accessing and replacing the LED lights, we will cover each stage in detail to ensure that you can successfully customize your keyboard's lighting to suit your preferences. Whether you're a seasoned gamer seeking a customized visual experience or a tech enthusiast looking to delve into the intricacies of keyboard maintenance, this guide will equip you with the knowledge and confidence to tackle this task effectively.
By the end of this tutorial, you will have the skills and understanding required to modify the LED lights on your Logitech G213 Prodigy Gaming Keyboard, opening up a world of creative possibilities and ensuring that your gaming setup reflects your unique style and personality. Let's embark on this illuminating journey to transform your gaming keyboard and unleash a dazzling display of light and color.
Tools Needed
Before embarking on the process of changing the LED lights on your Logitech G213 Prodigy Gaming Keyboard, it’s essential to gather the necessary tools to ensure a smooth and efficient experience. Here’s a list of items you will need:
- Keycap Puller: This tool is crucial for safely removing the keycaps from your keyboard without causing damage. It provides a gentle and precise method for detaching the keycaps, allowing you to access the LED lights beneath them.
- Flathead Screwdriver: A small flathead screwdriver will be required to access and replace the LED lights within the keyboard. It aids in carefully prying open the keyboard casing to reach the internal components.
- Replacement LED Lights: Depending on the specific lights you wish to install, ensure that you have the appropriate replacement LED lights on hand. It’s advisable to acquire these lights from a reputable source to guarantee compatibility and quality.
- Clean Cloth: Having a clean, lint-free cloth at your disposal is helpful for wiping down the keycaps and keyboard surface during the process. This ensures that the keyboard remains free from dust and debris, maintaining its pristine condition.
- Tweezers: A pair of tweezers can be useful for handling the tiny LED lights and positioning them correctly within the keyboard. They provide precision and control when working with delicate components.
- Workspace with Ample Lighting: Creating a well-lit and clutter-free workspace is essential for carrying out the LED replacement procedure with ease. Adequate lighting will allow you to clearly observe the keyboard’s internal components and perform the necessary tasks accurately.
By ensuring that you have these tools readily available, you will be fully equipped to undertake the process of changing the LED lights on your Logitech G213 Prodigy Gaming Keyboard. With these tools at your disposal, you can proceed confidently and methodically through each step, achieving a successful and visually captivating transformation of your gaming keyboard.
Removing the Keycaps
Before delving into the intricacies of accessing and replacing the LED lights on your Logitech G213 Prodigy Gaming Keyboard, it’s essential to begin by carefully removing the keycaps. This process requires precision and attention to detail to prevent any damage to the keycaps or the underlying mechanisms. Here’s a step-by-step guide to effectively remove the keycaps:
- Prepare Your Workspace: Find a well-lit and spacious area to work in, ensuring that you have ample room to maneuver and organize the keycaps as you remove them. It’s advisable to lay down a soft cloth or mat to prevent the keycaps from getting scratched or misplaced.
- Use a Keycap Puller: Utilize a keycap puller to gently extract the keycaps from the keyboard. Position the keycap puller over the keycap you wish to remove, ensuring that it firmly grasps the keycap without applying excessive force.
- Apply Even Pressure: With the keycap puller in place, exert even pressure to lift the keycap upwards. It’s important to maintain a steady and controlled motion to avoid any sudden or jerky movements that could potentially damage the keycap or the keyboard’s switches.
- Organize and Store Keycaps: As you remove each keycap, arrange them in a logical and systematic manner to facilitate easy reassembly later. Consider using a keycap tray or a segmented container to keep the keycaps organized and prevent them from getting mixed up.
- Inspect and Clean: Once the keycaps are removed, take the opportunity to inspect the exposed areas and clean any accumulated dust or debris using a clean, lint-free cloth. This ensures that the underlying surface is free from obstructions and ready for the next phase of the LED replacement process.
By following these steps, you can safely and effectively remove the keycaps from your Logitech G213 Prodigy Gaming Keyboard, setting the stage for accessing and replacing the LED lights with precision and confidence. With the keycaps removed, you are now ready to proceed to the next phase of the LED replacement process, where you will gain access to the internal components of the keyboard.
Accessing the LED Lights
With the keycaps successfully removed, the next crucial step in replacing the LED lights on your Logitech G213 Prodigy Gaming Keyboard involves accessing the internal components where the LED lights are situated. This process requires careful handling and a methodical approach to ensure that the keyboard remains undamaged throughout the procedure. Here’s a detailed guide to accessing the LED lights:
- Locate the LED Light Housing: Take a close look at the exposed keyboard surface to identify the locations of the LED light housing. These areas are typically positioned beneath the keycaps and are designed to house the LED lights that provide the keyboard’s illumination.
- Use a Flathead Screwdriver: Gently insert a small flathead screwdriver into the seam between the keyboard casing and the section containing the LED light housing. Apply gentle pressure to pry open the casing, taking care to avoid using excessive force that could cause damage to the keyboard’s components.
- Work Methodically: Progress methodically around the keyboard, gradually releasing the casing to reveal the internal components. Exercise patience and precision to ensure that the casing is opened evenly, allowing you to access the LED lights without disrupting the keyboard’s structural integrity.
- Observe Safety Precautions: As you gain access to the LED lights, be mindful of any delicate wiring or connectors within the keyboard. Handle the internal components with care to prevent accidental damage or disconnection of vital elements that could affect the keyboard’s functionality.
- Create a Clear Workspace: As you access the LED lights, maintain a clear and organized workspace, keeping small components and screws in a designated area to prevent misplacement. This approach will facilitate a seamless transition to the next phase of the LED replacement process.
By following these steps, you can effectively access the LED lights within your Logitech G213 Prodigy Gaming Keyboard, setting the stage for the subsequent phase of replacing the LED lights with precision and confidence. With the LED lights accessible, you are now ready to proceed to the critical stage of replacing the lights to revitalize your keyboard’s visual appeal and functionality.
Replacing the LED Lights
Once you have successfully accessed the LED lights within your Logitech G213 Prodigy Gaming Keyboard, the next pivotal phase involves replacing the existing lights with new ones. This process demands attention to detail and precision to ensure that the new lights are installed securely and function optimally. Here’s a comprehensive guide to replacing the LED lights:
- Identify the LED Light Type: Before proceeding, ensure that you have the correct replacement LED lights that are compatible with your Logitech G213 Prodigy Gaming Keyboard. Verify the specifications and design of the new lights to guarantee a seamless and effective replacement process.
- Positioning the New LED Lights: Using tweezers or a delicate tool, carefully position the new LED lights within the designated housing, aligning them according to the original orientation. Exercise caution to avoid damaging the delicate leads or connections of the new lights during installation.
- Secure the LED Lights: Once the new lights are in place, ensure that they are securely seated within the housing to prevent any movement or dislodgment. This step is crucial for maintaining the consistent illumination and functionality of the keyboard’s lighting system.
- Reassemble the Keyboard Casing: After replacing the LED lights, gently reassemble the keyboard casing, ensuring that it aligns evenly and securely. Take care to avoid pinching any wires or obstructing the newly installed lights as you close the casing.
- Test the New Lights: Before fully securing the casing, conduct a preliminary test of the new LED lights to confirm that they are functioning as intended. Observe the illumination across the keyboard and verify that the colors and brightness are consistent and visually appealing.
By following these steps, you can effectively replace the LED lights on your Logitech G213 Prodigy Gaming Keyboard, infusing it with a refreshed and vibrant lighting display. With the new lights in place, you are now ready to proceed to the final phase of testing the functionality and visual impact of the replaced LED lights, ensuring that your keyboard’s illumination meets your expectations and enhances your gaming experience.
Testing the New Lights
After successfully replacing the LED lights on your Logitech G213 Prodigy Gaming Keyboard, it’s crucial to conduct a thorough testing phase to ensure that the new lights function optimally and deliver the desired visual impact. Testing the new lights allows you to verify their performance and make any necessary adjustments before completing the reassembly process. Here’s a detailed guide to testing the new lights:
- Power On the Keyboard: Connect your Logitech G213 Prodigy Gaming Keyboard to your computer and power it on to initiate the illumination system. Ensure that the keyboard is receiving power and that the LED lights are activated upon startup.
- Observe Uniform Illumination: Take note of the illumination across the keyboard, observing the consistency of the new LED lights. Verify that the colors are vibrant and evenly distributed, creating a visually appealing and immersive lighting display.
- Check Functionality: Test the functionality of the LED lights by activating different lighting modes and color schemes, if applicable. Confirm that the lights respond accurately to adjustments and settings, demonstrating their full range of capabilities.
- Assess Brightness and Color Accuracy: Evaluate the brightness and color accuracy of the new lights under various lighting conditions. Ensure that the colors are true to the intended shades and that the brightness levels are suitable for your preferences.
- Make Adjustments if Necessary: If any discrepancies or issues are identified during testing, consider making the necessary adjustments to the LED lights or their positioning. This may involve reseating the lights or addressing any connectivity issues to optimize their performance.
By meticulously testing the new LED lights, you can confirm their functionality and visual impact, ensuring that your Logitech G213 Prodigy Gaming Keyboard is equipped with a captivating and reliable lighting system. With the testing phase completed, you can proceed with confidence to finalize the reassembly of the keyboard, knowing that the new lights have been thoroughly evaluated and tailored to meet your preferences.
Conclusion
Congratulations! You have successfully navigated the process of changing the LED lights on your Logitech G213 Prodigy Gaming Keyboard, unlocking a world of customization and personalization for your gaming setup. By following the systematic steps outlined in this guide, you have gained the knowledge and confidence to modify the lighting of your keyboard with precision and care.
From removing the keycaps to accessing and replacing the LED lights, each phase of the process required attention to detail and a methodical approach. By utilizing the appropriate tools and techniques, you have revitalized your gaming keyboard, infusing it with a vibrant and personalized lighting display that reflects your unique style and preferences.
As you tested the new lights and ensured their optimal functionality, you demonstrated a commitment to achieving a visually captivating and immersive gaming experience. The careful evaluation and adjustments made during the testing phase have contributed to the enhanced performance and appeal of your keyboard’s lighting system.
With the LED lights successfully replaced and tested, your Logitech G213 Prodigy Gaming Keyboard now stands as a testament to your dedication to customization and excellence. Whether you’re embarking on intense gaming sessions or simply enjoying the aesthetic allure of your keyboard, the refreshed LED lights will undoubtedly elevate your overall experience.
As you continue to explore the possibilities of customizing your gaming setup, remember that the knowledge and skills you’ve acquired in this process can be applied to future endeavors. Embrace the creative potential of your keyboard’s lighting system, and let it serve as a reflection of your individuality and passion for gaming.
Thank you for embarking on this illuminating journey to transform your gaming keyboard. May your gaming experiences be enriched by the vibrant and dynamic lighting that now graces your Logitech G213 Prodigy Gaming Keyboard.