Introduction
If you're an avid flight simulation enthusiast or a gamer looking to enhance your experience, connecting a flight stick to a USB encoder can be a game-changer. This process allows you to use a flight stick, also known as a joystick, with a USB interface, offering improved precision and control in a wide range of flight-based games and simulations.
Whether you're piloting a virtual aircraft or engaging in aerial combat, the tactile feedback and intuitive control provided by a flight stick can elevate your gaming experience to new heights. By connecting your flight stick to a USB encoder, you can seamlessly integrate this specialized hardware with your gaming setup, unlocking a more immersive and realistic flying experience.
In this guide, we'll walk you through the process of connecting a flight stick to a USB encoder, providing step-by-step instructions to ensure a smooth and successful setup. By following these simple steps, you'll be ready to take to the virtual skies with confidence, enjoying the enhanced responsiveness and authentic feel that a flight stick can bring to your favorite flight simulation games. Let's dive into the details and get ready to elevate your gaming experience!
What You’ll Need
Before you begin the process of connecting your flight stick to a USB encoder, it’s essential to gather the necessary tools and components. Here’s what you’ll need:
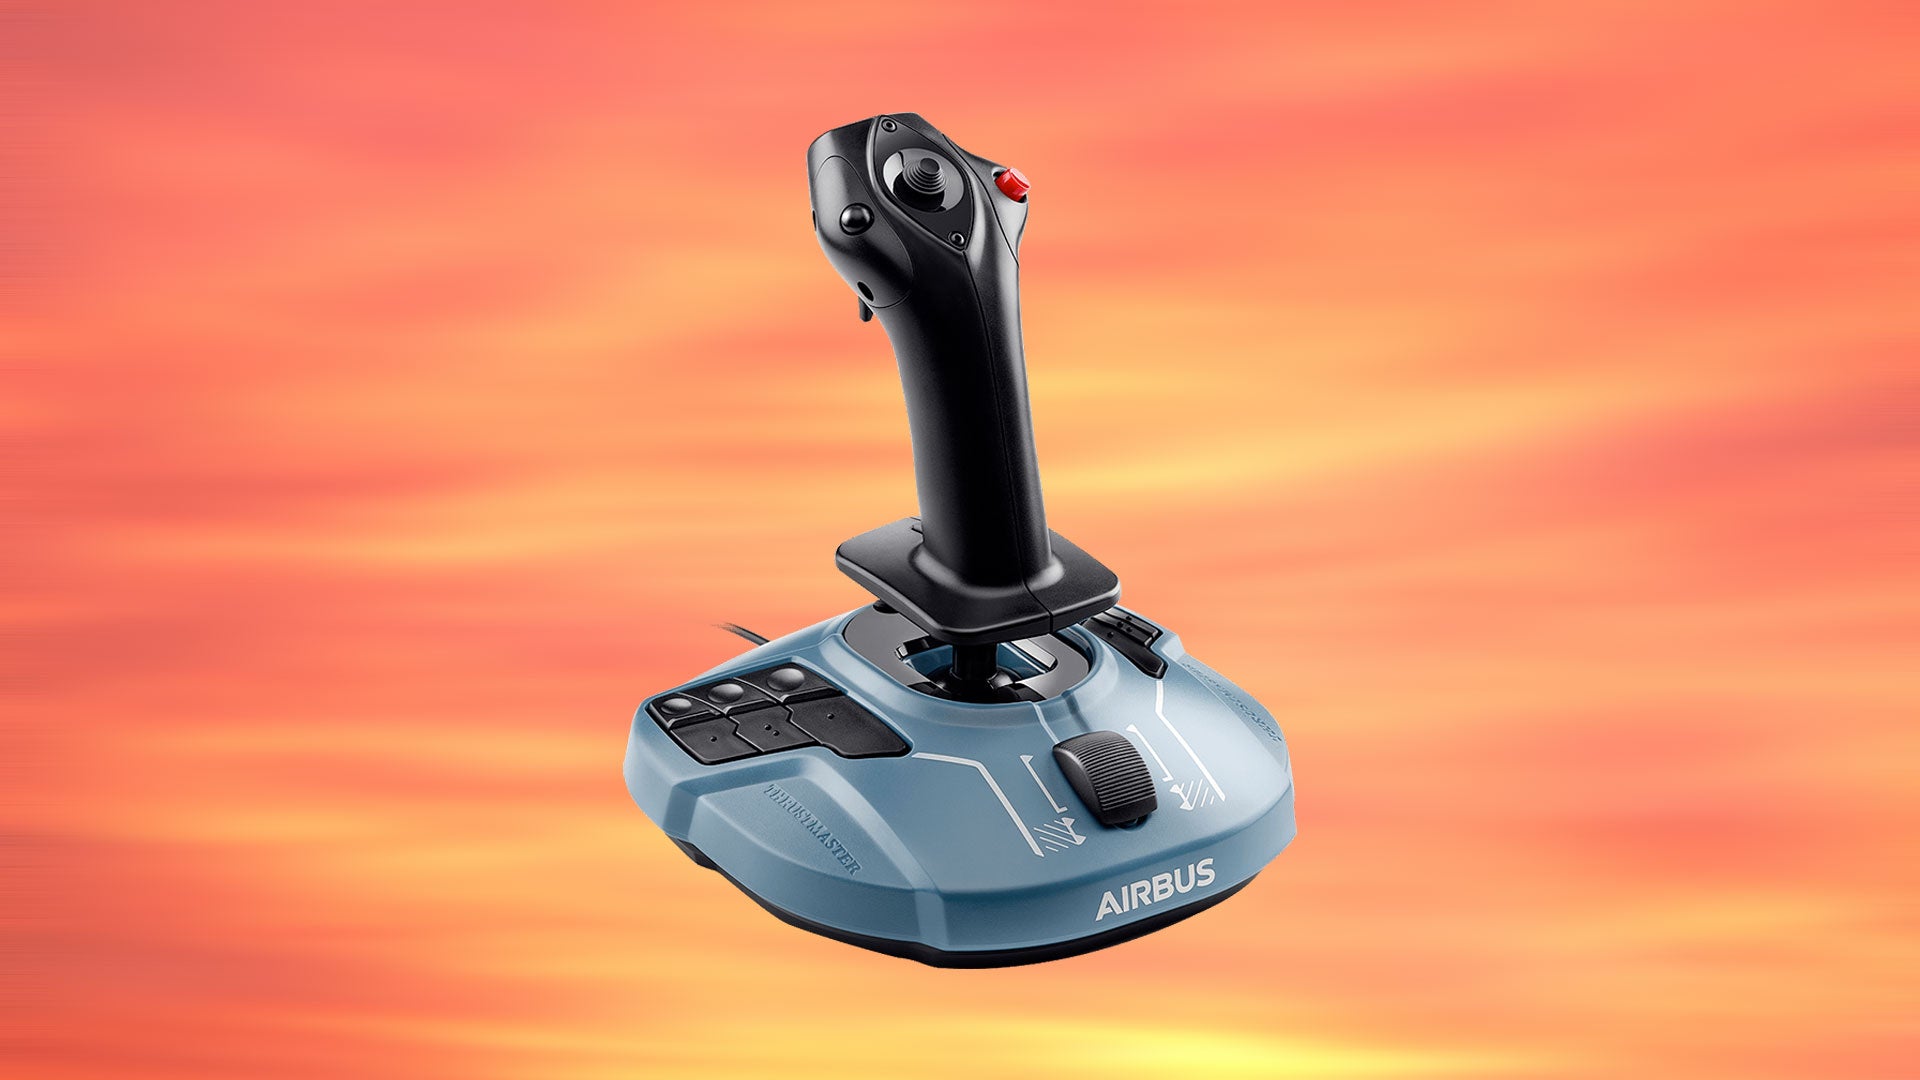
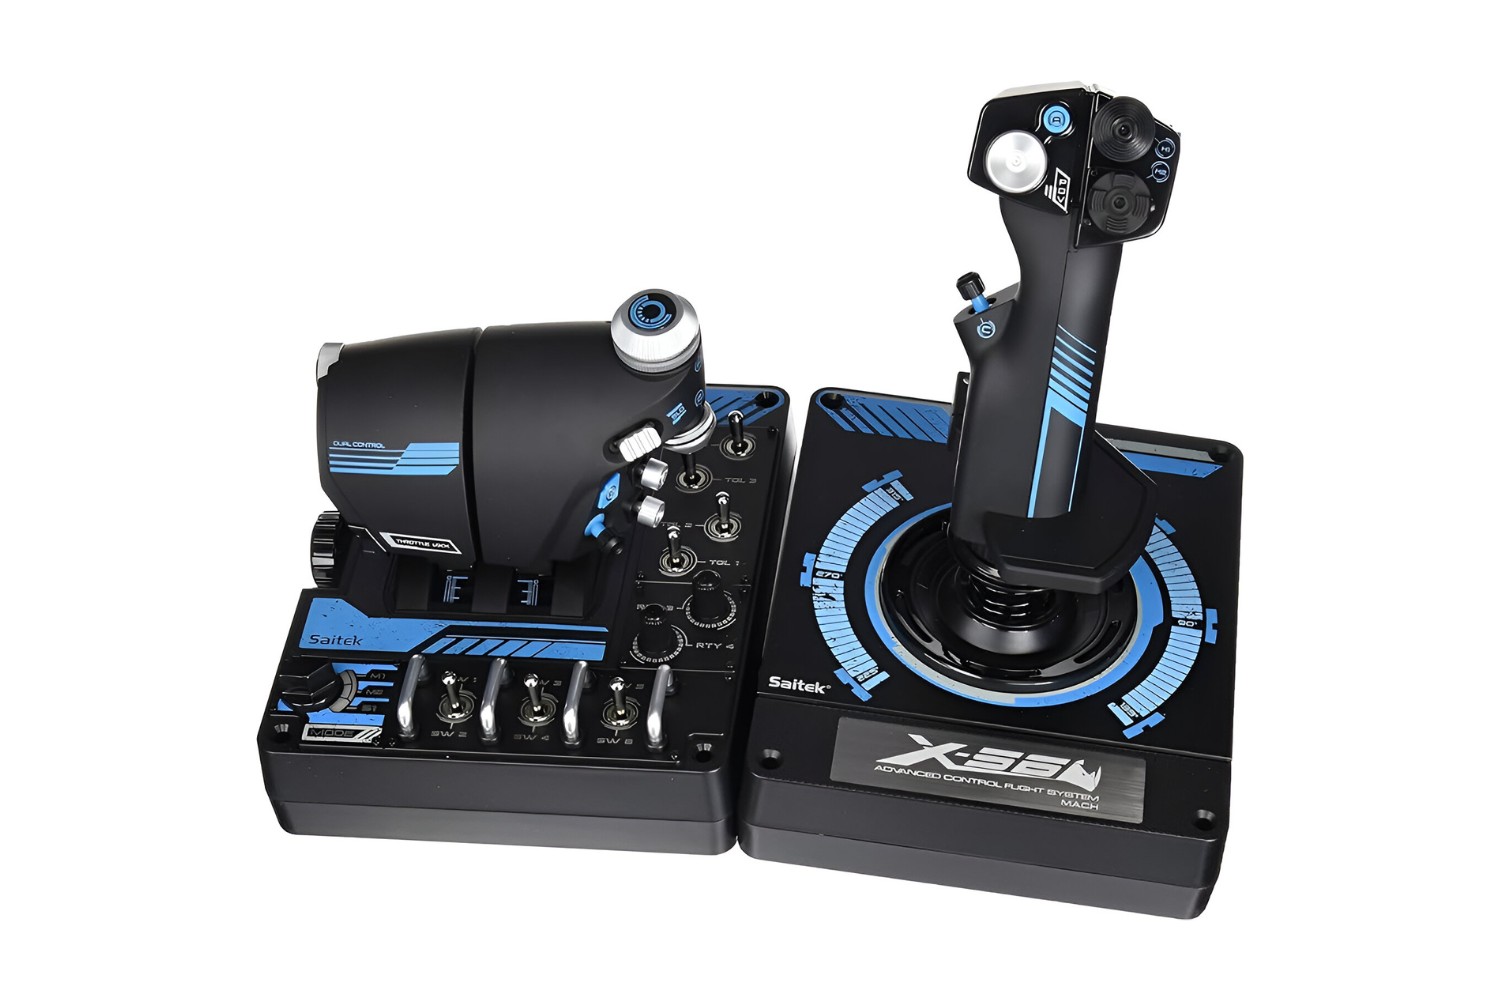
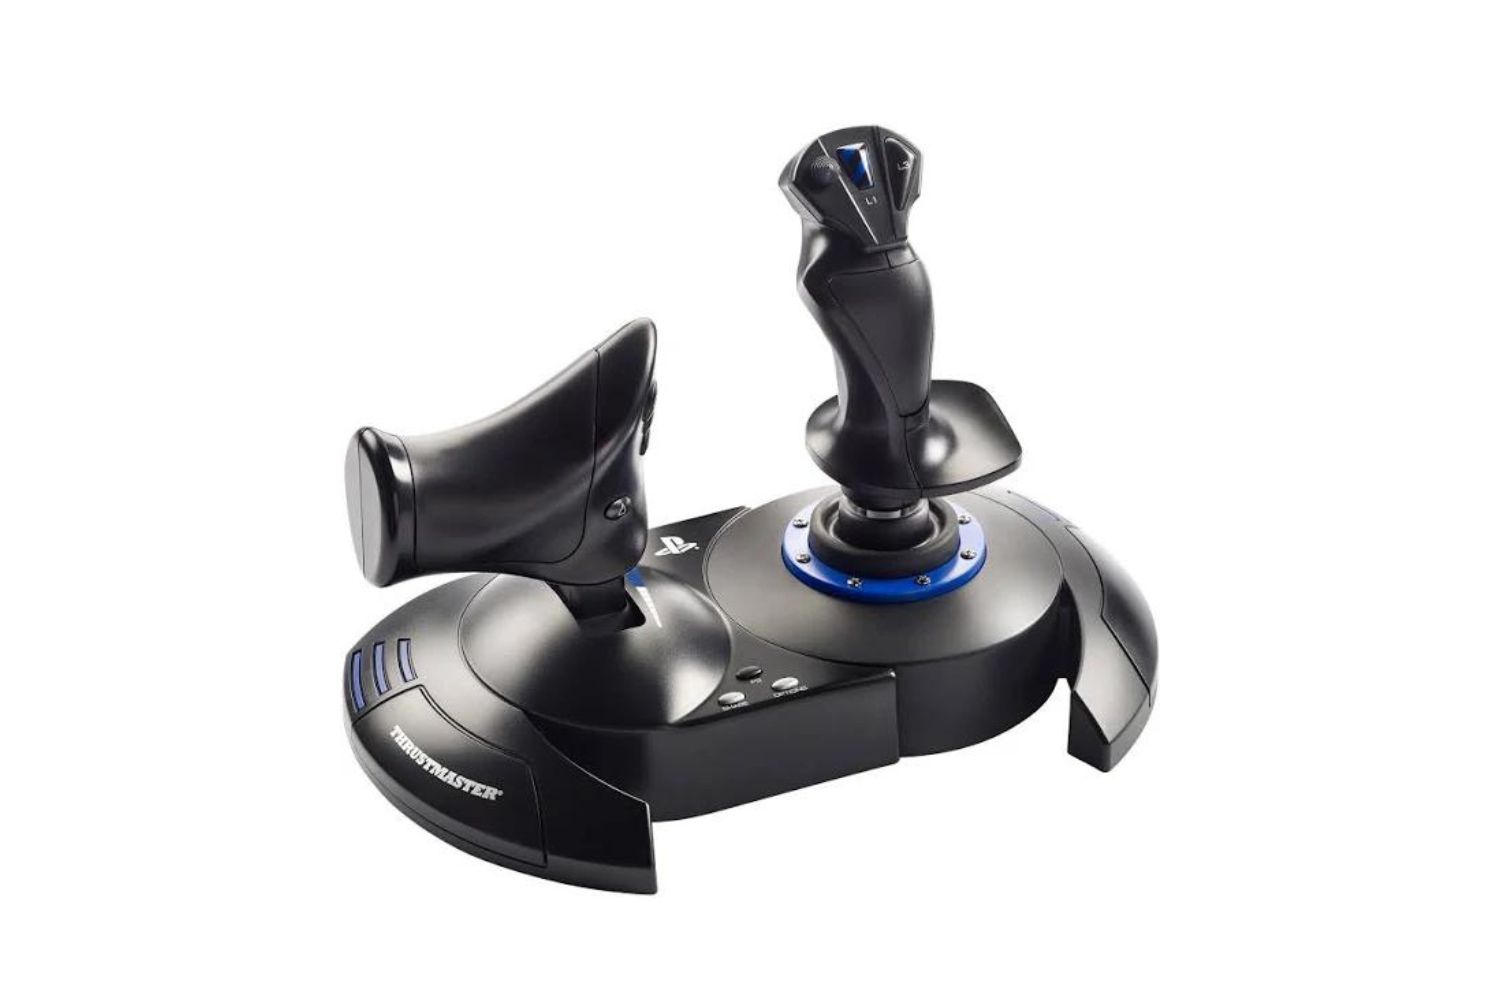
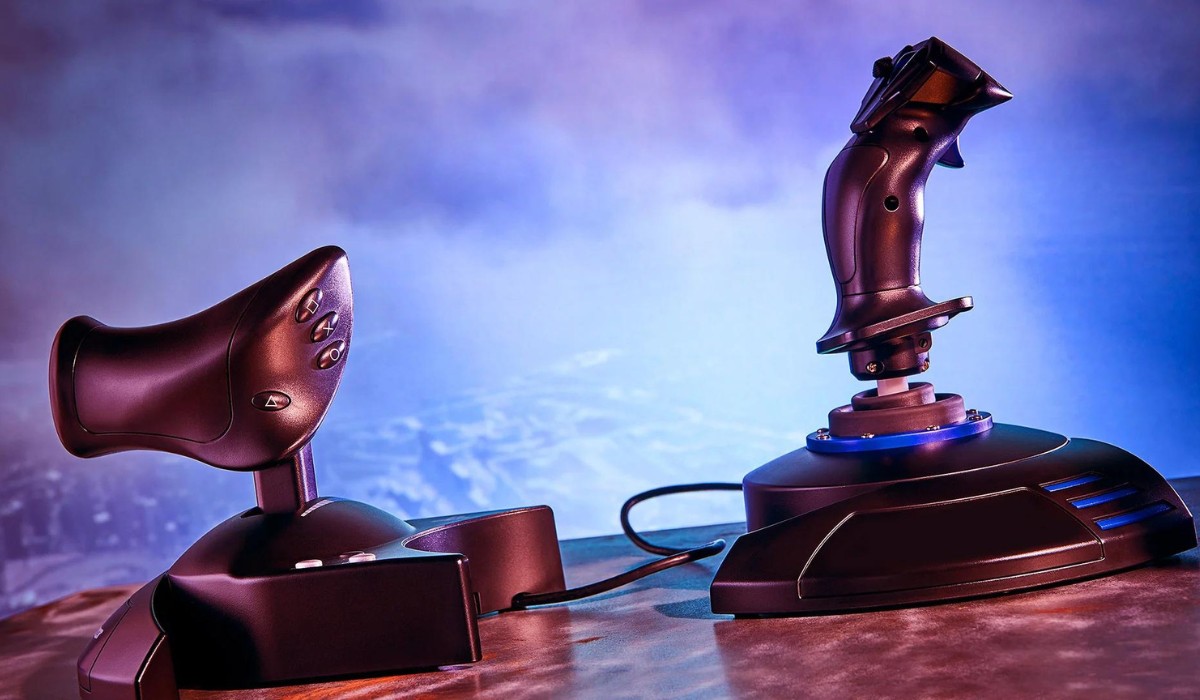
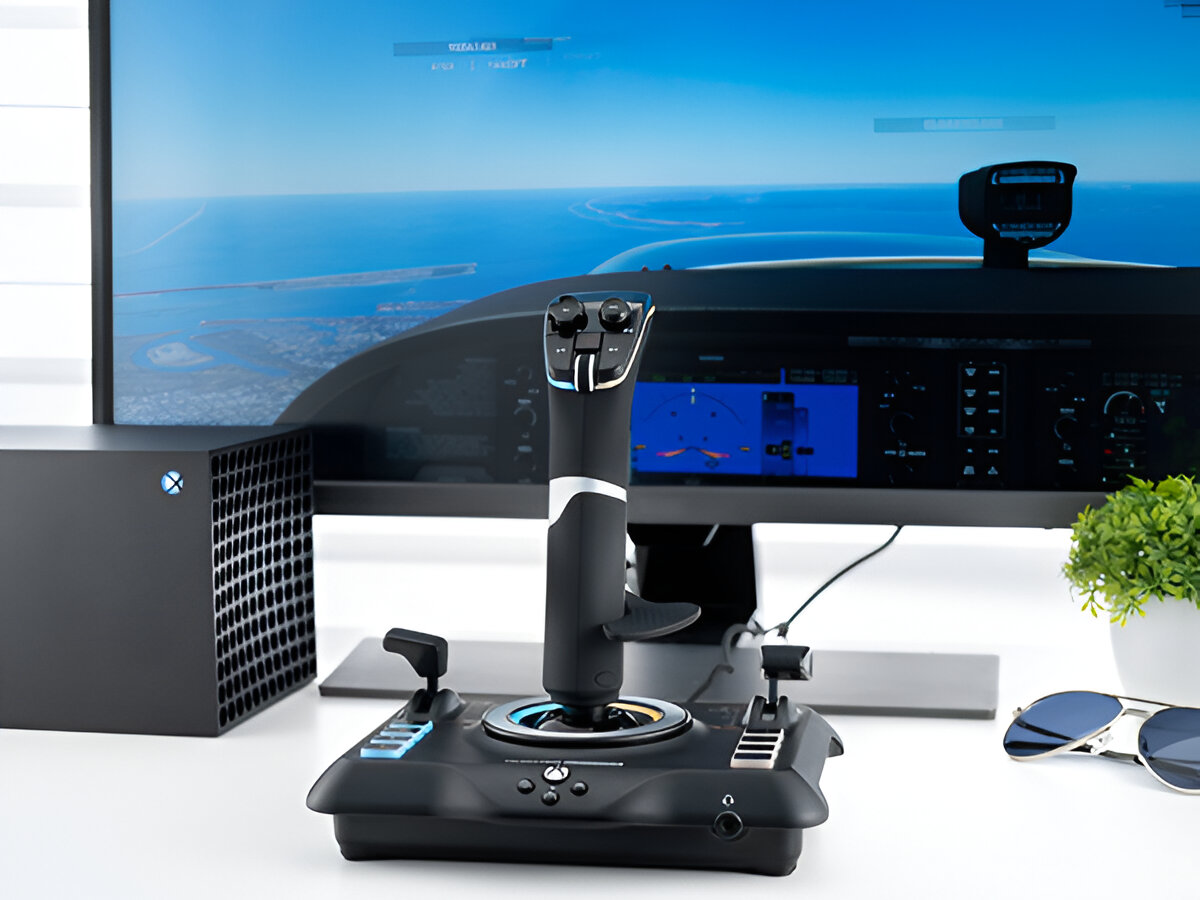
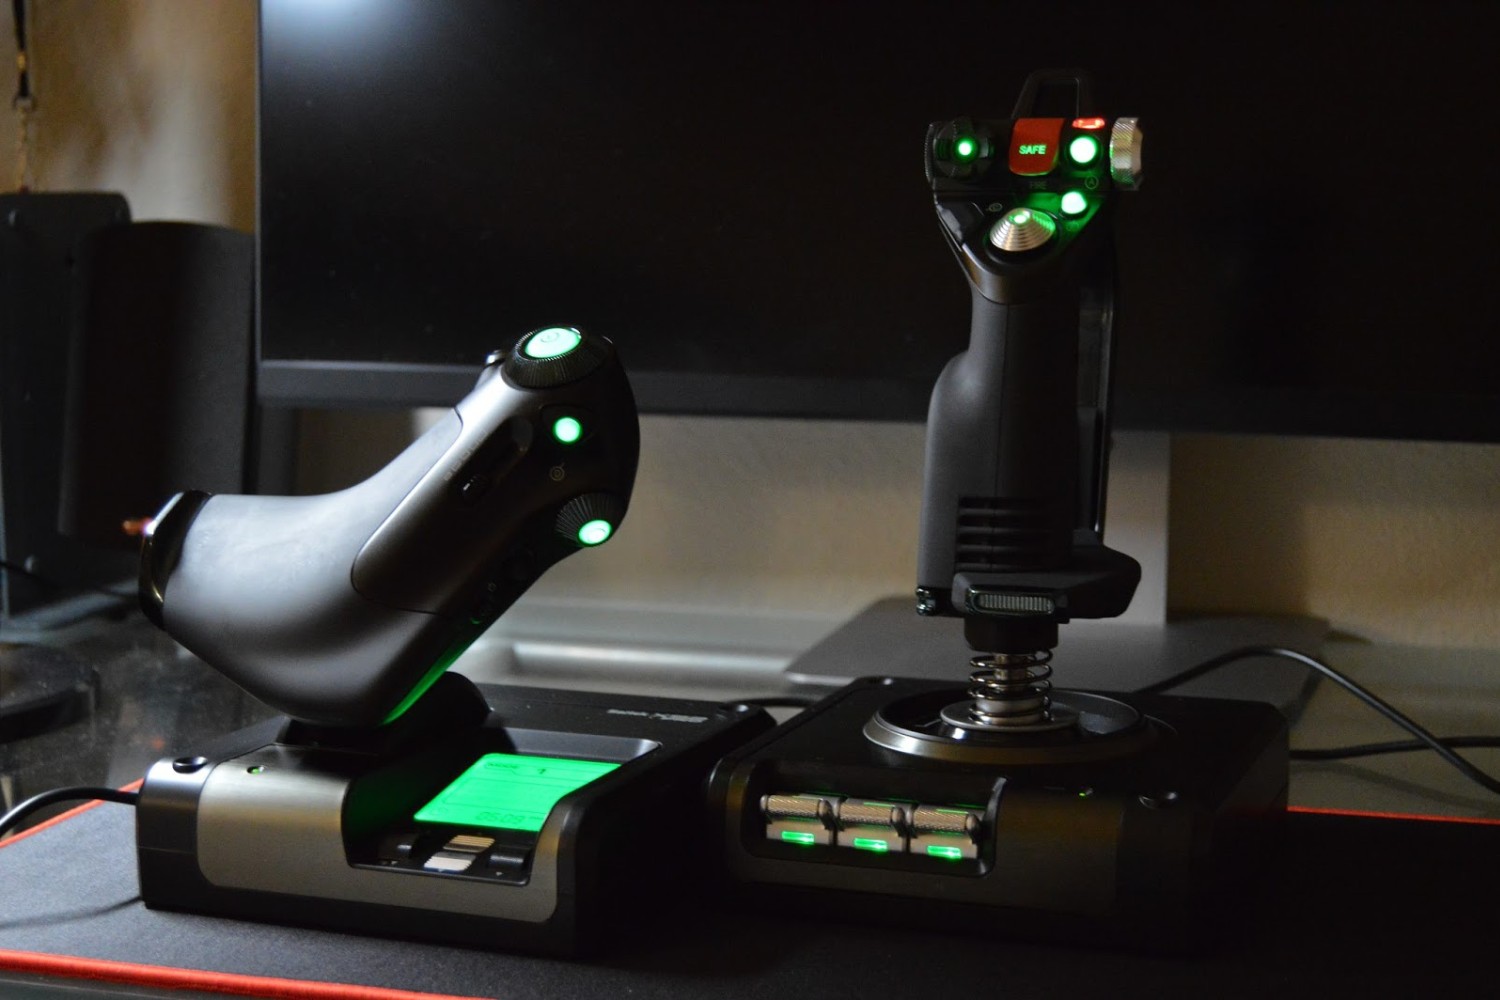
- Flight Stick: Select a compatible flight stick or joystick that you want to connect to the USB encoder. Ensure that the flight stick has the appropriate connectors and features for seamless integration.
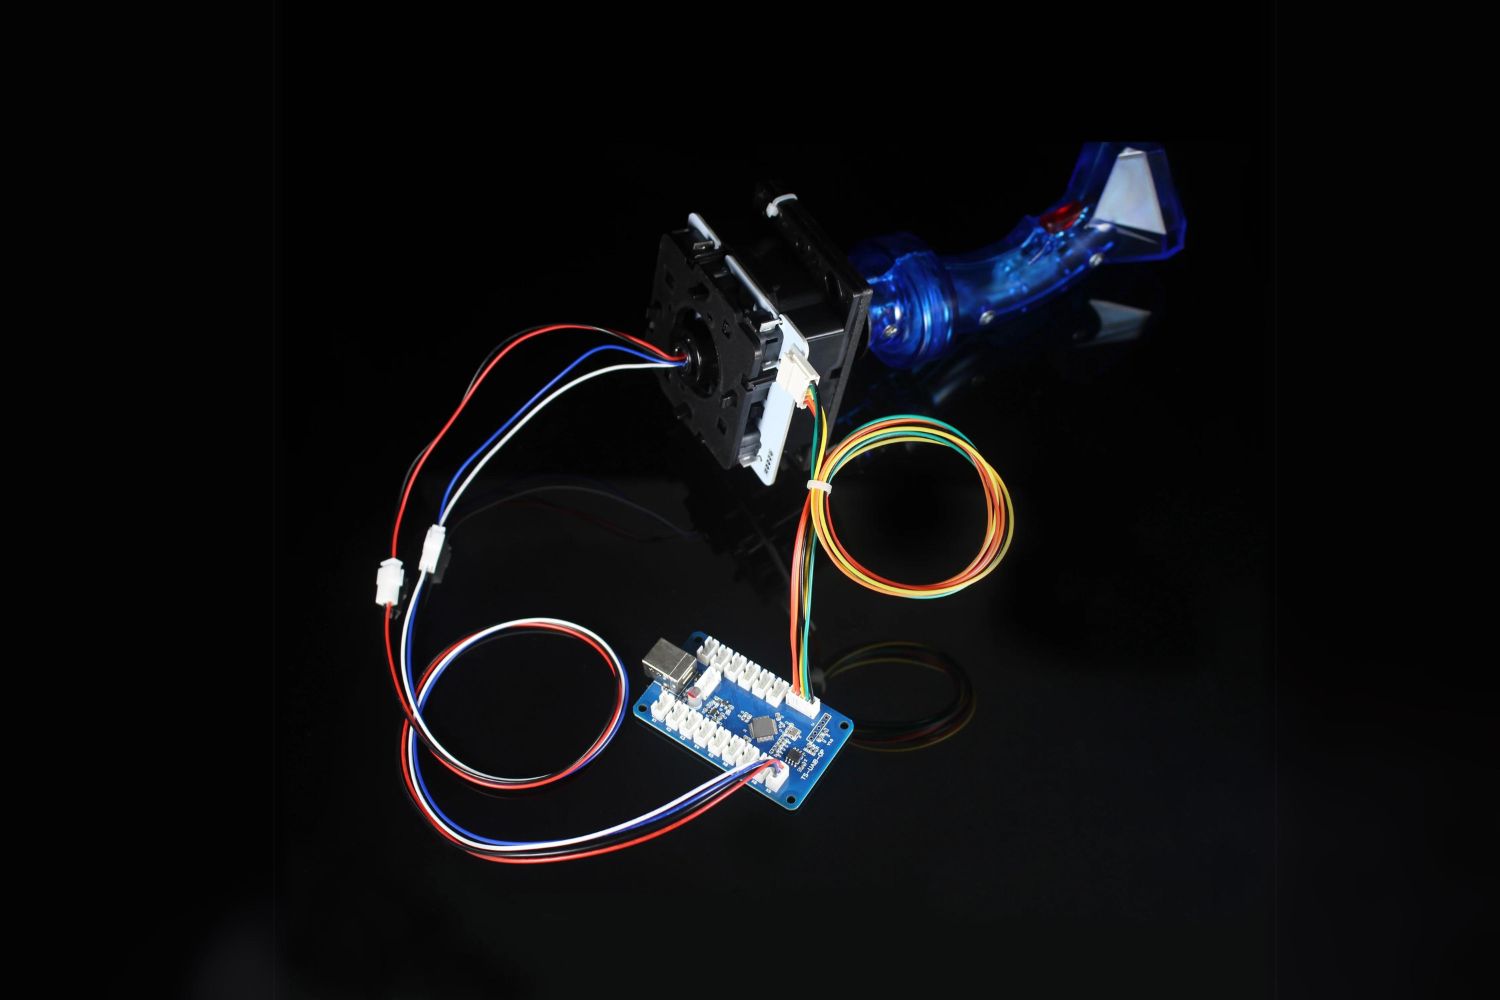
- USB Encoder: Acquire a USB encoder that supports the connection of your specific flight stick. The USB encoder serves as the bridge between the flight stick and your computer, translating the joystick’s inputs into digital signals that the computer can recognize.
- Computer: You’ll need a computer or gaming system where you intend to use the flight stick. Ensure that the computer has available USB ports for connecting the USB encoder.
- Connection Cables: Depending on the type of flight stick and USB encoder you have, you may need specific cables to establish the connection. Check the requirements of your devices and prepare the necessary cables for the setup.
- Software Drivers: Some USB encoders may require specific software drivers to be installed on your computer to ensure proper functionality. Check the manufacturer’s instructions for any required driver installations.
- Tools: Depending on the specific setup requirements, you may need basic tools such as screwdrivers or cable management accessories to secure the connections and manage cables effectively.
By ensuring that you have all the essential components and tools ready, you’ll be well-prepared to proceed with the process of connecting your flight stick to a USB encoder. With these items in hand, you can look forward to an enhanced gaming experience with improved control and responsiveness.
Connecting the Flight Stick to the USB Encoder
Now that you have gathered the necessary components, it’s time to connect your flight stick to the USB encoder. Follow these step-by-step instructions to ensure a successful setup:
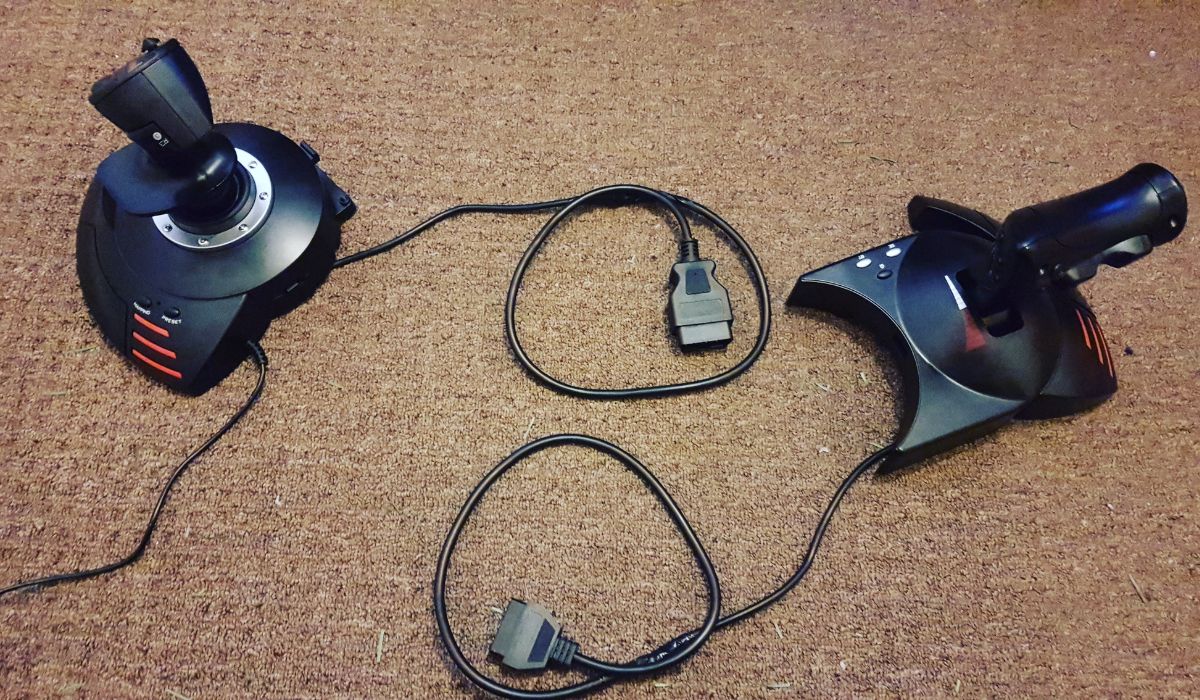
- Identify Input Ports: Start by identifying the input ports on the USB encoder. These ports are where you will connect the various components of your flight stick.
- Connect the Flight Stick: Using the appropriate cables, connect the flight stick to the designated input ports on the USB encoder. Ensure a secure and snug connection to prevent any issues during operation.
- Secure the Connections: Once the flight stick is connected, secure the cables and ensure that the setup is tidy and free from any potential obstructions or cable tangling.
- Connect the USB Encoder to the Computer: Using a USB cable, connect the USB encoder to an available USB port on your computer. This establishes the communication link between the flight stick and your gaming system.
- Power Up the System: Power up your computer and ensure that the USB encoder is recognized. Depending on the specific USB encoder and flight stick you are using, you may need to install any required software drivers to enable full functionality.
- Calibration and Testing: Once the connections are established, perform calibration and testing procedures to ensure that the flight stick is functioning as expected. Check for responsiveness and accuracy in your preferred flight simulation software or game.
By carefully following these steps, you can effectively connect your flight stick to the USB encoder, setting the stage for an enhanced and immersive gaming experience. The precise control and tactile feedback provided by the flight stick will add a new dimension to your virtual flying adventures, allowing for greater precision and enjoyment.
Testing the Connection
After connecting your flight stick to the USB encoder, it’s crucial to test the setup to ensure that everything is functioning as intended. Follow these steps to verify the connection and confirm that your flight stick is ready for action:
- Launch the Flight Simulation Software: Start by launching your preferred flight simulation software or game that supports joystick input. Ensure that the software recognizes the connected flight stick and USB encoder.
- Check Button and Axis Functionality: Test the various buttons and axes on the flight stick to ensure that they correspond to the expected inputs within the simulation software. Verify that the controls are responsive and accurately reflect your movements.
- Calibration Verification: If your flight stick features calibration settings, verify that the calibration is accurate and that the flight stick operates smoothly within the software environment.
- Test in Different Scenarios: Experiment with different in-game scenarios to assess the performance of the flight stick. Whether you’re engaging in takeoffs, landings, or aerial maneuvers, ensure that the flight stick provides the desired level of control and precision.
- Adjust Settings if Necessary: Depending on your preferences and the specific capabilities of your flight stick, consider adjusting sensitivity and dead zone settings to optimize the control experience based on your gaming style.
By thoroughly testing the connection and functionality of your flight stick within the simulation software, you can confirm that the setup is working as expected. The testing phase allows you to fine-tune settings and familiarize yourself with the enhanced control offered by the flight stick, ensuring that you’re fully prepared for your virtual flying adventures.