Introduction
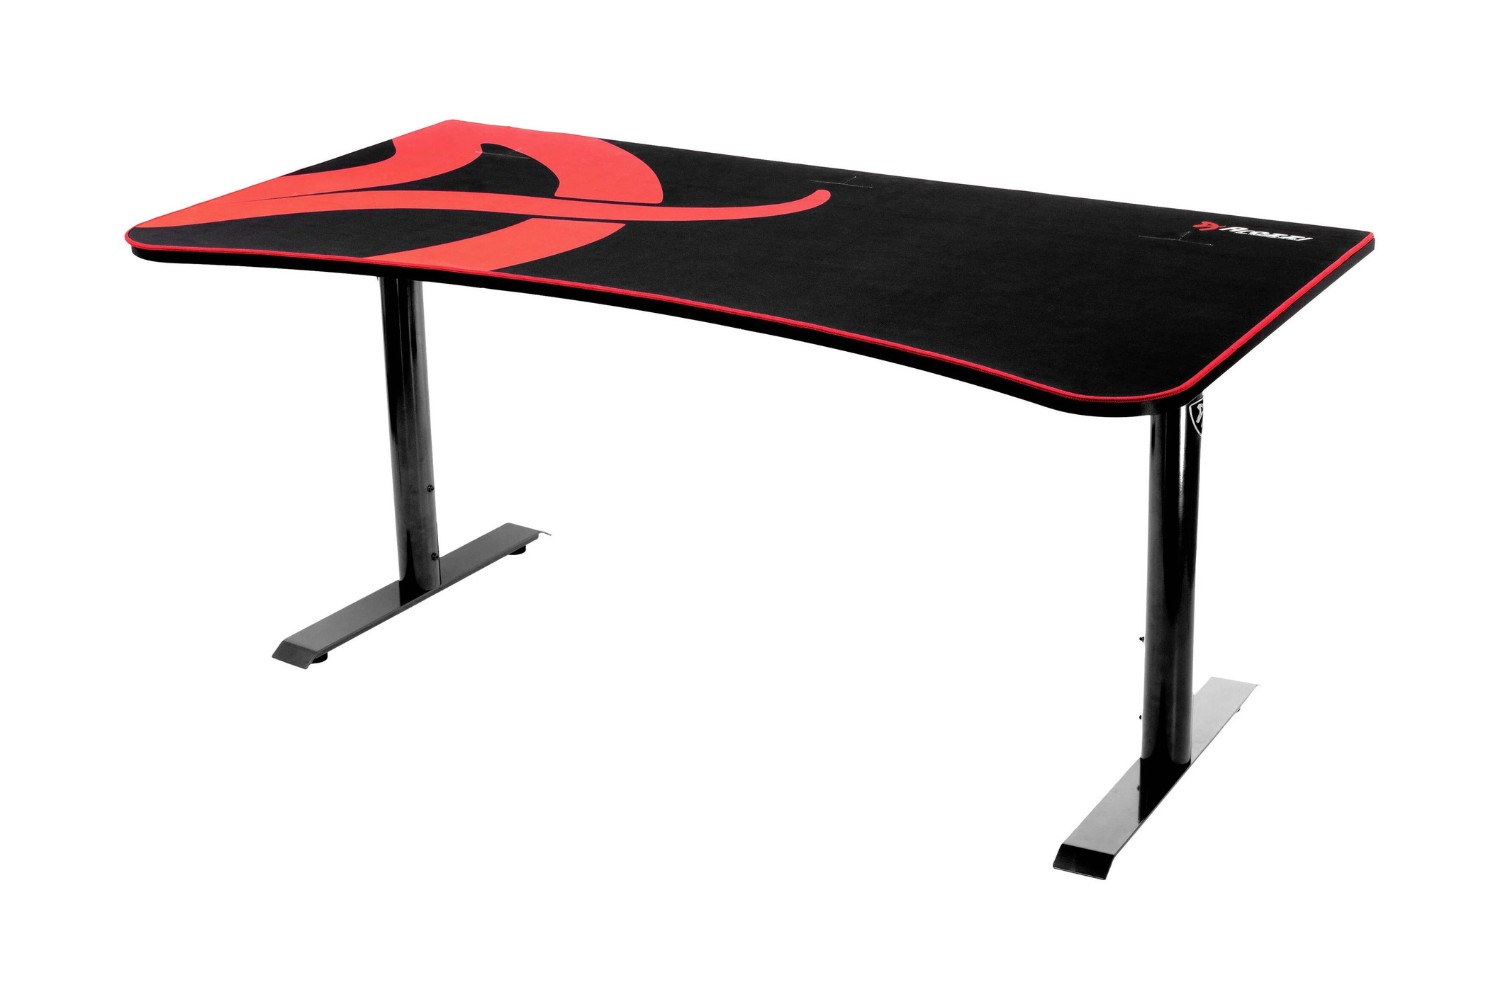
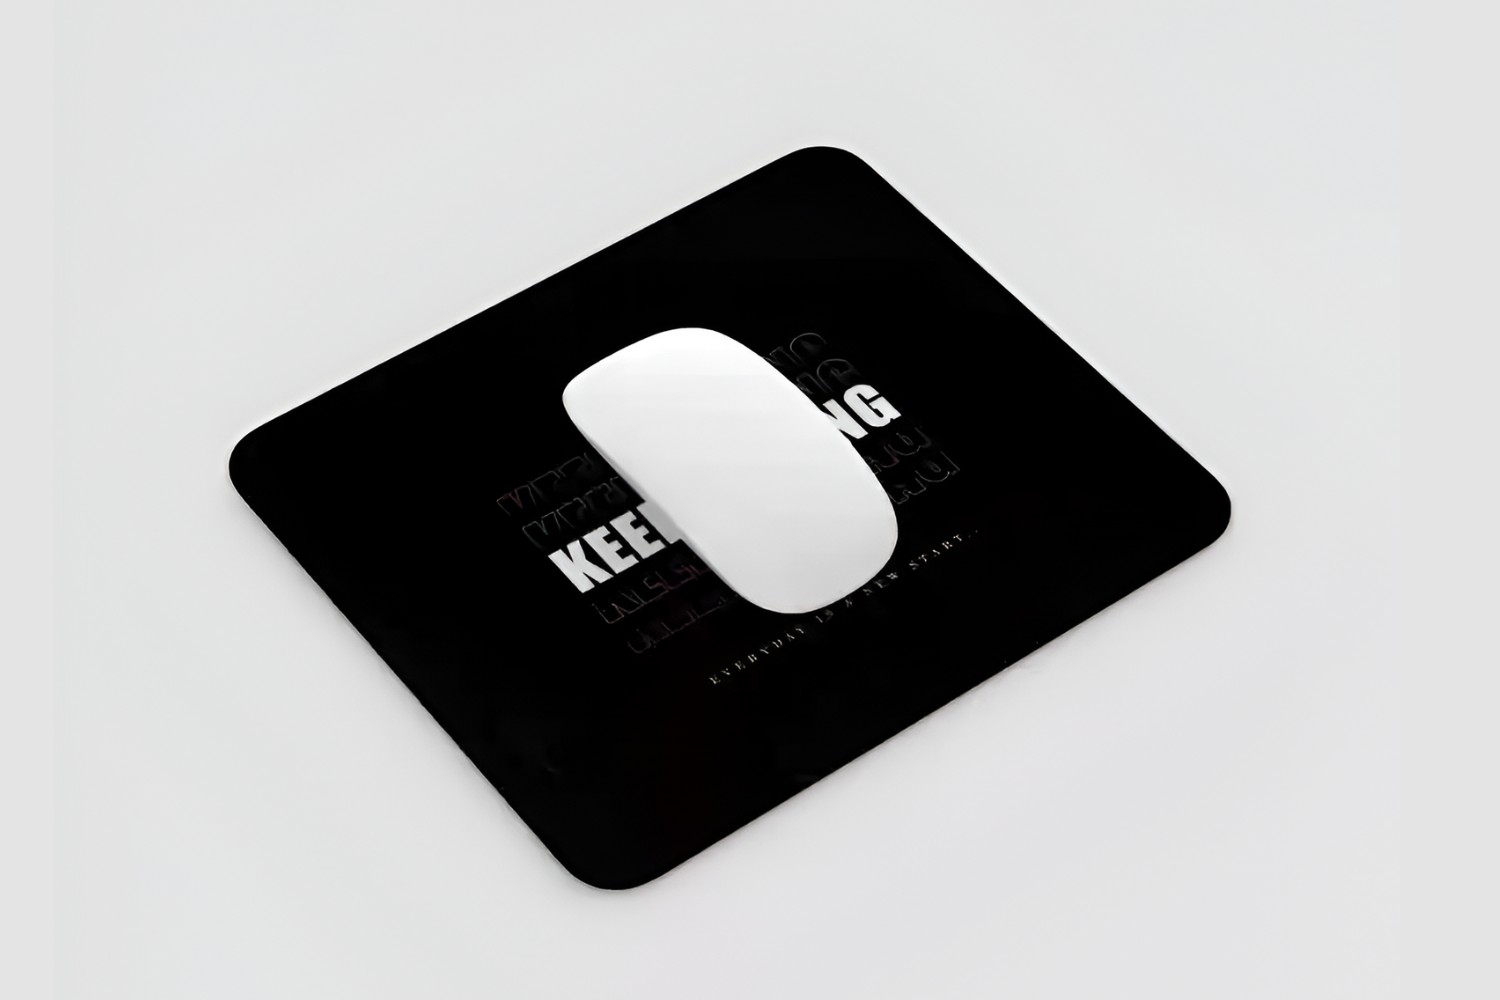
Welcome to the world of professional gaming, where precision and speed are paramount. The arena gaming desk mouse pad is an essential tool for every gamer, providing a smooth and consistent surface for optimal mouse movement. However, with extensive use, these mouse pads can accumulate dirt, stains, and debris, affecting both their appearance and functionality. Fear not, as we embark on a journey to restore your beloved mouse pad to its pristine condition.
Whether you are a casual gamer or a dedicated professional, maintaining a clean gaming environment is crucial for peak performance. A clean mouse pad not only enhances the aesthetic appeal of your gaming setup but also ensures that your mouse glides effortlessly, allowing you to execute swift and precise movements without any hindrance.
In this comprehensive guide, you will learn the step-by-step process of cleaning your arena gaming desk mouse pad, ensuring that it remains in top condition for countless gaming sessions to come. With just a few simple materials and a bit of elbow grease, you can revitalize your mouse pad and elevate your gaming experience.
So, roll up your sleeves, gather your cleaning supplies, and let's dive into the world of mouse pad maintenance. Whether you're a seasoned gamer or new to the arena, this guide will equip you with the knowledge and techniques to keep your gaming desk mouse pad in immaculate condition, ready to support your gaming endeavors with unparalleled precision and style.
Materials Needed
Before embarking on the cleaning process, it’s essential to gather the necessary materials to ensure a thorough and effective cleaning session for your arena gaming desk mouse pad. Here’s what you’ll need:
- Mild Detergent: Opt for a gentle, non-abrasive detergent to avoid damaging the fabric or surface of the mouse pad.
- Soft-bristled Brush: A soft brush, such as a toothbrush or a dedicated fabric brush, will help in dislodging stubborn stains and debris without causing damage to the mouse pad.
- Warm Water: Prepare a basin or sink with warm water to facilitate the cleaning process.
- Microfiber Cloth: This will be used for drying the mouse pad after cleaning, ensuring that no lint or residue is left behind.
- Drying Rack or Flat Surface: To allow the mouse pad to air dry thoroughly, have a drying rack or a flat surface ready for this purpose.
- Gentle Detergent: A mild detergent, such as dish soap or laundry detergent, should be gentle enough to clean the mouse pad without causing damage.
By having these materials at your disposal, you’ll be well-equipped to tackle the cleaning process and restore your arena gaming desk mouse pad to its former glory. Now that the materials are assembled, it’s time to delve into the step-by-step cleaning process to rejuvenate your essential gaming accessory.
Step 1: Remove the Mouse Pad from the Desk
Before initiating the cleaning process, it’s crucial to remove the mouse pad from the desk to facilitate thorough and convenient cleaning. Follow these simple steps to safely detach the mouse pad:
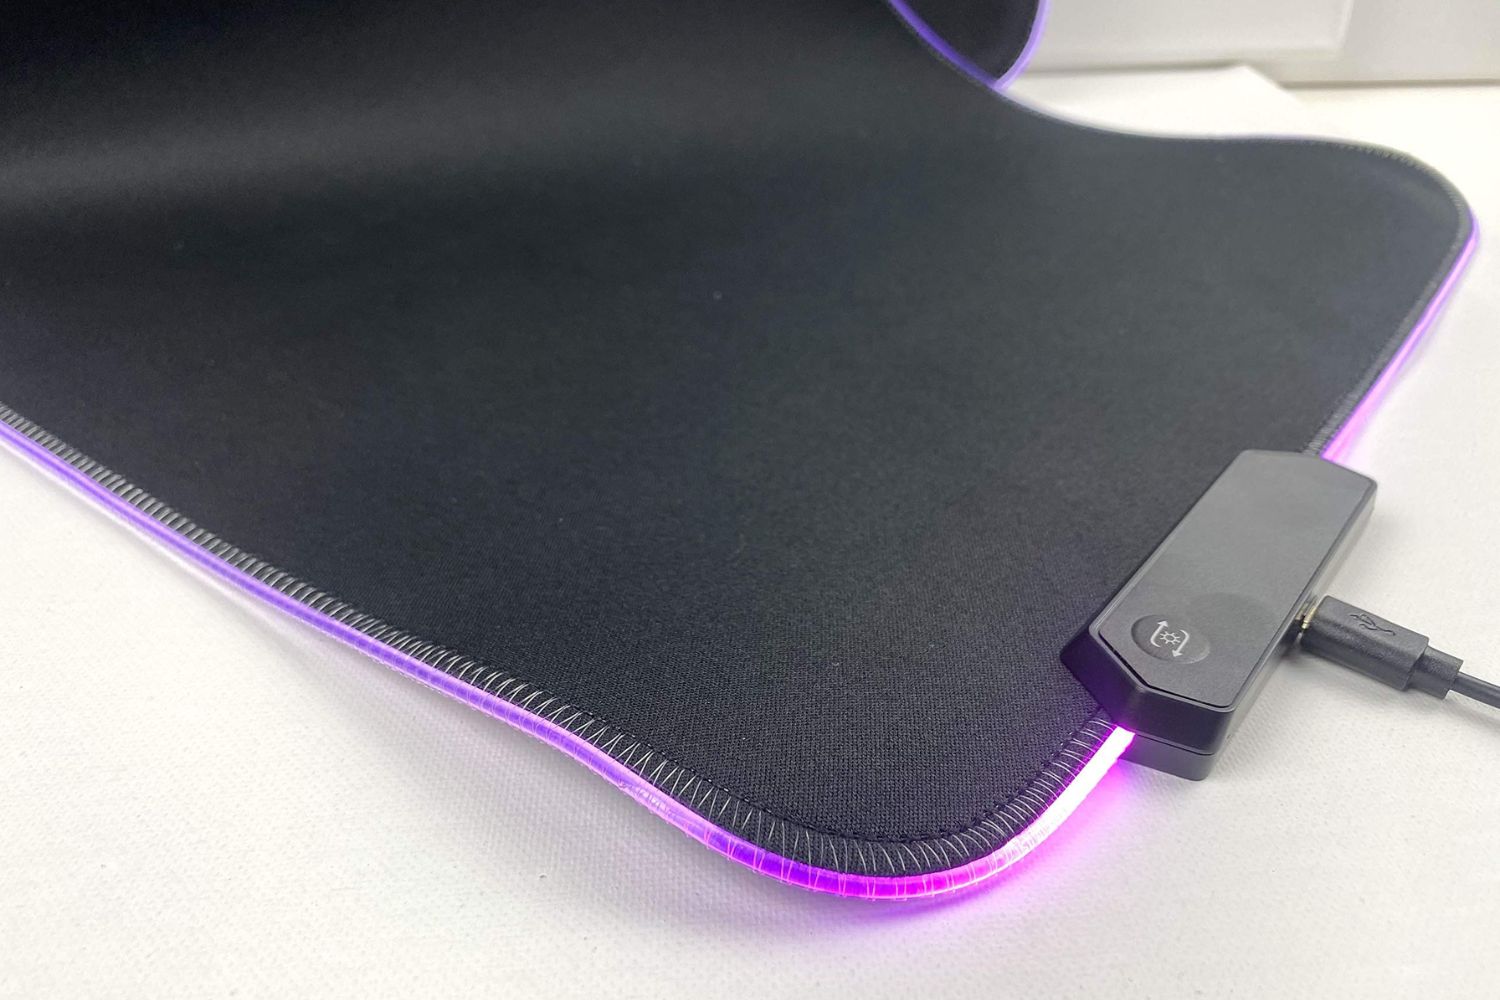
- Unplug and Clear the Area: If your mouse pad is connected to any power source for lighting or other features, ensure that it is unplugged. Clear the surrounding area to create a clean workspace for the cleaning process.
- Lift the Mouse Pad: Carefully lift the mouse pad from the desk surface, ensuring that it is detached from any securing mechanisms or adhesive.
- Inspect for Damage: While the mouse pad is removed, take the opportunity to inspect it for any signs of damage, such as frayed edges or worn-out areas that may require special attention during the cleaning process.
- Clear the Desk Area: With the mouse pad removed, clear the desk surface of any debris or dust that may have accumulated beneath it, ensuring a clean foundation for reassembling the mouse pad later.
By following these steps, you can safely remove the mouse pad from the desk, setting the stage for a thorough cleaning process. With the mouse pad in hand and the desk surface cleared, you are now ready to proceed to the next step in restoring your arena gaming desk mouse pad to its pristine condition.
Step 2: Shake off Loose Debris
After removing the mouse pad from the desk, the next step is to eliminate any loose debris and particles that may have accumulated on the surface. This process is essential for preparing the mouse pad for a more thorough cleaning. Follow these steps to shake off the loose debris effectively:
- Take the Mouse Pad Outdoors: To prevent the dislodged debris from scattering indoors, take the mouse pad outside if possible. Alternatively, you can perform this step over a large trash bin or an easily cleanable surface.
- Hold the Mouse Pad Firmly: Grasp the mouse pad firmly with both hands to prevent it from slipping or folding during the shaking process.
- Vigorously Shake the Mouse Pad: With a steady yet vigorous motion, shake the mouse pad to dislodge loose debris such as dust, crumbs, and hair. You can also gently tap the back of the pad to encourage the release of stubborn particles.
- Inspect for Remaining Debris: After shaking, visually inspect the mouse pad for any remaining debris. If necessary, use a soft-bristled brush or a lint roller to further remove any stubborn particles.
By shaking off the loose debris, you are preparing the mouse pad for the subsequent cleaning steps, ensuring that the surface is clear of any superficial particles that may impede the cleaning process. With the debris removed, you are now ready to address any stains or embedded dirt that may be present on the mouse pad’s surface.
Step 3: Spot Clean Stains
Spot cleaning stains on your arena gaming desk mouse pad is a crucial step in restoring its pristine appearance. Follow these steps to effectively address stains and blemishes on the mouse pad’s surface:
- Identify the Stains: Carefully examine the mouse pad to identify any noticeable stains or discolorations. Common stains may include beverage spills, food residue, or ink marks.
- Prepare a Cleaning Solution: In a small bowl, mix a mild detergent with warm water to create a gentle cleaning solution. Ensure that the detergent is suitable for the material of the mouse pad to avoid causing damage.
- Dab the Stained Areas: Dip a soft cloth or sponge into the cleaning solution and gently dab the stained areas on the mouse pad. Avoid rubbing vigorously, as this may spread the stain or damage the fabric.
- Blot the Stains: After applying the cleaning solution, use a clean, damp cloth to blot the stained areas, lifting the residue and detergent from the surface of the mouse pad.
- Repeat as Necessary: For stubborn or persistent stains, repeat the dabbing and blotting process until the stains begin to fade. Be patient and avoid using harsh chemicals or scrubbing tools that may damage the mouse pad.
By spot cleaning stains, you can effectively address localized blemishes on your arena gaming desk mouse pad, restoring its visual appeal and ensuring that the surface is free from unsightly marks. With the stains addressed, you are now ready to proceed to the next step in the cleaning process, which involves thoroughly washing the entire mouse pad to remove embedded dirt and grime.
Step 4: Hand Wash or Machine Wash
Once the spot cleaning process is complete, it’s time to proceed with the overall cleaning of your arena gaming desk mouse pad. Depending on the material and size of the mouse pad, you can choose between hand washing or machine washing. Follow these guidelines to ensure a thorough and gentle cleaning process:
Hand Washing:
If your mouse pad is relatively small and the care instructions recommend hand washing, follow these steps:
- Fill a Basin with Mild Detergent: Prepare a basin or sink with lukewarm water and add a small amount of mild detergent. Ensure that the detergent is thoroughly dissolved in the water.
- Submerge the Mouse Pad: Gently submerge the mouse pad in the soapy water, ensuring that the entire surface is immersed. Allow it to soak for a few minutes to loosen embedded dirt and grime.
- Gently Agitate the Mouse Pad: Using your hands, gently agitate the mouse pad in the soapy water, paying particular attention to any areas with remaining stains or discolorations.
- Rinse Thoroughly: After washing, rinse the mouse pad under running water to remove all traces of detergent. Ensure that the water runs clear, indicating that the mouse pad is free from soap residue.
Machine Washing:
If your mouse pad is machine washable, follow these steps for a thorough cleaning:
- Check the Care Label: Before proceeding, check the care label on the mouse pad to ensure that it is safe for machine washing. Follow any specific instructions provided by the manufacturer.
- Use a Gentle Cycle: Place the mouse pad in the washing machine, ensuring that it is the only item in the load to prevent potential damage from friction with other items. Select a gentle cycle with cold or lukewarm water.
- Use Mild Detergent: Add a small amount of mild detergent to the machine, avoiding harsh chemicals or bleach that may damage the fabric or surface of the mouse pad.
- Air Dry: Once the washing cycle is complete, remove the mouse pad from the machine and allow it to air dry thoroughly. Avoid using a dryer, as excessive heat may cause damage.
By choosing the appropriate washing method and following these steps, you can effectively cleanse your arena gaming desk mouse pad, ensuring that it is free from embedded dirt, stains, and odors. With the cleaning process complete, the next step involves allowing the mouse pad to air dry thoroughly before reassembling it on the desk.
Step 5: Air Dry
After the washing process, it’s crucial to allow your arena gaming desk mouse pad to air dry thoroughly. Proper drying ensures that the fabric and surface of the mouse pad are free from excess moisture, preventing the development of mold or mildew. Follow these steps to facilitate the air drying process:
- Remove Excess Water: If the mouse pad was hand washed, gently press on the surface with a clean, dry towel to remove excess water. Avoid wringing or twisting the mouse pad, as this may damage its structure.
- Choose a Well-Ventilated Area: Select a well-ventilated area for drying the mouse pad, preferably outdoors or in a room with good air circulation. Avoid placing it in direct sunlight, as prolonged exposure to sunlight may cause fading.
- Lay Flat or Hang to Dry: Depending on the size and design of your mouse pad, you can either lay it flat on a clean, dry surface or hang it on a clothesline or drying rack. Ensure that the mouse pad is spread evenly to maintain its shape during drying.
- Allow Sufficient Drying Time: Be patient and allow the mouse pad to air dry completely. The drying time may vary based on the material and thickness of the pad, so ensure that it is thoroughly dry before reassembling it on your desk.
By allowing your arena gaming desk mouse pad to air dry properly, you are ensuring that it retains its integrity and cleanliness. Once the mouse pad is completely dry, you can proceed to the final step of reassembling it on your desk, ready to enhance your gaming experience with its refreshed appearance and functionality.
Step 6: Reassemble the Mouse Pad on the Desk
With your arena gaming desk mouse pad now clean and thoroughly dry, it’s time to reassemble it on your gaming desk, ready to support your gaming endeavors. Follow these steps to ensure a seamless and effective reassembly:
- Clean the Desk Surface: Before placing the mouse pad back on the desk, ensure that the surface is clean and free from any debris or dust that may have accumulated during the cleaning process.
- Position the Mouse Pad: Carefully position the clean and dry mouse pad on the desk, aligning it with the edges and ensuring that it sits flat and smooth on the surface.
- Secure the Mouse Pad (if applicable): If your gaming desk mouse pad features securing mechanisms such as adhesive backing or clips, follow the manufacturer’s instructions to secure it in place. Ensure that the pad is firmly attached without any wrinkles or creases.
- Reconnect Any Components: If your mouse pad has any additional components such as lighting or connectivity features, ensure that they are reconnected and functioning properly before resuming your gaming activities.
By reassembling your clean and rejuvenated arena gaming desk mouse pad on the desk, you are not only enhancing the visual appeal of your gaming setup but also ensuring that your gaming experience is optimized for precision and comfort. With the mouse pad in place, you are now ready to embark on countless gaming sessions with a fresh and revitalized gaming accessory.
Conclusion
Congratulations! You have successfully revitalized your arena gaming desk mouse pad, ensuring that it is clean, refreshed, and ready to elevate your gaming experience. By following the comprehensive cleaning process outlined in this guide, you have not only restored the visual appeal of your gaming setup but also optimized the functionality of this essential accessory.
As a dedicated gamer, maintaining a clean and well-maintained gaming environment is paramount for achieving peak performance. A clean mouse pad not only enhances the aesthetic appeal of your gaming setup but also ensures that your mouse glides effortlessly, allowing you to execute swift and precise movements without any hindrance.
Remember, regular maintenance and cleaning of your arena gaming desk mouse pad will contribute to its longevity and performance, providing you with a reliable and comfortable surface for all your gaming endeavors. By incorporating these cleaning practices into your gaming routine, you can enjoy a pristine and inviting gaming environment that enhances your overall gaming experience.
So, as you reassemble your freshly cleaned mouse pad on your gaming desk, take a moment to appreciate the effort you’ve invested in maintaining your gaming setup. With a clean and revitalized mouse pad at your disposal, you are well-equipped to immerse yourself in the thrilling world of gaming, confident in the knowledge that your gaming environment is optimized for success.
Now, armed with a pristine arena gaming desk mouse pad, you can delve into your favorite games with unparalleled precision and style, knowing that your gaming setup reflects your dedication to both performance and aesthetics.
Happy gaming!


