Introduction
Introduction
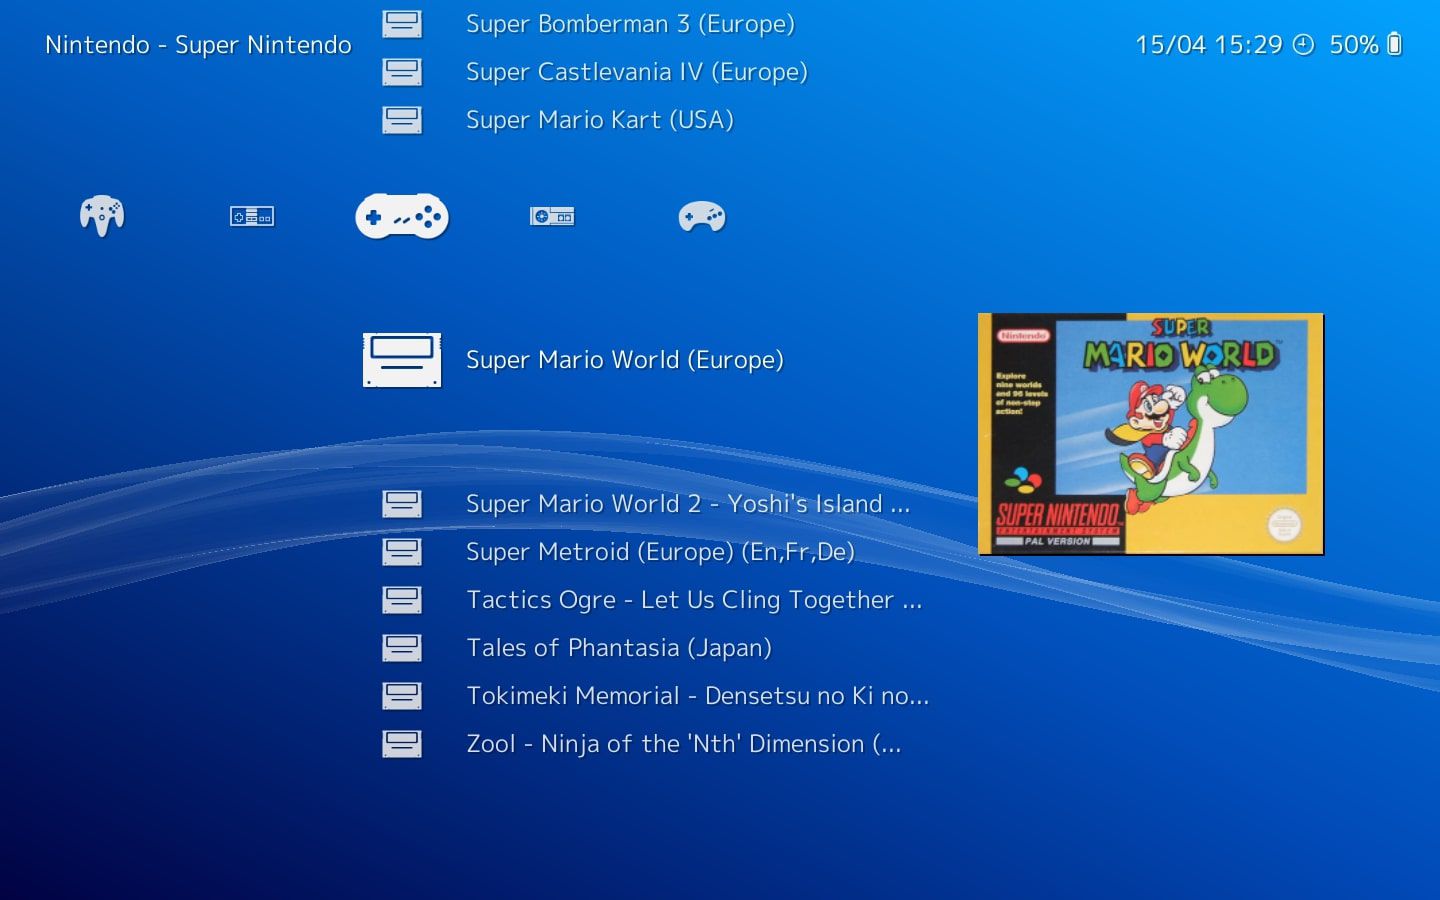
Using a game controller with Retroarch can greatly enhance the gaming experience, allowing for more precise control and a nostalgic feel. Retroarch is a popular emulator that supports a wide range of gaming platforms, making it a versatile choice for retro gaming enthusiasts. Whether you’re a fan of classic NES games or prefer the 16-bit era of SNES, Retroarch provides a seamless way to enjoy these timeless titles.
Connecting and configuring a game controller for use with Retroarch is a straightforward process, but it can vary depending on the platform you’re using. In this guide, we’ll explore the steps to connect and set up a game controller with Retroarch, ensuring that you can dive into your favorite retro games with ease.
From connecting the controller to mapping the buttons and testing its functionality, each step is crucial to ensuring a smooth and enjoyable gaming experience. By the end of this guide, you’ll be equipped with the knowledge to seamlessly integrate your game controller with Retroarch, unlocking a world of classic gaming at your fingertips.
Connecting the Game Controller
Before delving into the world of retro gaming with Retroarch, the first step is to physically connect your game controller to the device you’re using. The method of connection may vary based on the type of controller and the platform you’re using, so it’s essential to ensure compatibility and choose the appropriate connection method.
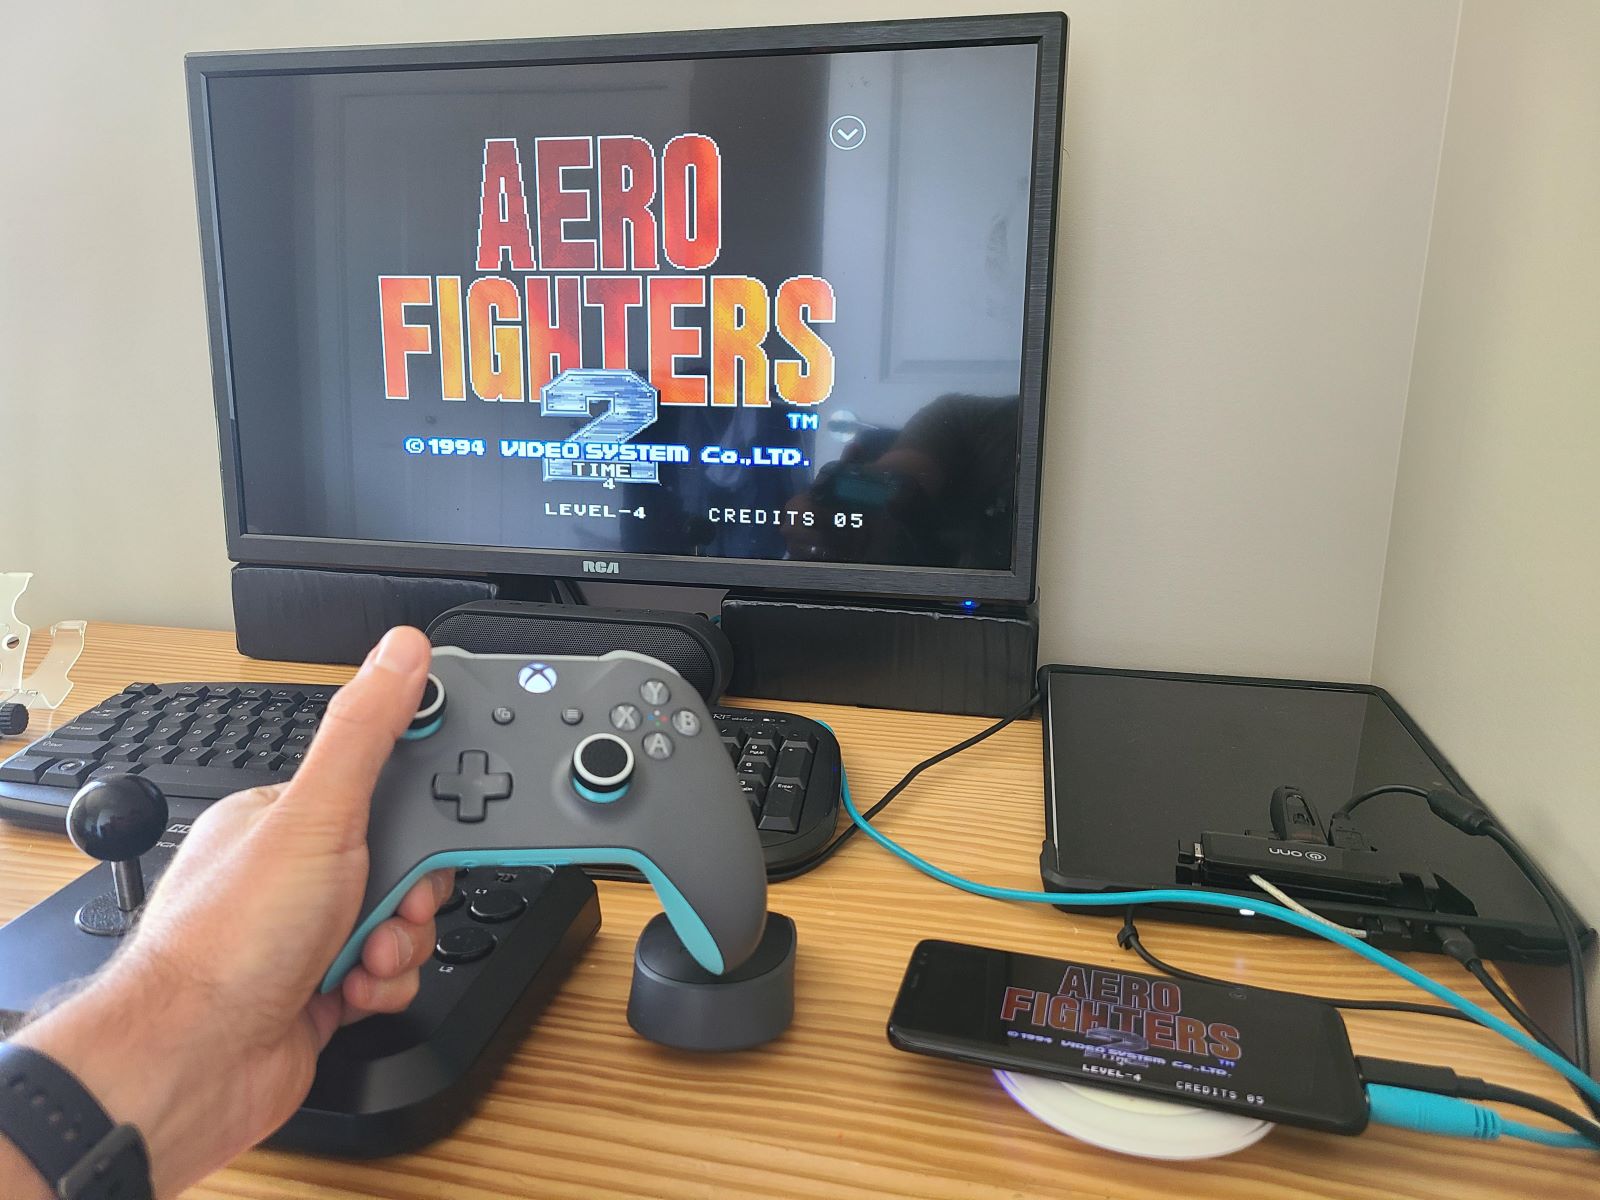
For wired controllers, simply connect the controller to an available USB port on your device. Many modern controllers, such as those designed for the Xbox or PlayStation, can be easily connected via USB, providing instant recognition by the operating system. Once connected, the controller should be ready for configuration within Retroarch.
Wireless controllers, on the other hand, require a slightly different approach. If your device supports Bluetooth connectivity, you can pair the controller by accessing the Bluetooth settings and initiating the pairing process. Once paired, the controller should be recognized by the system, allowing for seamless integration with Retroarch.
It’s important to note that some controllers may require additional drivers or software to function properly with your device. Checking the manufacturer’s website for specific drivers or compatibility information can help ensure a smooth connection process.
For those using Retroarch on a mobile device, such as a smartphone or tablet, connecting a game controller may involve using a USB OTG (On-The-Go) adapter to enable wired controller connectivity. Alternatively, Bluetooth-enabled controllers can be paired directly with the mobile device, providing a wireless gaming experience on the go.
Once the controller is physically connected or paired with your device, you’re ready to move on to the next step: configuring the controller within Retroarch to ensure optimal performance and responsiveness during gameplay.
Configuring the Controller in Retroarch
After connecting the game controller to your device, the next crucial step is to configure it within Retroarch to ensure that it functions seamlessly with the emulator. Retroarch offers a user-friendly interface for controller configuration, allowing you to customize button mappings and input settings to suit your preferences.
Upon launching Retroarch, navigate to the “Settings” or “Input” section, where you’ll find the option to configure the attached controller. Depending on the platform and version of Retroarch you’re using, the specific location of the controller configuration settings may vary, but they are typically easily accessible from the main menu.
When configuring the controller, Retroarch provides the ability to map each button on the controller to a specific function within the emulator. This level of customization allows you to tailor the controller’s input to match the controls of the games you’ll be playing, ensuring a natural and intuitive gaming experience.
For those using Retroarch on a PC, the process of configuring the controller involves selecting the input device and mapping each button to the corresponding function within the emulator. Retroarch provides visual prompts to guide you through this process, making it straightforward even for those new to emulator configuration.
On mobile devices, the controller configuration process may vary slightly, but the fundamental principles remain the same. Retroarch aims to provide a consistent user experience across different platforms, ensuring that the controller configuration process is intuitive and accessible to all users.
Once you’ve completed the controller configuration within Retroarch, it’s essential to save the settings to ensure that your custom mappings are retained for future gaming sessions. This ensures that you won’t need to reconfigure the controller each time you launch Retroarch, streamlining the setup process and allowing you to dive straight into your favorite retro games.
With the controller successfully configured within Retroarch, you’re now ready to proceed to the next step: mapping the controller buttons to align with the gameplay of your chosen retro titles.
Mapping the Controller Buttons
Once the controller is connected and configured within Retroarch, the next step is to map the controller buttons to align with the gameplay of the retro titles you’ll be enjoying. This process ensures that the controls feel natural and responsive, enhancing the overall gaming experience.
When launching a game within Retroarch, access the “Quick Menu” or “Options” to find the controller mapping settings. Here, you’ll be able to assign specific actions, such as jumping, attacking, or navigating menus, to the corresponding buttons on your controller. Retroarch provides a straightforward interface for mapping these controls, allowing you to customize the layout to suit your preferences.
For example, if you’re playing a classic platformer, you may want to map the “A” button on your controller to the jump action, while the directional pad controls the character’s movement. Similarly, if you’re enjoying a retro fighting game, you can map the various attacks and special moves to different buttons on your controller, mirroring the original console’s control scheme.
Retroarch’s flexibility extends to the ability to create custom controller profiles, allowing you to save different button mappings for various types of games. This feature is particularly useful for gamers who enjoy a diverse range of retro titles, each with its unique control requirements.
Furthermore, Retroarch supports the use of analog sticks and triggers, providing a modern gaming experience while playing classic titles. The ability to map these advanced controls ensures that you can enjoy a wide range of games with precision and accuracy, regardless of the era in which they were originally released.
For those seeking a more authentic retro gaming experience, Retroarch also supports the use of specialty controllers, such as arcade sticks and classic gamepads. The emulator’s mapping capabilities allow for seamless integration of these specialized controllers, preserving the nostalgic feel of playing classic arcade and console games.
By mapping the controller buttons within Retroarch, you can tailor the gaming experience to your preferences, ensuring that the controls feel intuitive and responsive across a variety of retro titles. With the buttons mapped to your liking, you’re now prepared to test the controller’s functionality and dive into the world of retro gaming with confidence.
Testing the Controller
After connecting, configuring, and mapping the controller buttons within Retroarch, it’s essential to thoroughly test the controller to ensure that it functions as intended across a variety of retro games. This step allows you to verify the responsiveness and accuracy of the controller, providing confidence in its performance during gameplay.
Begin by launching a retro game of your choice within Retroarch. As the game loads, take a moment to navigate the menus and test the controller’s functionality in the game’s interface. Ensure that the directional controls, menu navigation, and other essential functions respond accurately to your inputs, reflecting the button mappings you’ve configured.
Once in-game, take the opportunity to test the controller across different gameplay scenarios. Whether it’s jumping over obstacles, executing special moves, or maneuvering through challenging levels, thoroughly testing the controller’s responsiveness in various gameplay situations is crucial to identifying any potential issues.
During gameplay, pay close attention to the precision and fluidity of the controller’s input. A well-configured and properly mapped controller should provide a seamless gaming experience, allowing you to immerse yourself in the world of retro gaming without distraction or frustration.
If you encounter any inconsistencies or issues with the controller’s performance, return to the controller configuration settings within Retroarch to make any necessary adjustments. Retroarch’s intuitive interface allows for quick and easy modifications to button mappings, ensuring that you can fine-tune the controller’s behavior to suit your preferences and the specific requirements of the games you’re playing.
For those using specialty controllers, such as arcade sticks or custom gamepads, thorough testing is especially important to ensure that these unique input devices integrate seamlessly with Retroarch. By testing the controller across a range of retro games, you can verify that the specialized controls align with the gameplay mechanics of each title, preserving the authentic feel of classic gaming.
By diligently testing the controller within Retroarch, you can gain confidence in its performance and responsiveness, setting the stage for countless hours of enjoyable retro gaming experiences. With the controller successfully tested and optimized, you’re now ready to immerse yourself in the rich library of retro titles supported by Retroarch.
Conclusion
Integrating a game controller with Retroarch opens the door to a treasure trove of classic gaming experiences, allowing enthusiasts to relive the magic of retro titles across a multitude of platforms. From the iconic NES and SNES classics to the immersive worlds of PlayStation and beyond, Retroarch provides a versatile and feature-rich emulator for retro gaming aficionados.
Throughout this guide, we’ve explored the essential steps for connecting, configuring, and mapping a game controller within Retroarch, ensuring that it seamlessly integrates with the emulator to deliver a seamless and immersive gaming experience. By following these steps, you can unlock the full potential of your game controller and enjoy a diverse range of retro titles with precision and nostalgia.
From the physical connection of the controller to the device to the meticulous mapping of buttons to align with gameplay mechanics, each step plays a crucial role in ensuring that the controller enhances rather than hinders the retro gaming experience. Retroarch’s intuitive interface and robust customization options empower users to tailor the controller’s behavior to their preferences, preserving the authenticity of classic gaming while leveraging modern input devices.
Thorough testing of the controller within Retroarch provides the assurance that it performs optimally across a variety of retro games, allowing for seamless navigation, precise inputs, and an overall enjoyable gaming experience. Whether using a standard gamepad, a specialty controller, or a modern Bluetooth input device, Retroarch’s compatibility and customization capabilities ensure a consistent and reliable gaming experience.
By following the steps outlined in this guide, retro gaming enthusiasts can embark on a journey through gaming history, exploring beloved classics and undiscovered gems with the familiarity and comfort of a game controller in hand. The seamless integration of the controller with Retroarch paves the way for countless hours of nostalgia, excitement, and pure gaming joy, bridging the gap between the past and the present for gamers of all ages.
With the controller successfully configured and tested within Retroarch, you’re now equipped to embark on a retro gaming adventure, immersing yourself in the timeless allure of classic titles while enjoying the precision and comfort of a game controller tailored to your preferences.


