Introduction
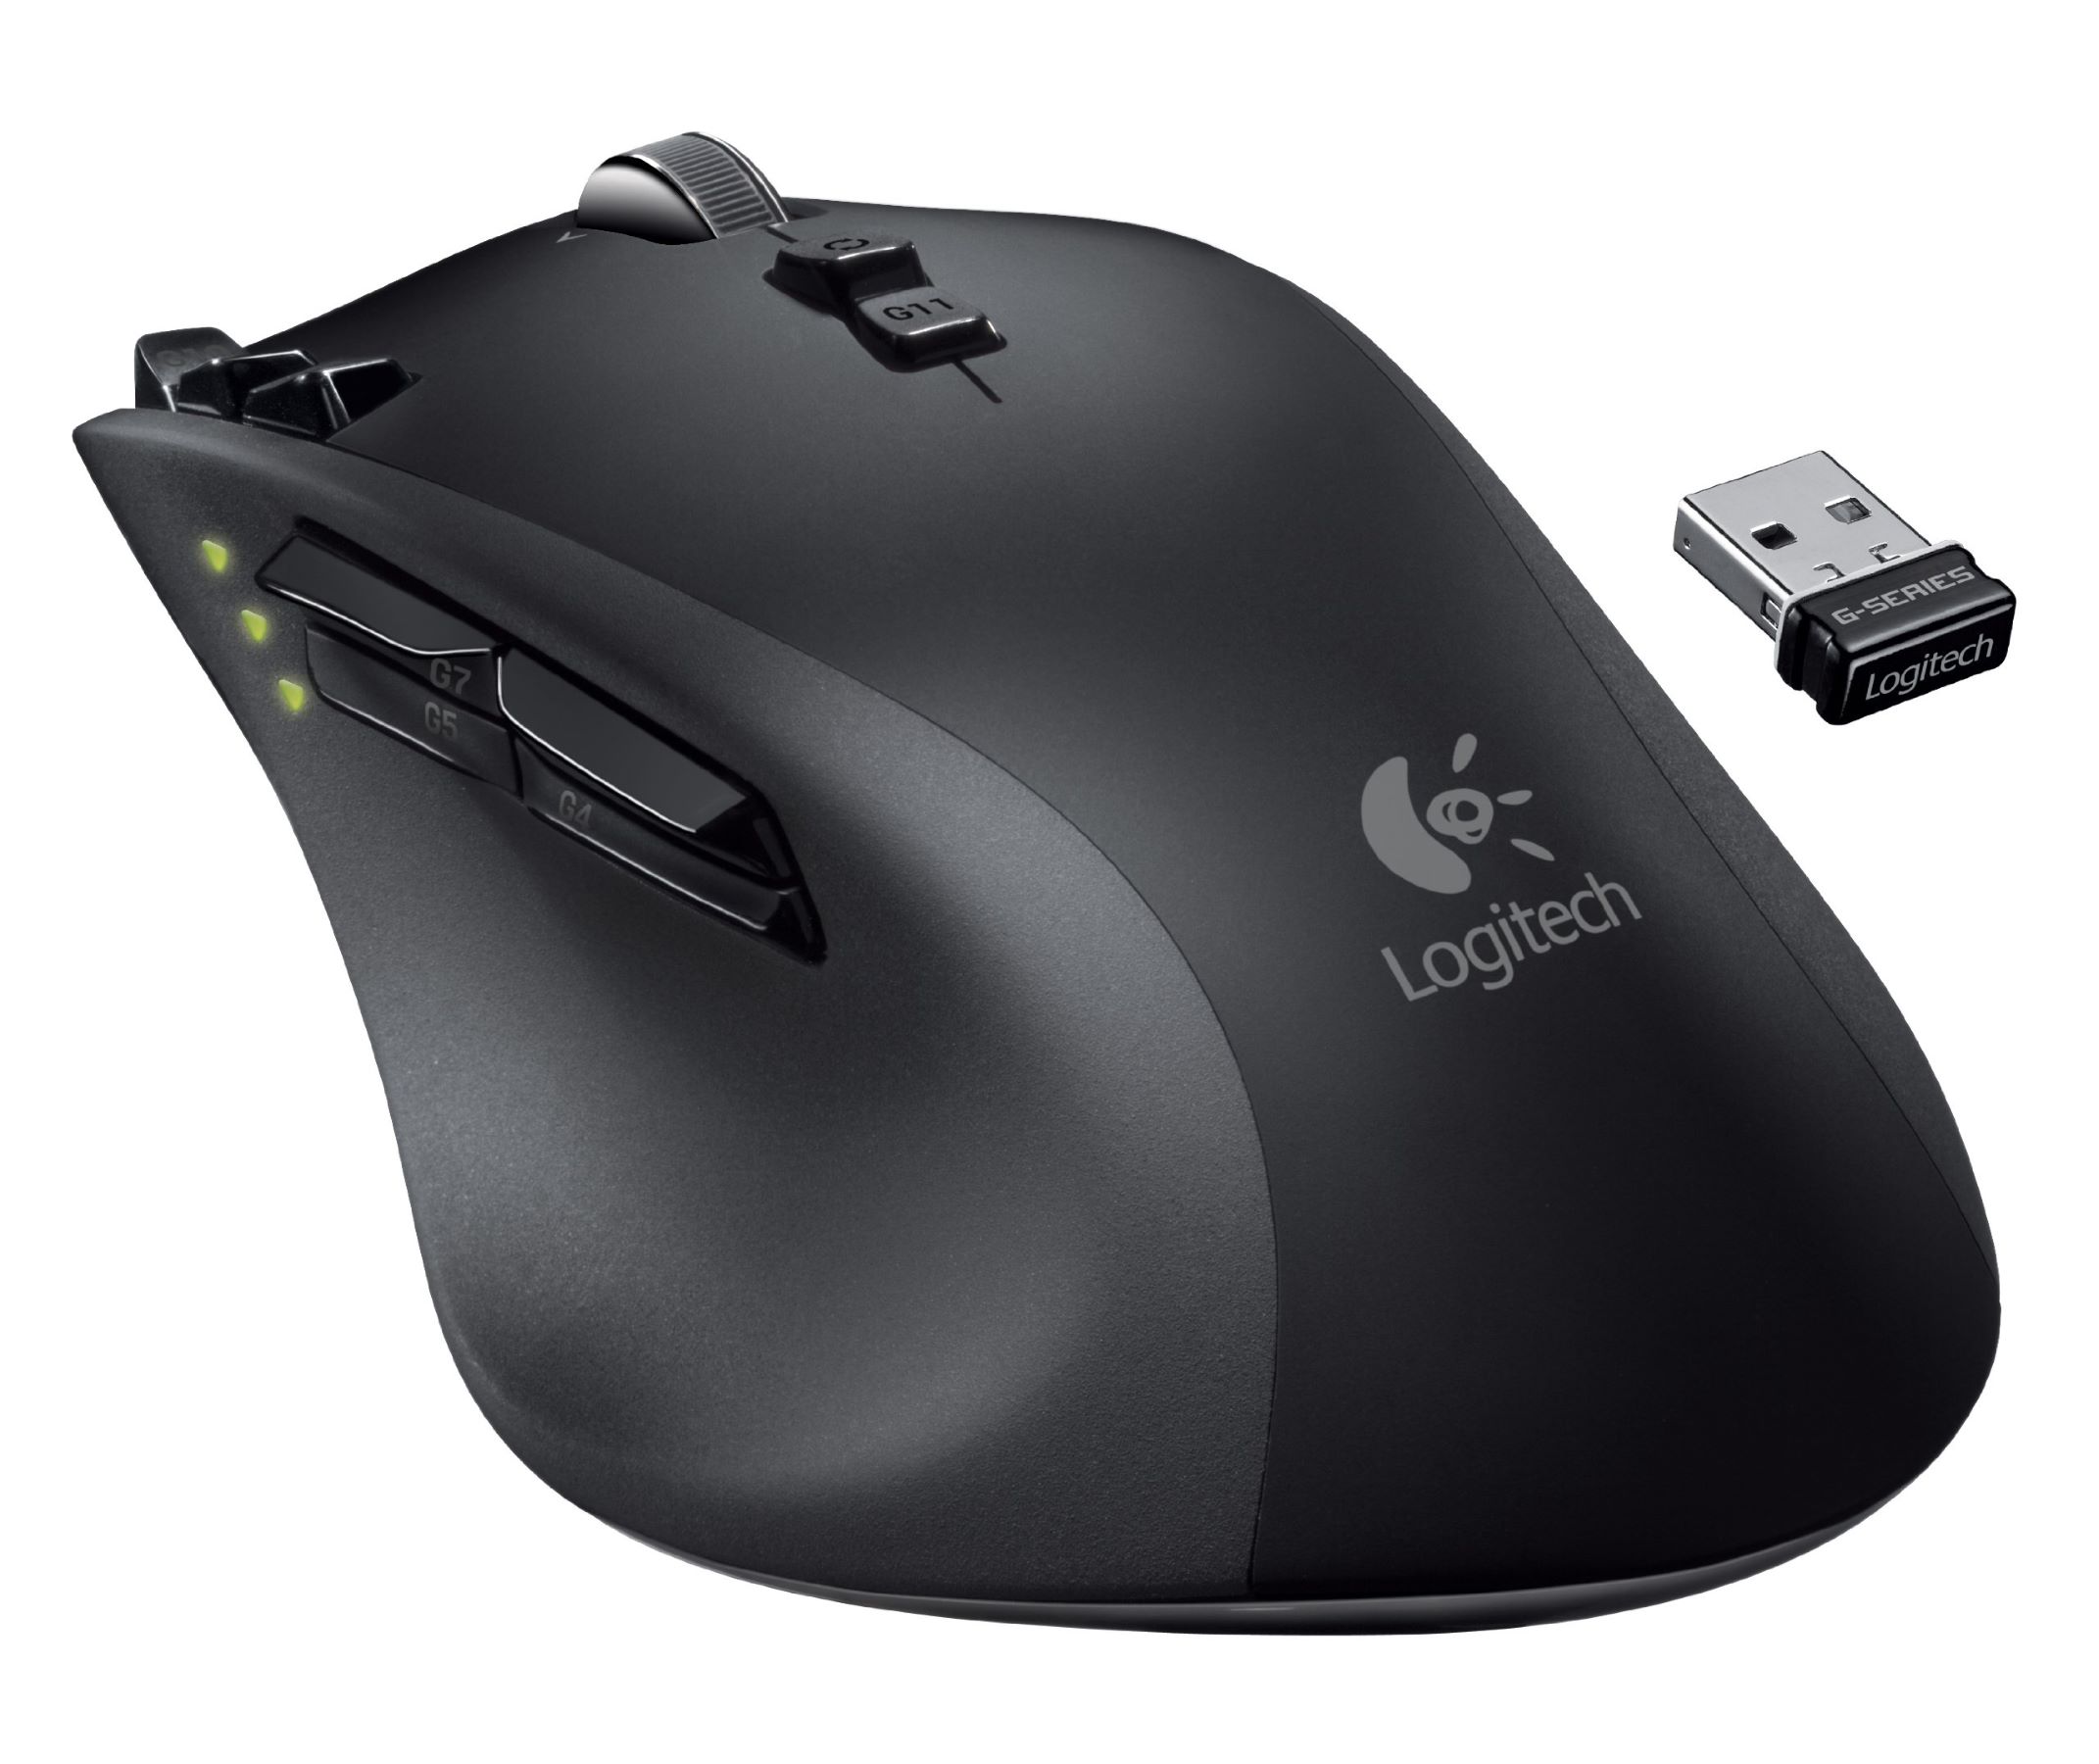
If you're an avid gamer or simply a tech enthusiast, you understand the importance of having a reliable and high-performance gaming mouse. The Logitech G700S Gaming Mouse is renowned for its precision, customizable features, and ergonomic design, making it a popular choice among gamers. However, over time, you may encounter issues with the device that necessitate disassembly for cleaning, repair, or customization. In this guide, we'll walk you through the step-by-step process of disassembling the Logitech G700S Gaming Mouse, providing you with the confidence and knowledge to tackle this task with ease.
Taking apart a complex electronic device like the Logitech G700S requires careful attention to detail and the use of precise tools. By following this guide, you'll gain valuable insights into the internal components of the mouse and learn how to navigate the disassembly process without causing damage. Whether you're looking to address a specific issue, customize the mouse with aftermarket components, or simply explore its inner workings out of curiosity, this guide will equip you with the necessary knowledge and skills.
As we delve into the disassembly process, it's essential to approach each step with patience and precision. While the Logitech G700S Gaming Mouse is a sophisticated piece of technology, with the right tools and guidance, you can safely disassemble it and gain a deeper understanding of its internal mechanisms. So, grab your tools and get ready to embark on this disassembly journey to unlock the secrets of your Logitech G700S Gaming Mouse.
Tools Required
Before embarking on the disassembly of your Logitech G700S Gaming Mouse, it’s crucial to gather the necessary tools to ensure a smooth and efficient process. Here’s a list of essential tools you’ll need:
- Precision Screwdriver Set: A set of precision screwdrivers with various head types and sizes is indispensable for accessing and removing the screws securing the mouse casing and internal components.
- Plastic Opening Tools: Non-conductive and non-marring plastic opening tools are vital for prying open the mouse casing without causing damage to the exterior or internal components.
- Tweezers: Fine-pointed tweezers aid in handling small components and connectors within the mouse, allowing for precise maneuvering during the disassembly process.
- Cotton Swabs and Isopropyl Alcohol: These are essential for cleaning the internal components and removing any accumulated dust, debris, or residue that may affect the mouse’s performance.
- Anti-Static Wrist Strap: To prevent electrostatic discharge (ESD) from damaging sensitive electronic components, wearing an anti-static wrist strap while handling the internal circuitry is highly recommended.
By ensuring you have these tools at your disposal, you’ll be well-equipped to tackle the disassembly of your Logitech G700S Gaming Mouse confidently and effectively. Having the right tools not only facilitates a smoother disassembly process but also minimizes the risk of causing unintended damage to the mouse’s components. Now that you have your tools ready, let’s proceed to the next steps in disassembling your gaming mouse.
Removing the Side Buttons
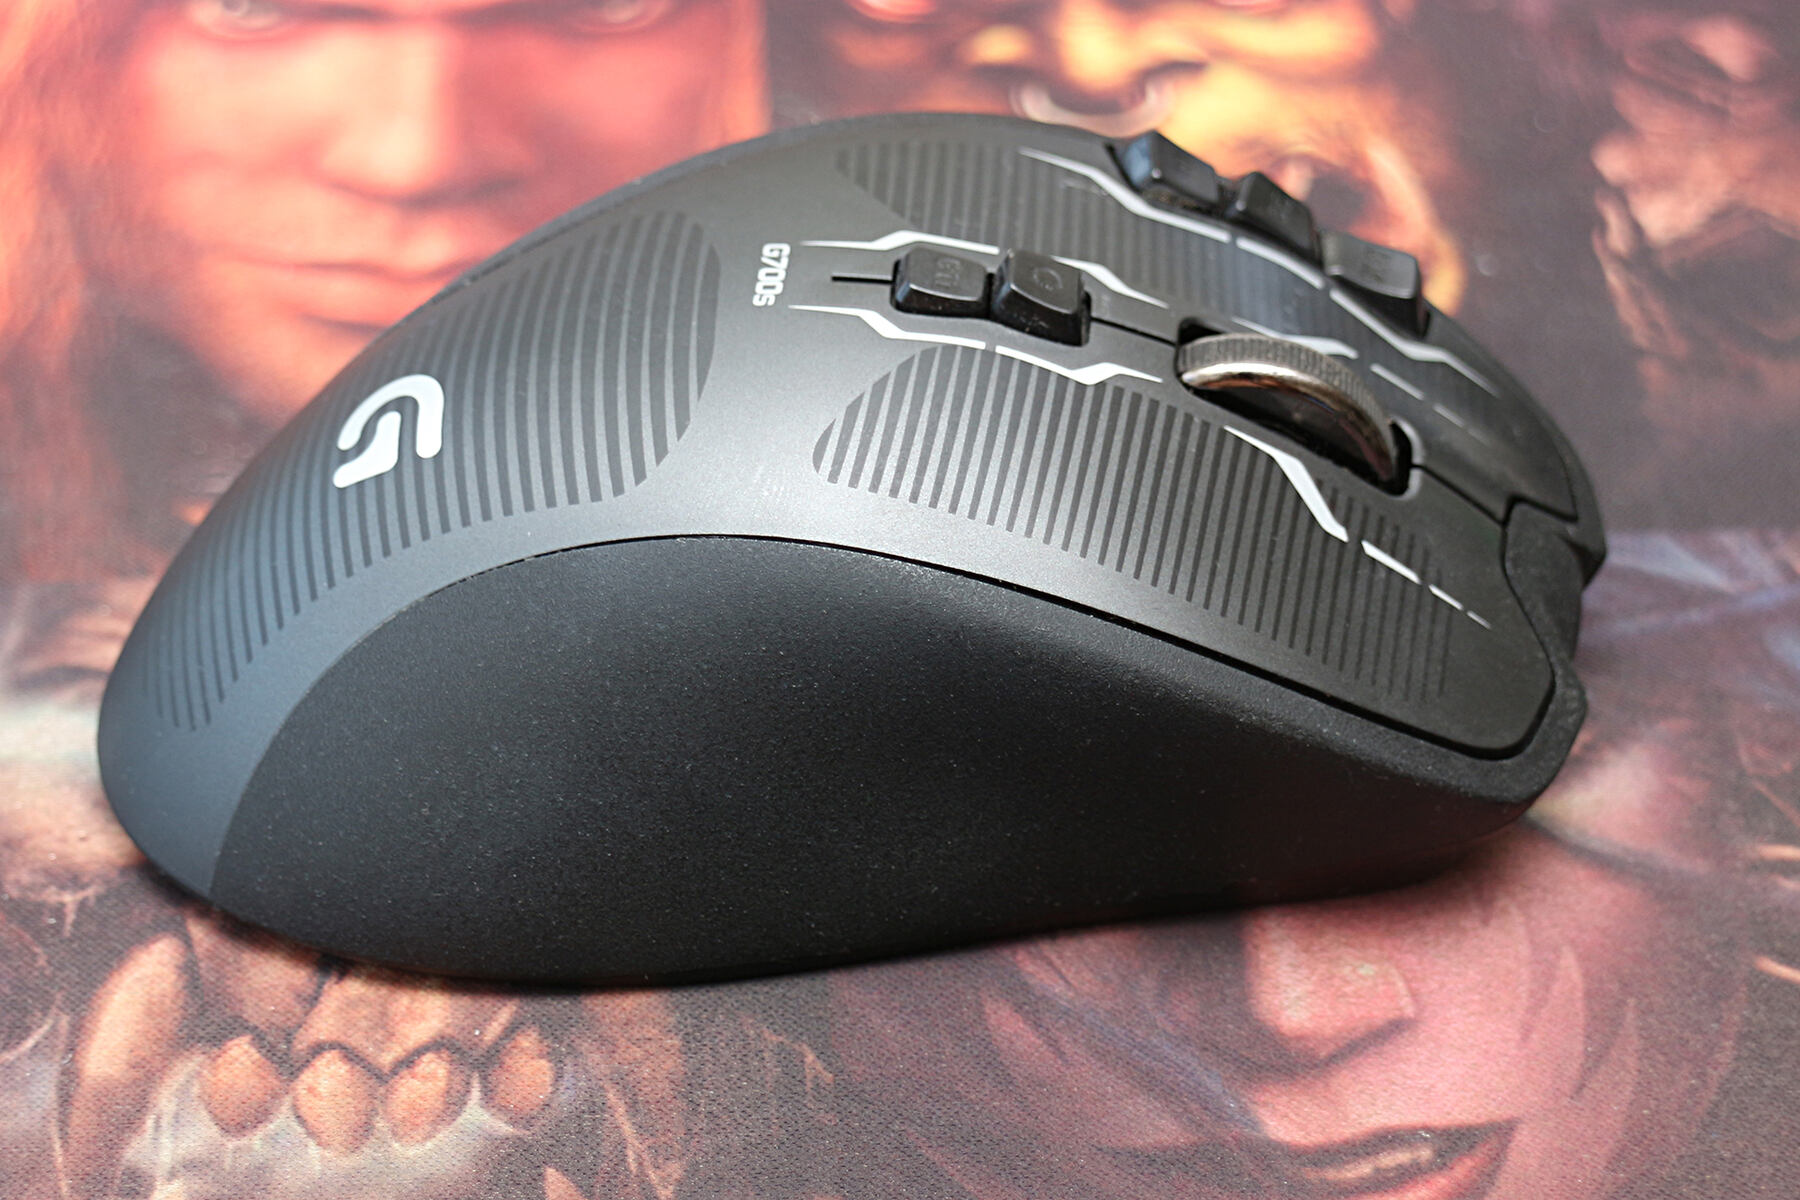
The Logitech G700S Gaming Mouse features customizable side buttons that enhance the gaming experience by providing quick access to various functions and commands. Before delving into the disassembly process, it’s essential to remove the side buttons to gain access to the underlying components. Here’s a step-by-step guide to removing the side buttons:
- Prepare a Workspace: Find a well-lit and spacious area to work in, ensuring that you have ample room to maneuver and organize the components and screws you’ll be handling.
- Turn Off the Mouse: Power off the Logitech G700S Gaming Mouse to prevent any accidental inputs or disruptions as you begin the disassembly process.
- Use a Plastic Opening Tool: Carefully insert a non-conductive plastic opening tool into the gap between the side button and the mouse’s casing. Gently pry the side button away from the casing to release it from its mounting.
- Repeat for Each Side Button: If your mouse has multiple side buttons, repeat the above step for each button, ensuring that they are detached from the casing without applying excessive force.
- Set Aside the Side Buttons: Once the side buttons are removed, place them in a safe and easily accessible location to prevent misplacement or damage during the remaining disassembly process.
By following these steps, you’ll successfully remove the side buttons from your Logitech G700S Gaming Mouse, paving the way for further disassembly and exploration of the mouse’s internal components. It’s important to handle the side buttons with care to avoid any damage to the delicate mounting mechanisms or the buttons themselves. With the side buttons removed, you’re now ready to proceed to the next stages of disassembling your gaming mouse.
Opening the Mouse Casing
With the side buttons removed, the next crucial step in disassembling the Logitech G700S Gaming Mouse is to open the mouse casing, granting access to its internal components. Properly navigating this phase is essential to avoid damaging the casing or the internal circuitry. Here’s a detailed guide on how to open the mouse casing:
- Inspect for Screws: Carefully examine the exterior of the mouse casing to identify any screws securing the top and bottom halves. These screws are often concealed beneath the mouse’s feet or stickers and may require the use of a precision screwdriver for removal.
- Remove Concealing Elements: If screws are hidden beneath the mouse’s feet or stickers, gently peel back or remove these elements to reveal the screw locations. Take note of their original placement to facilitate reassembly later.
- Unscrew the Casing: Utilizing the appropriate size and type of screwdriver, carefully remove the screws from their designated locations, ensuring they are safely set aside for reinstallation. Keep track of the different screw lengths and types, as they may vary within the mouse’s casing.
- Separate the Casing: Once all the screws are removed, gently pry apart the top and bottom halves of the mouse casing using plastic opening tools. Exercise caution to prevent applying excessive force that could damage the casing or the internal components.
- Check for Cable Connections: As you begin to separate the casing, be mindful of any cables or ribbon connectors that may be attached between the two halves. Carefully detach these connectors to ensure a safe and unhindered separation of the casing.
- Set Aside the Casing Halves: Once the casing is successfully opened, place the top and bottom halves in a secure location, taking care to avoid misplacing any screws or components that may have become dislodged during the process.
By following these steps, you’ll effectively open the mouse casing of your Logitech G700S Gaming Mouse, providing access to its internal components for cleaning, repair, or customization. It’s imperative to exercise patience and precision during this phase to avoid causing any damage to the delicate components within the mouse. With the casing opened, you’re now ready to proceed to the subsequent stages of disassembling your gaming mouse.
Disconnecting the Battery
The Logitech G700S Gaming Mouse is equipped with a rechargeable battery that powers its wireless functionality, providing gamers with the freedom of movement and extended usage. Before proceeding further with the disassembly, it’s essential to disconnect the battery to ensure safety and prevent any electrical mishaps. Here’s a comprehensive guide on disconnecting the battery from your gaming mouse:
- Locate the Battery Compartment: Identify the compartment housing the rechargeable battery within the mouse. It is typically situated in the rear section of the mouse and may be secured with a small cover or door.
- Open the Battery Compartment: If the battery compartment has a cover, carefully remove it using a plastic opening tool or your fingertips, taking care not to force or damage the cover during removal.
- Identify the Battery Connector: Once the battery compartment is accessible, locate the connector that links the battery to the mouse’s internal circuitry. The connector may be a small, multi-pin interface or a ribbon cable, depending on the specific model of the G700S.
- Disconnect the Battery: Gently detach the battery connector from its receptacle, ensuring a smooth and gradual separation to avoid any strain on the connector or the surrounding components. Take note of the connector’s orientation for reconnection later.
- Secure the Battery Compartment: After disconnecting the battery, if the compartment features a removable cover, reattach it securely to prevent the battery from dislodging during the remaining disassembly process.
By following these steps, you’ll safely disconnect the battery from your Logitech G700S Gaming Mouse, mitigating the risk of electrical hazards and ensuring a secure disassembly process. It’s crucial to handle the battery and its connector with care to prevent any damage or strain on the delicate components. With the battery safely disconnected, you’re now prepared to proceed to the subsequent stages of disassembling your gaming mouse.
Removing the Scroll Wheel
The scroll wheel of the Logitech G700S Gaming Mouse is a critical component that facilitates seamless navigation and precise control during gaming and everyday computing tasks. When disassembling the mouse, removing the scroll wheel provides access to additional internal components and allows for thorough cleaning or customization. Here’s a detailed guide on how to remove the scroll wheel from your gaming mouse:
- Assess the Scroll Wheel Mechanism: Take a moment to inspect the scroll wheel and its surrounding housing to understand the mechanism that secures it in place. This visual assessment will provide insight into the method of removal.
- Use a Plastic Opening Tool: Carefully insert a non-marring plastic opening tool beneath the edge of the scroll wheel, applying gentle pressure to lift and dislodge it from its housing. Exercise caution to avoid damaging the scroll wheel or its surrounding components.
- Rotate and Maneuver the Scroll Wheel: If the scroll wheel is equipped with a retention mechanism, such as clips or tabs, gently rotate and maneuver the wheel to disengage these securing features from the internal structure of the mouse.
- Gradually Lift the Scroll Wheel: With the retention features disengaged, gradually lift the scroll wheel from its housing, ensuring that no excessive force is applied to prevent any damage to the delicate scroll wheel mechanism or its surrounding components.
- Inspect for Residue or Debris: Upon removing the scroll wheel, take the opportunity to inspect the underlying area for any accumulated residue, debris, or foreign particles that may affect the wheel’s performance. Clean the area using compressed air or a soft brush if necessary.
- Set Aside the Scroll Wheel: Once removed, place the scroll wheel in a secure location, ensuring it is protected from damage and kept separate from other disassembled components to prevent misplacement.
By following these steps, you’ll successfully remove the scroll wheel from your Logitech G700S Gaming Mouse, opening up access to the underlying components for cleaning, maintenance, or customization. It’s crucial to handle the scroll wheel with care and precision to avoid any damage to its intricate internal mechanism. With the scroll wheel removed, you’re now ready to proceed to the subsequent stages of disassembling your gaming mouse.
Removing the Circuit Board
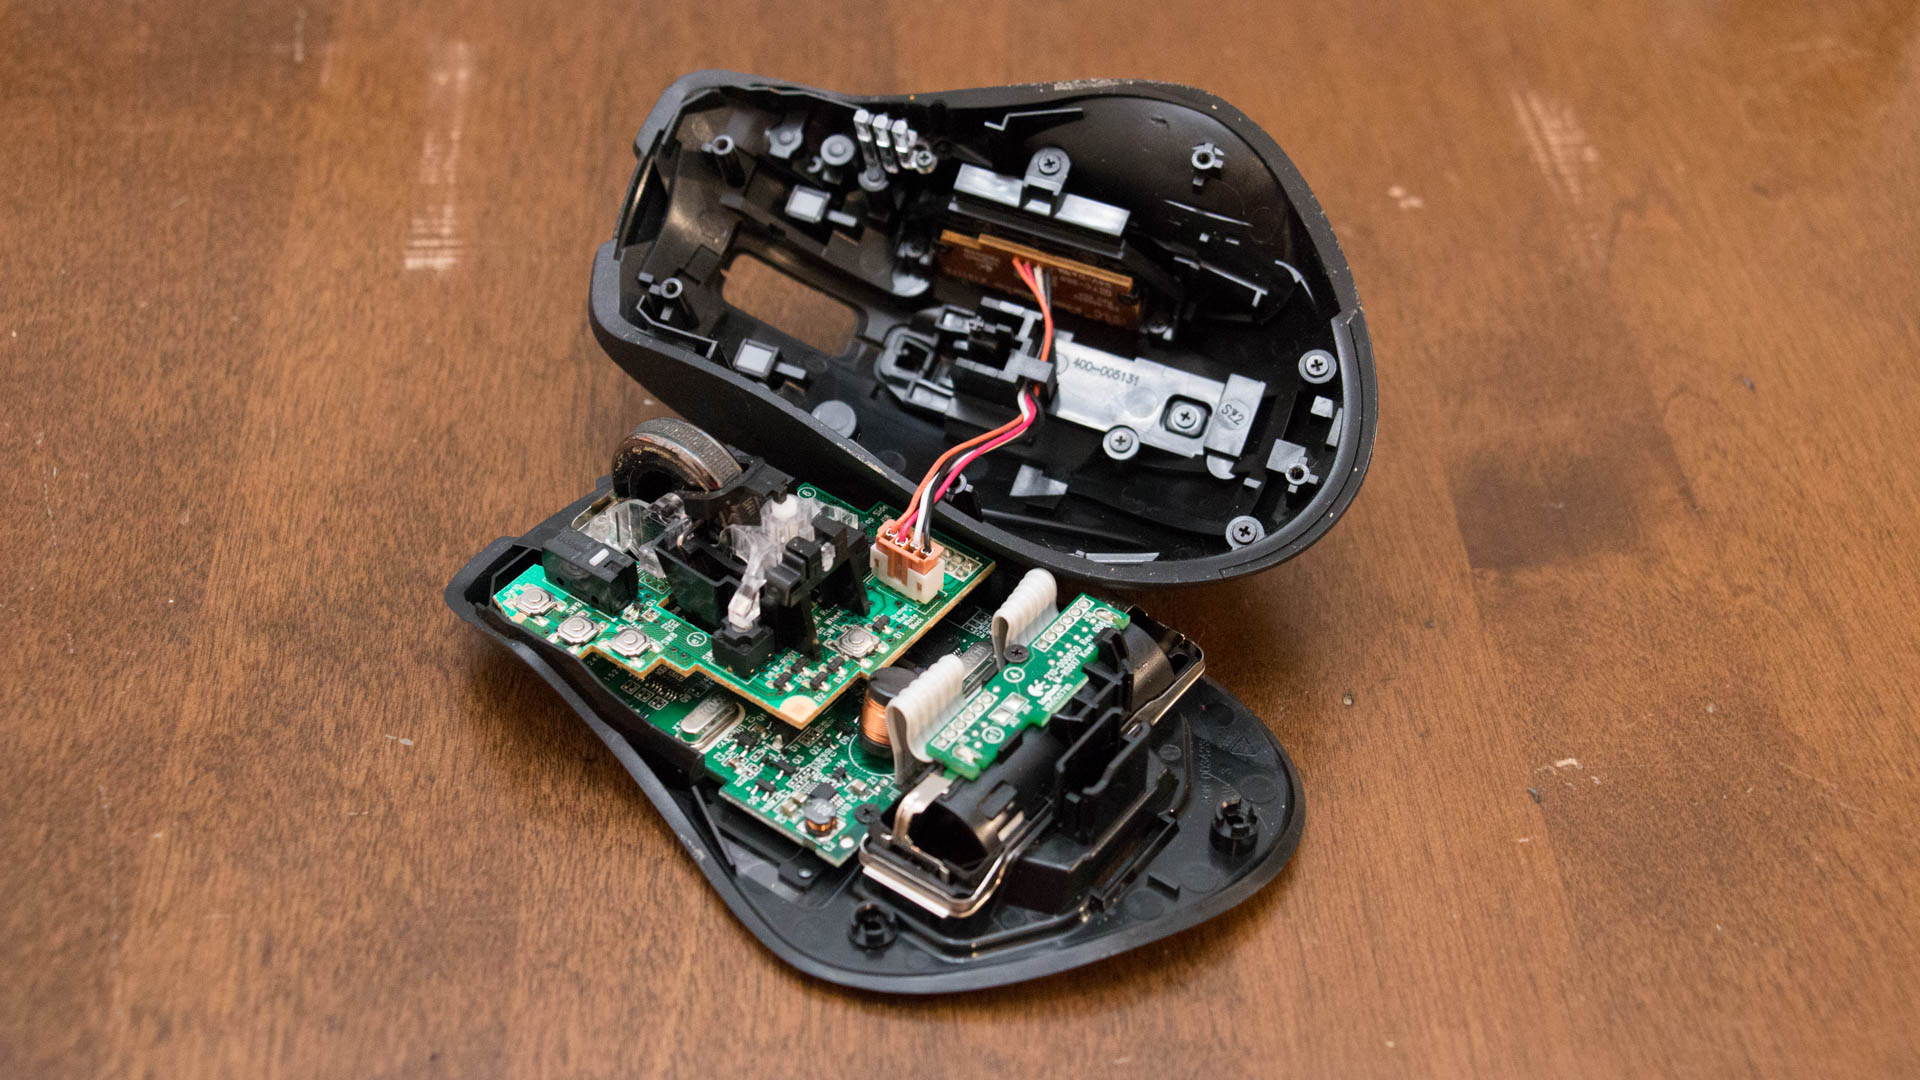
The circuit board of the Logitech G700S Gaming Mouse houses the intricate electronic components responsible for its functionality, including the sensor, switches, and wireless connectivity modules. Removing the circuit board is a crucial step in the disassembly process, allowing for in-depth cleaning, inspection, or potential customization. Here’s a comprehensive guide on how to remove the circuit board from your gaming mouse:
- Identify the Circuit Board Housing: Locate the area within the mouse casing where the circuit board is situated. It is typically positioned beneath the top half of the casing, secured by screws and possibly additional connectors.
- Disconnect Cable Connectors: If the circuit board is linked to the mouse’s buttons, scroll wheel, or other components via cable connectors, carefully detach these connections to ensure the board can be removed without causing strain or damage to the cables.
- Unscrew the Circuit Board: Using a precision screwdriver, carefully remove the screws securing the circuit board to the mouse casing. Take note of the screw locations and any variations in screw sizes to facilitate reassembly later.
- Handle with Care: Once the screws are removed, gently lift the circuit board from its housing, ensuring that no cables or components are caught or strained during the process. Exercise caution to prevent damage to the delicate electronic elements on the board.
- Inspect the Circuit Board: With the board removed, take the opportunity to inspect its surface for any signs of damage, dust accumulation, or loose connections. This inspection may reveal areas in need of cleaning or potential issues requiring further attention.
- Secure the Circuit Board: Place the removed circuit board in a safe and clean location, ensuring it is protected from static electricity and physical damage. Keep it separate from other disassembled components to prevent accidental misplacement.
By following these steps, you’ll successfully remove the circuit board from your Logitech G700S Gaming Mouse, granting access to the heart of its electronic functionality. It’s imperative to handle the circuit board with extreme care to avoid any damage to its delicate components or connectors. With the circuit board removed, you’re now prepared to proceed to the subsequent stages of disassembling your gaming mouse.
Conclusion
Congratulations! You’ve successfully navigated the disassembly process of the Logitech G700S Gaming Mouse, gaining valuable insights into its internal components and mechanisms. By following the step-by-step guide outlined in this disassembly tutorial, you’ve acquired the knowledge and confidence to undertake this intricate task with precision and care.
Throughout the disassembly process, you’ve utilized essential tools, such as precision screwdrivers, plastic opening tools, and tweezers, to safely access and remove the various components of the mouse. From removing the side buttons and opening the mouse casing to disconnecting the battery, removing the scroll wheel, and extracting the circuit board, each step required patience, attention to detail, and a gentle touch to avoid damaging the delicate components.
As you ventured into the inner workings of the Logitech G700S Gaming Mouse, you’ve gained a deeper understanding of its construction, design, and the intricate technology that powers its performance. Whether your objective was to address a specific issue, customize the mouse, or simply satisfy your curiosity, this disassembly process has provided you with a comprehensive view of the mouse’s internal architecture.
It’s important to note that reassembly is the reverse of the disassembly process, requiring careful organization of components, screws, and connectors to ensure the mouse is restored to its original state without any leftover parts. Additionally, exercising caution during reassembly is crucial to prevent any damage to the components and guarantee the mouse’s proper functionality once reassembled.
By undertaking the disassembly of the Logitech G700S Gaming Mouse, you’ve not only honed your technical skills but also developed a deeper appreciation for the intricate engineering that goes into creating high-performance gaming peripherals. Whether you’re aiming to clean the mouse, address a specific issue, or explore its internal architecture, this disassembly guide has equipped you with the knowledge and expertise to tackle the task effectively.
Now that you’ve completed the disassembly process, take a moment to reflect on your journey through the inner workings of the Logitech G700S Gaming Mouse, and appreciate the newfound understanding and skills you’ve acquired along the way.


