Introduction
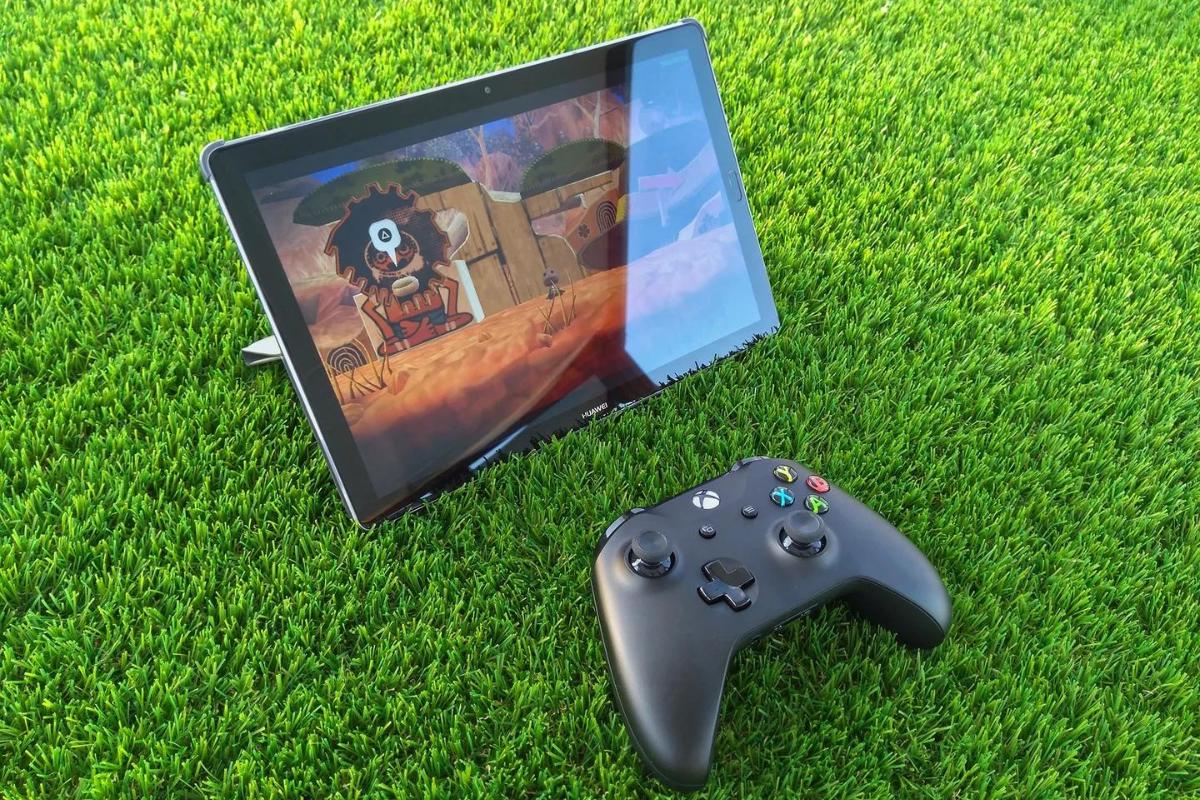
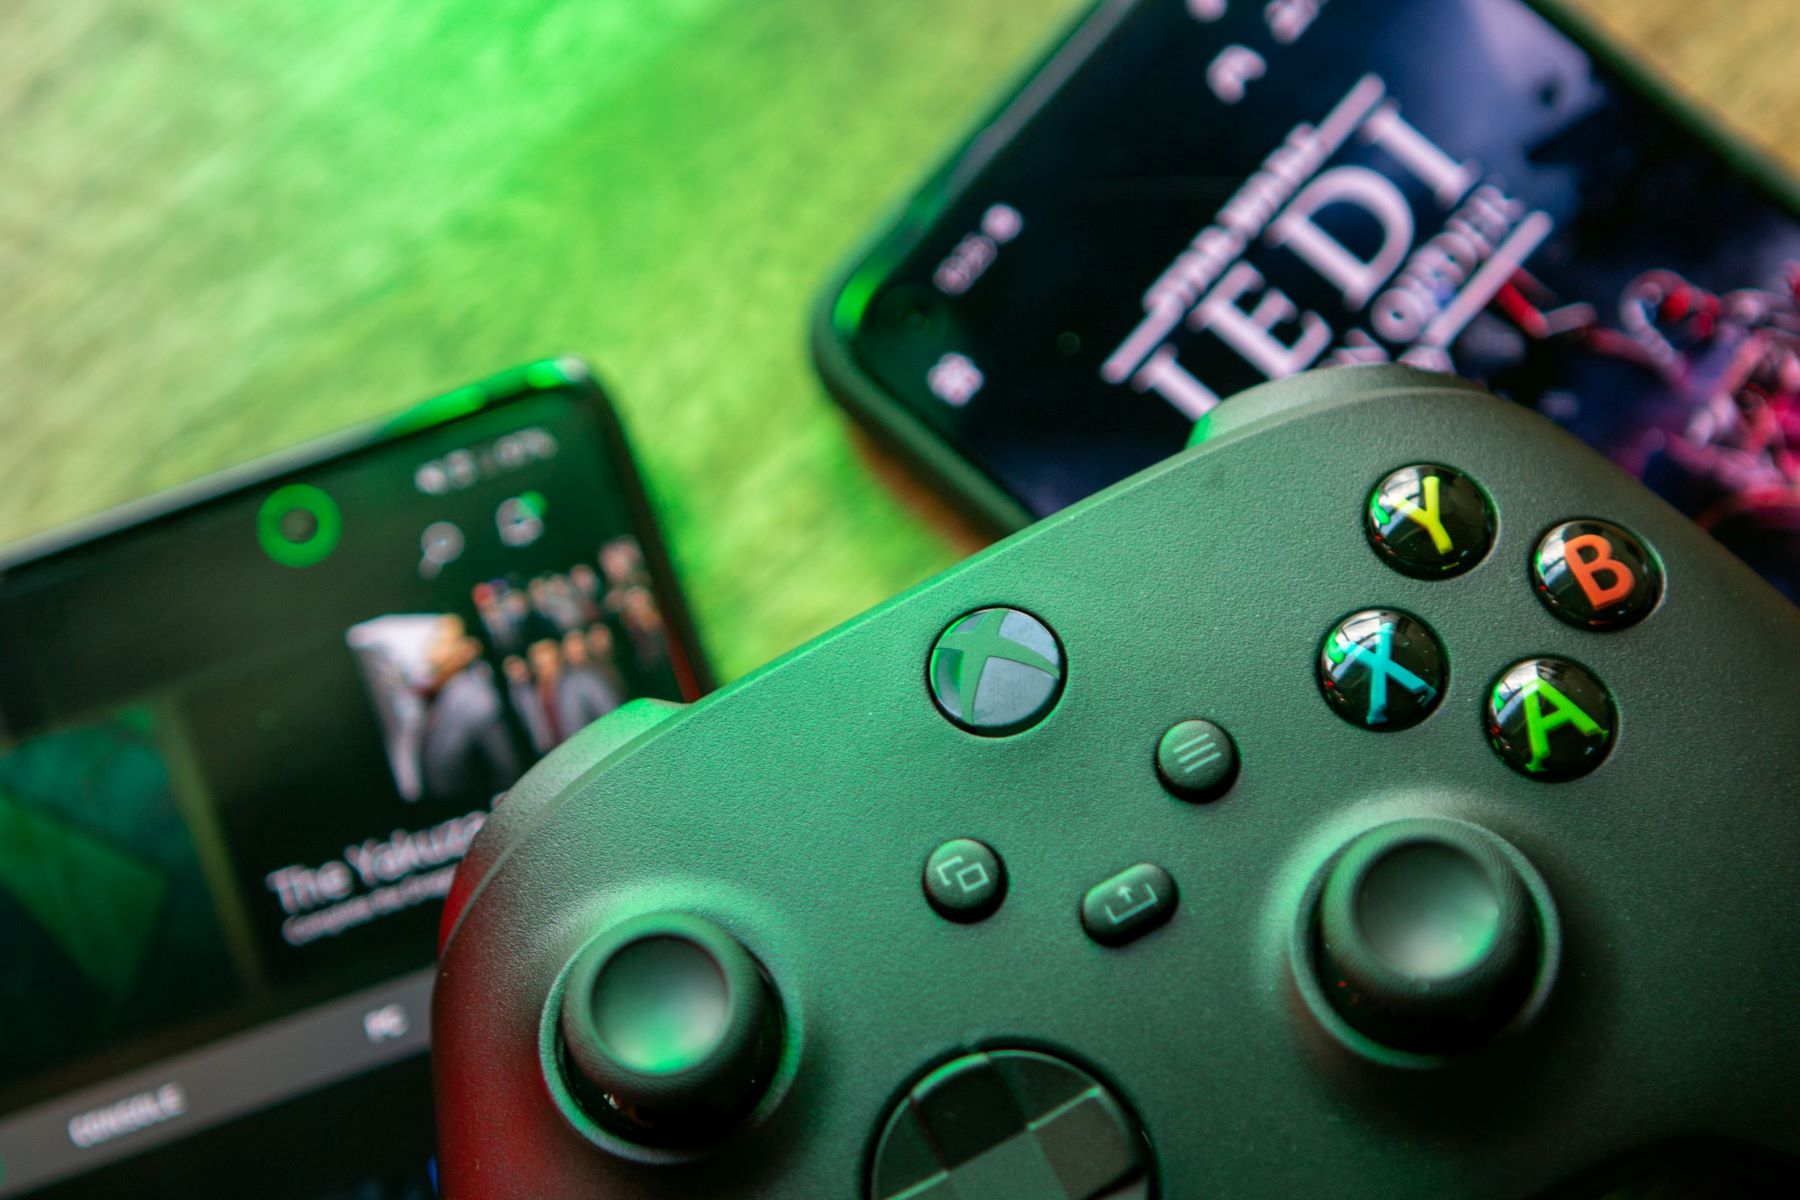
Connecting a USB game controller to your Android device can significantly enhance your gaming experience, offering precise controls and a more immersive gameplay. Whether you're a casual gamer or a dedicated enthusiast, the ability to use a game controller can take your gaming sessions to the next level. With the advancements in technology, many Android devices now support the use of USB game controllers, providing a wider range of gaming options beyond the traditional touchscreen controls.
In this guide, we will explore the steps to connect a USB game controller to your Android device, allowing you to enjoy your favorite games with greater comfort and control. Before diving into the process, it's important to ensure that your controller is compatible with your Android device and to have the necessary accessories at hand. Once you have verified compatibility and acquired the required equipment, you can proceed to connect and configure the controller, paving the way for an enhanced gaming experience on your Android device.
So, let's delve into the step-by-step process of connecting a USB game controller to your Android device and unlock a new level of gaming enjoyment. Whether you're into action-packed adventures, thrilling racing games, or classic arcade challenges, integrating a game controller can elevate your gaming escapades to new heights. Let's get started on this exciting journey to seamlessly connect your USB game controller to your Android device and elevate your gaming experience.
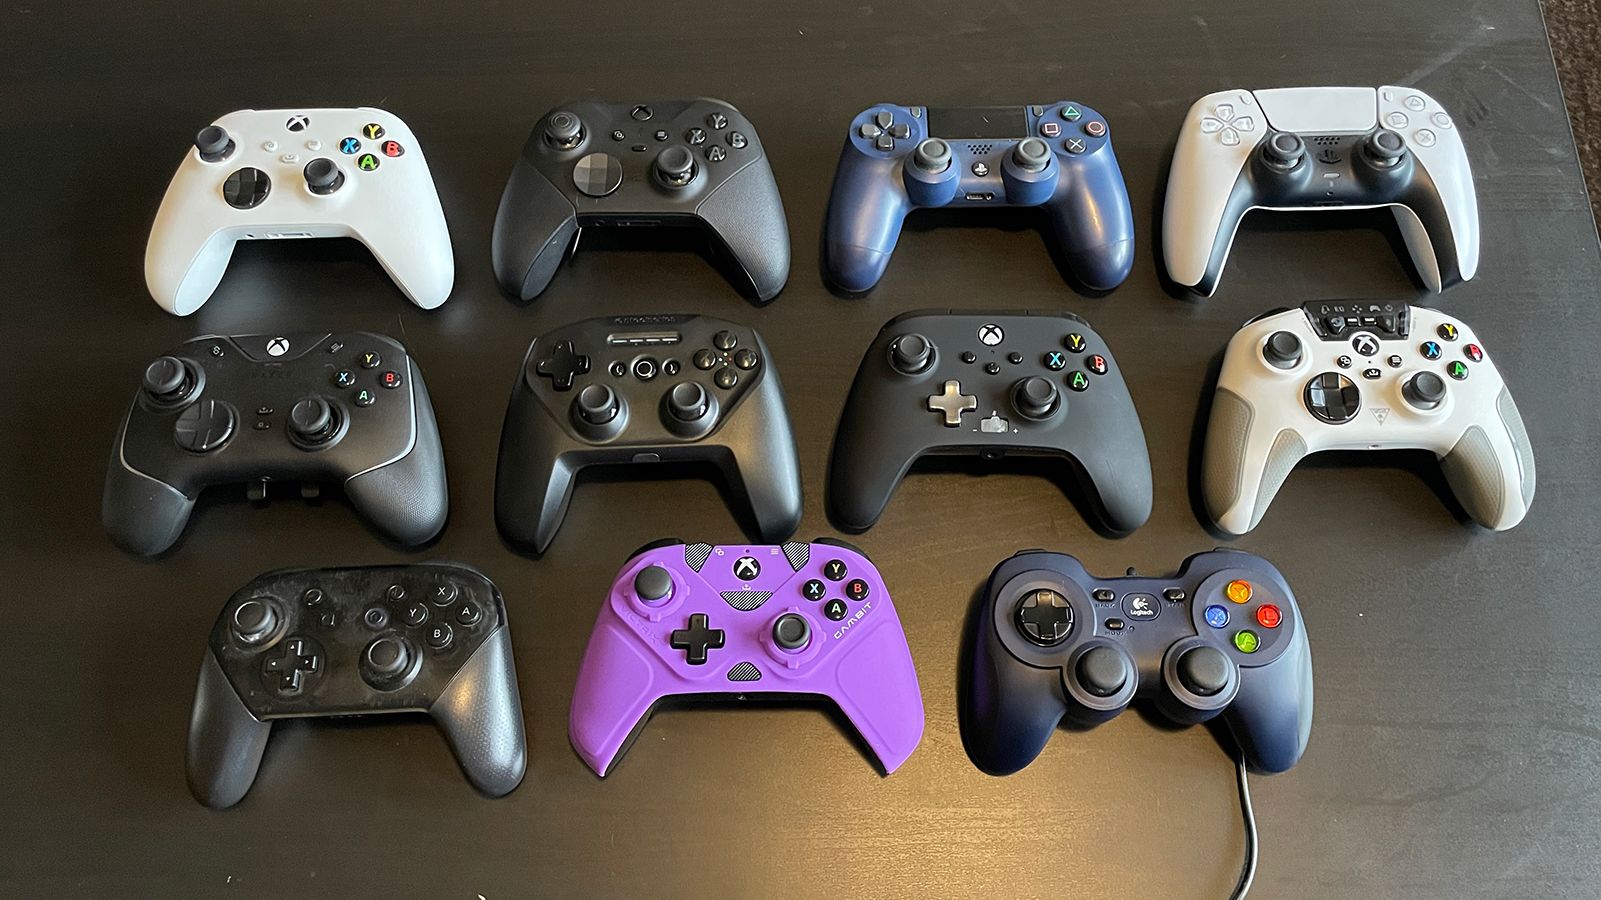
Step 1: Check Controller Compatibility
Before connecting a USB game controller to your Android device, it’s crucial to verify that the controller is compatible with your specific device. Not all Android devices support external controllers, so it’s essential to confirm compatibility to ensure a seamless connection and optimal functionality.
Here are the steps to check the compatibility of your USB game controller:
- Review Device Compatibility: Start by researching the compatibility of your Android device with USB game controllers. Check the manufacturer’s website or user manual for information regarding external controller support. Additionally, you can explore online forums and community discussions to see if other users have successfully connected the same controller to your device model.
- USB OTG Compatibility: Ensure that your Android device supports USB On-The-Go (OTG) functionality. This feature allows the device to recognize and work with external USB peripherals, including game controllers. Most modern Android devices are OTG-compatible, but it’s advisable to confirm this capability to avoid any connectivity issues.
- Controller Compatibility Lists: Some game controller manufacturers provide lists of compatible devices on their official websites. Check if your Android device is included in the list of supported devices for the specific controller model you intend to use. This can provide valuable insights into the compatibility status and help you make an informed decision.
By thoroughly assessing the compatibility of your USB game controller and Android device, you can preemptively address any potential compatibility challenges and ensure a smooth connection process. Once you have confirmed compatibility, you can proceed with confidence to connect your USB game controller to your Android device and immerse yourself in an enhanced gaming experience.
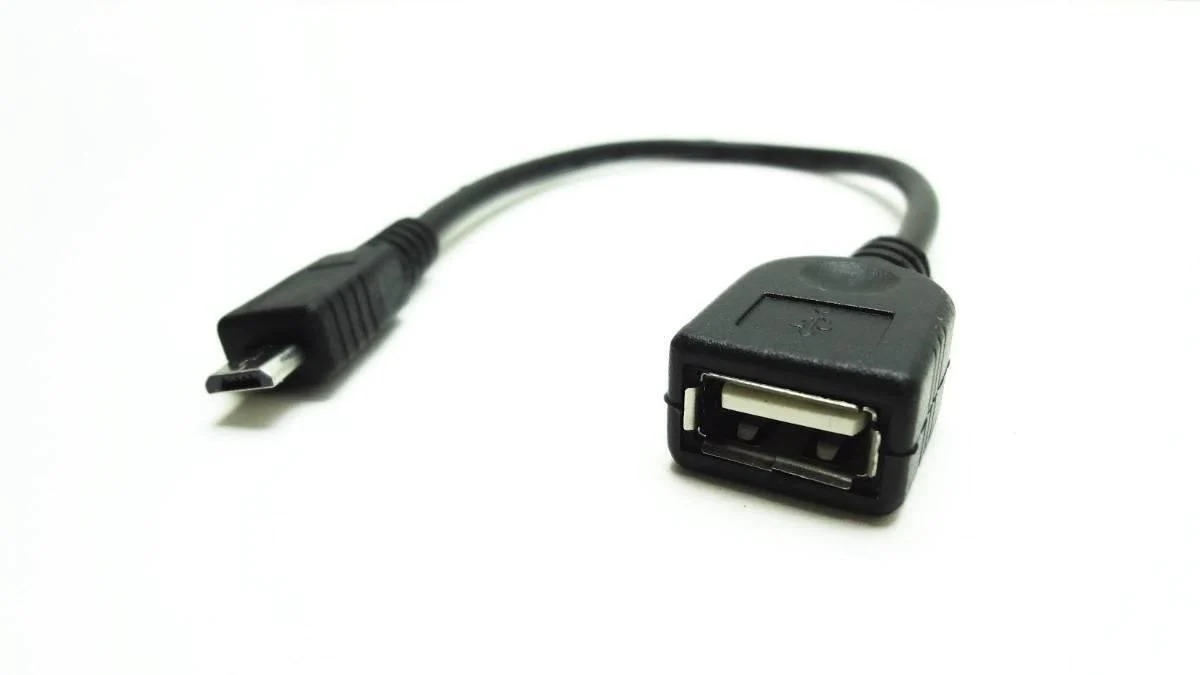
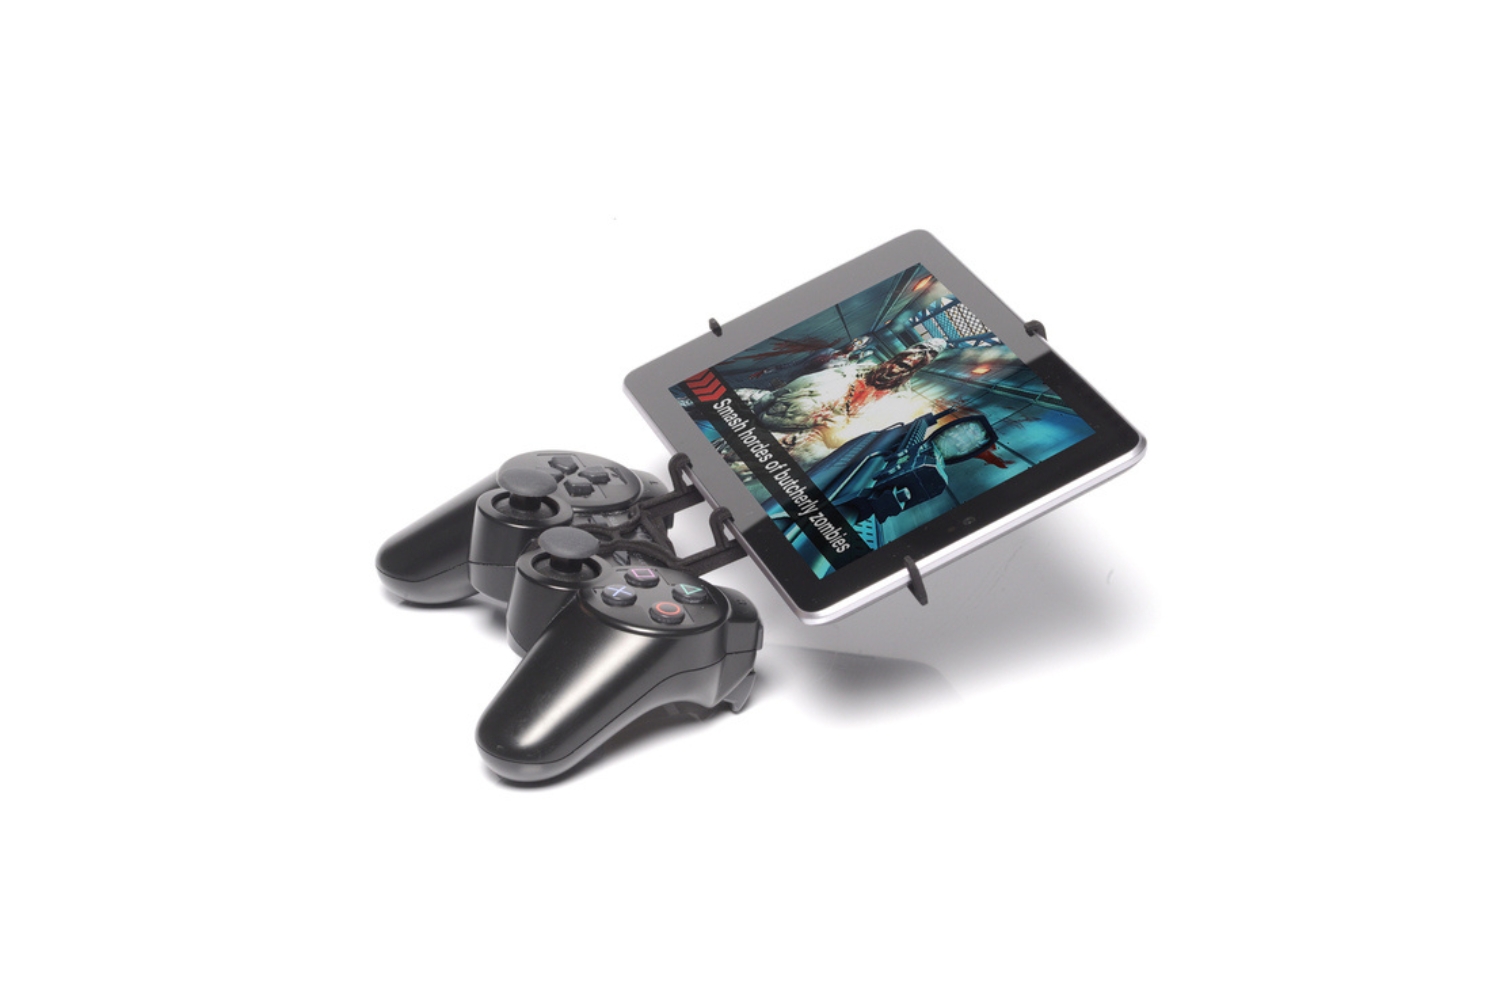
Step 2: Connect the Controller via USB OTG
Once you have verified the compatibility of your USB game controller with your Android device, the next step is to establish a physical connection using a USB On-The-Go (OTG) adapter. The OTG adapter serves as a bridge between your Android device and the USB game controller, enabling seamless connectivity and interaction. Follow these steps to connect the controller via USB OTG:
- Acquire a USB OTG Adapter: If your Android device doesn’t have a built-in USB Type-C or micro-USB port, you will need to obtain a USB OTG adapter. This small, portable accessory allows you to connect USB peripherals, including game controllers, to your Android device.
- Insert the USB OTG Adapter: Plug the USB OTG adapter into the charging port of your Android device. Ensure that the adapter is securely inserted to establish a stable connection.
- Connect the Game Controller: Using a standard USB cable, connect the USB game controller to the USB OTG adapter. Once connected, the controller should be recognized by your Android device, and you may see a notification or indicator confirming the successful connection.
- Controller Recognition: After connecting the game controller, your Android device should detect the new input device. Depending on the controller model and Android version, you may receive a prompt to configure the controller settings or map the buttons for optimal functionality.
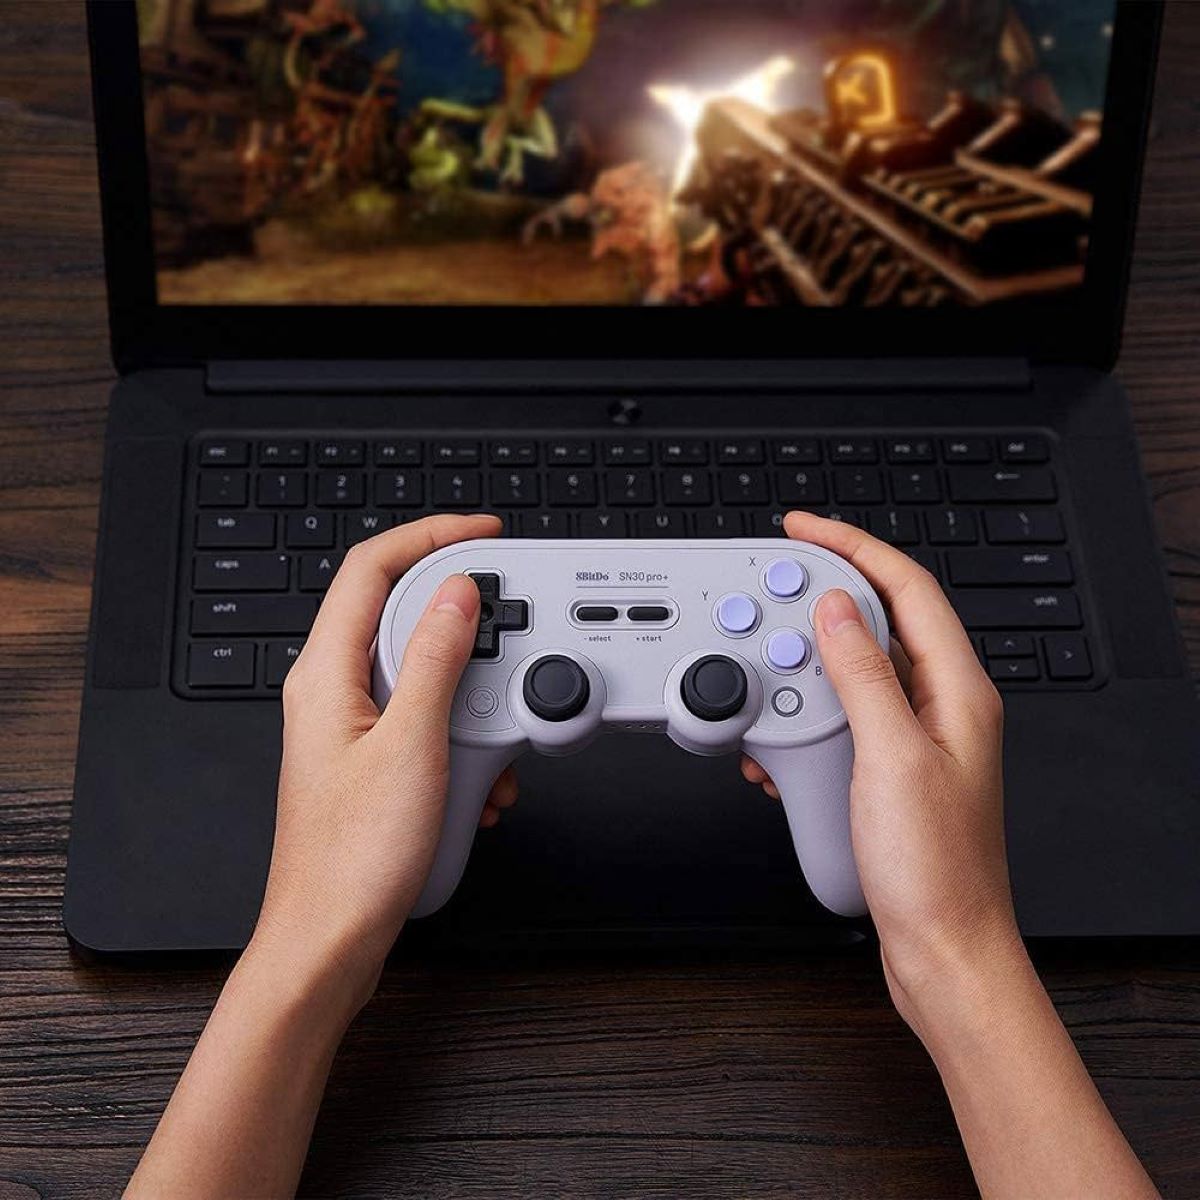
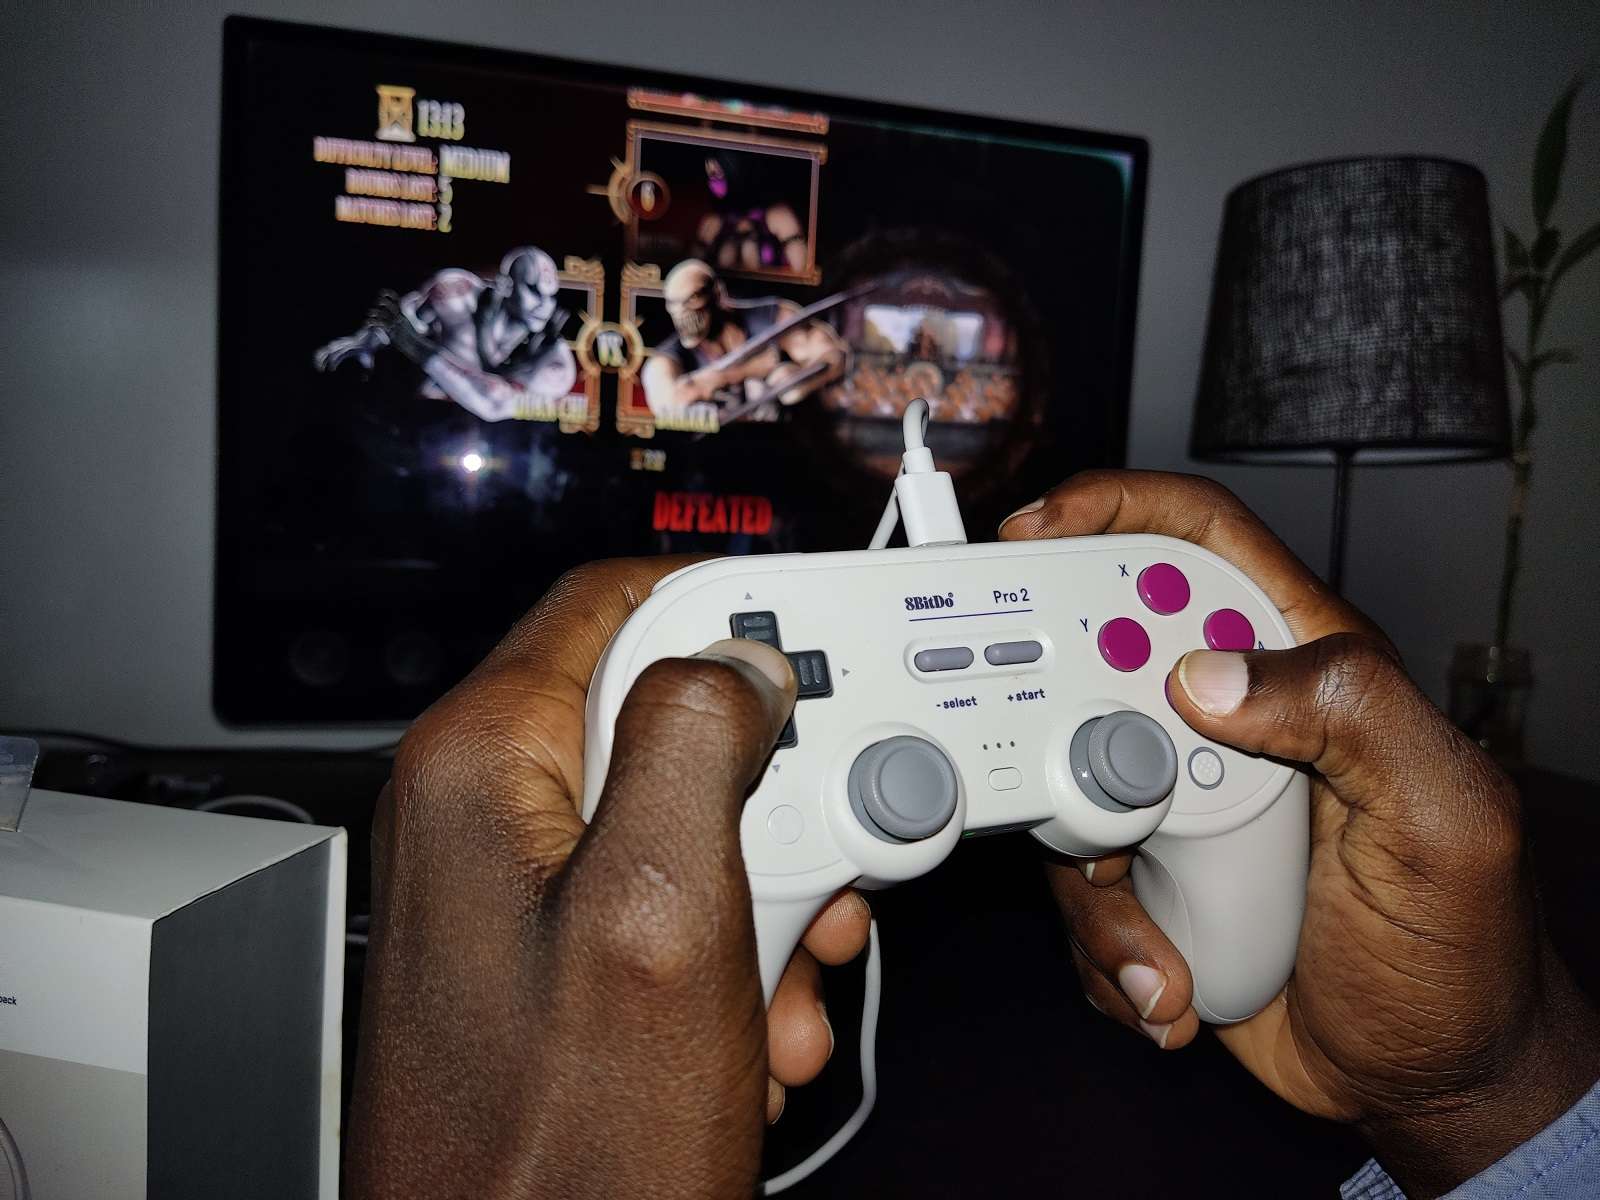
- Testing the Connection: To ensure that the controller is properly connected, launch a compatible game or app that supports external controllers. Test the controller’s functionality by navigating through the game’s menus or performing in-game actions. If the controller responds as expected, the connection has been successfully established.
By following these steps to connect the controller via USB OTG, you can seamlessly integrate a USB game controller with your Android device, opening up a world of gaming possibilities and enhancing your overall gaming experience. The physical connection facilitated by the USB OTG adapter enables you to harness the full potential of the game controller, bringing precision and control to your favorite games on your Android device.
Step 3: Configure the Controller in the Game
After successfully connecting the USB game controller to your Android device via USB OTG, the next crucial step involves configuring the controller within the game or app you intend to play. Proper configuration ensures that the controller’s buttons, triggers, and joysticks are mapped correctly, allowing for seamless gameplay and intuitive controls. Here’s a comprehensive guide to configuring the controller in the game:
- Access Game Settings: Launch the game or app in which you plan to use the USB game controller. Navigate to the settings or options menu within the game to locate the controller configuration or input settings.
- Controller Mapping: Look for the option to map the controller buttons. Depending on the game, you may be able to assign specific functions to each button on the controller. This customization allows you to tailor the controller layout to your preferences and play style.
- Calibrate Analog Sticks: Some games offer the ability to calibrate the analog sticks on the controller. This calibration ensures that the movement and sensitivity of the sticks align with your desired gameplay experience, providing precise and responsive control during gameplay.
- Button Customization: If the game supports button customization, take advantage of this feature to assign unique functions to different buttons on the controller. This flexibility allows you to optimize the controller layout for maximum comfort and efficiency.
- Test the Configuration: Once you have configured the controller settings, test the functionality within the game. Verify that the button mappings and analog stick movements align with your intended actions in the game. Make any necessary adjustments to the configuration to achieve an optimal gaming experience.
By meticulously configuring the controller within the game, you can tailor the gameplay experience to your preferences and ensure that the controller seamlessly integrates with the game’s mechanics. Whether you’re embarking on epic quests, engaging in intense battles, or maneuvering through challenging levels, a well-configured controller enhances your ability to fully immerse yourself in the gaming world on your Android device.
Conclusion
Connecting a USB game controller to your Android device opens up a realm of gaming possibilities, allowing you to enjoy a more immersive and tactile gaming experience. By following the steps outlined in this guide, you can seamlessly integrate a USB game controller with your Android device, enhancing your gaming sessions and unlocking new levels of precision and control.
From verifying controller compatibility to establishing a physical connection via USB OTG and configuring the controller within your favorite games, each step contributes to a streamlined and enjoyable gaming experience. The ability to customize controller settings, map buttons, and calibrate analog sticks empowers you to tailor the gaming environment to your preferences, ultimately amplifying your gaming enjoyment.
Whether you’re navigating treacherous terrains, executing precise maneuvers, or engaging in fast-paced combat, the use of a USB game controller on your Android device elevates the level of engagement and responsiveness, bringing your gaming adventures to life in new and exciting ways.
As you embark on your gaming endeavors with a connected USB game controller, remember to explore the vast array of games and genres that are optimized for controller input. From action-packed titles to nostalgic classics, the seamless integration of a game controller with your Android device opens the door to a diverse and captivating gaming landscape.
Embrace the enhanced control and immersive experience that a USB game controller brings to your Android gaming pursuits, and let the seamless connection between your device and the controller redefine your gaming encounters, elevating them to new heights of enjoyment and excitement.