Introduction
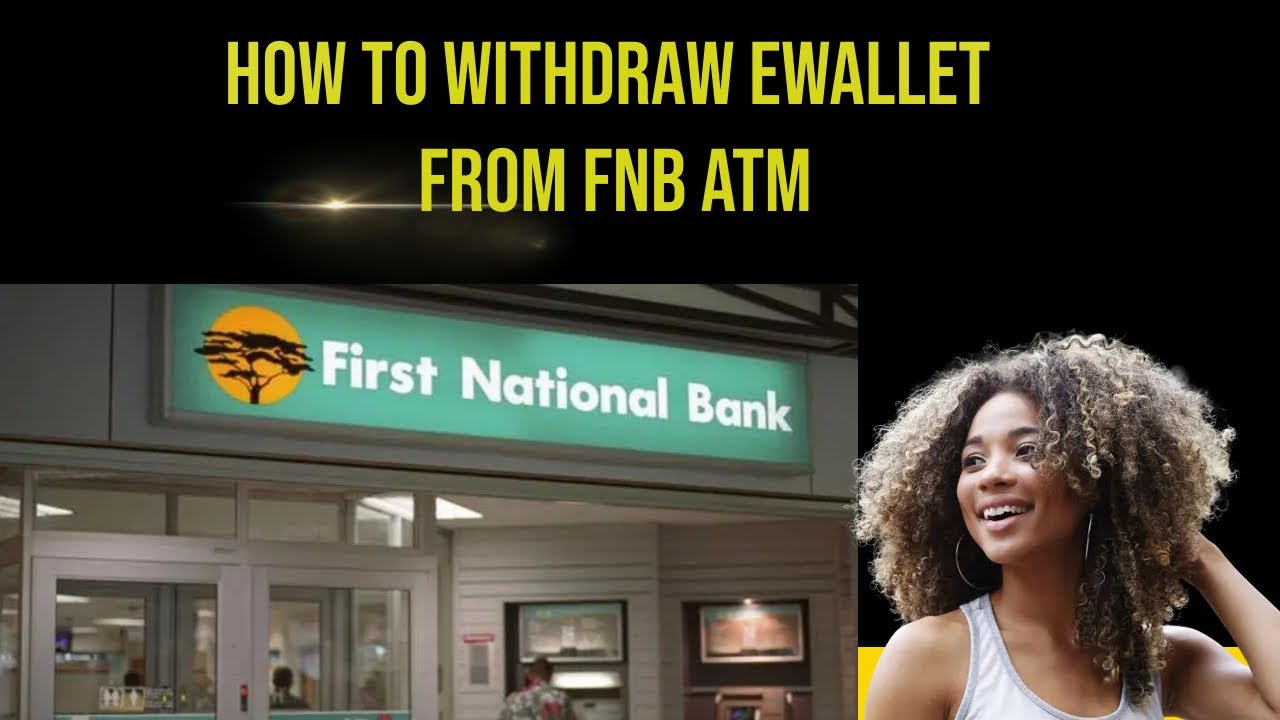
Welcome to this guide on how to withdraw funds from your e-wallet using an FNB ATM. As digital banking and e-wallets continue to gain popularity, many people prefer the convenience of accessing their funds digitally rather than carrying cash. FNB, one of the leading banks in South Africa, has made it easy for their customers to withdraw funds from their e-wallets using their network of ATMs.
In this article, we will walk you through the step-by-step process of withdrawing money from your e-wallet at an FNB ATM. Whether you’re new to e-wallets or simply unfamiliar with the process, you’ve come to the right place.
Withdrawing money from your e-wallet at an FNB ATM is a quick and hassle-free experience. You can easily convert your digital funds into cash and have immediate access to it. The convenience of being able to withdraw funds from your e-wallet at an ATM means you can transact in a safe and secure manner without the need to visit a physical branch.
In the following sections, we will show you exactly how to locate the nearest FNB ATM, insert your bank card, access the withdrawal option, and complete the transaction. So, let’s get started and learn how to withdraw funds from your e-wallet at an FNB ATM.
Step 1: Locate the nearest FNB ATM
The first step in withdrawing funds from your e-wallet at an FNB ATM is to locate the nearest ATM. FNB has a wide network of ATMs across South Africa, making it convenient for customers to find one nearby.
To locate the nearest FNB ATM, you have a few options. Firstly, you can use the FNB mobile banking app or website to find ATM locations. Simply open the app or access the website, navigate to the ATM locator feature, and enter your current location or preferred area. The app or website will display a list of nearby ATMs along with their exact addresses.
If you prefer a more traditional approach, you can also check your local area for FNB branch locations. FNB branches often have ATMs located outside, making them easily accessible. These ATMs are typically available 24/7, ensuring you can withdraw funds whenever you need them.
Additionally, some shopping centers, malls, and petrol stations also have FNB ATMs on their premises. You can check with the staff or look for signs indicating the presence of an FNB ATM. These locations are convenient if you are already visiting a shopping center or filling up your car with fuel.
Once you have located the nearest FNB ATM, you are ready to proceed to the next step: inserting your bank card.
Step 2: Insert your bank card into the ATM
After locating the nearest FNB ATM, the next step in withdrawing funds from your e-wallet is to insert your bank card into the ATM.
Approach the ATM and ensure that there are no suspicious individuals around. Look for any signs of tampering or unusual devices attached to the ATM. If everything looks secure, proceed with inserting your bank card into the card slot.
Insert your card with the chip facing upwards, or if your card does not have a chip, insert it with the magnetic strip facing towards the ATM. The card slot is usually located on the right-hand side of the ATM. Gently push the card into the slot until it is fully inserted.
The ATM will read your card and display a series of options on the screen. Make sure to keep your card in the ATM until you complete your transaction. If you remove your card too early, the transaction may be canceled.
Once you have successfully inserted your bank card, you can proceed to the next step: entering your PIN.
Step 3: Enter your PIN
After inserting your bank card into the FNB ATM, the next step in the e-wallet withdrawal process is to enter your Personal Identification Number (PIN). Your PIN is a security measure that ensures only authorized individuals can access your funds.
Look at the ATM screen, which will display the different transaction options available to you. Locate the option that prompts you to enter your PIN. It is usually labeled as “Enter PIN” or “PIN Entry.”
Using the keypad on the ATM, carefully enter your four-digit PIN. Make sure to shield the keypad as you enter your PIN to prevent anyone from seeing it. Double-check that you have entered the correct digits before proceeding to the next step.
If you accidentally enter the wrong PIN, don’t worry. The ATM will usually give you a few more attempts before temporarily blocking your card for security reasons. Take your time and enter your PIN correctly to proceed smoothly with your transaction.
Once you have successfully entered your PIN, the ATM will verify it and move on to the next step in the withdrawal process. This brings us to Step 4: selecting the “Withdrawal” option.
Step 4: Select the “Withdrawal” option
After entering your PIN, the next step in withdrawing funds from your e-wallet at an FNB ATM is to select the “Withdrawal” option from the available menu.
On the ATM screen, you will see a list of different transaction options, such as balance inquiry, funds transfer, and cash withdrawal. Look for the option that is specifically labeled as “Withdrawal” or “Cash Withdrawal.”
Use the keypad on the ATM to select the “Withdrawal” option. Some ATMs may require you to press a corresponding number, such as “2,” next to the option. The ATM will then prompt you to choose the account from which you want to withdraw the funds.
If you have linked your e-wallet to your bank account, you may see an additional option specifically for e-wallet withdrawal. Select this option if it is available. Otherwise, choose the account that is linked to your e-wallet as the source for the withdrawal.
By selecting the “Withdrawal” option, you are indicating to the ATM that you want to convert your e-wallet funds into cash. This allows you to have physical currency in hand, giving you the flexibility to use it for various purposes.
Once you have successfully selected the “Withdrawal” option, we can proceed to the next step: choosing the e-wallet option.
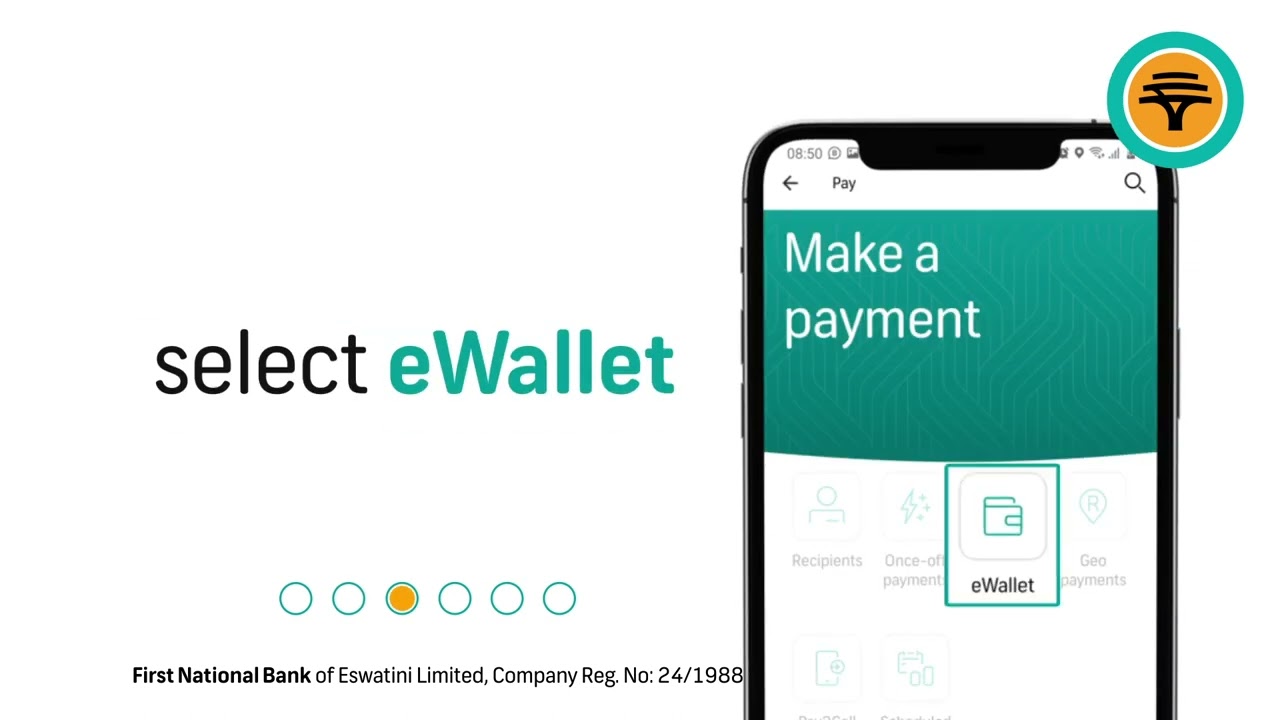
Step 5: Choose the e-wallet option
After selecting the “Withdrawal” option, the next step in the process of withdrawing funds from your e-wallet at an FNB ATM is to choose the e-wallet option.
On the ATM screen, you will be presented with a list of different types of accounts and payment options. Look for the option specifically labeled as “E-wallet” or “Digital Wallet.”
Selecting the e-wallet option is crucial as it tells the ATM that you want to withdraw funds from your digital wallet instead of a traditional bank account. This ensures that the transaction is processed correctly and your e-wallet funds are accurately deducted.
Use the keypad on the ATM to choose the e-wallet option. Some ATMs may require you to enter a corresponding number, such as “3” or “4,” next to the option. Make sure to double-check that you have selected the correct option before proceeding.
Choosing the e-wallet option at the ATM is simple and straightforward. It allows you to access the funds stored in your digital wallet and convert them into physical cash, providing you with the flexibility to use the funds in various ways.
Once you have successfully chosen the e-wallet option, we can move on to the next step: entering the recipient’s cellphone number.
Step 6: Enter the recipient’s cellphone number
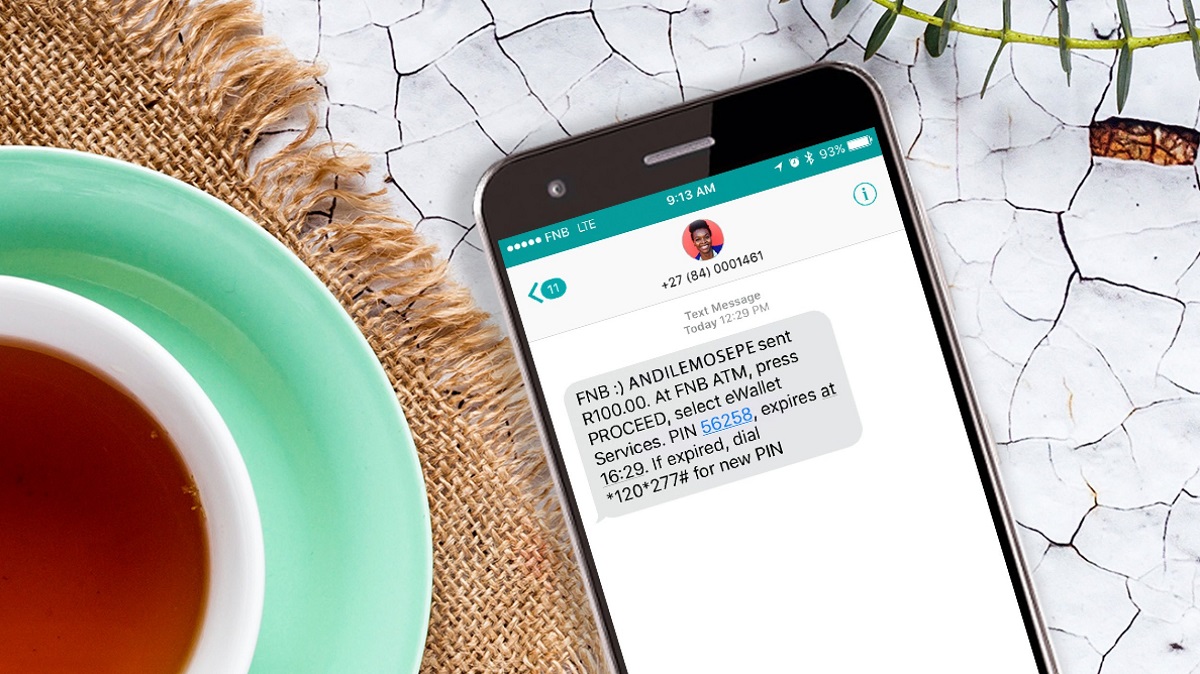
After selecting the e-wallet option, the next step in the process of withdrawing funds from your e-wallet at an FNB ATM is to enter the recipient’s cellphone number.
On the ATM screen, you will be prompted to enter the cellphone number of the person who will be receiving the funds. This step is important as it ensures that the funds are transferred to the correct recipient.
Carefully enter the recipient’s cellphone number using the keypad on the ATM. Take your time to ensure that the number is accurate and complete. Double-check your entry before proceeding to the next step to avoid any mistakes.
Make sure to only enter the cellphone number of someone you trust and who is authorized to receive the funds. This can be a family member, friend, or any other individual who has access to a mobile phone and is capable of receiving digital payments.
If you are unsure of the recipient’s cellphone number, it is always a good idea to verify it with them before proceeding with the transaction. This ensures that the funds are sent to the correct person and reduces the chances of any errors or complications.
Once you have successfully entered the recipient’s cellphone number, we can move on to the next step: entering the withdrawal amount.
Step 7: Enter the withdrawal amount
After entering the recipient’s cellphone number, the next step in withdrawing funds from your e-wallet at an FNB ATM is to enter the withdrawal amount.
On the ATM screen, you will be prompted to enter the specific amount of funds you wish to withdraw from your e-wallet. This step allows you to customize the withdrawal amount based on your needs.
Using the keypad on the ATM, carefully enter the withdrawal amount. Make sure to double-check your entry to ensure that it is accurate and reflects the desired amount you wish to withdraw.
Keep in mind that there are often withdrawal limits set by the ATM or your bank. These limits may vary depending on factors such as your account type and transaction history. If the withdrawal amount you entered exceeds the limit, you may need to adjust it accordingly.
Take into consideration any applicable fees or charges that may be deducted from the withdrawal amount. It is always a good idea to be aware of any potential charges to avoid any surprises.
Once you have successfully entered the withdrawal amount, we can move on to the next step: confirming the transaction.
Step 8: Confirm the transaction
After entering the withdrawal amount, the next step in withdrawing funds from your e-wallet at an FNB ATM is to confirm the transaction.
On the ATM screen, you will be presented with a summary of the transaction details, including the recipient’s cellphone number and the withdrawal amount. Take a moment to carefully review all the information to ensure its accuracy.
If everything looks correct, proceed to confirm the transaction. Depending on the ATM, you may be prompted to press a button labeled “Confirm,” “OK,” or a similar indication to proceed. Alternatively, some ATMs may require you to enter a specific number to confirm the transaction.
It is crucial to double-check all the details before confirming the transaction to avoid any errors or unintended transfers. Confirming the transaction signals to the ATM that you are ready to proceed with the withdrawal and finalize the process.
Once you have successfully confirmed the transaction, the ATM will process the withdrawal and initiate the transfer of funds from your e-wallet to the recipient’s cellphone number. The screen may display a progress indicator or a message indicating that the transaction is being processed.
It is essential to be patient during this process and avoid interrupting or canceling the transaction. Depending on various factors such as network connectivity and transaction volume, the processing time may vary. The ATM will provide instructions and further prompts when the transaction is complete.
Once you have confirmed the transaction, we can move on to the final step: collecting your cash and receipt.
Step 9: Collect your cash and receipt
After confirming the transaction, the final step in withdrawing funds from your e-wallet at an FNB ATM is to collect your cash and receipt.
On the ATM screen, you will see a message indicating that the transaction has been successfully completed. The screen will instruct you to wait momentarily while the machine dispenses the cash.
Keep your attention on the ATM as it dispenses the cash. Make sure to reach out and collect your cash as soon as it is presented to you. Take a moment to count the cash and ensure that it matches the withdrawal amount you requested.
Simultaneously, the ATM will also print out a receipt for the transaction. The receipt provides confirmation of the withdrawal and serves as a record of the transaction details. Remember to retrieve your receipt from the designated slot on the ATM.
Once you have collected both your cash and receipt, it is a good practice to double-check that you have taken everything you need before leaving the ATM area.
It is important to secure your cash and receipt before leaving the ATM location. Consider placing the cash in a secure wallet or purse and safely storing the receipt for future reference or record-keeping purposes.
With the successful collection of your cash and receipt, the process of withdrawing funds from your e-wallet at an FNB ATM is complete.
Remember to keep your bank card secure and not to disclose your PIN or personal information to anyone. If you have any concerns or issues during the withdrawal transaction, contact your bank’s customer support immediately for assistance.
Congratulations! You have successfully withdrawn funds from your e-wallet using an FNB ATM.
Conclusion
Withdrawing funds from your e-wallet at an FNB ATM is a straightforward and convenient process that gives you access to your digital funds in the form of physical cash. By following the step-by-step guide outlined in this article, you can easily convert your e-wallet funds into currency.
We started by locating the nearest FNB ATM, ensuring easy access and convenience. Then, we proceeded to insert your bank card into the ATM and enter your PIN for security verification. Next, we selected the “Withdrawal” option and specifically chose the e-wallet option to initiate the withdrawal process.
After entering the recipient’s cellphone number and specifying the withdrawal amount, we confirmed the transaction to initiate the transfer of funds. Finally, we collected the cash and receipt, ensuring proper documentation and the safekeeping of the withdrawn funds.
It is important to remember to always prioritize your safety and security when using an ATM. Be cautious of your surroundings, shield your PIN entry, and verify the recipient’s cellphone number before proceeding with the transaction.
Withdrawing funds from your e-wallet at an FNB ATM offers you the flexibility to have physical cash on hand when you need it. Whether you need to make purchases, pay bills, or simply prefer the convenience of using cash, this method allows you to access and utilize your e-wallet funds in a hassle-free manner.
Consult your bank or FNB’s customer service if you encounter any issues or require further assistance during the e-wallet withdrawal process. The knowledgeable staff can address any concerns and provide the necessary guidance.
Now that you are equipped with this knowledge, you can confidently and securely withdraw funds from your e-wallet at an FNB ATM. Take advantage of the convenience and accessibility offered by digital banking, making your financial transactions simpler and more efficient.
Remember to stay informed about any updates or changes in the ATM withdrawal process, as banking technology continues to evolve. Embrace the benefits of digital banking while ensuring the security of your transactions.
Enjoy the convenience and freedom of accessing your e-wallet funds as and when you need them through FNB ATMs. Happy banking!