Introduction
Welcome to the world of digital finance! In today’s fast-paced and interconnected world, having the ability to manage your finances on the go is becoming increasingly important. One of the convenient ways to do this is through an e-wallet, which allows you to store and transfer funds electronically using your smartphone or other mobile devices.
First National Bank (FNB) provides its customers with a user-friendly and efficient mobile banking app that includes a built-in e-wallet feature. This feature enables FNB account holders to easily send and receive money, make payments, and withdraw funds directly from their e-wallet.
In this guide, we will walk you through the step-by-step process of using the e-wallet feature on the FNB app. Whether you want to send money to a friend or family member, make a payment for your online purchase, or even receive funds from someone, the FNB e-wallet has got you covered.
By the end of this guide, you’ll have a clear understanding of how to navigate the FNB app, access the e-wallet feature, add funds, check your e-wallet balance, and withdraw funds as needed. So, let’s dive in and explore the world of e-wallets on the FNB app!
Step 1: Downloading the FNB App
The first step to accessing the e-wallet feature on the FNB app is to download and install the app on your smartphone or tablet. The FNB app is available for both Android and iOS devices and can be downloaded from the respective app stores.
To download the FNB app, open the Google Play Store or Apple App Store on your device. Search for “FNB” in the search bar, and you should see the FNB app in the search results. Click on the app listing to view more details.
Once you’re on the FNB app listing, click on the “Install” or “Download” button to begin the download process. The app will start downloading and installing automatically on your device. Make sure you have a stable internet connection to ensure a smooth installation process.
Once the FNB app is successfully installed, look for the app icon on your device’s home screen or app drawer. Tap on the icon to launch the app.
If you’re a new user, you will need to set up your FNB account before you can access the e-wallet feature. The app will guide you through the account setup process, which typically involves verifying your identity, creating a secure password, and linking your FNB account to your mobile device. If you’re an existing FNB customer, you can simply log in with your existing credentials.
Now that you have the FNB app installed on your device and set up your account, you’re ready to move on to the next step: logging in to your FNB account.
Step 2: Logging in to your FNB Account
After downloading the FNB app, the next step is to log in to your FNB account. Launch the FNB app on your device and you will be presented with the login screen.
Enter your FNB username or card number in the designated field. If you do not have a username, you can use your card number followed by the pound sign (#). Then, enter your password in the password field. If you have forgotten your password, there will be an option to reset it.
Before proceeding, ensure that you have a stable internet connection as the FNB app requires an active connection to log in and access your account.
Once you have entered your login details, click on the “Log In” or “Sign In” button. The app will validate your credentials and if they are correct, you will be granted access to your FNB account.
If the login process is successful, you will be directed to the main dashboard of the FNB app, which provides an overview of your account balances, recent transactions, and various banking services offered by FNB.
It is important to note that FNB takes security seriously, and therefore, employs various security measures to protect your account. These measures may include two-factor authentication, biometric login options, and secure encryption to ensure the privacy and safety of your financial information.
With your FNB account successfully logged in, you are now ready to navigate to the e-wallet feature within the app.
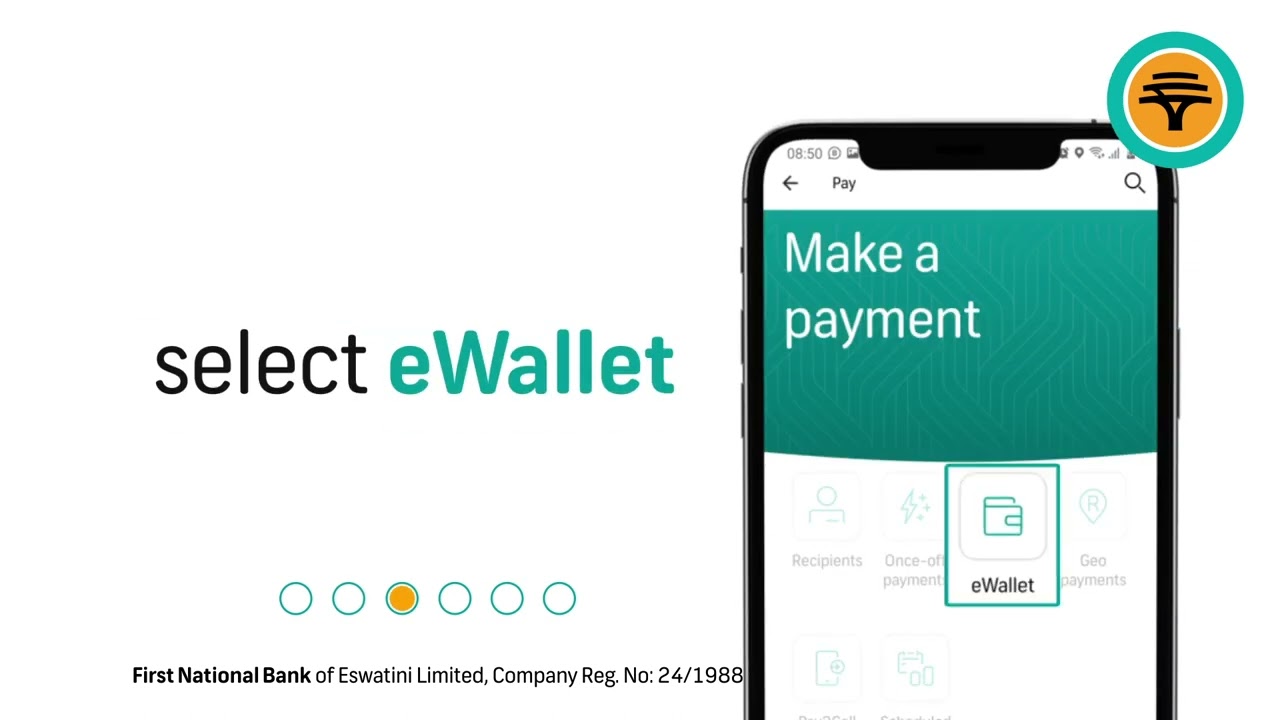
Step 3: Navigating to the E-wallet Feature
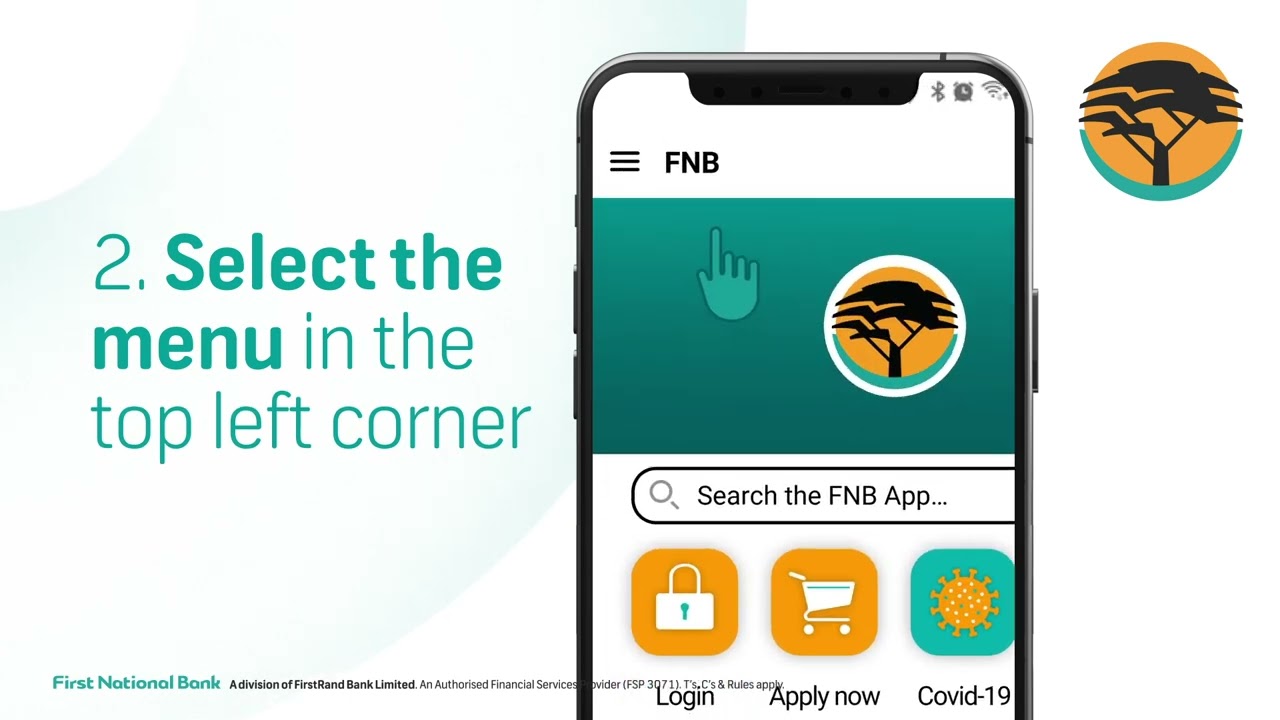
Now that you have logged in to your FNB account, the next step is to navigate to the e-wallet feature within the FNB app. The e-wallet feature allows you to manage your funds, send and receive money, and make payments conveniently from your mobile device.
To access the e-wallet feature, look for the menu or navigation icon within the FNB app. This icon is typically represented by three horizontal lines or dots arranged vertically. It is usually located at the top left or right corner of the app screen.
Once you have located the menu or navigation icon, tap on it to open the main menu. Within the menu, you will find a list of various banking services and features offered by FNB. Look for the option or tab labeled “E-wallet” or something similar.
Tap on the “E-wallet” option, and it will navigate you to the e-wallet section within the FNB app. Here, you will have access to all the functionalities and features associated with the e-wallet, including sending money, requesting payment, and managing your e-wallet balance.
It is important to note that the exact location and labeling of the e-wallet feature within the FNB app may vary slightly depending on the app version and updates. If you are having trouble finding the e-wallet feature, you can refer to the app’s help section or contact FNB customer support for assistance.
Once you have successfully navigated to the e-wallet feature within the FNB app, you can proceed to the next step: entering recipient details.
Step 4: Entering Recipient Details
After accessing the e-wallet feature within the FNB app, the next step is to enter the recipient details for the transaction you wish to make. Whether you are sending money to a friend, family member, or making a payment for a product or service, entering accurate recipient details is crucial for a successful transaction.
Within the e-wallet section of the FNB app, look for the option or button that allows you to initiate a new transaction. This button is usually labeled as “Send Money” or “Make a Payment”. Tap on this option to proceed with entering the recipient details.
You will be prompted to enter the recipient’s information, such as their contact number, email address, or even their FNB e-wallet ID if available. Double-check the recipient’s details to ensure accuracy, as any errors could result in the funds being sent to the wrong individual or account.
If you are sending money to a contact saved in your phone’s address book, you may have the option to select the recipient directly from your contact list within the FNB app. This can make the process quicker and reduce the chances of entering incorrect information.
Additionally, some e-wallet transactions may require you to specify the purpose or reference for the payment. This is especially important when making payments to businesses or individuals who require specific information to identify your payment.
Once you have entered all the necessary recipient details, review the information one more time to ensure accuracy. This is a crucial step to prevent any potential mistakes. If you are satisfied that the information is correct, you can proceed to the next step: adding funds to your e-wallet.
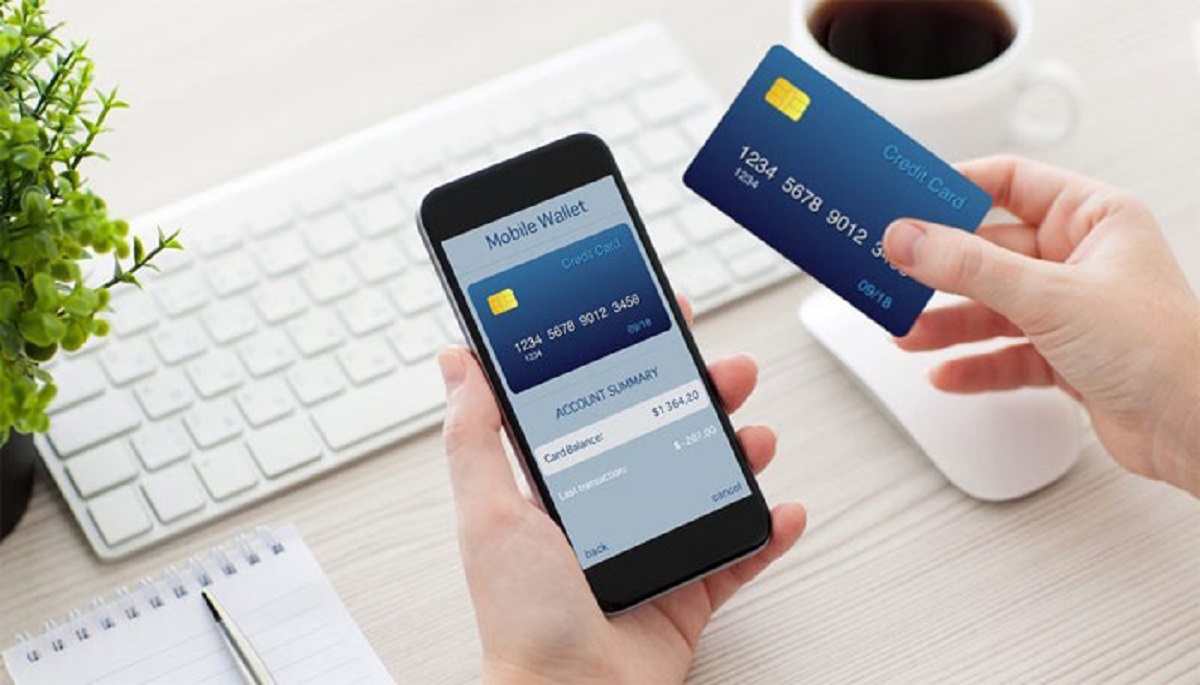
Step 5: Adding Funds to Your E-wallet
Now that you have entered the recipient details, the next step is to add funds to your e-wallet within the FNB app. Adding funds to your e-wallet allows you to have a balance from which you can make transactions conveniently and efficiently.
To add funds to your e-wallet, navigate to the “Add Funds” or “Top Up” section within the e-wallet feature of the FNB app. This section is specifically designed for funding your e-wallet account.
Once you are in the “Add Funds” or “Top Up” section, you will have different options to choose from for adding funds. FNB offers various methods such as linking your FNB account and transferring funds, using your credit/debit card, or even depositing cash at an FNB branch or participating retail outlets.
If you choose to link your FNB account and transfer funds, select this option and follow the on-screen instructions to authorize the transfer. You may be required to enter the desired amount and confirm the transaction to complete the fund transfer.
On the other hand, if you prefer to use your credit/debit card, select the card payment option and provide the necessary details including the card number, expiration date, and CVV code. Then, specify the amount you wish to add to your e-wallet and proceed with the payment verification steps.
If you opt for depositing cash at an FNB branch or participating retail outlets, select the respective option within the app. The app may provide instructions on how to locate the nearest participating branches or retail outlets where you can make the cash deposit. Once your deposit is made, the funds will be reflected in your e-wallet balance.
After you have successfully added funds to your e-wallet, the added amount will be available in your e-wallet balance. You can now proceed to the next step: confirming the transaction.
Step 6: Confirming the Transaction
Once you have added funds to your e-wallet, the next step is to confirm the transaction before finalizing the payment. Confirming the transaction ensures that all the details are accurate and allows you to review the payment before it is processed.
After selecting the recipient and entering the desired amount, the FNB app will present you with a summary of the transaction details. Take a moment to carefully review the recipient, payment amount, and any additional information associated with the transaction. This step is crucial to avoid any errors or mistakes.
If you are satisfied with the transaction details, click on the “Confirm” or “Next” button to proceed. The app may prompt you to enter a transaction PIN or approve the payment using biometric authentication, depending on the security features and settings you have enabled.
At this stage, the app will process the transaction and initiate the transfer of funds from your e-wallet to the recipient’s account. The processing time may vary depending on factors such as network connectivity, system load, and recipient bank processing times.
During the transaction processing, it is important to maintain a stable internet connection and avoid closing the app or interrupting the process. The app may display a confirmation message or provide a transaction reference number once the payment is successfully initiated.
After confirming the transaction, you will usually have the option to view the transaction details and receipt within the FNB app. This can be helpful for your record-keeping and as a reference for any future inquiries or disputes.
With the transaction confirmed, you have successfully completed the payment process using your FNB e-wallet. The funds should now reflect in the recipient’s account, and you can now move on to the next step: checking your e-wallet balance.
Step 7: Checking Your E-wallet Balance
After completing a transaction using your FNB e-wallet, it’s important to keep track of your e-wallet balance to monitor your available funds and account activity. Checking your e-wallet balance within the FNB app is a simple and quick process.
To check your e-wallet balance, navigate to the e-wallet section of the FNB app. This is typically accessible through the main menu or navigation options provided within the app.
Once you are in the e-wallet section, look for the option or tab labeled “Balance” or “Wallet Balance”. Tap on this option to view your current e-wallet balance.
The app will display the available balance in your e-wallet, which represents the funds that you can use for future transactions. Make sure to check the balance before initiating any new payments or withdrawals to avoid any potential overdrawing or insufficient funds situations.
In addition to checking your e-wallet balance, some FNB apps also provide a transaction history feature. This feature allows you to view a list of recent transactions made through your e-wallet, along with details such as the recipient, payment amount, and transaction date. This can be helpful for keeping track of your spending and reviewing past payments made from your e-wallet.
If you notice any discrepancies or unauthorized transactions in your e-wallet balance or transaction history, it is important to contact FNB customer support immediately. They can investigate the issue and assist you in resolving any concerns.
By regularly checking your e-wallet balance, you can stay informed about your available funds and manage your finances effectively within the FNB app.
With your e-wallet balance checked, we can now move on to the next step: withdrawing funds from your e-wallet.
Step 8: Withdrawing Funds from Your E-wallet
When you need to access the funds in your FNB e-wallet for personal use or to transfer to another account, you can easily withdraw the funds using the withdrawal feature within the FNB app. Withdrawing funds from your e-wallet is a straightforward process and can be done in just a few simple steps.
To begin the withdrawal process, navigate to the e-wallet section within the FNB app. Look for the option or tab labeled “Withdraw” or “Withdraw Funds”. Tap on this option to proceed.
Once you are in the withdrawal section, you will be prompted to enter the withdrawal amount. Specify the desired amount you wish to withdraw from your e-wallet. Make sure to consider any applicable transaction fees or minimum withdrawal limits that may be imposed by FNB.
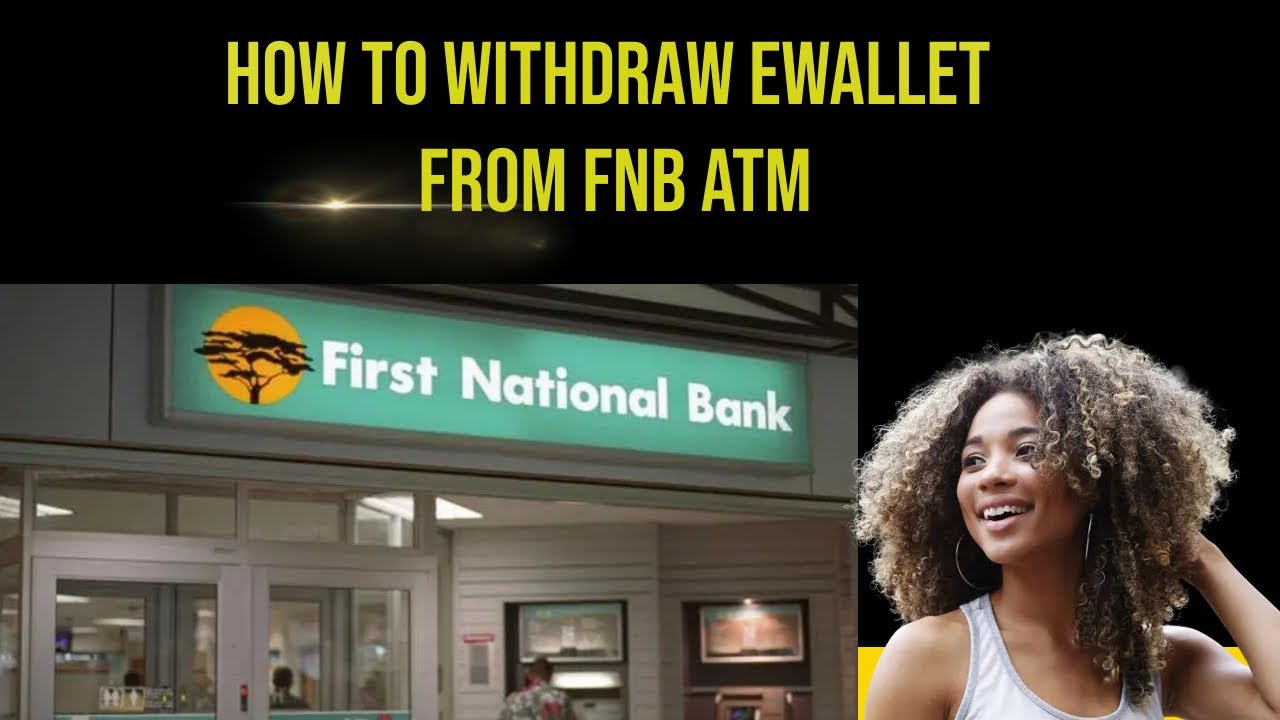
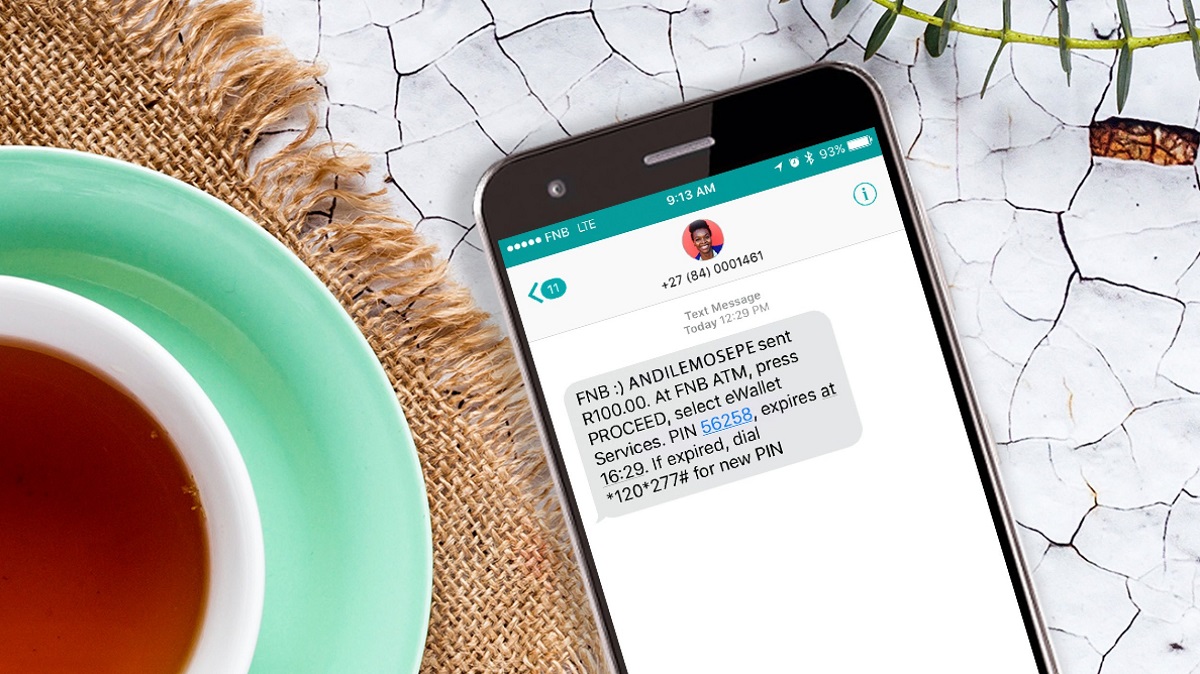
After entering the withdrawal amount, you might be asked to select the desired withdrawal method. FNB typically offers various options for withdrawing funds, such as transferring the funds to your linked bank account or withdrawing cash from an FNB ATM.
If you choose to transfer the funds to your linked bank account, select this option and follow the on-screen instructions to authorize the transfer. You may need to confirm the transaction using your FNB login credentials or through biometric authentication if enabled.
If you prefer to withdraw cash from an FNB ATM, select the ATM withdrawal option and follow the provided instructions. The app may provide a list of nearest FNB ATMs for your convenience.
Once you have completed the necessary steps and confirmed the withdrawal, the funds will be processed and transferred according to your selected withdrawal method. The exact processing time may vary depending on factors such as network connectivity and withdrawal method chosen.
It is important to keep in mind that some withdrawal methods may incur fees or restrictions. Familiarize yourself with the terms and conditions of the withdrawal method you choose to avoid any surprises or additional costs.
After successfully initiating the withdrawal, it is recommended to check your account balance or transaction history within the FNB app to ensure that the funds have been deducted from your e-wallet and transferred according to your instructions.
Now that you have learned how to withdraw funds from your e-wallet, you are ready to move on to the next step: understanding transaction limits and fees.
Step 9: Understanding Transaction Limits and Fees
When using the e-wallet feature on the FNB app, it is important to be aware of the transaction limits and fees that may apply. Understanding these limits and fees will help you make informed decisions and manage your finances effectively.
FNB sets transaction limits to ensure the security of your e-wallet and comply with regulatory requirements. These limits may apply to the maximum amount you can send or receive in a single transaction, as well as the total amount you can transact within a specified period, such as a day or a month.
To find information about the transaction limits within the FNB app, navigate to the e-wallet section and look for the option or tab labeled “Limits” or “Transaction Limits”. Here, you will find the specific limits applicable to your e-wallet account.
It’s important to note that transaction limits may vary depending on factors such as your account type, transaction history, and security settings. If you need to exceed the existing transaction limits, you may need to contact FNB customer support or visit a branch to request a limit increase.
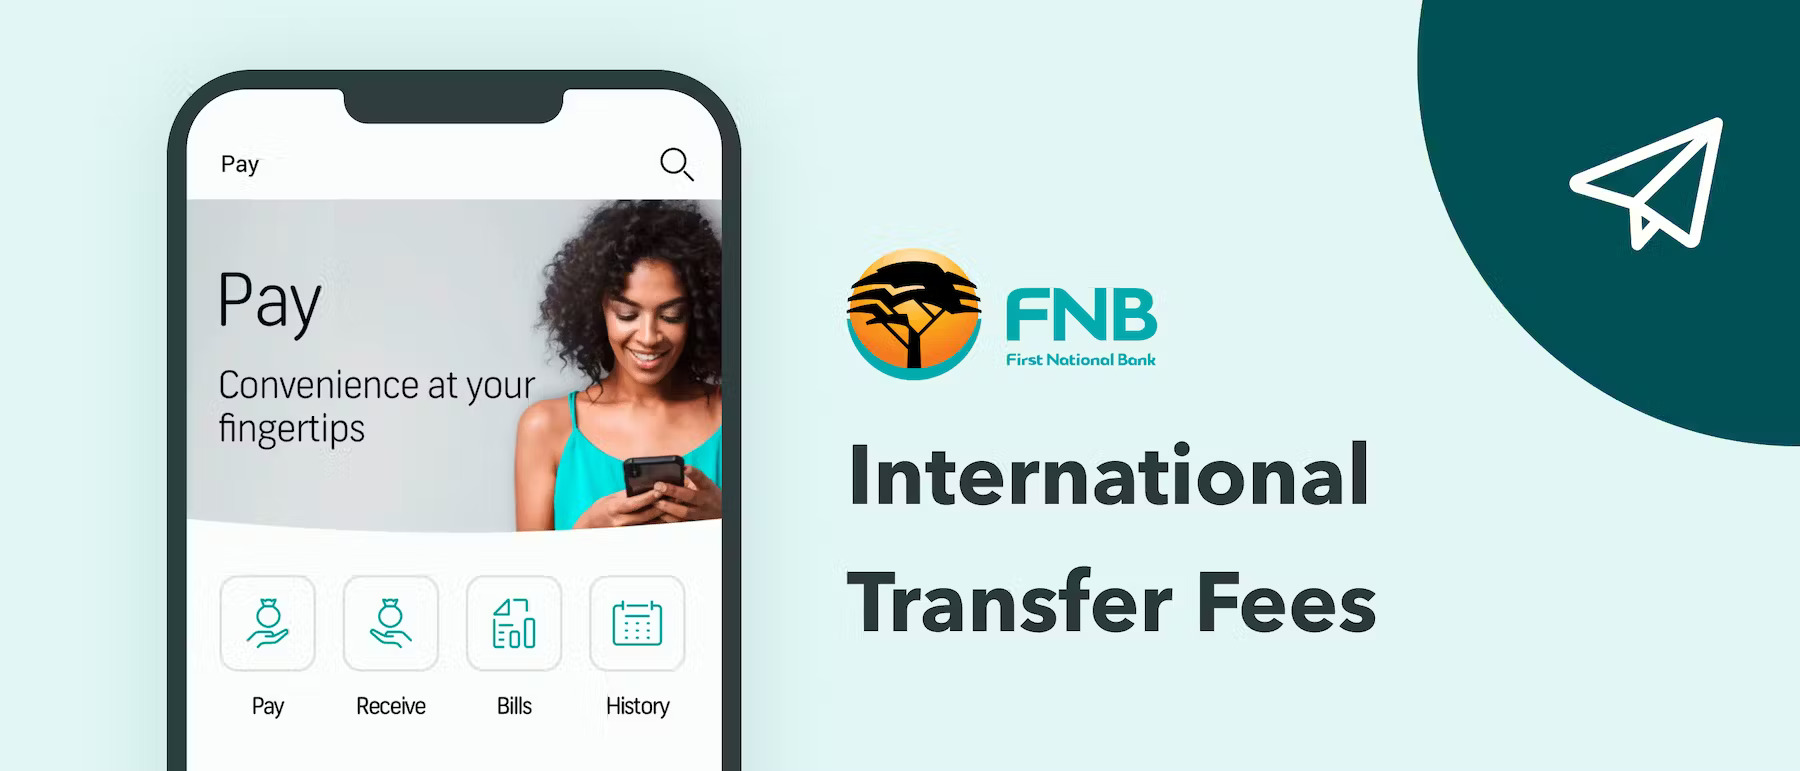
In addition to transaction limits, certain fees may be associated with the use of the e-wallet feature. These fees can include transaction fees, withdrawal fees, and currency conversion fees if you are making international transactions.
You can usually find information about the applicable fees within the FNB app, either in the e-wallet section or within the settings or help menu. Take the time to review the fee structure and familiarize yourself with the costs associated with different types of transactions.
Understanding the transaction limits and fees will help you make informed decisions and plan your transactions accordingly. It is important to factor in these limits and fees while managing your e-wallet balance and using the app for your financial needs.
By being aware of the transaction limits and fees, you can make the most out of your e-wallet experience and ensure that you stay within the set limits while minimizing any additional costs.
With this knowledge of transaction limits and fees, you are now equipped to use your FNB e-wallet effectively and efficiently.
Conclusion
Congratulations! You have successfully learned how to navigate and utilize the e-wallet feature on the FNB app. This guide has taken you through the step-by-step process from downloading the app to understanding transaction limits and fees. By following these steps, you can easily manage your funds, send and receive money, make payments, and withdraw funds directly from your e-wallet.
The FNB app provides a user-friendly and secure platform for digital banking, allowing you to access your account anytime and anywhere. With features such as transaction history, balance checking, and easy navigation, you can stay in control of your finances with just a few taps on your mobile device.
Remember to always verify recipient details, review transaction information, and keep track of your e-wallet balance for a seamless and secure experience. Should you encounter any issues or have any questions, FNB’s customer support is readily available to assist you.
With the convenience and flexibility of the FNB e-wallet, managing your finances has never been easier. Whether you need to send money to a friend, make a payment for a purchase, or simply access your funds on the go, the FNB app has got you covered.
As technology continues to advance, e-wallets are becoming an integral part of our financial lives. By embracing digital finance solutions like the FNB e-wallet, you are joining the growing trend of convenient and secure mobile banking.
So, go ahead and explore the world of e-wallets on the FNB app. Take advantage of the features and functionalities to simplify your financial transactions and manage your funds with ease.
Thank you for using this guide, and we hope it has empowered you with the knowledge and confidence to make the most of your FNB e-wallet. Embrace the future of banking and enjoy the convenience and flexibility that it brings!