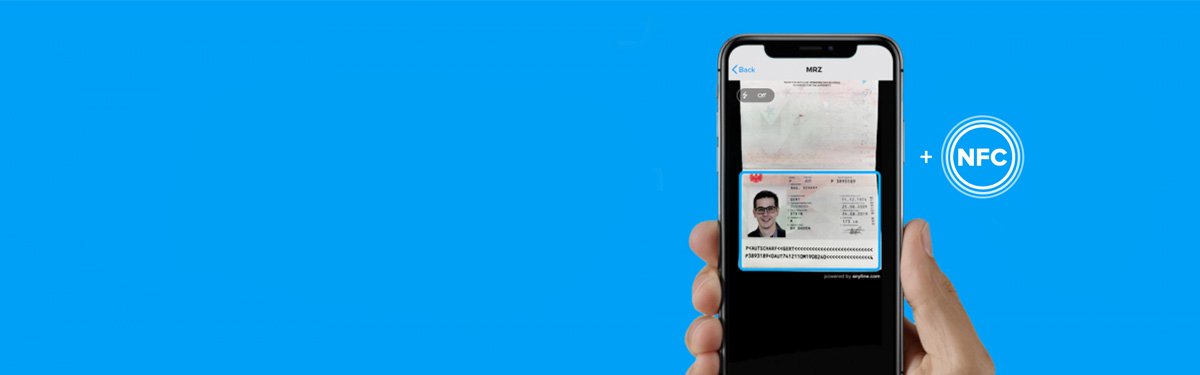
Introduction
Near Field Communication (NFC) technology has become increasingly popular in recent years, revolutionizing the way we interact with our devices. NFC enables seamless communication between NFC-enabled devices within close proximity, allowing for quick and secure data transfer.
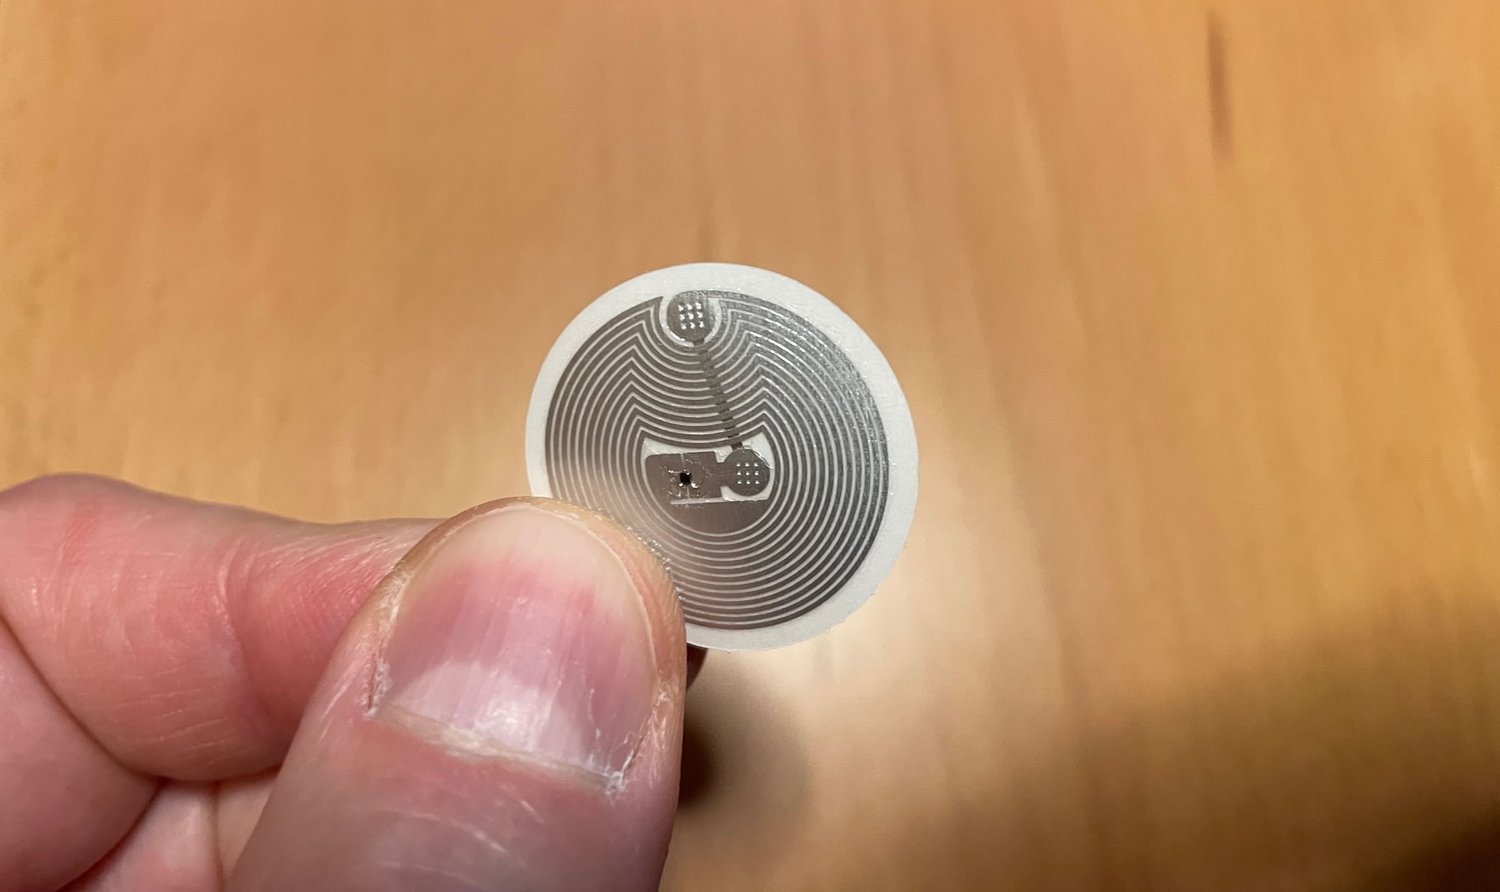
NFC tags are small physical objects that can be programmed to store and transmit information to NFC-enabled devices simply by tapping the device against the tag. These tags are versatile, customizable, and can be used in a variety of ways to enhance daily routines.
This article will guide you through the process of creating an NFC tag, from understanding what NFC is to selecting the right tag type and writing the desired content. Whether you want to automate tasks, promote your business, or simplify everyday activities, creating an NFC tag can unlock a world of possibilities.
Before diving into the technical details, it is essential to understand the potential applications of NFC tags. These small, unobtrusive tags can be used in numerous creative ways to improve efficiency, convenience, and security.
For instance, you can use NFC tags to set up automated actions on your smartphone or tablet. By programming an NFC tag to perform specific tasks, such as turning on the Wi-Fi, adjusting sound settings, or launching a particular app, you can streamline everyday actions with a simple tap. NFC tags can also be used for promotional purposes, allowing businesses to share information, discounts, or special offers with customers in a hassle-free manner.
Additionally, NFC tags can enhance the user experience in various industries, such as healthcare, transportation, and smart homes. In healthcare, NFC tags can provide quick access to critical patient information or medication instructions. In transportation, NFC tags can simplify ticketing systems, making it easy to validate tickets with a tap. In smart homes, NFC tags can control various devices and appliances, offering personalized automation and convenience.
With such a wide range of applications, understanding the different types of NFC tags available in the market is crucial. Factors such as memory capacity, durability, and compatibility should be considered when choosing the right NFC tag for your specific needs. In the next section, we will explore the different types of NFC tags and their features.
What is NFC?
NFC, which stands for Near Field Communication, is a wireless technology that enables close-range communication between devices. It allows for the secure transfer of data and information simply by bringing two NFC-enabled devices close together or by tapping an NFC tag with an NFC-enabled device.
NFC operates on the same frequency as RFID (Radio Frequency Identification) technology, but NFC has a shorter communication range, typically within a few centimeters. This close proximity requirement ensures a secure and reliable connection between devices.
One of the most common uses of NFC technology is for contactless payments, also known as mobile payments. With NFC-enabled smartphones or smartwatches, users can make payments by simply tapping their device on a payment terminal. This convenient and secure method eliminates the need for physical cards or cash.
Aside from mobile payments, NFC technology offers a wide range of other applications. It can be used for sharing files, such as photos or documents, between two NFC-enabled devices. By tapping two devices together, users can quickly and seamlessly transfer the desired files.
NFC can also enable easy pairing and connection between devices, such as Bluetooth speakers or headphones. Instead of going through manual pairing processes, NFC allows for automatic and hassle-free connection with just a tap.
Another exciting application of NFC is in smart tags and smart objects. NFC tags are small, programmable stickers or tokens that can store and transmit information when tapped by an NFC-enabled device. These tags can be used to trigger specific actions on the device, such as launching an app, connecting to a Wi-Fi network, or displaying contact information.
Overall, NFC technology offers a convenient and secure way to communicate and transfer data between devices. Whether it’s for payments, file sharing, device pairing, or controlling smart objects, NFC enhances the user experience by simplifying and automating various tasks.
In the following sections, we will delve deeper into the uses of NFC tags and the process of creating an NFC tag for your specific needs. By the end of this article, you’ll have the knowledge and tools to create your own NFC tags and explore the endless possibilities they offer.
Uses of NFC Tags
NFC tags offer a wide range of applications and can be customized to suit various needs. Here are some of the key uses of NFC tags:
- Automation: NFC tags can automate routine actions on your smartphone or tablet. By programming an NFC tag with specific instructions, you can trigger actions such as turning on/off Wi-Fi, Bluetooth, or GPS, adjusting sound settings, or launching specific apps. For example, you can place an NFC tag near your bedside table and tap it to set your phone to silent mode and activate your alarm clock app.
- Marketing and Advertising: NFC tags can be utilized for promotional purposes by businesses. By placing NFC tags in stores or on products, customers can simply tap their NFC-enabled devices to receive product information, discounts, or coupons. This makes it easier for businesses to engage with customers and provide them with relevant information in a convenient and interactive way.
- Access Control and Security: NFC tags can be used for access control systems, allowing authorized individuals to gain entry by tapping their NFC-enabled device on the designated tag. This technology is commonly used in workplaces, hotels, and residential buildings. Additionally, NFC tags can be employed for authentication purposes, ensuring secure access to sensitive information.
- Smart Home Integration: NFC tags can play a significant role in creating a smart home environment. By placing NFC tags on various objects or in specific locations around the house, users can control their smart devices with a simple tap. For example, tapping an NFC tag near the front door can activate a sequence of actions, such as turning on lights, adjusting temperature, and unlocking the door.
- Information Sharing: NFC tags can store contact information, URLs, or other relevant details, allowing users to share them easily by tapping their device on the tag. This eliminates the need for manual input or exchanging business cards. NFC tags can also be used in museums, galleries, or exhibitions to provide interactive information about exhibits or artwork.
- Smart Payment Systems: NFC tags can be integrated into various payment systems, making transactions faster and more convenient. Users can load their payment information onto an NFC tag and make payments by simply tapping their device on a compatible payment terminal. This technology is commonly used in transportation systems, vending machines, and retail stores.
These are just a few examples of the many uses of NFC tags. The versatility and adaptability of NFC technology make it ideal for enhancing automation, convenience, and security across a wide range of industries and personal applications.
Now that we understand the uses of NFC tags, let’s explore the different types of NFC tags available and the factors to consider when choosing the right one for your needs.
Choosing an NFC Tag Type
When it comes to choosing an NFC tag, there are several factors to consider to ensure that it meets your specific requirements. Here are the key aspects to keep in mind:
- Memory Capacity: NFC tags come with varying memory capacities, ranging from a few bytes to several kilobytes. Determine the amount of data you intend to store on the tag, such as contact information, URLs, or small files, and choose an NFC tag with sufficient memory capacity.
- Type of NFC Chip: NFC tags use different types of NFC chips, such as NTAG, MIFARE, or Ultralight. Each chip has its own capabilities and features. For instance, NTAG chips offer broad compatibility with NFC-enabled devices, while MIFARE chips provide enhanced security features. Research and select the NFC chip that best suits your desired functionality.
- Reading Distance: Consider the desired reading distance for your NFC tag. Certain NFC tags have a shorter reading range of a few centimeters, while others have a longer range of up to a few meters. Ensure that you choose an NFC tag suitable for the intended application. For instance, if you want to use the tag for access control, a shorter reading distance would be preferable for security purposes.
- Form Factor: NFC tags come in various forms, such as stickers, keychains, cards, or even embeddable chips. Choose an NFC tag form factor that aligns with your intended use case. For example, if you plan to attach the tag to a specific object, a sticker or keychain tag would be suitable. If you want to integrate the tag into an existing card or device, consider an embeddable chip.
- Durability: Assess the environmental conditions in which the NFC tag will be used. If the tag will be exposed to outdoor elements or frequent handling, consider tags with greater durability, such as waterproof or shock-resistant options.
- Compatibility: Ensure that the NFC tag you choose is compatible with the devices you intend to use it with. Most NFC tags work well with NFC-enabled smartphones and tablets, but it’s important to verify compatibility before making a purchase.
By considering these factors, you can select an NFC tag that meets your specific needs and ensures optimal performance for your desired applications.
In the next section, we will explore the steps involved in creating an NFC tag, from acquiring an NFC-enabled device to writing content onto the tag. Stay tuned to unleash the full potential of NFC technology!
Things to Consider Before Creating an NFC Tag
Before diving into the process of creating an NFC tag, there are a few important factors to consider. These considerations will ensure that you make the most out of your NFC tag and achieve your desired functionalities. Here are some points to keep in mind:
- Clear Objective: Have a clear understanding of your objective for creating an NFC tag. Determine the specific purpose or functionality you want the tag to serve. Whether it is automating tasks, providing information, or enhancing security, having a clear objective will guide you throughout the creation process.
- Target Audience: Consider the intended audience or users of the NFC tag. Understand their preferences, needs, and technical capabilities. This will help you tailor the content or actions of the tag to best serve the target audience and ensure a seamless and engaging user experience.
- Content Organization: Plan and organize the content that you want to store on the NFC tag. Determine the type of information you want to include, such as contact details, URLs, app-launching instructions, or automation triggers. Organize the content in a logical and user-friendly manner to make it easy for users to interact with the tag.
- Security Considerations: Determine the level of security required for your NFC tag. If the tag will be used for sensitive data, access control, or authentication purposes, it is crucial to implement appropriate security measures. This may include encryption, password protection, or restricted access to certain functionalities.
- Compatibility: Ensure that the NFC tag and its content are compatible with the devices you intend to use it with. Test the compatibility with different NFC-enabled devices to ensure seamless functionality across various platforms and operating systems.
- Testing and Optimization: Once you have created the NFC tag, it is important to thoroughly test and optimize its performance. Test the tag on different devices and in various scenarios to ensure that the desired actions or functionalities are triggered reliably. Make adjustments as necessary to enhance the user experience and ensure the tag’s effectiveness.
Considering these factors before creating an NFC tag will help you maximize its potential and ensure that it effectively serves its purpose. By having a clear objective, understanding your target audience, organizing content, addressing security concerns, ensuring compatibility, and conducting thorough testing, you can create an NFC tag that offers a seamless and engaging experience to its users.
Now that we have considered these important factors, let’s move on to the step-by-step process of creating and utilizing an NFC tag.
Step 1: Get an NFC-enabled Device
The first step in creating an NFC tag is to ensure that you have an NFC-enabled device. NFC technology is commonly found in smartphones, tablets, and smartwatches. These devices have built-in NFC chips that allow them to communicate with NFC tags and other NFC-enabled devices.
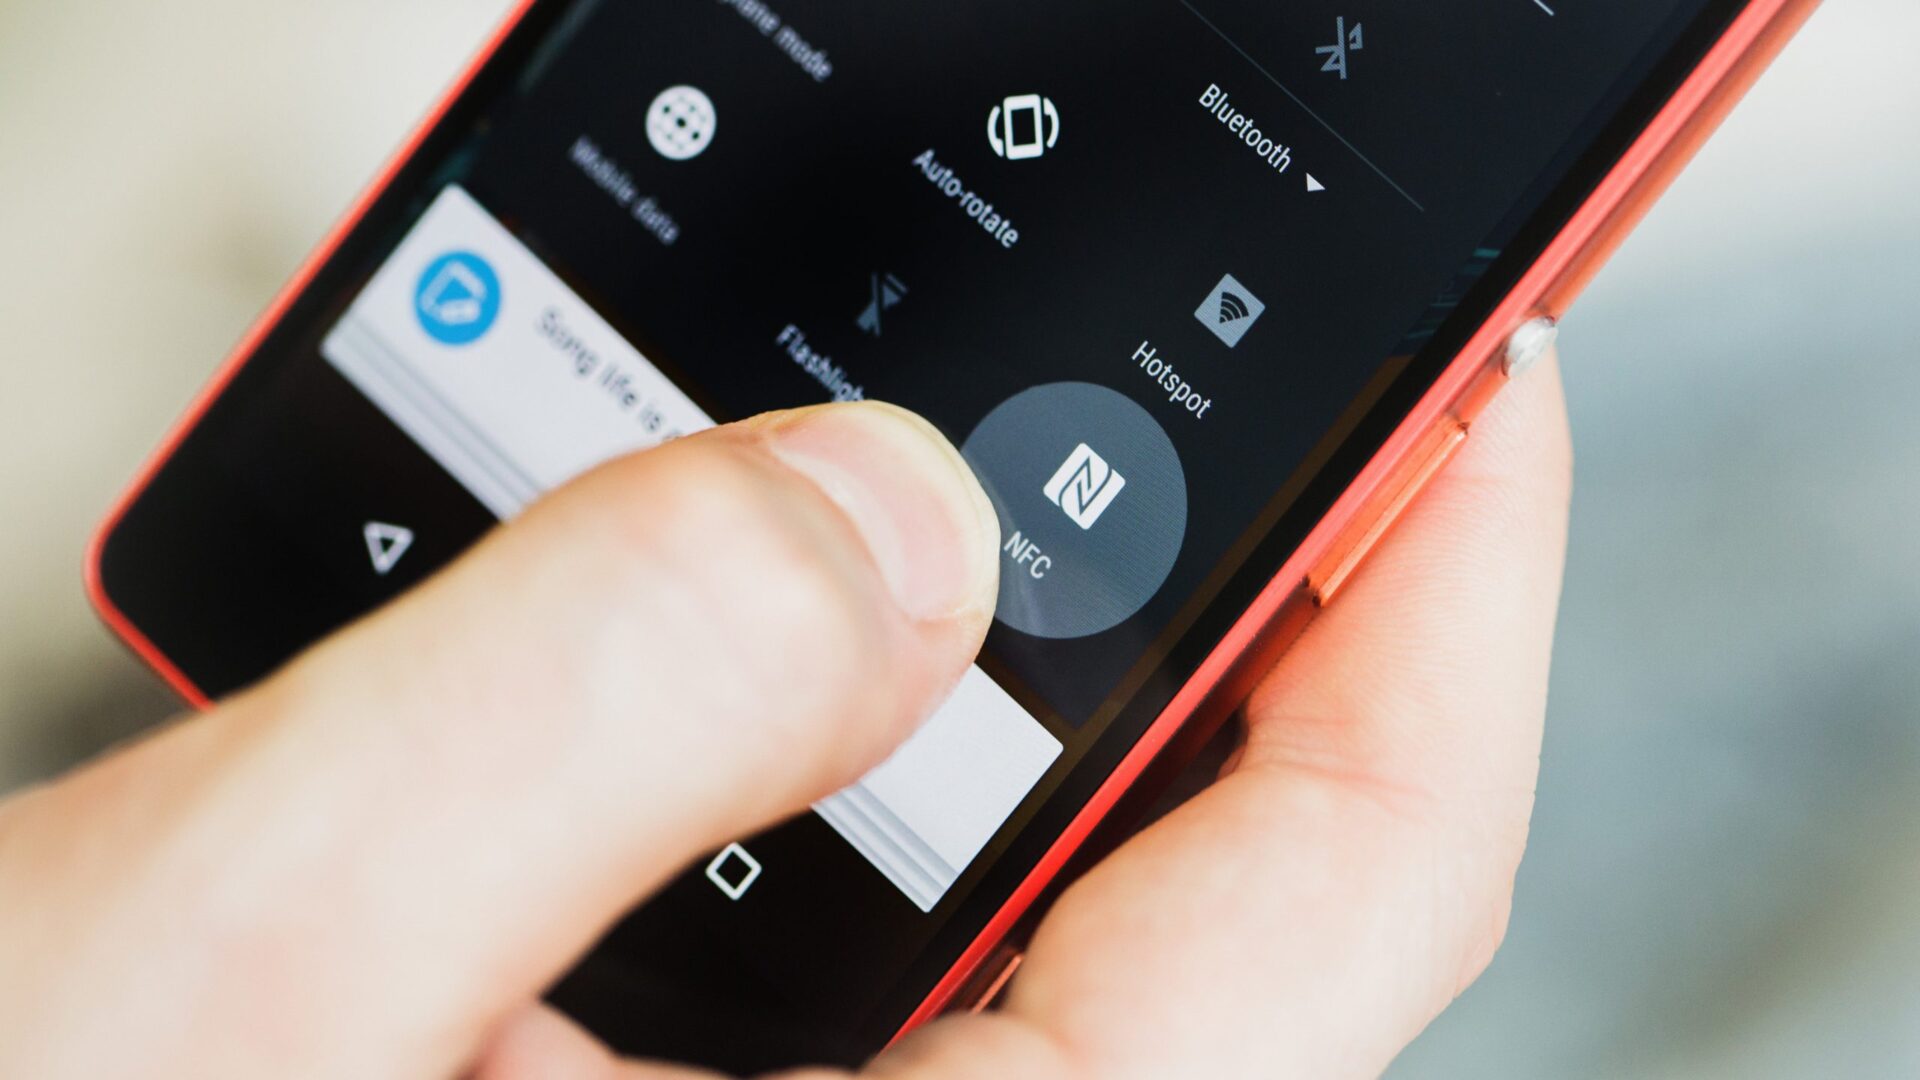
To check if your device has NFC capability, follow these steps:
- Android: Go to your device’s Settings and look for an option related to NFC or Connections. You may find it under Wireless & Networks or Connected Devices. Once you locate the NFC setting, ensure that it is turned on.
- iOS: Open the Settings app and navigate to the section called “Wallet & Apple Pay” or “Passbook & Apple Pay” depending on your iOS version. If your device supports NFC, you should see an option to enable it.
- Smartwatches: Many smartwatches, such as those running on Wear OS or watchOS, also have NFC capabilities. Check your smartwatch’s settings to see if NFC is available and enable it if necessary.
Once you have confirmed that your device has NFC functionality, you are ready to move on to the next step of the process.
If you don’t have an NFC-enabled device, it is still possible to create NFC tags using an NFC writer/writer-reader device that can connect to a computer via USB. These external devices simulate the NFC functionality and allow you to write content to NFC tags. However, for convenience and ease of use, having an NFC-enabled device is recommended.
Now that you have an NFC-enabled device in your possession, you are ready to proceed with the creation of your NFC tag. In the next step, we will explore how to install an NFC tag writing app on your device.
Step 2: Install an NFC Tag Writing App
Once you have your NFC-enabled device ready, the next step is to install an NFC tag writing app. These apps allow you to encode or write content onto NFC tags, enabling them to carry out specific actions when tapped with an NFC-enabled device.
Here are the steps to install an NFC tag writing app:
- Android: Go to the Google Play Store on your Android device and search for NFC tag writing apps. Some popular options include “NFC Tools”, “NFC TagWriter by NXP”, and “Trigger”. Select the app of your choice, click on the “Install” button, and follow the prompts to complete the installation.
- iOS: Open the App Store on your iOS device and search for NFC tag writing apps. Keep in mind that iOS has more limitations in terms of NFC functionality compared to Android. One popular NFC tag writing app for iOS is “NFC for iPhone”. After finding the app, click on the “Get” button to install it.
Make sure to read the app’s description, reviews, and ratings to ensure that it fits your requirements and has a user-friendly interface.
Once the NFC tag writing app is installed on your device, you are ready to move forward with preparing the content that you want to write on your NFC tag. This can include URLs, contact information, app-launching instructions, or any other desired information.
Before moving on to the content preparation, it is worth noting that some NFC tag writing apps may require additional permissions or settings configurations. Make sure to review the app’s instructions and settings to ensure proper functionality.
In the next step, we will discuss the process of preparing the content that you want to write onto the NFC tag. This step is crucial as it determines what actions or information the NFC tag will provide when interacted with.
Step 3: Prepare the Content for the NFC Tag
After installing an NFC tag writing app on your NFC-enabled device, you can now proceed with preparing the content that you want to write onto the NFC tag. This content will determine the actions or information that the NFC tag will provide when interacted with by an NFC-enabled device.
Here are the steps to prepare the content for the NFC tag:
- Identify the Purpose: Determine the purpose of your NFC tag. Do you want it to launch a specific app, open a URL, display contact information, or perform any other desired action? Clearly define the functionality you wish to achieve with the NFC tag.
- Choose the Content Type: Based on the purpose of your NFC tag, choose the type of content you want to store. This could include a URL, text, contact information, a phone number, an email address, or even a pre-formatted action command supported by the NFC tag writing app.
- Format and Organize: Properly format and organize the content that you want to write onto the NFC tag. For example, if you are entering contact information, make sure to include fields for name, phone number, email address, and any other relevant details. Test the format to ensure that it will be displayed correctly when the NFC tag is tapped.
- Add Security: If desired, you can add security measures to the content on the NFC tag. This could involve encrypting the data, setting a password for access, or limiting the actions that the NFC tag can perform. Consider the sensitivity of the information and the level of security required for your specific use case.
- Verify Compatibility: Ensure that the content you are preparing is compatible with the NFC tag writing app you have installed. Different apps may have different requirements or limitations on the supported content types. Refer to the app’s documentation or user guide for guidance on content compatibility.
By following these steps, you can effectively prepare the content that will be written onto the NFC tag. Taking the time to properly format and organize the content will ensure a seamless and user-friendly experience when interacting with the NFC tag.
Once you have prepared the content, you are ready to move on to the next step: writing the content onto the NFC tag itself. This exciting step brings your NFC tag to life and enables it to perform the desired actions or provide the intended information when tapped by an NFC-enabled device.
Step 4: Write the Content to the NFC Tag
Now that you have prepared the content for your NFC tag, it’s time to write that content onto the tag itself. This step is crucial as it enables the NFC tag to carry out the desired actions or provide the intended information when interacted with.
Follow these steps to write the content onto the NFC tag:
- Open the NFC Tag Writing App: Launch the NFC tag writing app that you have installed on your NFC-enabled device. Ensure that NFC is enabled on your device as well.
- Select the Content Type: Choose the appropriate option in the app to create a new NFC tag or write content onto an existing tag. Depending on the app, there may be specific options for URLs, text, contact information, or other content types. Select the content type that matches the prepared content.
- Enter the Content: Enter the content that you prepared in the previous step. For example, if you are adding a URL, enter the full web address. If it’s contact information, input the name, phone number, email address, and any other relevant details. Fill in the necessary fields based on the selected content type.
- Configure Actions (if applicable): If the NFC tag writing app supports it, you may have the option to configure additional actions or behaviors for the NFC tag. This can include actions like launching specific apps, adjusting device settings, or triggering automation sequences. Follow the app’s instructions to set up these actions as desired.
- Write the Content: Once you have entered the content and configured any additional actions, hold your NFC-enabled device close to the NFC tag. The app should detect the tag and prompt you to write the content onto it. Follow the on-screen instructions to complete the writing process.
- Verify and Test: After writing the content, verify that it has been successfully written onto the NFC tag. Some apps may provide a preview of the content stored on the tag. Test the NFC tag by tapping it with your NFC-enabled device to ensure that the desired actions or information are triggered as expected.
Writing the content onto the NFC tag is an exciting step as it brings your tag to life and allows it to carry out its intended purpose. Take your time to ensure accurate input and verify functionality to create a reliable and effective NFC tag.
Now that the content is written onto the NFC tag, you are ready to move on to the final step: testing and using the NFC tag. This will allow you to ensure that the tag functions properly and delivers the desired user experience.
Step 5: Test and Use the NFC Tag
After writing the content onto your NFC tag, it’s essential to test and ensure that the tag functions properly and delivers the desired user experience. This final step allows you to verify the effectiveness of your newly created NFC tag and make any necessary adjustments before deploying it for regular use.
Here are the steps to test and use your NFC tag:
- Ensure NFC is Enabled: Make sure that NFC is enabled on your device. If it isn’t, go to your device’s settings and enable NFC. This step is crucial as NFC functionality needs to be active for proper interaction with the NFC tag.
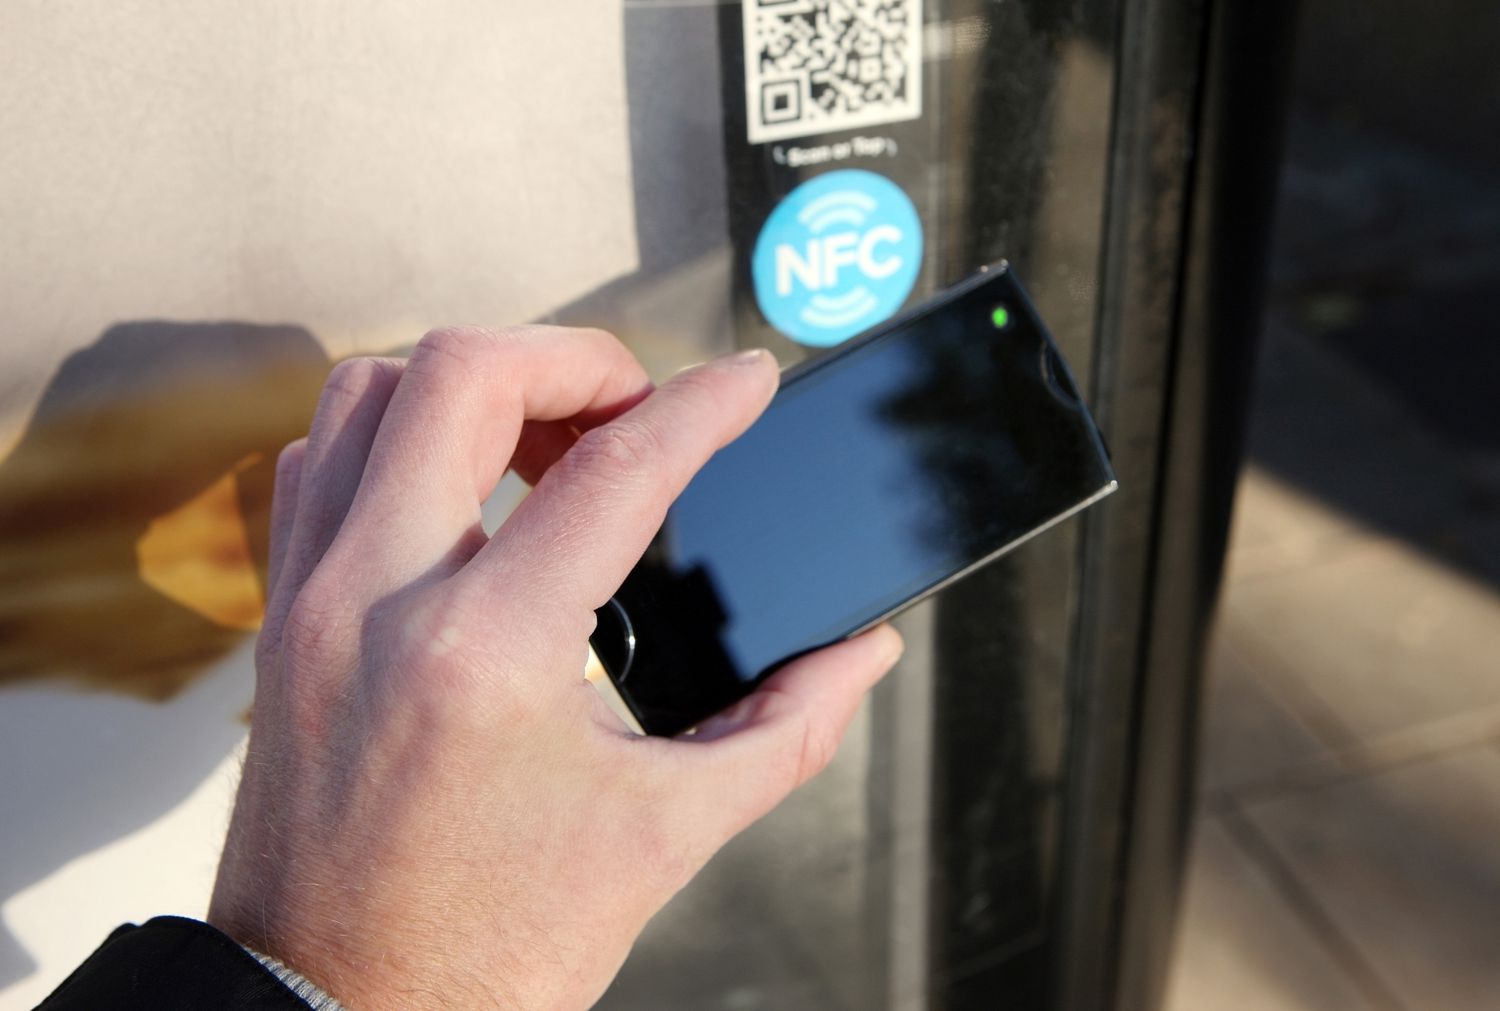
- Observe Proper Positioning: Identify the location or spot on your device where NFC interactions occur. It’s usually indicated by an NFC logo or the device manufacturer’s instructions. Position the NFC tag near this spot on your device to trigger the tag’s actions or display its information correctly.
- Tap the NFC Tag: Gently tap the NFC tag against the designated NFC spot on your device. Ensure proper contact and maintain the tag in place until the interaction is completed. The device should recognize the NFC tag and initiate the configured actions or display the stored information accordingly.
- Verify Actions and Information: Review the actions triggered by the NFC tag or the information displayed on your device. Verify that the desired actions are performed correctly and that the information, such as URLs or contact details, is accurate. Make any necessary adjustments or corrections if needed.
- Repeat Testing: Test the NFC tag multiple times to ensure consistent performance. Try different devices if available to check compatibility. Examine the tag’s response across different scenarios to verify its reliability and effectiveness in a variety of use cases.
- Make Adjustments (if needed): If you encounter any issues or inconsistencies during testing, revisit the NFC tag writing app settings or the content prepared for the tag. Make any necessary adjustments to address the problem or improve the user experience. Rewrite the content onto the tag if significant changes are required.
Through thorough testing, you can identify and rectify any issues with the NFC tag performance. It ensures that the tag delivers the intended functionality and provides a seamless user experience when interacted with an NFC-enabled device.
Finally, once you are satisfied with the testing and performance of the NFC tag, you are ready to start using it in your daily routine or deploy it for your desired application. Take advantage of the convenience and functionalities provided by NFC technology to automate tasks, provide information, or enhance security in various contexts.
Congratulations! You have successfully created, tested, and are ready to use your NFC tag to simplify and enhance your interactions with NFC-enabled devices.
Conclusion
NFC technology has opened up a world of possibilities, allowing us to streamline tasks, enhance security, and create seamless interactions between devices. Creating an NFC tag is a simple yet empowering process that enables you to harness the power of NFC for your specific needs.
In this article, we have explored the steps involved in creating an NFC tag, from ensuring you have an NFC-enabled device to writing content onto the tag itself. We’ve also discussed the importance of considering factors such as the intended use, content organization, and compatibility to create an effective NFC tag.
By installing an NFC tag writing app on your device and preparing the content you want to store, you can initiate the writing process and infuse your NFC tag with functionality and information. Thorough testing will then ensure that the tag performs as expected, delivering a seamless user experience.
With your NFC tag created and tested, you can now start using it in various applications. Whether you’re automating tasks, sharing information, enhancing security, or simplifying everyday routines, NFC tags offer convenience and efficiency.
As NFC technology continues to advance and become more prevalent, the possibilities for NFC tags will only expand. Businesses can leverage NFC tags for marketing and advertising, while individuals can use them to automate their homes, share information effortlessly, or make quick and secure mobile payments.
So, go ahead and explore the limitless potential of NFC technology by creating your own NFC tags. Unlock new levels of efficiency, convenience, and interactivity in your daily life. Embrace the power of NFC and bring your devices and information closer than ever before.