Introduction
Welcome to this guide on how to claim a payment on PayPal. PayPal is a widely used online payment platform that allows you to send and receive money securely. Whether you’re a freelancer, an online business owner, or simply need to receive a payment from a friend or family member, PayPal offers a convenient and reliable way to do so.
Claiming a payment on PayPal is a simple process that ensures you receive the funds in your account. In this guide, we will take you through the step-by-step process of claiming a payment on PayPal. By following these instructions, you’ll be able to access your funds quickly and easily.
Before we begin, it’s important to note that you should already have a PayPal account set up and be logged in to proceed with the claiming process. If you haven’t registered with PayPal yet, visit the PayPal website and sign up for an account. Once you have a PayPal account and are logged in, you can follow the steps outlined in this guide.
We understand that navigating through online platforms and payment processes can sometimes be confusing or overwhelming. But don’t worry – we’re here to help! Throughout this guide, we’ll break down each step into clear and concise instructions, ensuring that you can follow along with ease.
So, whether you’re new to PayPal or simply need a refresher on how to claim a payment, let’s dive in and get started with the step-by-step process. By the end of this guide, you’ll have the knowledge and confidence to claim payments on PayPal and receive your funds hassle-free.
Step 1: Login to your PayPal account
The first step to claim a payment on PayPal is to log in to your PayPal account. If you haven’t already done so, visit the PayPal website and enter your login credentials (email address and password). Once you’ve entered the required information, click on the “Log In” button.
If you have forgotten your PayPal password, you can click on the “Having trouble logging in?” link to initiate the password recovery process. PayPal will guide you through the necessary steps to reset your password and regain access to your account.
It’s crucial to ensure that you are logging in to the correct PayPal account associated with the payment you wish to claim. Double-check the email address and confirm that it matches the one linked to the payment.
For added security, you may be prompted to verify your identity through a two-factor authentication process. This could involve receiving a verification code via email or text message, which you will need to enter on the PayPal website.
Once you have successfully logged in and verified your identity, you will be redirected to your PayPal account dashboard. This is where you can manage your transactions, view your balance, and perform various account-related activities.
Now that you’ve accessed your PayPal account, you’re ready to proceed to the next step of claiming the payment. Be sure to keep your login credentials secure and avoid sharing them with anyone to protect your account from unauthorized access.
Step 2: Navigate to the “Activity” section
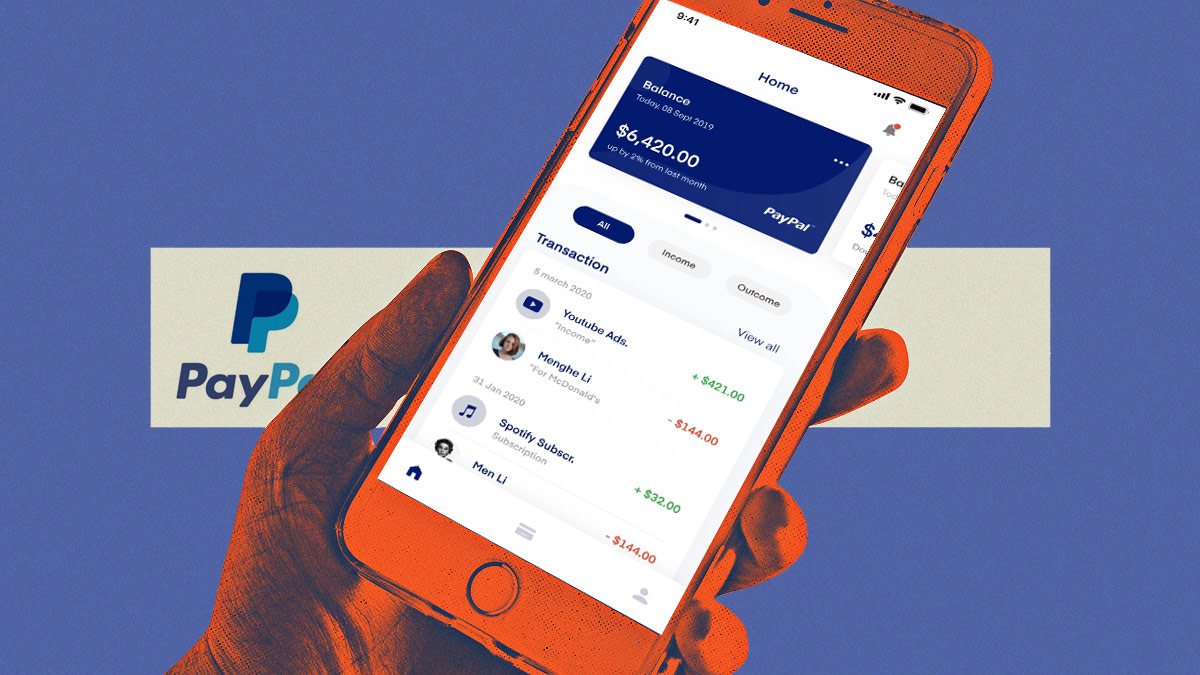
Once logged in to your PayPal account, the next step is to navigate to the “Activity” section. This is where you can view and manage all of your recent transactions, including the payment you want to claim.
To find the “Activity” section, look for the menu options at the top of the page. Depending on the layout of your PayPal account, you may see a horizontal menu bar or a menu icon (three horizontal lines) in the top left corner. Click on the menu option that represents “Activity” to proceed.
If you are using the horizontal menu bar, you may need to hover over the menu option to reveal a dropdown list of options. Look for and click on “Activity” or any similar option that indicates transaction history.
Once you’ve clicked on the “Activity” section, you will be directed to a page that displays a list of your recent transactions. This page provides a detailed overview of all the activity on your PayPal account, including payments received, payments sent, and other related transactions.
Take a moment to familiarize yourself with the layout of the “Activity” section. You’ll notice that each transaction is listed individually, showing relevant details such as the date, recipient/sender, description, and amount of the transaction.
Now that you’ve accessed the “Activity” section, you’re one step closer to claiming your payment. In the next step, we’ll guide you in locating and selecting the specific payment you wish to claim from the transaction history.
Step 3: Locate the payment you want to claim
After accessing the “Activity” section in your PayPal account, it’s time to locate the specific payment that you want to claim. The transaction history page will display a list of your recent transactions, including both received and sent payments.
Scan through the list of transactions and identify the payment you wish to claim. You can use the search feature or sort the transactions by date, recipient/sender, or amount to make it easier to find the desired payment.
Each transaction will be accompanied by relevant details such as the date, recipient/sender, description, and amount. Look for the payment that aligns with the details of the payment you are expecting to claim.
If you remember certain keywords or specific information about the payment, you can utilize the search feature. Simply enter the relevant details in the search bar, such as the sender’s name or the payment amount, and PayPal will display the matching results.
It’s important to ensure that you locate the correct payment before proceeding to claim it. Double-check the details such as the payment amount, date, and recipient/sender to confirm that it matches the payment you are expecting to claim.
Take your time to carefully review the transaction history and familiarize yourself with the various payments listed. This will ensure that you can confidently proceed to the next step of claiming the payment once you have located it.
Once you have successfully located the payment you want to claim, you are ready to move on to the next step: opening the transaction details to proceed with the claiming process.
Step 4: Click on the payment to open the transaction details
Now that you have located the payment you want to claim in the transaction history, the next step is to click on the payment to open the transaction details. By doing so, you will be able to access important information related to the payment and proceed with the claiming process.
To open the transaction details, simply click on the payment entry in the transaction history. You can click on any part of the payment row, such as the transaction date, recipient/sender name, or payment amount.
After clicking on the payment, PayPal will redirect you to a new page that provides a more detailed overview of the transaction. This page will display information such as the payment status, transaction ID, and additional details specific to the payment.
It’s important to review the transaction details carefully to ensure that you have selected the correct payment. Pay attention to the payment amount, recipient/sender information, and any accompanying notes or descriptions that may be provided.
If you’re unsure whether you’ve selected the right payment, you can compare the transaction details with any information or confirmation you have regarding the payment. This will help you confirm that you are about to claim the correct transaction.
By opening the transaction details, you will also be able to perform various actions related to the payment, such as requesting a refund, sending a message to the sender, or escalating the issue to PayPal’s customer support. However, for the purpose of this guide, we will focus on the process of claiming the payment.
Once you have reviewed the transaction details and ensured that you have selected the correct payment, you’re ready to proceed to the next step: clicking the “Claim” button to initiate the claiming process.
Step 5: Click the “Claim” button
After opening the transaction details of the payment you want to claim, the next step is to click the “Claim” button. This button allows you to initiate the claiming process and ensure that the funds are transferred to your PayPal account.
The location of the “Claim” button may vary depending on the PayPal interface and any recent updates, but it is typically located prominently within the transaction details page. Look for a button or link that is labeled “Claim” or something similar.
Once you have located the “Claim” button, simply click on it to proceed. Clicking the button will trigger the system to start the claiming process and initiate the transfer of the funds to your PayPal account.
Keep in mind that some payments may not have a “Claim” button available, depending on the nature of the payment and the other party’s actions. In such cases, the payment may have already been automatically added to your PayPal balance.
After clicking the “Claim” button, you may be asked to confirm your action or provide additional information related to the claiming process. Follow the on-screen instructions and provide any required details to complete the claiming process.
It’s important to note that some payments may require additional steps or approvals before they can be claimed. For example, if the payment is subject to a review or holds due to security reasons, PayPal may require you to provide further verification or documentation.
Once you have successfully clicked the “Claim” button and completed any necessary steps or provided additional information, the system will process the claiming request. You will receive a confirmation message indicating that your claim has been successfully submitted.
By clicking the “Claim” button, you’ve taken the necessary step to ensure that the payment is transferred to your PayPal account. In the next steps, we will guide you through the process of choosing the payment method to receive the funds and completing the claim process.
Step 6: Choose the payment method to receive the funds
After successfully initiating the claiming process by clicking the “Claim” button, the next step is to choose the payment method through which you prefer to receive the funds. PayPal offers various options for receiving payments, including bank accounts, debit cards, and PayPal balances.
Once you have clicked the “Claim” button, you will be directed to a page that provides you with the available payment method options. This page will display a list of your linked payment methods, and you can choose one from the provided options.
To choose a payment method, simply review the available options and select the one that suits your preferences. For example, if you’d like to receive the funds directly into your bank account, select your bank account from the list. Alternatively, if you prefer to keep the funds in your PayPal balance for future transactions, select that option.
If you have multiple payment methods linked to your PayPal account, consider the advantages and disadvantages of each option before making a selection. Keep in mind factors such as speed of transfer, potential fees, and convenience.
PayPal may provide additional information about each payment method or any associated fees before you make your selection. Take the time to read through this information and ensure that you understand the implications of each choice.
Once you have chosen the preferred payment method, click on the corresponding button or submit the form to confirm your selection. PayPal will then process your request and transfer the funds to the chosen payment method according to their procedures and timelines.
It’s important to note that the availability of certain payment methods may vary depending on your country or region. PayPal will display the available options based on your account settings and location.
By selecting the payment method to receive the funds, you have completed the necessary step to specify how you would like to receive the claimed payment. In the next step, we will guide you through the process of confirming and completing the claim process.
Step 7: Confirm and complete the claim process
After choosing the payment method to receive the funds, the next step is to confirm and complete the claim process. This step ensures that the funds are successfully transferred to your selected payment method and added to your account.
Once you have made your payment method selection, carefully review the information displayed on the confirmation page. Verify that all the details, including the payment amount and payment method, are correct before proceeding.
If you need to make any changes or adjustments, look for an “Edit” button or link that allows you to modify your choices. Click on the appropriate option, make the necessary adjustments, and proceed to the next step once you are satisfied with the changes.
On the confirmation page, you may also see any associated fees or processing times that apply to the chosen payment method. Make sure to review this information so that you are aware of any potential charges or delays in the transfer of funds.
If everything looks accurate and you are ready to proceed, click on the “Confirm” or “Submit” button to finalize the claim process. This action will trigger PayPal to process your request and initiate the transfer of funds to your chosen payment method.
During this step, PayPal may display a confirmation message to let you know that your claim has been successfully submitted. This message may include an estimated time frame for when the funds will be available in your selected payment method.
It’s important to note that the exact processing time for the claim to be completed may vary depending on several factors, such as the payment method, country or region, or any security or compliance checks that PayPal may conduct.
After you have confirmed and completed the claim process, PayPal will initiate the transfer of funds to your selected payment method. It is recommended to monitor your account or payment method for any updates or notifications related to the status of the transaction.
By confirming and completing the claim process, you have successfully taken the necessary steps to ensure that the funds from the claimed payment are transferred to your chosen payment method. In the next step, we will guide you on verifying the status of your claimed payment.
Step 8: Verify the status of your claimed payment
After completing the claim process and initiating the transfer of funds to your chosen payment method, it’s important to verify the status of your claimed payment. This step ensures that you can confirm that the payment has been successfully claimed and processed.
To verify the status of your claimed payment, return to your PayPal account dashboard. This is the main page that displays an overview of your account activity, balance, and recent transactions.
Scan through your recent transactions or navigate to the “Activity” section to locate the claimed payment. Look for the payment entry or transaction that corresponds to the payment you just claimed, and ensure that it is marked as “Completed” or a similar indication that the payment has been successfully processed.
Pay attention to any accompanying notes or remarks that may provide additional details about the status or processing of the claimed payment. If there are any issues or delays in the transfer, PayPal may provide relevant information to keep you informed.
In some cases, PayPal may also send you email notifications or updates regarding the status of your claimed payment. Check your inbox for any communication from PayPal to stay up to date with the progress of your transaction.
If you have any concerns or if the status of your claimed payment does not appear as expected, you can contact PayPal’s customer support for assistance. They will be able to provide you with further information and address any questions or issues you may have.
Remember to regularly monitor the status of your claimed payment to ensure that it has been successfully processed and that the funds are available in your chosen payment method. This will help you stay informed and address any potential discrepancies or concerns in a timely manner.
By verifying the status of your claimed payment, you can confirm that the funds have been transferred successfully and have been added to your selected payment method. Congratulations! You have now completed the process of claiming a payment on PayPal.
Conclusion
In this comprehensive guide, we have walked through the step-by-step process of claiming a payment on PayPal. From logging in to your account, navigating to the “Activity” section, locating the payment, and clicking the “Claim” button, to choosing the payment method and verifying the status of your claimed payment, you now have a clear understanding of how to successfully claim payments on PayPal.
Remember, it is crucial to ensure that you have the correct PayPal account login details and that you are selecting the right payment to claim. Take the time to review the transaction details carefully to avoid any mistakes or confusion.
Additionally, be aware of any additional steps, verification processes, or fees that may be associated with claiming certain payments. PayPal’s system and procedures are designed to protect both buyers and sellers, and additional security measures may be in place for certain transactions.
Regularly checking the status of your claimed payment is essential to ensure that it has been processed successfully and that the funds are available in your chosen payment method. Monitoring your PayPal account and email notifications will keep you informed of any updates or issues related to your transactions.
Keep in mind that PayPal provides a reliable and secure platform for sending and receiving payments online. By following the steps outlined in this guide, you can confidently claim your payments and have peace of mind knowing that your funds are being transferred safely.
We hope this guide has been valuable to you, providing you with the knowledge and confidence to navigate the claiming process on PayPal. Whether you are a freelancer receiving payments, a business owner accepting transactions, or simply need to claim a payment from a friend or family member, PayPal offers a convenient and efficient solution.
Should you have any further questions or concerns, PayPal’s customer support is available to assist you. They have a dedicated team to address any issues or provide guidance through the claiming process.
Thank you for following along with this guide. Happy claiming and best wishes for all your PayPal transactions!