Introduction
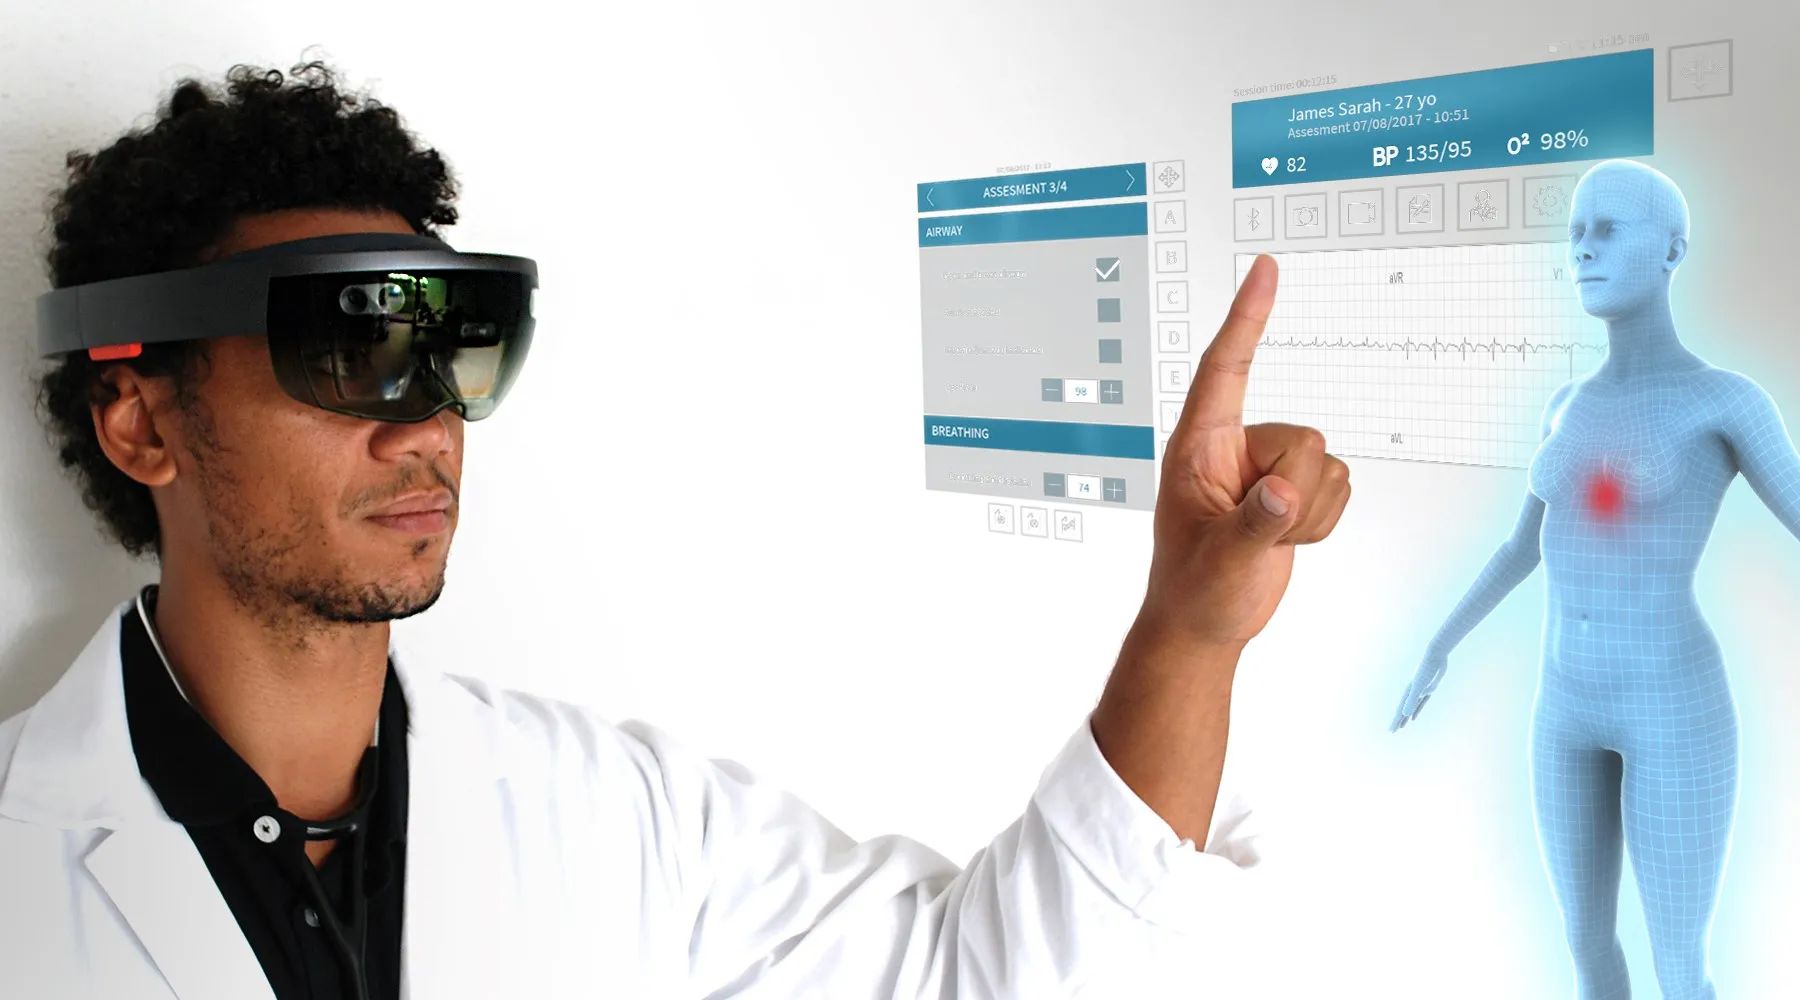
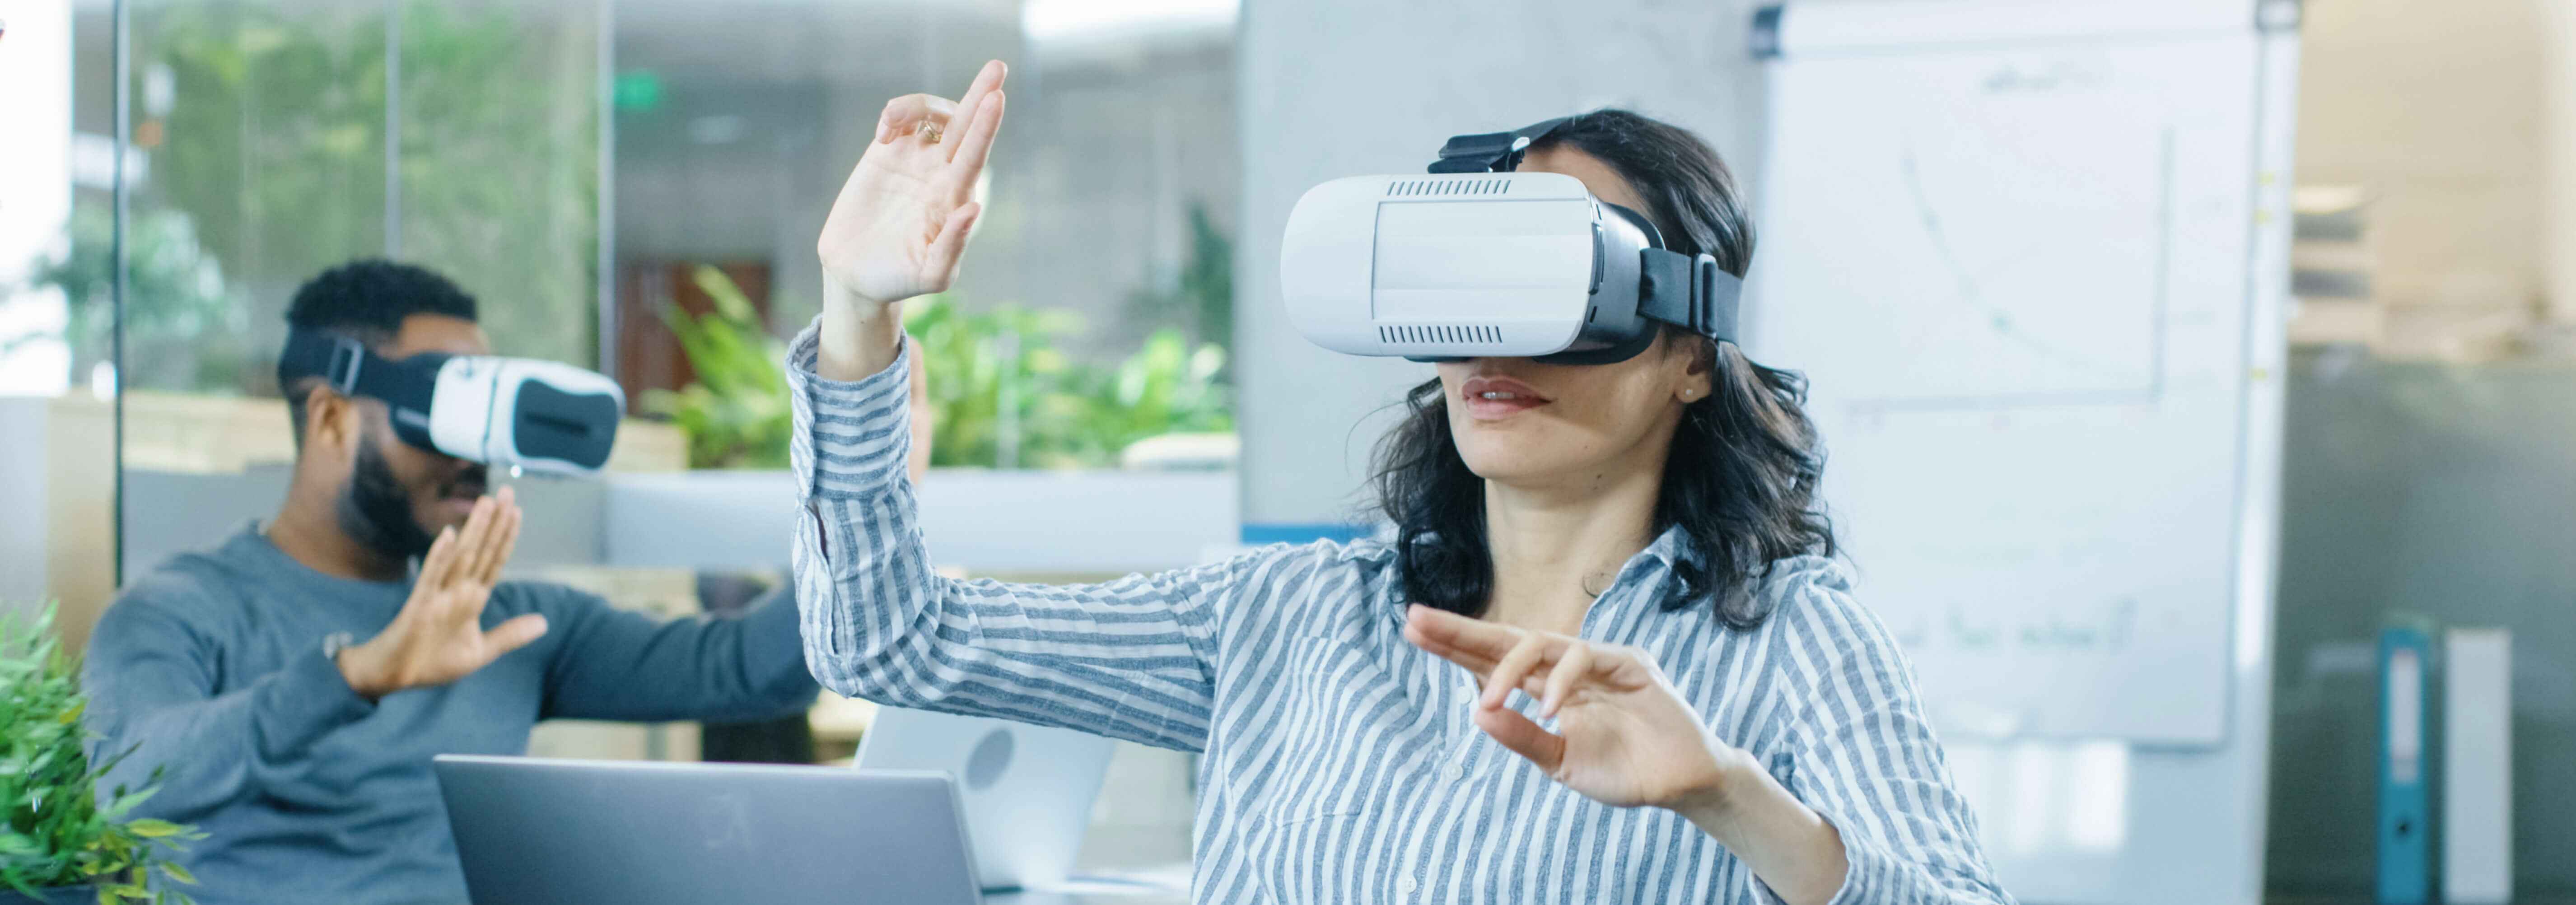
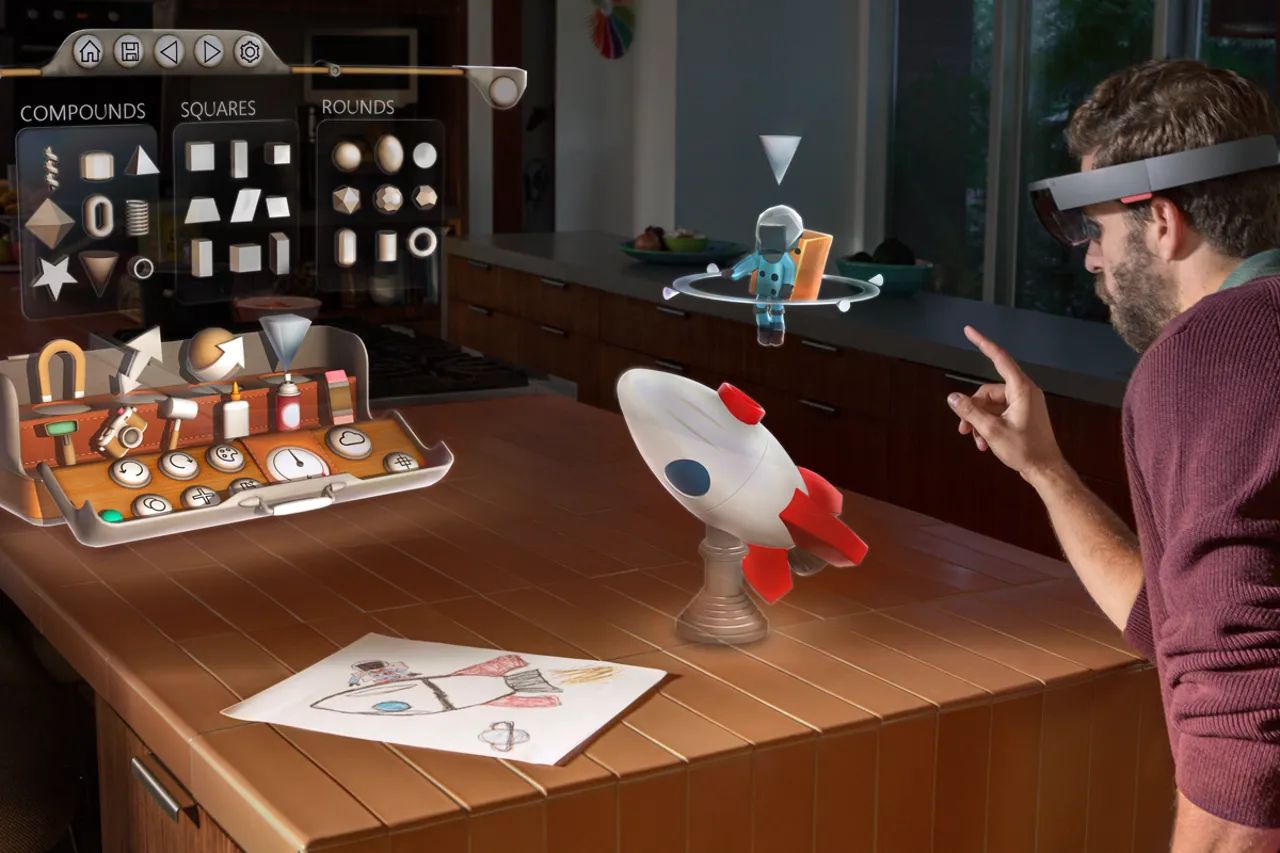
The HoloLens app has opened up new possibilities in the field of healthcare by providing a unique platform for visualizing medical images in a three-dimensional augmented reality (AR) environment. This technology allows doctors, surgeons, and medical professionals to have a more immersive and interactive experience, leading to improved diagnosis, treatment, and patient care.
In this article, we will explore how to add medical images to a HoloLens app, step-by-step. We will cover the necessary prerequisites, including setting up the HoloLens development environment, understanding medical image formats, importing medical images into Unity, and displaying them in the app. We will also discuss how to interact with the medical images to enhance the user experience.
Before we dive into the details, it’s important to note that this tutorial assumes a basic understanding of HoloLens development and Unity. If you are new to HoloLens development, I recommend familiarizing yourself with the basics before proceeding.
Now, let’s get started with preparing the HoloLens development environment so that we can begin incorporating medical images into our app.
Prerequisites
Before we begin adding medical images to our HoloLens app, there are a few prerequisites that need to be met:
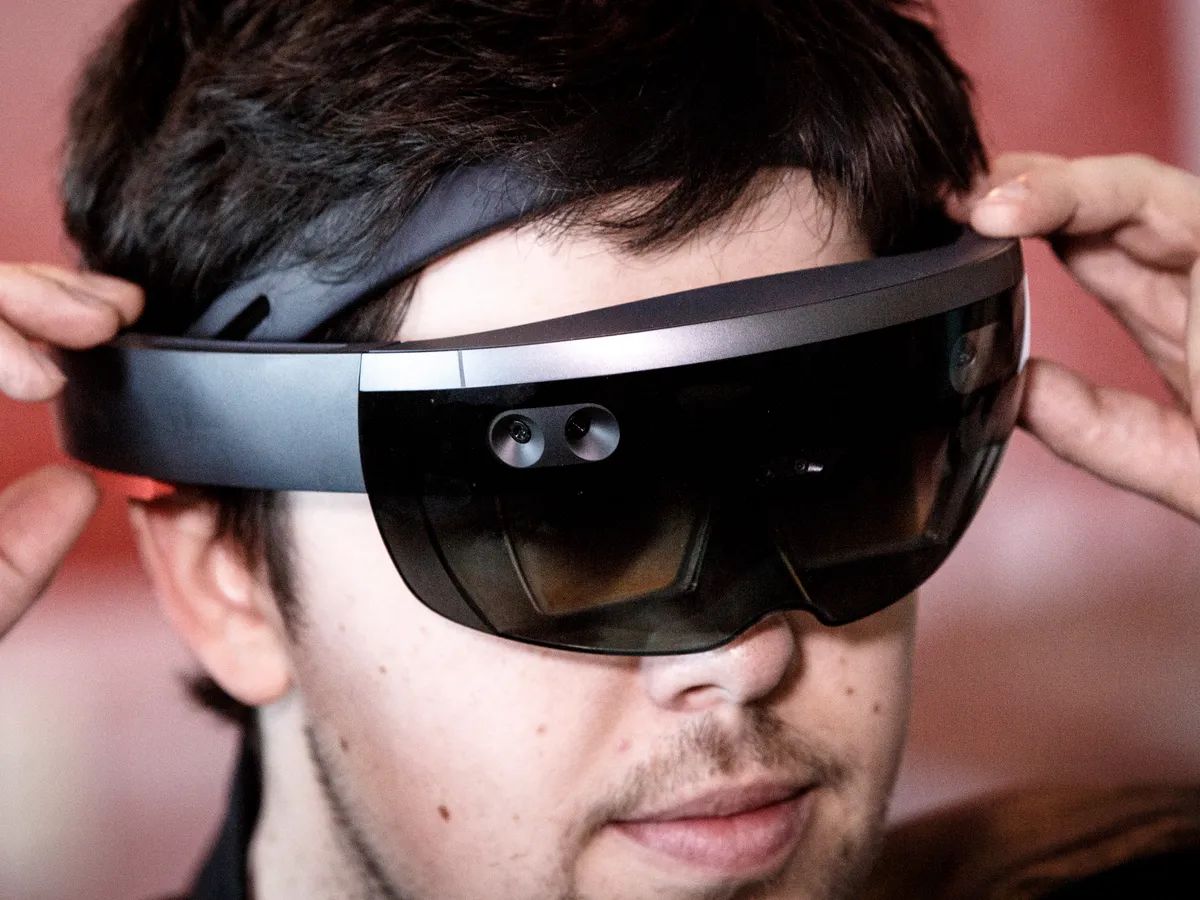
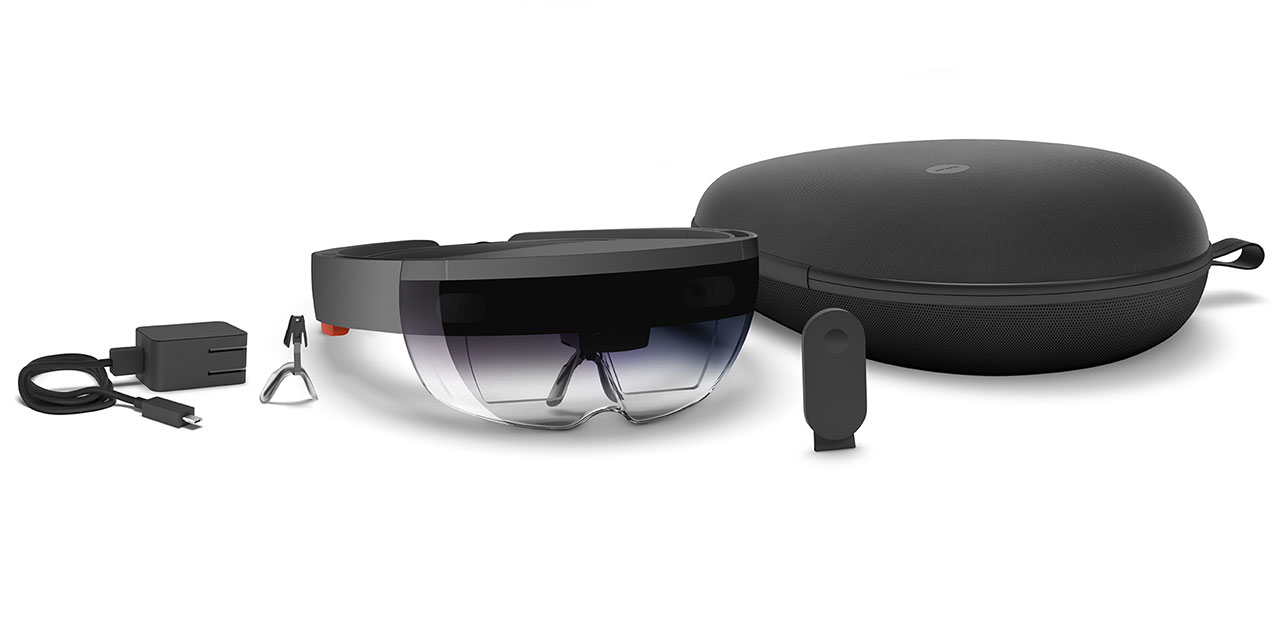
- HoloLens Development Environment: To create and test HoloLens apps, you need to have the HoloLens development environment set up. This includes a Windows 10 PC with a minimum of 8GB RAM, a graphics card that supports DirectX 11, and the necessary software tools such as Visual Studio and the HoloLens Emulator or a physical HoloLens device.
- Unity: Unity is a powerful game development engine that we will be using to create our HoloLens app. Make sure you have Unity installed on your development machine. The Unity version recommended for HoloLens development is 2018.4 LTS or later.
- Basic Knowledge of Unity and C#: Familiarity with Unity and C# programming is essential for HoloLens app development. If you are new to Unity or C#, it’s recommended to go through some introductory tutorials or courses to get up to speed.
- Medical Images: You will need a collection of medical images in a compatible format. It’s crucial to have a variety of medical images such as X-rays, CT scans, MRI scans, and ultrasounds to create a comprehensive and diverse experience in your app.
Ensuring these prerequisites are met will make the process of adding medical images to your HoloLens app smoother and more efficient. With all these components in place, we can proceed to the next step: preparing the HoloLens development environment.
Step 1: Preparing the HoloLens Development Environment
Before we can start incorporating medical images into our HoloLens app, we need to ensure that our development environment is properly set up. Follow these steps to prepare your HoloLens development environment:
- Install the HoloLens Development Tools: Download and install the necessary tools for developing HoloLens apps. This includes Visual Studio 2017 or later, the HoloLens Emulator, and the Windows 10 SDK. Make sure you have the latest versions of these tools to ensure compatibility.
- Enable Developer Mode: On your Windows 10 PC, navigate to the Settings app and go to “Update & Security”. Under “For developers”, select the “Developer mode” option. This will allow you to install and test apps on your HoloLens device or the emulator.
- Create a Unity Project: Open Unity and create a new project. Choose a location to save your project and select the appropriate settings for targeting HoloLens. Make sure you select the Universal Windows Platform (UWP) as the target platform.
- Configure HoloLens Build Settings: In Unity, go to File > Build Settings. Select the Universal Windows Platform as the target platform and click on “Switch Platform”. Ensure that the target device is set to “HoloLens”.
- Build and Deploy: Connect your HoloLens device to your PC via USB or connect to the emulator. In Unity, go to File > Build Settings and click on “Build”. Choose a location to save the build and wait for the process to complete. Once the build is generated, deploy it to your HoloLens device or emulator for testing.
By following these steps, you will have successfully prepared your HoloLens development environment for adding medical images to your app. With a properly configured environment, we can now move on to the next step: understanding medical image formats.
Step 2: Understanding Medical Image Formats
Before we can import medical images into our HoloLens app, it is essential to have a basic understanding of the various image formats commonly used in the medical field. Medical images are typically stored in formats such as DICOM (Digital Imaging and Communications in Medicine), JPG (Joint Photographic Experts Group), PNG (Portable Network Graphics), and BMP (Bitmap).
The DICOM format is the most widely used format for storing medical images. It contains not only the image data but also important metadata such as patient information, study details, and imaging parameters. DICOM files can be easily read and manipulated using DICOM libraries or plugins.
The JPG format is a commonly used image format that provides a good balance between image quality and file size. It is a lossy compression format, which means that some information is lost during compression. JPG images are widely supported and can be easily displayed in HoloLens apps.
The PNG format is a lossless compression format that preserves the image quality without sacrificing file size. It supports transparency, making it suitable for medical images with annotations or overlays. However, PNG images tend to have larger file sizes compared to JPG.
The BMP format is an uncompressed image format that stores raw image data. BMP images offer high-quality rendering but have larger file sizes. They are less commonly used for medical images due to their larger file sizes and lack of compression.
When incorporating medical images into your HoloLens app, it is important to choose the appropriate image format based on your specific requirements. Consider factors such as image quality, file size, and compatibility with the tools and libraries you will be using.
Now that we have a basic understanding of medical image formats, we can proceed to the next step: importing medical images into Unity.
Step 3: Importing Medical Images into Unity
Now that we have a clear understanding of medical image formats, it’s time to import the medical images into Unity. Follow these steps to import the images:
- Create a New Folder: In the Unity Project window, create a new folder to store your medical images. Right-click on the desired location and select “Create Folder”. Give the folder a descriptive name to easily identify it.
- Copy or Drag and Drop Images: Locate the medical images you want to import, and either copy them into the folder you created or directly drag and drop them into the Unity Project window. Unity will automatically import the images and generate corresponding assets.
- Verify Import Settings: Unity provides various import settings for images, such as texture type, compression, alpha channel, and filtering options. Select the imported images in the Unity Project window and configure the import settings according to your requirements. For medical images, it is advisable to choose settings that maintain the image quality while optimizing performance.
- Preview Images: To ensure that the images have been imported correctly, you can preview them in the Unity Editor. Simply select an image file, and Unity will display a preview in the Inspector window, allowing you to verify the image content and quality.
By following these steps, you will successfully import the medical images into your Unity project. These images can now be accessed and utilized within your HoloLens app. In the next step, we will explore how to display the medical images in the HoloLens app.
Step 4: Displaying Medical Images in the HoloLens App
Now that we have imported the medical images into Unity, it’s time to display them in our HoloLens app. Follow these steps to incorporate the medical images into the app:
- Create an Empty GameObject: In the Unity Hierarchy window, right-click and select “Create Empty”. This will create a new empty GameObject, which will serve as the parent for our medical image objects.
- Create Image GameObjects: For each medical image, create a new GameObject within the previously created empty GameObject. You can do this by right-clicking on the empty GameObject and selecting “Create Empty” or by dragging and dropping the image onto the empty GameObject.
- Assign Textures to Image GameObjects: Select each image GameObject and assign the corresponding texture to it. In the Inspector window, click on the “Add Component” button and search for “Mesh Renderer”. Once added, click on the small circle next to the “None (Mesh)” field and select the desired image texture from the dropdown menu.
- Position and Scale Image GameObjects: Now that the image GameObjects have their textures assigned, you can position and scale them to fit within the HoloLens environment. Use the Transform component in the Inspector window to adjust their position, rotation, and scale.
- Adjust Material Settings: If needed, you can further customize the appearance of the medical images by adjusting the material settings of their corresponding GameObjects. This includes properties such as color, transparency, and lighting.
By following these steps, you will be able to display the medical images within your HoloLens app. You can test and fine-tune their placement and appearance to ensure they are presented accurately and effectively. In the next step, we will explore how to interact with the medical images within the HoloLens app.
Step 5: Interacting with Medical Images in the HoloLens App
Interactivity is a crucial aspect of any HoloLens app, and we want to enable users to interact with the medical images in our app. Follow these steps to implement interaction with the medical images:
- Add Gesture Recognition: HoloLens provides built-in gesture recognition capabilities, such as air tap and hand gestures, which we can utilize to interact with the medical images. Implement gesture recognition in your app by subscribing to the appropriate events and detecting user input.
- Enable Manipulation: Allow users to manipulate the medical images by implementing translation, rotation, and scaling functionalities. You can use Unity’s built-in gesture detection and manipulation scripts or create your own script to handle the user’s input and apply the necessary transformations to the medical image GameObjects.
- Add Additional Interactions: Consider adding additional interactive features to enhance the user experience. This could include annotations, measurements, or the ability to switch between different medical image slices or views. Implement the necessary logic and user interface elements to enable these interactions.
- Collision Detection: To prevent the medical image GameObjects from intersecting with other virtual or real-world objects, implement collision detection. This ensures that the medical images remain visually coherent and do not overlap or distort when the user interacts with them.
- Provide Feedback: Offer visual and auditory feedback to the user during interactions. This could include highlighting selected medical images, playing sound effects, or displaying tooltips or text prompts to guide the user’s actions.
By following these steps, you will create an interactive experience within your HoloLens app, allowing users to seamlessly interact with the medical images. These interactions will enhance the user’s understanding and engagement, leading to a more effective use of the app in a medical context.
With these steps completed, you have successfully added medical images to your HoloLens app and implemented interaction functionalities. Now, you can further refine and optimize the app to meet the specific needs of medical professionals and enhance patient care.
Conclusion
Incorporating medical images into a HoloLens app opens up exciting possibilities for healthcare professionals to visualize and interact with patient data in a three-dimensional augmented reality environment. By following the steps outlined in this guide, you can successfully add medical images to your HoloLens app and create a more immersive and engaging experience.
We began by preparing the HoloLens development environment and ensuring that we had the necessary tools and software in place. Next, we explored different medical image formats and understood how to choose the appropriate format for our app.
With the environment set up, we learned how to import the medical images into Unity, the powerful game development engine. We organized the images in Unity, verified their import settings, and previewed them to confirm their successful import.
Then, we went on to display the medical images within the HoloLens app. By creating and positioning image GameObjects and assigning textures to them, we were able to present the medical images accurately to the end-users.
Furthermore, we implemented interactivity within the app, allowing users to manipulate the medical images, perform measurements, add annotations, and utilize other features. By enabling gesture recognition, collision detection, and providing feedback, we enhanced the user experience and facilitated a more intuitive interaction with the medical images.
By following these steps and customizing the app to meet the specific needs of medical professionals, you can create a valuable tool that enhances diagnosis, treatment, and patient care. The ability to visualize and interact with medical images in augmented reality opens up new avenues for analysis, planning, and collaboration among healthcare professionals.
Remember to continuously test, improve, and iterate upon your HoloLens app to provide the best possible experience and functionality. With dedication and innovation, you can contribute to the advancement of healthcare technology and revolutionize the way medical images are utilized and understood.
Congratulations on adding medical images to your HoloLens app. Now, go forth and make a positive impact in the healthcare industry through the power of augmented reality!


