Common Causes of Blurry Photos
Common Causes of Blurry Photos
Blurry photos can be frustrating, especially when you’re trying to capture a special moment or a stunning landscape. Understanding the common causes of blur in DSLR photos can help you troubleshoot and improve the sharpness of your images.
1. Incorrect Focus: One of the primary reasons for blurry photos is incorrect focus. If your camera focuses on the wrong part of the scene or fails to lock focus properly, it can result in a lack of sharpness in your images. This can happen when using autofocus mode, especially in low-light conditions or when the subject lacks contrast.
2. Motion Blur: When the subject or the camera moves during the exposure, it can lead to motion blur in the final image. This is particularly common in low-light situations or when using slow shutter speeds. Even the slightest movement can cause noticeable blur in the photo.
3. Lens Issues: A dirty lens or a lens with smudges or scratches can significantly impact image sharpness. Additionally, using the wrong aperture or focal length for the desired shot can result in less-than-sharp photos.
4. Camera Shake: Holding the camera unsteadily or using slow shutter speeds without proper stabilization can introduce camera shake, leading to blurry images. This is especially noticeable when shooting handheld in low light or with telephoto lenses.
5. Improper Settings: Incorrect camera settings, such as a too-wide aperture that reduces depth of field or a too-slow shutter speed that allows motion blur, can cause blurriness in photos. Understanding and adjusting these settings can significantly improve the sharpness of your images.
By recognizing these common causes of blurry photos, you can take proactive steps to address them and capture sharper, more visually appealing images with your DSLR camera.
Tips for Improving Sharpness
Ensuring sharp, clear images with your DSLR camera involves a combination of proper technique, equipment maintenance, and understanding the principles of photography. Here are some valuable tips to help you improve the sharpness of your photos:
1. Use the Right Focus Mode: Experiment with different focus modes, such as single-point autofocus or continuous autofocus, to determine which mode works best for various shooting scenarios. Understanding how your camera’s autofocus system operates can significantly improve the sharpness of your images.
2. Optimize Shutter Speed: Pay attention to your shutter speed, especially when shooting handheld or capturing moving subjects. Using faster shutter speeds can help freeze motion and minimize the risk of motion blur, resulting in sharper images.
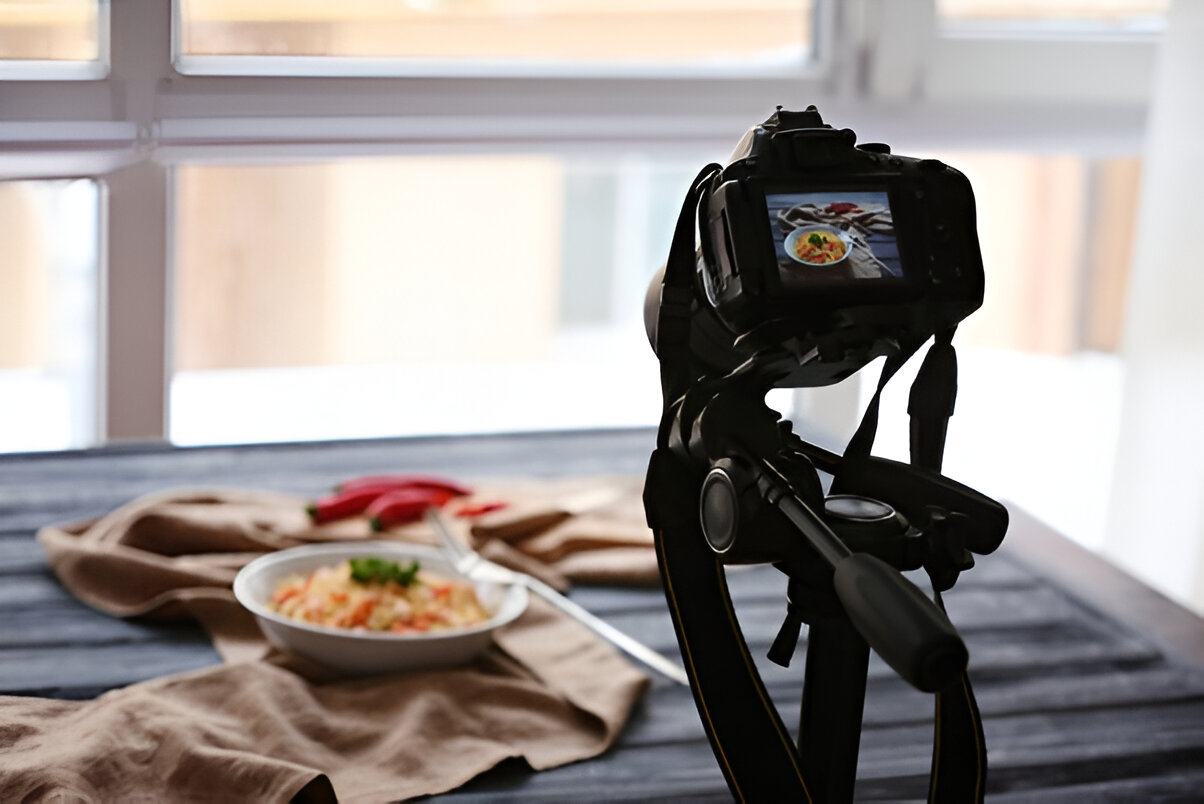
3. Stabilize Your Camera: Utilize tripods, monopods, or other stabilization tools to minimize camera shake, particularly in low-light conditions or when using telephoto lenses. Stabilizing your camera can greatly enhance the sharpness of your photos.
4. Maintain Your Lens: Keep your lenses clean and free from smudges or dust, as these imperfections can degrade image quality. Additionally, regularly check for any scratches or damage that may affect the sharpness of your photos.
5. Understand Depth of Field: Adjust your aperture settings to control the depth of field in your images. In situations where maximizing sharpness is crucial, consider using a narrower aperture to increase the area of sharp focus in your photos.
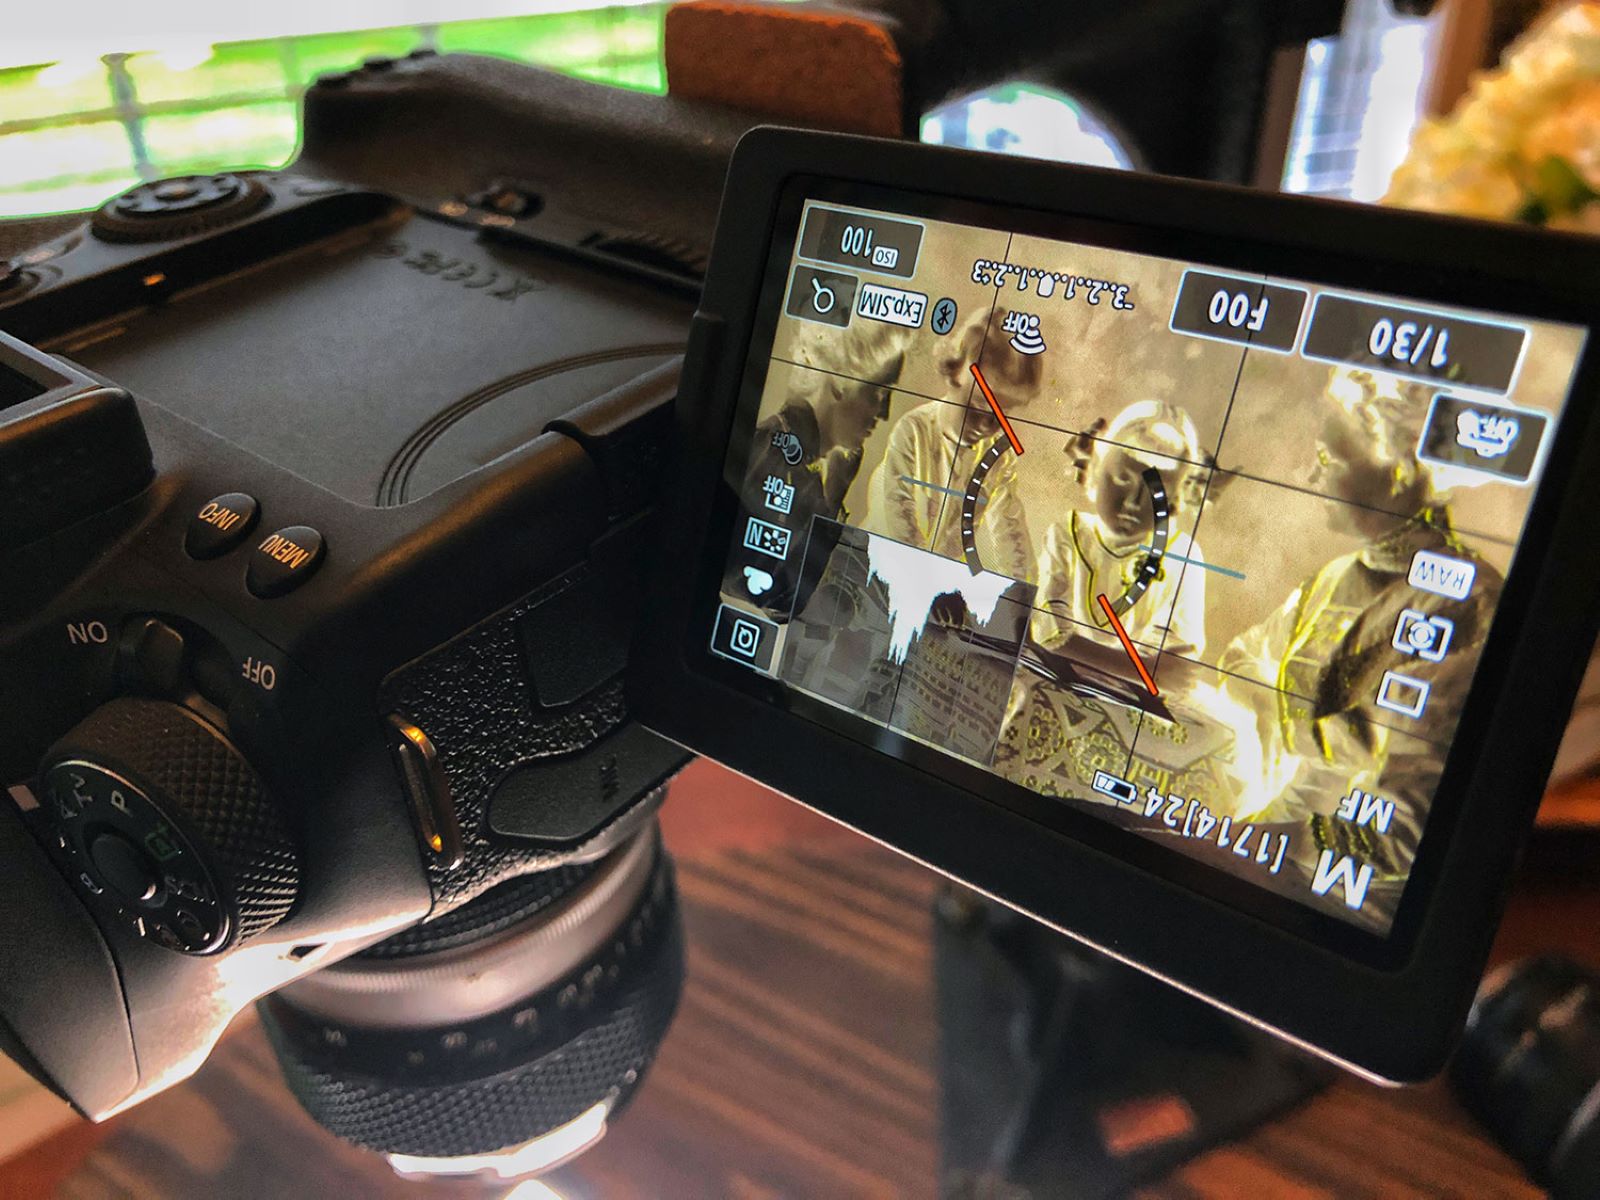
6. Fine-Tune Camera Settings: Take the time to familiarize yourself with your camera’s settings and make adjustments based on the shooting conditions. Understanding how ISO, aperture, and shutter speed work together can significantly impact the sharpness of your photos.
By implementing these tips and techniques, you can enhance the sharpness and clarity of your DSLR photos, elevating the overall quality of your photographic work.
Understanding Autofocus Issues
Autofocus is a fundamental feature in DSLR cameras, allowing photographers to achieve sharp, well-focused images with ease. However, understanding common autofocus issues and how to address them is crucial for capturing consistently sharp photos.
1. Focus Hunting: In certain situations, especially in low-light conditions or when the subject lacks contrast, the autofocus system may struggle to lock onto the intended focal point, resulting in focus hunting. This can lead to blurry images as the camera continuously searches for focus. To mitigate this issue, consider using the camera’s manual focus or employing techniques to increase contrast in the scene.
2. Back-Focus and Front-Focus: Back-focus and front-focus issues occur when the camera consistently focuses behind or in front of the intended subject, rather than on it. This can be caused by misaligned autofocus systems or incorrect calibration. Some DSLR cameras offer micro-adjustment features to address this problem, allowing users to fine-tune the autofocus for specific lenses.
3. Focus Point Selection: Understanding how to select and control focus points is essential for achieving precise focus in your images. Depending on the shooting scenario, you may need to manually select a focus point to ensure that the camera focuses on the intended subject, especially in situations with complex compositions or multiple subjects at varying distances.
4. Continuous Autofocus Tracking: When photographing moving subjects, utilizing continuous autofocus (AI-Servo or AF-C) can help maintain focus as the subject moves within the frame. However, it’s important to understand the limitations of continuous autofocus and how to anticipate and track the subject’s movement to achieve sharp, well-focused images.
5. Low-Light Autofocus Performance: In dimly lit environments, some DSLR cameras may struggle with autofocus performance, leading to slower focusing speeds or difficulty acquiring focus. Understanding how to utilize focus assist features, such as the camera’s built-in focus illuminator or using external lighting sources, can help improve autofocus accuracy in low-light conditions.
By familiarizing yourself with these autofocus issues and their respective solutions, you can optimize the performance of your camera’s autofocus system and consistently capture sharp, well-focused images in a variety of shooting scenarios.
Dealing with Camera Shake
Camera shake is a common culprit behind blurry photos, often caused by unsteady hands or inadequate stabilization when capturing images with a DSLR camera. Understanding how to mitigate the effects of camera shake is essential for achieving sharper, more visually pleasing photographs.
1. Utilize Image Stabilization: Many modern lenses and some DSLR bodies are equipped with image stabilization (IS) or vibration reduction (VR) technology. Activating this feature can help counteract the effects of camera shake, particularly when shooting handheld or in low-light conditions. Be sure to familiarize yourself with the specific IS or VR capabilities of your equipment and utilize them effectively.
2. Opt for Faster Shutter Speeds: When shooting handheld, using faster shutter speeds can minimize the impact of camera shake on image sharpness. As a general rule of thumb, aim for a shutter speed that is at least equivalent to the focal length of your lens. For example, if you’re using a 50mm lens, try to use a shutter speed of 1/60 second or faster to reduce the risk of camera shake.
3. Stabilization Techniques: Implementing proper stabilization techniques, such as bracing your elbows against your body or using a tripod or monopod, can significantly reduce the likelihood of camera shake. Additionally, practicing steady breathing and gently pressing the shutter button can help minimize inadvertent movement during image capture.
4. Remote Shutter Release: When shooting in situations that require maximum stability, such as long exposures or macro photography, consider using a remote shutter release or the camera’s self-timer function to trigger the shutter. This helps eliminate the potential for camera shake caused by physically pressing the shutter button.
5. Awareness of Environmental Factors: Be mindful of environmental elements that can exacerbate camera shake, such as strong winds, unstable surfaces, or vibrations from nearby sources. Taking proactive measures to mitigate these factors, such as shielding the camera from wind or choosing a more stable shooting position, can contribute to sharper, more stable images.
By implementing these strategies and remaining mindful of the potential for camera shake, you can enhance the overall sharpness and clarity of your DSLR photos, ensuring that your images are free from the detrimental effects of unintended movement during capture.
Lens Problems and Solutions
As a critical component of your DSLR setup, the lens plays a pivotal role in determining the sharpness and overall image quality of your photographs. Understanding common lens-related issues and their respective solutions is essential for maintaining optimal performance and achieving consistently sharp results.
1. Lens Calibration: In some cases, lenses may exhibit front-focus or back-focus issues, where the point of focus is slightly off from the intended subject. Many DSLR cameras offer micro-adjustment features that allow users to calibrate the autofocus system for specific lenses, addressing any discrepancies and ensuring accurate focus.
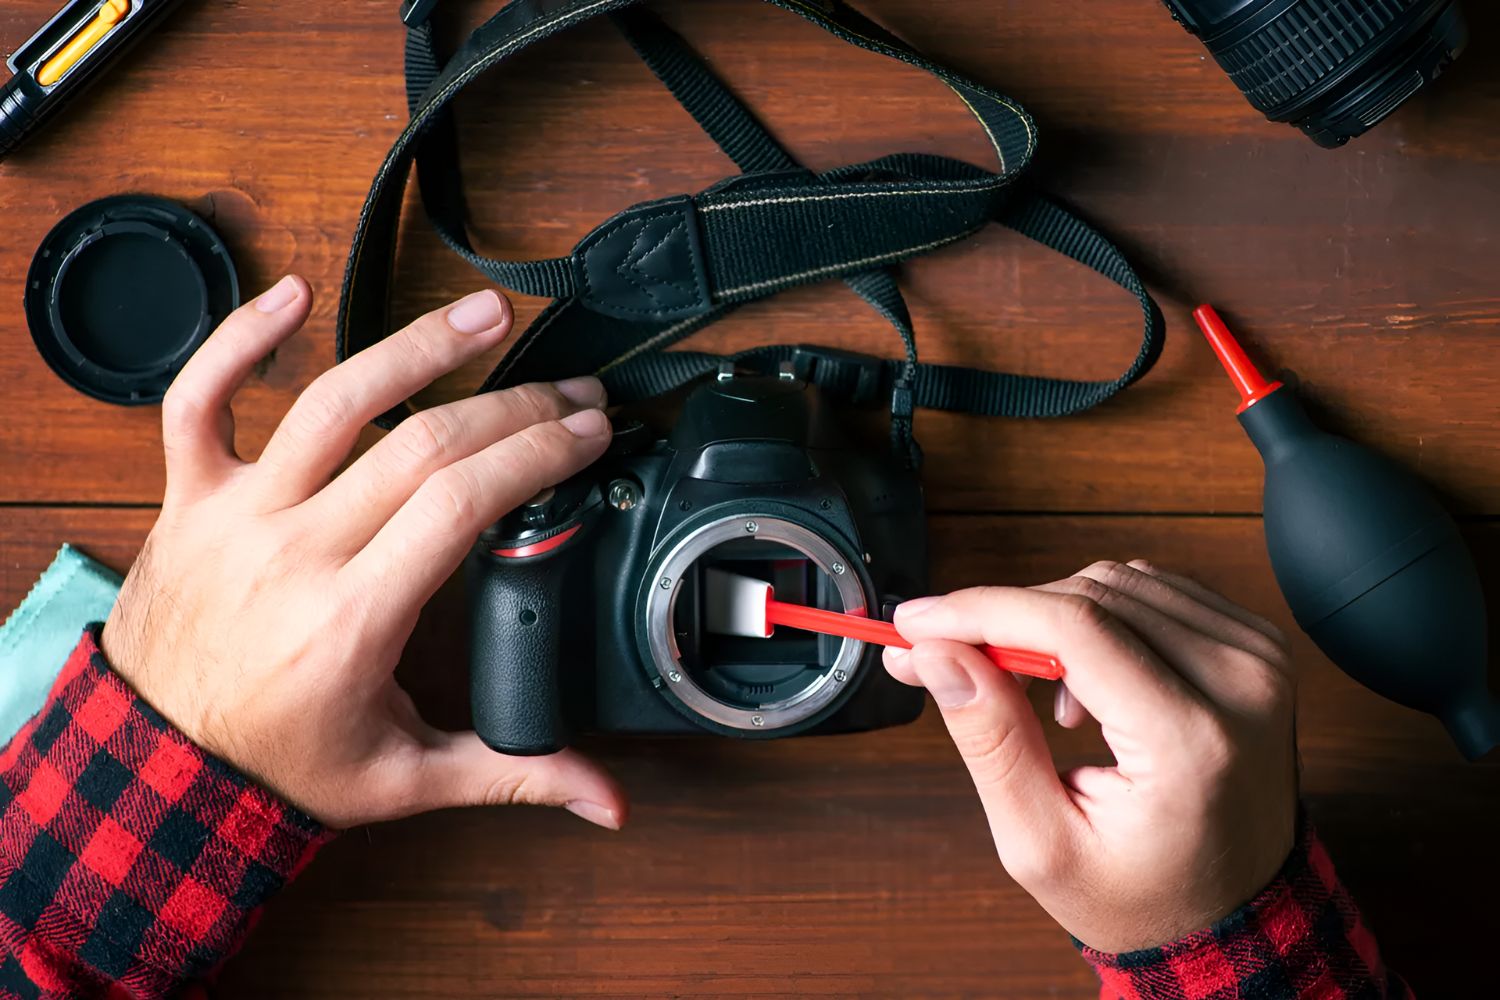
2. Cleaning and Maintenance: Regularly cleaning your lenses to remove dust, smudges, and debris is crucial for preserving image quality. Utilize a lens cleaning kit with appropriate tools, such as a blower, microfiber cloth, and lens cleaning solution, to keep your lenses free from imperfections that can degrade sharpness.
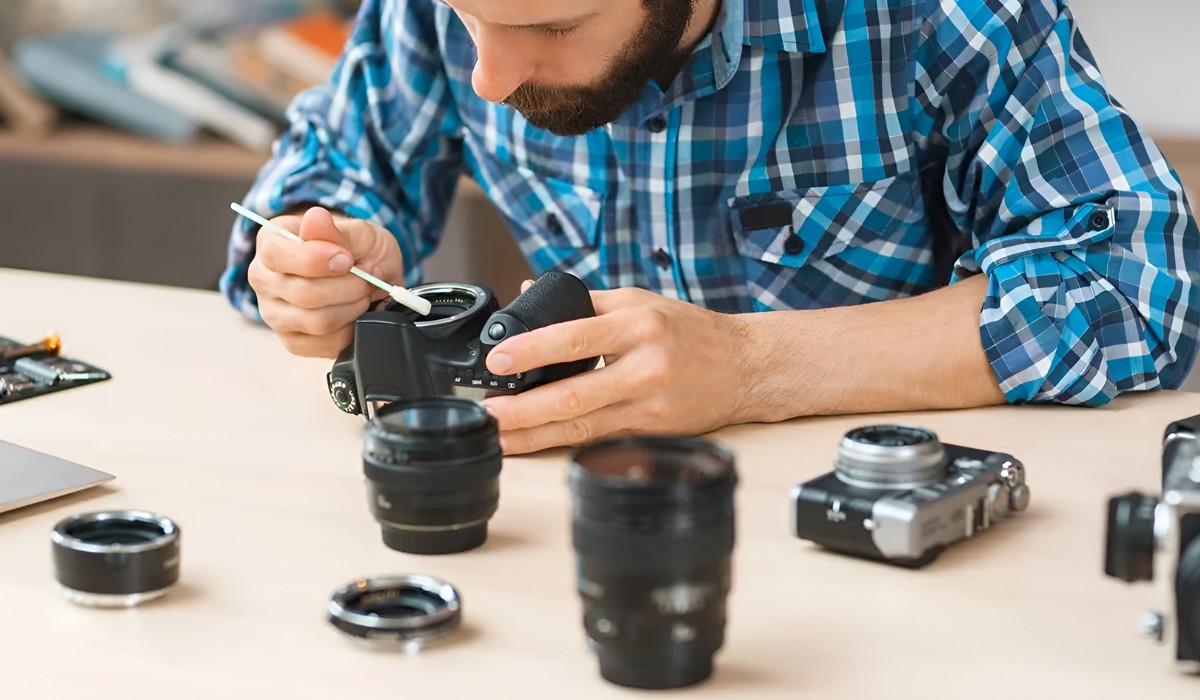
3. Lens Quality and Condition: Investing in high-quality lenses and ensuring their proper maintenance can significantly impact the sharpness of your photos. Be mindful of any scratches, dents, or signs of wear on your lenses, as these physical imperfections can affect image quality. Additionally, utilizing lens hoods can help minimize lens flare and enhance overall image sharpness.
4. Aperture Selection: Understanding how different apertures affect image sharpness is crucial for achieving desired results. While wide apertures may offer beautiful bokeh and creative effects, they can also result in reduced depth of field, potentially leading to less overall sharpness. Consider the appropriate aperture settings based on the desired outcome of your photos.
5. Lens Compatibility: When using third-party lenses or lens adapters with your DSLR camera, ensure compatibility and proper communication between the lens and the camera body. Some compatibility issues can result in suboptimal autofocus performance or inaccurate aperture control, potentially impacting image sharpness.
By addressing these lens-related considerations and implementing the appropriate solutions, you can optimize the performance of your lenses and maintain the highest level of sharpness and image quality in your DSLR photography. Prioritizing lens care and understanding the intricacies of lens functionality are key steps toward consistently capturing stunning, razor-sharp images.