Introduction
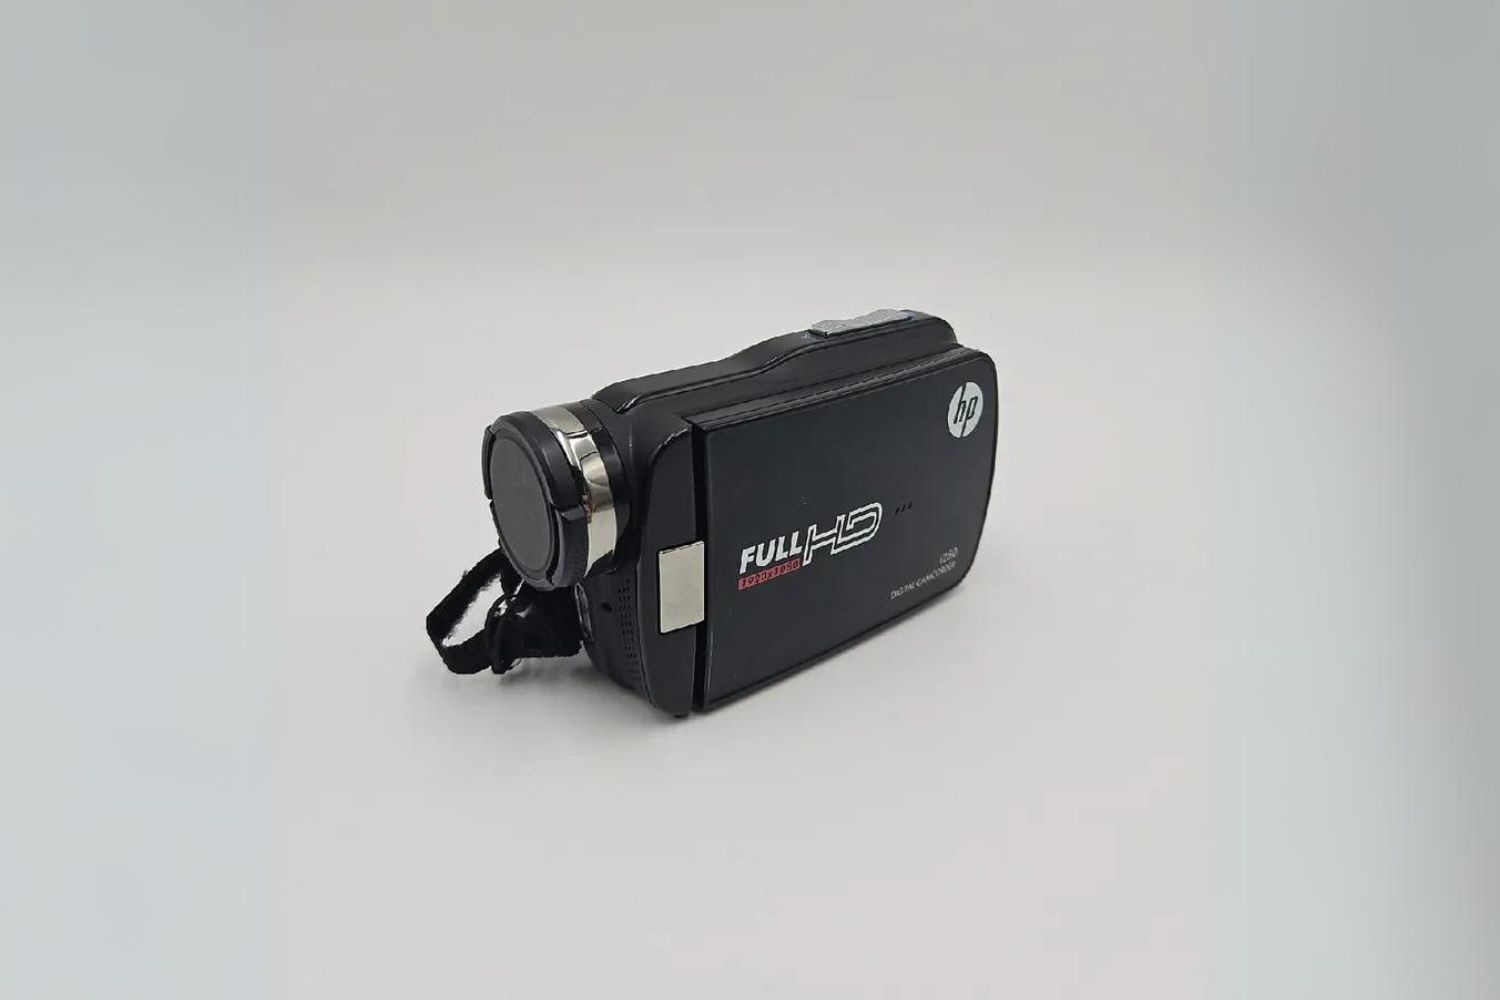
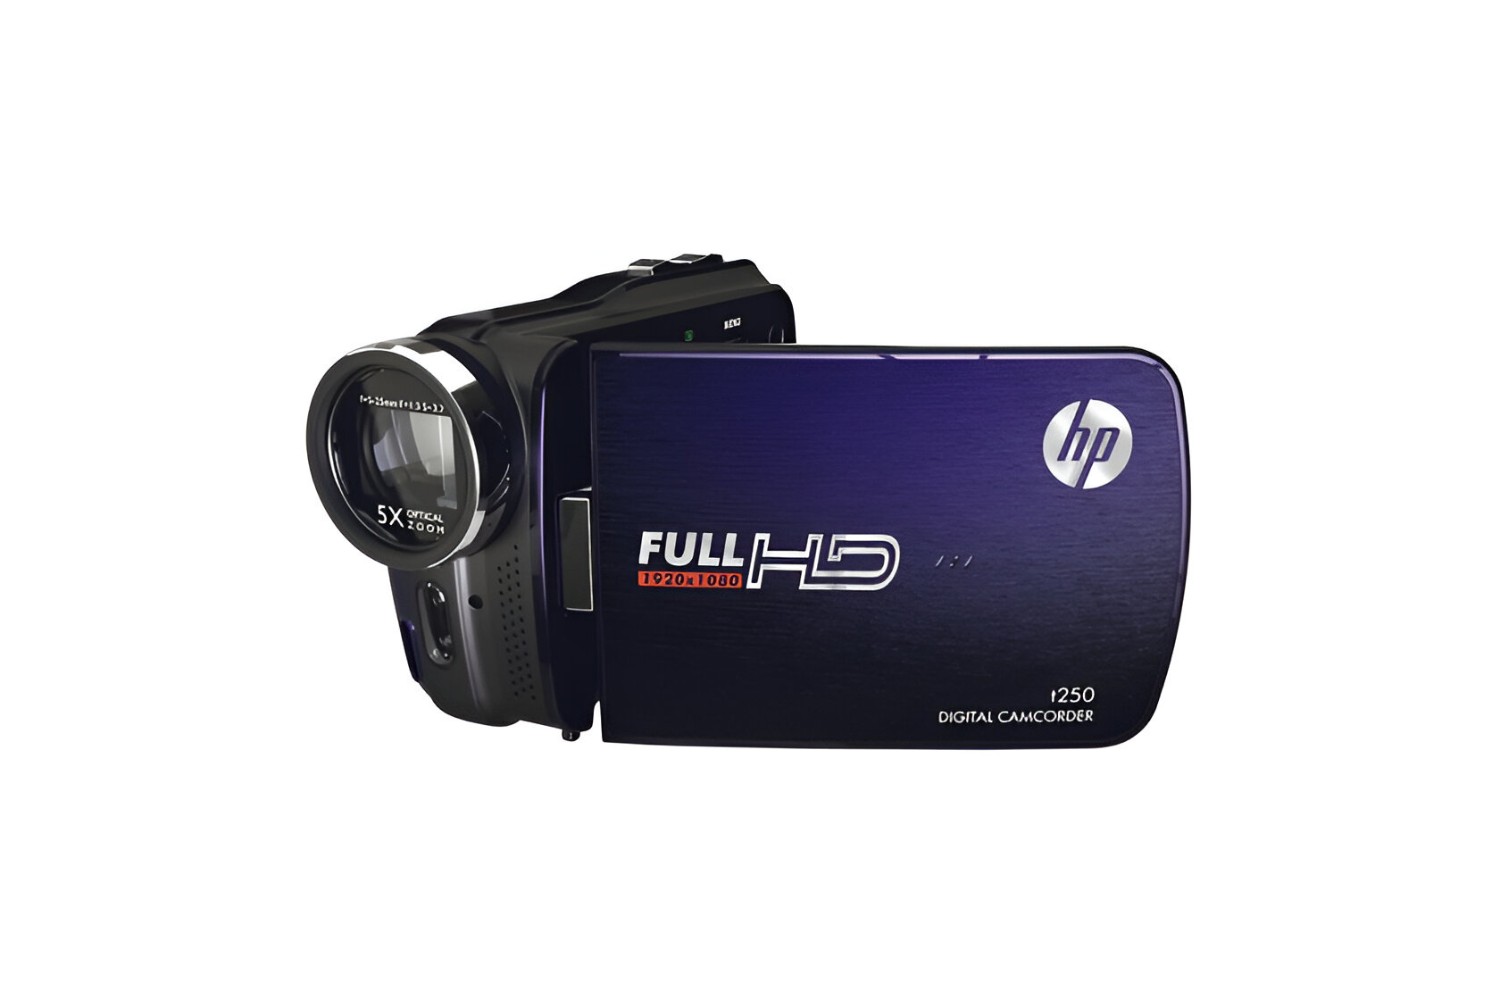
Are you eager to transfer the captivating images captured on your HP t250 digital camcorder to your computer for safekeeping, sharing, or editing? This guide will walk you through the straightforward process of downloading images from your HP t250 digital camcorder. Whether you're an amateur photographer, a vlogger, or simply someone who loves capturing life's precious moments, this step-by-step tutorial will equip you with the knowledge to effortlessly transfer your cherished images to your computer.
The HP t250 digital camcorder offers an excellent platform for preserving memories and creating stunning visual content. By following the steps outlined in this guide, you'll be able to seamlessly access and transfer images from your camcorder to your computer, ensuring that your precious moments are securely stored and easily accessible.
Let's dive into the process of connecting your HP t250 digital camcorder to your computer and accessing its storage to retrieve your treasured images. With these simple steps, you'll be able to enjoy and share your captured moments with ease.
Step 1: Connect the HP t250 Digital Camcorder to Your Computer
Before you can begin downloading images from your HP t250 digital camcorder, you need to establish a physical connection between the camcorder and your computer. This is a crucial first step in the process of transferring your cherished images.
Start by locating the USB cable that came with your HP t250 digital camcorder. This cable is designed to facilitate the transfer of data between your camcorder and your computer. Once you’ve found the USB cable, connect one end to the USB port on your HP t250 digital camcorder. The port is typically located on the side or the back of the device, and it’s often labeled for easy identification.
With the USB cable securely connected to your camcorder, it’s time to connect the other end to a USB port on your computer. Most modern computers have multiple USB ports, which are usually located on the front, back, or side of the device. Insert the USB cable into an available port, ensuring that it fits snugly and securely.
Once the USB cable is connected to both your HP t250 digital camcorder and your computer, power on the camcorder. Your computer should recognize the newly connected device and may prompt you with options for how you’d like to interact with it. If no prompt appears, don’t worry—there are additional steps to access the camcorder’s storage, which we’ll cover in the next section.
With your HP t250 digital camcorder successfully connected to your computer, you’re now ready to move on to the next step in the process: accessing the camcorder’s storage to retrieve your images.
Step 2: Access the Camcorder’s Storage
After successfully connecting your HP t250 digital camcorder to your computer, the next step is to access the camcorder’s storage. This will allow you to view and select the images you wish to transfer to your computer. Depending on your computer’s operating system, the process for accessing the camcorder’s storage may vary slightly, but the fundamental steps remain consistent.
Begin by navigating to “My Computer” (Windows) or “Finder” (Mac) on your computer. Look for the connected device, which should be listed as the HP t250 digital camcorder. Click on the camcorder’s icon to open its storage and reveal the folders and files stored on the device.
Once you’ve accessed the camcorder’s storage, you’ll likely find a folder containing your images. This folder may be labeled “DCIM” (Digital Camera Images) or something similar. Open the folder to reveal the images captured with your HP t250 digital camcorder. You can now browse through the images and select the ones you wish to transfer to your computer.
It’s essential to exercise caution when interacting with the camcorder’s storage to avoid accidentally deleting or modifying any files. Take your time to familiarize yourself with the folder structure and the location of your images before proceeding to the next step.
With the images selected, you’re now prepared to initiate the transfer process, which we’ll explore in the following step. By following these simple steps, you’ll be able to seamlessly access the storage of your HP t250 digital camcorder and retrieve the images you want to transfer to your computer.
Step 3: Select and Transfer Images to Your Computer
With the images you wish to transfer from your HP t250 digital camcorder now selected, it’s time to initiate the transfer process. This step involves copying the chosen images from the camcorder’s storage to a location on your computer where they can be easily accessed and managed.
Begin by creating a new folder on your computer’s desktop or in a location of your choice. This folder will serve as the destination for the transferred images. Right-click on an empty area of your desktop or the desired location, select “New,” and then choose “Folder.” Give the folder a descriptive name, such as “HP t250 Camcorder Images,” to clearly indicate its contents.
Next, navigate back to the window displaying the contents of your HP t250 digital camcorder’s storage. Select the images you wish to transfer by clicking and dragging to highlight them, or by holding down the “Ctrl” key (Windows) or “Command” key (Mac) while clicking on each image. Once the desired images are selected, release the key or mouse button.
With the images selected, drag them from the camcorder’s storage window to the newly created folder on your computer. Alternatively, you can right-click on the selected images, choose “Copy,” navigate to the destination folder, and then right-click again to select “Paste.” This will copy the images from the camcorder to the designated folder on your computer.
Depending on the number and size of the images, the transfer process may take a few moments to complete. Once the transfer is finished, navigate to the destination folder to confirm that the images have been successfully copied. You can now view, edit, and organize your transferred images as desired, knowing that they are safely stored on your computer.
By following these straightforward steps, you’ve successfully selected and transferred images from your HP t250 digital camcorder to your computer. Your precious memories are now readily accessible for viewing, sharing, and preservation.
Conclusion
Transferring images from your HP t250 digital camcorder to your computer is a simple yet essential process for preserving and managing your captured memories. By following the steps outlined in this guide, you’ve gained the knowledge and confidence to seamlessly connect your camcorder to your computer, access its storage, and transfer your cherished images with ease.
Now that you’ve successfully completed the process, take a moment to appreciate the convenience of having your images safely stored on your computer. Whether you intend to share your captured moments with friends and family, create captivating visual content, or simply ensure that your memories are securely preserved, the ability to transfer images from your HP t250 digital camcorder to your computer empowers you to do so effortlessly.
Remember that the process of connecting your camcorder to your computer and transferring images is not limited to a single instance. You can repeat these steps whenever you capture new images and wish to transfer them to your computer, ensuring that your collection of memories continues to grow and remain accessible.
By mastering the process of downloading images from your HP t250 digital camcorder, you’ve unlocked the potential to curate, edit, and share your captured moments with confidence and ease. Embrace the creative possibilities that await as you explore the world of digital content creation and storytelling through your treasured images.
With your images safely transferred to your computer, you’re now equipped to embark on new adventures, capture fresh memories, and seamlessly integrate them into your digital repertoire. The process of connecting, accessing, and transferring images from your HP t250 digital camcorder is a foundational skill that empowers you to preserve and share the moments that matter most.