**
Introduction
**
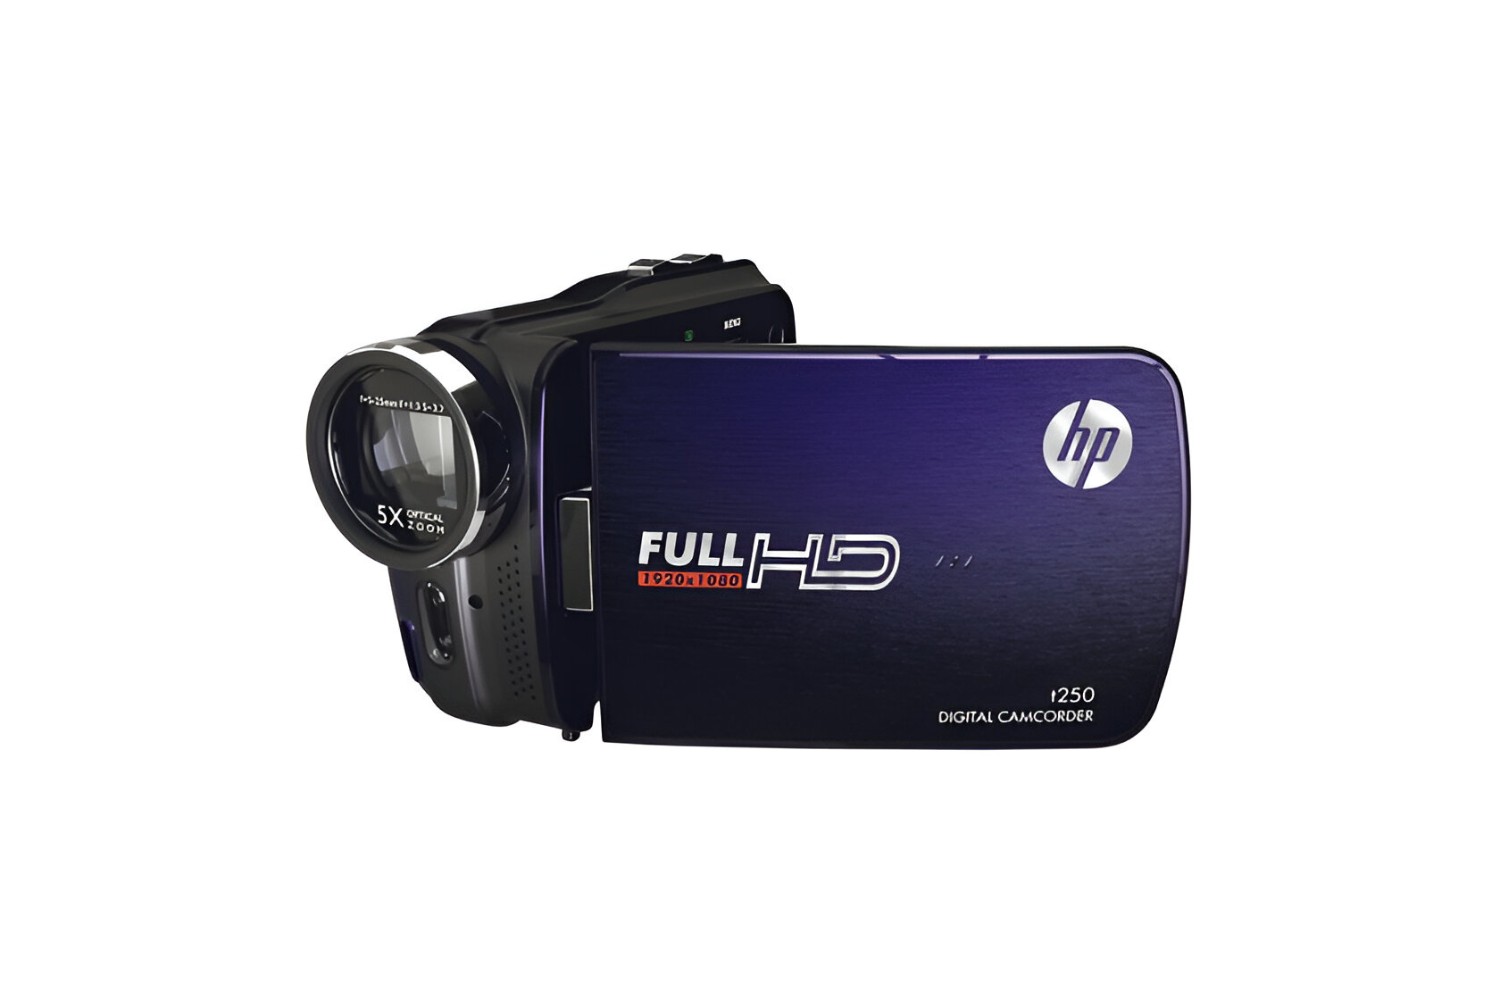
Are you eager to explore the captivating world of photography captured by your HP 250 Digital Camcorder? With the ability to record high-quality videos and snap stunning images, this device is a treasure trove of visual memories waiting to be unearthed. However, before you can relish in the beauty of your photos, you need to know how to download them from your camcorder to your computer. This guide will walk you through the simple yet essential steps to effortlessly transfer images from your HP 250 Digital Camcorder to your computer, allowing you to preserve and share your precious moments with ease.
As you embark on this journey, prepare to unlock the potential of your camcorder and unleash the power of your creativity. Whether you're a photography enthusiast, a budding filmmaker, or simply someone who values preserving memories, this guide will equip you with the knowledge and skills to seamlessly navigate the process of image transfer. So, without further ado, let's dive into the step-by-step process of downloading images from your HP 250 Digital Camcorder and bring your visual narratives to life.
**
Step 1: Connect the Camcorder to Your Computer
**
Before you can begin the process of downloading images from your HP 250 Digital Camcorder, you need to establish a physical connection between the camcorder and your computer. This step is crucial in enabling the seamless transfer of images and ensuring that you can access the contents of the camcorder's storage. Follow these simple steps to connect your camcorder to your computer:
**
- Locate the USB Cable: Retrieve the USB cable that was included with your HP 250 Digital Camcorder. This cable is essential for establishing a direct connection between the camcorder and your computer.
- Connect the USB Cable: With the camcorder powered off, locate the USB port on the camcorder. Insert one end of the USB cable into this port, ensuring a secure connection. Next, take the other end of the cable and insert it into an available USB port on your computer. Once again, ensure that the connection is secure to facilitate smooth data transfer.
- Power On the Camcorder: After connecting the USB cable, power on your HP 250 Digital Camcorder. Depending on the model, you may need to navigate to the device's settings to select the appropriate mode for data transfer. Refer to the user manual for specific instructions on accessing the data transfer mode.
- Computer Recognition: Upon establishing the connection, your computer should recognize the HP 250 Digital Camcorder as a connected device. If prompted, install any necessary drivers or software to ensure that your computer can communicate effectively with the camcorder.
**
By completing these steps, you will have successfully connected your HP 250 Digital Camcorder to your computer, laying the foundation for the subsequent process of accessing and transferring your images. With the physical link established, you are now ready to delve into the next steps of downloading your cherished photos from the camcorder’s storage to your computer.
**
Step 2: Access the Camcorder Storage
**
Now that your HP 250 Digital Camcorder is connected to your computer, the next step is to access the storage of the camcorder. By gaining access to the internal storage or memory card of the camcorder, you will be able to view and select the images you wish to transfer to your computer. Follow these steps to access the camcorder’s storage:
**
- Open File Explorer or Finder: On your computer, launch the file management application, such as File Explorer on Windows or Finder on Mac. These applications allow you to navigate through the files and folders stored on your computer and connected devices.
- Locate the Camcorder: In the file management application, look for the connected HP 250 Digital Camcorder. It may appear as a removable storage device or under a specific category related to cameras or multimedia devices.
- Access the Storage: Once you have located the camcorder, click on it to access its storage. Depending on the camcorder’s configuration, you may encounter folders labeled “DCIM” (Digital Camera Images) or specific folders for photos and videos. Navigate through these folders to find the images you want to transfer.
- Preview Images: Take this opportunity to preview the images stored on the camcorder. This step allows you to review and select the specific photos you wish to transfer to your computer. You can use the built-in preview feature of the file management application to view the images before proceeding with the transfer.
**
By following these steps, you have successfully accessed the storage of your HP 250 Digital Camcorder, gaining visibility into the images captured by the device. With the ability to view and select the photos, you are now prepared to initiate the process of transferring the chosen images to your computer, bringing them one step closer to being seamlessly integrated into your digital collection.
**
Step 3: Select and Transfer Images to Your Computer
**
With the storage of your HP 250 Digital Camcorder accessible on your computer, it’s time to select and transfer the desired images from the camcorder to your computer’s storage. This pivotal step ensures that your precious photos are securely saved on your computer, ready to be organized, edited, and shared as you see fit. Follow these straightforward instructions to select and transfer images to your computer:
**
- Select Desired Images: Navigate through the camcorder’s storage using the file management application on your computer. Locate and select the images you wish to transfer. You can either select individual photos or choose multiple images by holding down the appropriate keys while clicking on the desired files.
- Copy or Move: Once you have selected the images, you can choose to either copy or move them to your computer. Copying the images creates duplicates on your computer while leaving the original files on the camcorder, whereas moving the images transfers them to your computer and removes them from the camcorder’s storage.
- Choose Destination: Decide where you want to store the transferred images on your computer. You can create a new folder specifically for the camcorder images or select an existing folder within your computer’s storage. This step allows you to maintain an organized structure for your digital photo library.
- Transfer Process: Initiate the transfer process by copying or moving the selected images to the chosen destination on your computer. Depending on the size and quantity of the images, the transfer may take a few moments to complete. Monitor the progress to ensure that all selected images are successfully transferred.
**
By following these steps, you have effectively selected and transferred the desired images from your HP 250 Digital Camcorder to your computer. The successful transfer ensures that your photographic memories are preserved in your computer’s storage, ready to be cherished, edited, and shared with friends and family. With this process complete, you have seamlessly integrated your camcorder’s images into your digital collection, empowering you to unleash your creativity and relive the moments captured by your HP 250 Digital Camcorder.
**
Conclusion
**
Congratulations! You have successfully navigated the process of downloading images from your HP 250 Digital Camcorder to your computer. By following the step-by-step guide outlined in this tutorial, you have gained the essential knowledge and skills to effortlessly transfer your photographic memories, allowing you to preserve, edit, and share your cherished images with ease.
As you reflect on the journey from establishing the physical connection between your camcorder and computer to selecting and transferring the images, you have unlocked the potential of your HP 250 Digital Camcorder as a source of visual storytelling. The seamless integration of your camcorder’s images into your digital collection empowers you to curate, enhance, and relive the moments captured by your device, enriching your creative pursuits and preserving the essence of your experiences.
With the images safely stored on your computer, you now possess the freedom to explore various avenues of creativity, from editing and organizing your photos to sharing them with friends and family. The seamless transfer process has bridged the gap between your camcorder’s visual narratives and your digital world, allowing you to harness the power of your photographic memories.
As you continue to embark on your photography and videography endeavors, remember that the process of downloading images from your HP 250 Digital Camcorder is a foundational skill that empowers you to curate and celebrate your visual stories. Embrace the creative possibilities that await as you unleash the potential of your camcorder’s images, and let your unique perspective shine through each captured moment.
With the knowledge and confidence gained from this guide, you are now equipped to seamlessly download images from your HP 250 Digital Camcorder, opening the door to a world of creative exploration and storytelling through visual imagery.