Introduction
Are you eager to transfer the captivating videos from your JVC camcorder to your computer for safekeeping, editing, or sharing with friends and family? With the rapid advancement of technology, this process has become remarkably convenient, allowing you to effortlessly transfer your cherished memories from one device to another.
In this comprehensive guide, we will delve into the step-by-step process of transferring videos from your JVC camcorder to your computer. Whether you are a tech-savvy individual or a novice in the realm of digital devices, this guide will equip you with the knowledge and expertise to seamlessly accomplish this task.
By following these straightforward instructions, you will gain the ability to harness the power of your computer to store, organize, and edit your precious videos, ensuring that they remain easily accessible and safeguarded for years to come.
Let's embark on this enlightening journey to unlock the potential of your JVC camcorder and computer, allowing you to relive your cherished moments with unparalleled ease and convenience.
Step 1: Connect the JVC Camcorder to the Computer
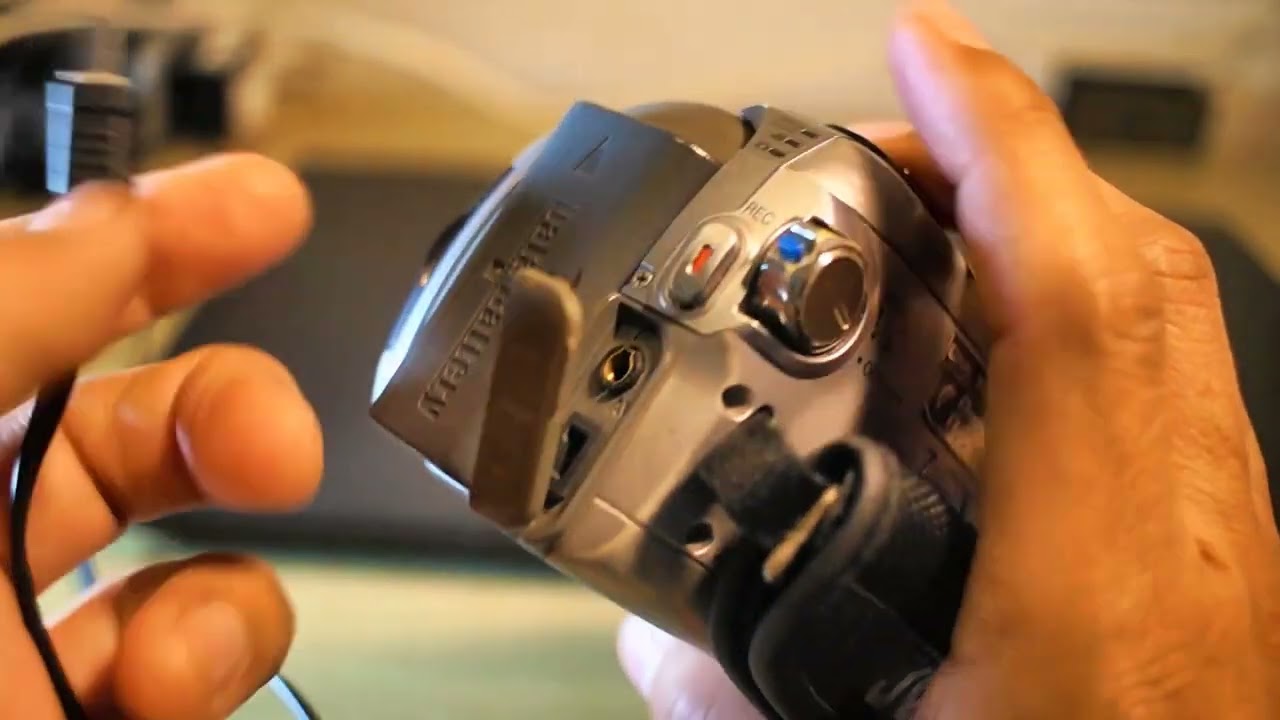
Before initiating the transfer process, it is essential to establish a seamless connection between your JVC camcorder and your computer. This pivotal step lays the foundation for the subsequent transfer of your cherished videos, ensuring a smooth and efficient transfer process.
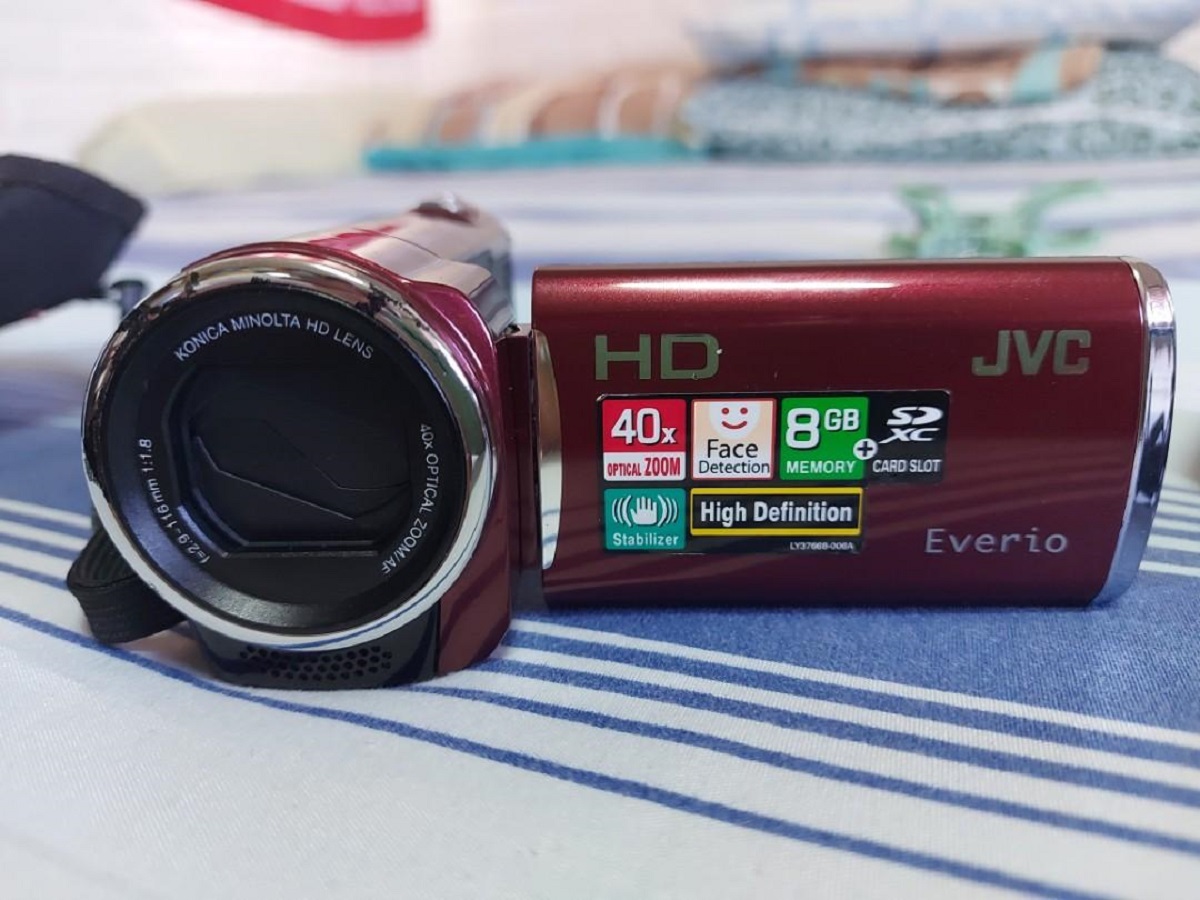
1. Check the Ports: Begin by identifying the ports available on both your JVC camcorder and your computer. Typically, JVC camcorders feature a USB port or an HDMI output, while computers are equipped with USB ports. Ensure that you have the necessary cables to connect these ports.
- For USB Connection: Use a USB cable compatible with your JVC camcorder to establish a direct connection to your computer.
- For HDMI Connection: If your JVC camcorder features an HDMI output, you can utilize an HDMI cable to connect it to your computer, provided that your computer supports HDMI input.
2. Power On the Devices: Power on your JVC camcorder and your computer to initiate the connection process. Ensure that both devices are fully operational and ready to establish a seamless connection.
3. Establish the Connection: Depending on the type of connection (USB or HDMI), carefully connect the appropriate cable from your JVC camcorder to your computer. Once the physical connection is established, your computer should detect the camcorder as a new device.
4. Install Necessary Drivers: In some cases, your computer may require specific drivers to recognize and communicate with your JVC camcorder. If prompted, follow the on-screen instructions to install the necessary drivers to facilitate the seamless connection.
By meticulously following these steps, you will successfully establish a robust connection between your JVC camcorder and your computer, setting the stage for the subsequent transfer of your cherished videos. With this foundational step accomplished, you are now poised to embark on the next phase of transferring your videos to your computer.
Step 2: Transfer the Video Files
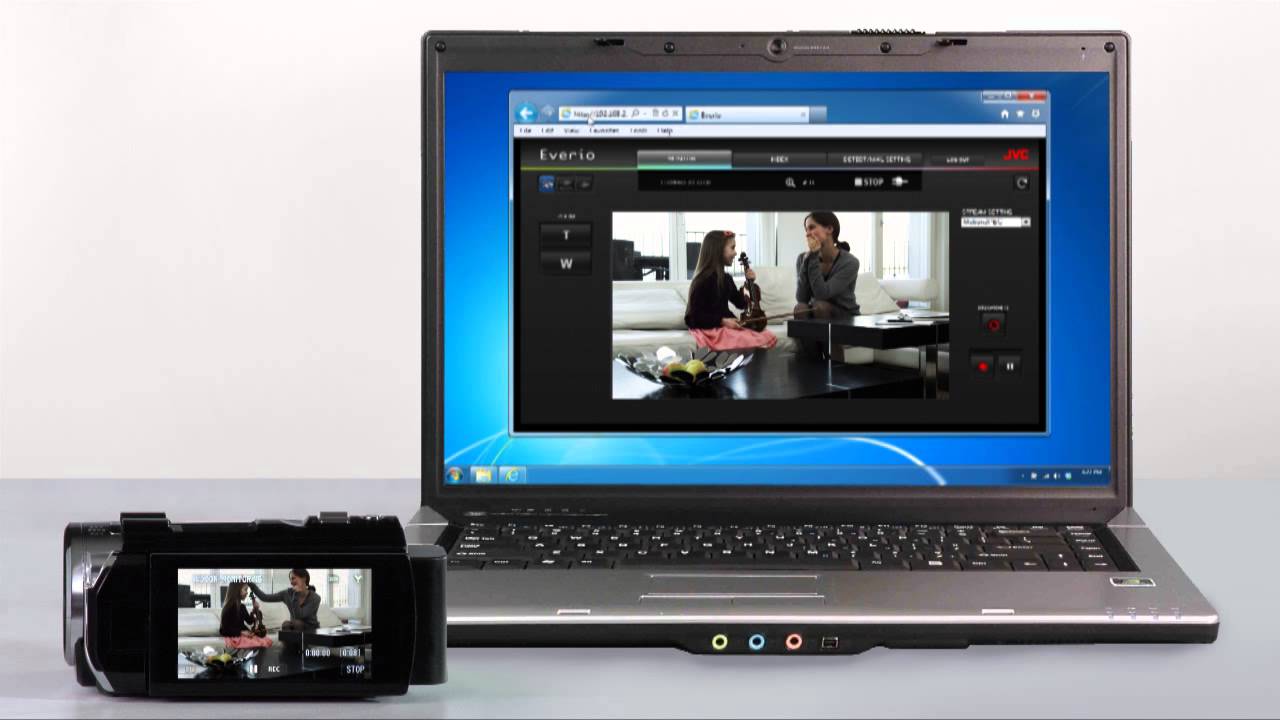
With the JVC camcorder seamlessly connected to your computer, you are now ready to embark on the pivotal stage of transferring your valuable video files. This step involves leveraging the capabilities of your computer to import the videos from your camcorder, ensuring that they are securely stored and easily accessible for future use.
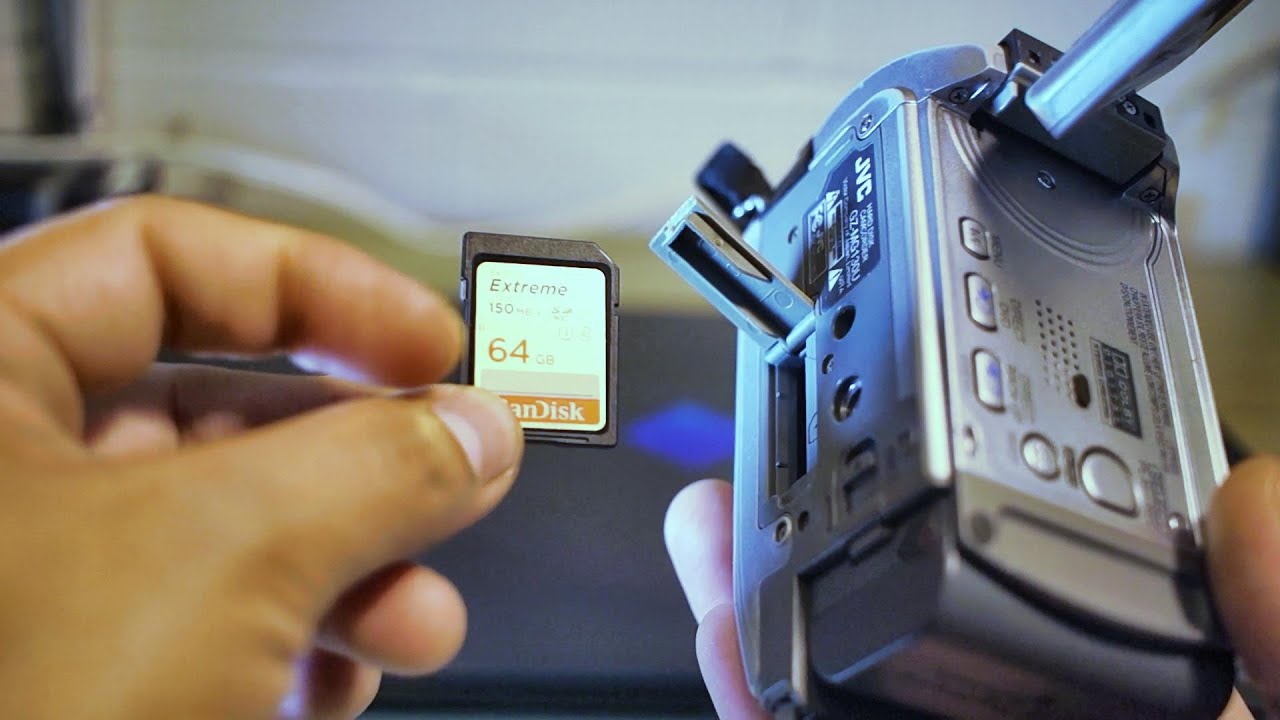
1. Access the Camcorder Storage: Once the connection is established, navigate to the storage or memory card of your JVC camcorder on your computer. Depending on your operating system, this can typically be accessed through the “File Explorer” or “Finder” application, where the camcorder will appear as a removable storage device.
2. Select the Video Files: Within the camcorder storage, locate the folder or directory containing the video files you intend to transfer. These files are often stored in a designated folder or directory, organized by date or recording session.
3. Copy or Move the Files: To initiate the transfer process, simply select the desired video files and copy them to a location on your computer. Alternatively, you can opt to directly move the files from the camcorder storage to a designated folder on your computer, streamlining the transfer process.
4. Monitor the Transfer Progress: As the video files are being transferred, monitor the progress to ensure that each file is successfully copied or moved to the designated location on your computer. Depending on the file size and quantity, this process may require some time to complete.
5. Verify the Transfer: Once the transfer process is complete, navigate to the designated folder on your computer to verify that the video files have been successfully transferred. Play a sample video to ensure that the transfer was executed seamlessly, preserving the quality and integrity of your cherished recordings.
By meticulously following these steps, you will effectively transfer the video files from your JVC camcorder to your computer, harnessing the power of digital technology to safeguard and organize your valuable recordings. With this crucial step accomplished, you are now prepared to explore the next phase of organizing and editing your transferred videos on your computer.
Step 3: Organize and Edit the Videos
Now that your cherished videos have been successfully transferred to your computer, it’s time to delve into the enriching process of organizing and editing them. This pivotal step empowers you to curate and enhance your video collection, ensuring that each recording is meticulously organized and imbued with your creative touch.
1. Organize Your Video Library: Create a dedicated folder or directory on your computer to house your transferred video files. Consider organizing them based on categories such as events, dates, or themes, allowing for easy navigation and retrieval in the future.
2. Choose an Editing Software: Select a reputable video editing software that aligns with your editing proficiency and creative aspirations. There is a myriad of user-friendly editing programs available, catering to both novice and seasoned editors, offering a range of features to enhance your videos.
3. Import the Videos: Within your chosen editing software, import the transferred video files into the program’s workspace. This seamless integration allows you to access and manipulate your videos within the editing environment, setting the stage for the creative process.
4. Enhance and Edit: Leverage the array of editing tools offered by the software to enhance and refine your videos. This can include trimming footage, adding transitions, incorporating music or audio enhancements, and applying visual effects to elevate the visual appeal of your recordings.
5. Save and Export: Once you are satisfied with the editing process, save your edited videos in your desired format and resolution. This step ensures that your meticulously crafted videos are preserved in a high-quality format, ready for sharing with your audience or archiving for future enjoyment.
6. Backup Your Edited Videos: As a precautionary measure, consider creating a backup of your edited videos on an external storage device or cloud-based platform. This additional layer of protection safeguards your edited masterpieces from unforeseen data loss or system malfunctions.
By meticulously following these steps, you will navigate the enriching process of organizing and editing your transferred videos, infusing them with your creative vision and ensuring that they are meticulously curated and enhanced. With this transformative phase accomplished, you are now equipped to relish and share your edited videos, immortalizing your cherished memories in a captivating and personalized manner.
Conclusion
Embarking on the journey of transferring videos from your JVC camcorder to your computer has not only provided a secure haven for your cherished memories but has also unlocked a realm of creative possibilities. By seamlessly connecting your camcorder to your computer and navigating the process of transferring, organizing, and editing your videos, you have harnessed the power of digital technology to curate and enhance your precious recordings.
Through the meticulous organization of your video library and the transformative process of editing, you have imbued your videos with a personalized touch, ensuring that each recording reflects your creative vision and storytelling prowess. The seamless integration of technology and creativity has empowered you to preserve and elevate your cherished memories, breathing new life into each moment captured by your JVC camcorder.
As you navigate the realm of video transfer and editing, remember that this process is not merely a technical endeavor but a profound expression of creativity and storytelling. Each video transferred and edited on your computer becomes a canvas for your imagination, allowing you to craft captivating narratives and preserve the essence of significant moments in your life.
With your edited videos safeguarded and ready for sharing, you stand poised to embark on a journey of storytelling and reminiscence, embracing the power of technology to immortalize your cherished memories in a captivating and personalized manner. As you continue to explore the boundless possibilities of video editing and storytelling, may this journey continue to enrich your life and allow you to share your unique perspective with the world.