How to use a DSLR camera with an iPhone: A brief, practical introduction
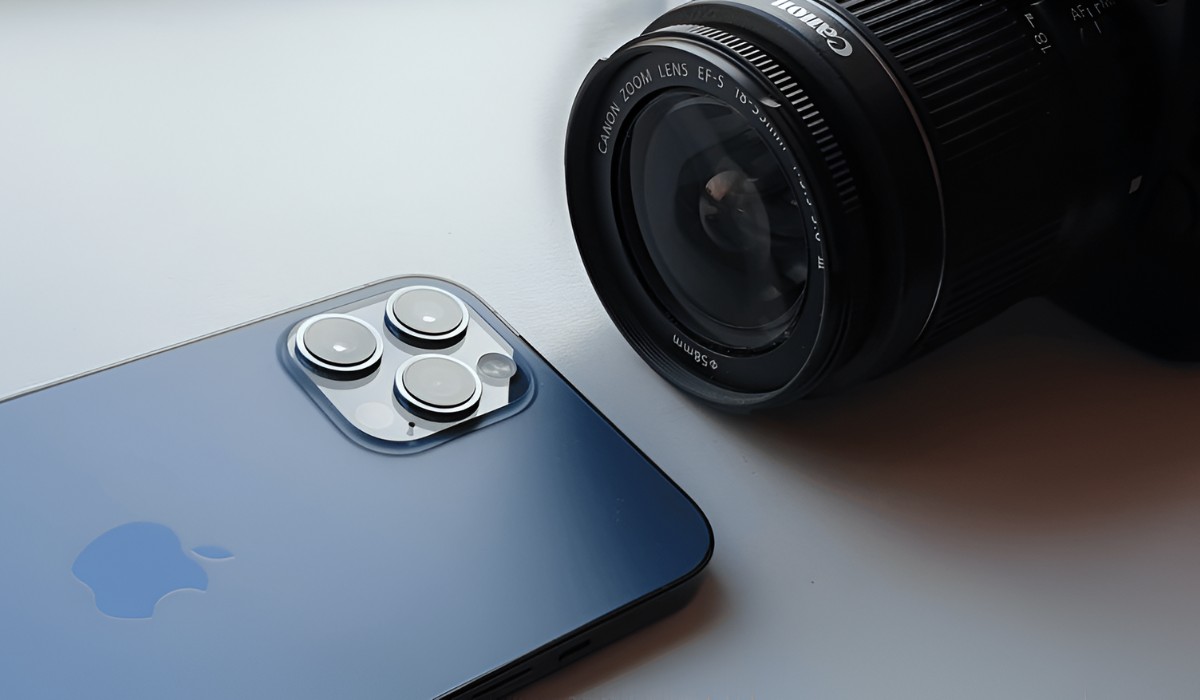
To use a DSLR camera with an iPhone, you have two reliable paths: connect wirelessly through the manufacturer’s dedicated app for remote control and photo transfer, or use a wired Apple camera adapter for direct USB or SD card imports. Both methods let you bypass your camera’s small screen, control the shutter from your phone, and get high-resolution images into your iPhone’s photo library for instant editing and sharing.
Step 1: Prepare your DSLR camera for connection
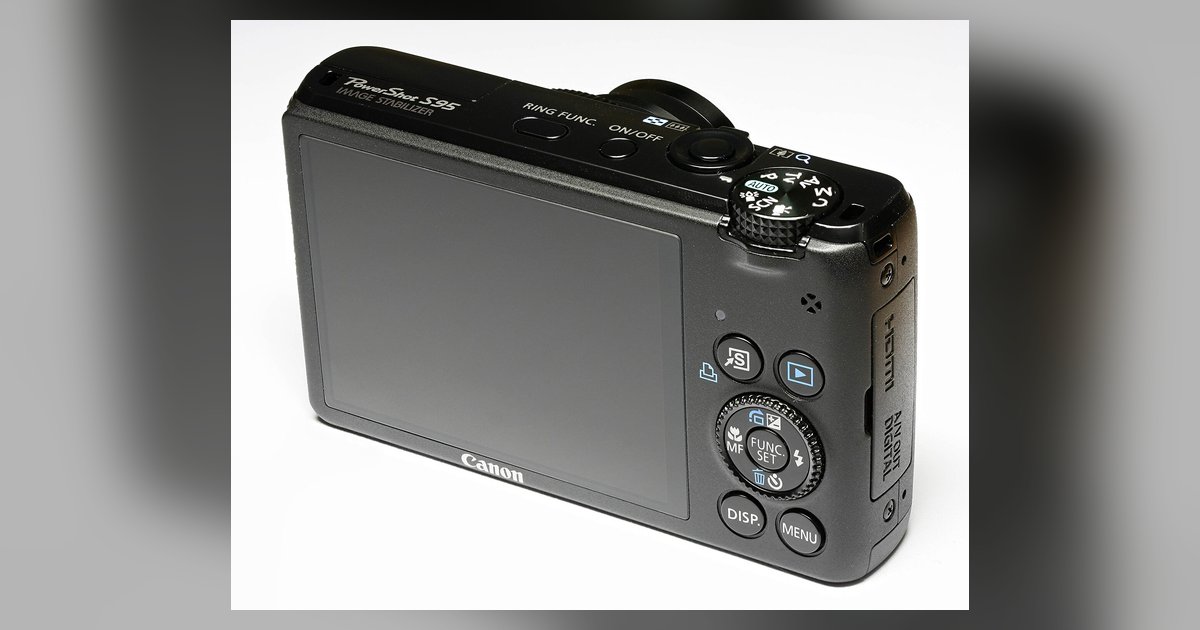
Before you can pair your camera with your iPhone, confirm your DSLR has built-in Wi-Fi or Bluetooth. Most modern Canon and Sony models include at least one of these, but if yours doesn’t, you’ll need a compatible wireless adapter or skip ahead to the wired method in Step 4. Charge your camera battery fully or connect it to a power source, remote shooting and file transfer drain power quickly, and an interruption mid-transfer can corrupt files. Next, update your camera’s firmware to the latest version; manufacturers release updates that improve wireless stability and app compatibility, so this step prevents frustrating disconnects. Finally, locate the wireless menu on your camera (often a dedicated Wi-Fi button) and note the network name and password it displays, you’ll need both to pair with your iPhone.
Step 2: Connect wirelessly with a Canon or Sony app
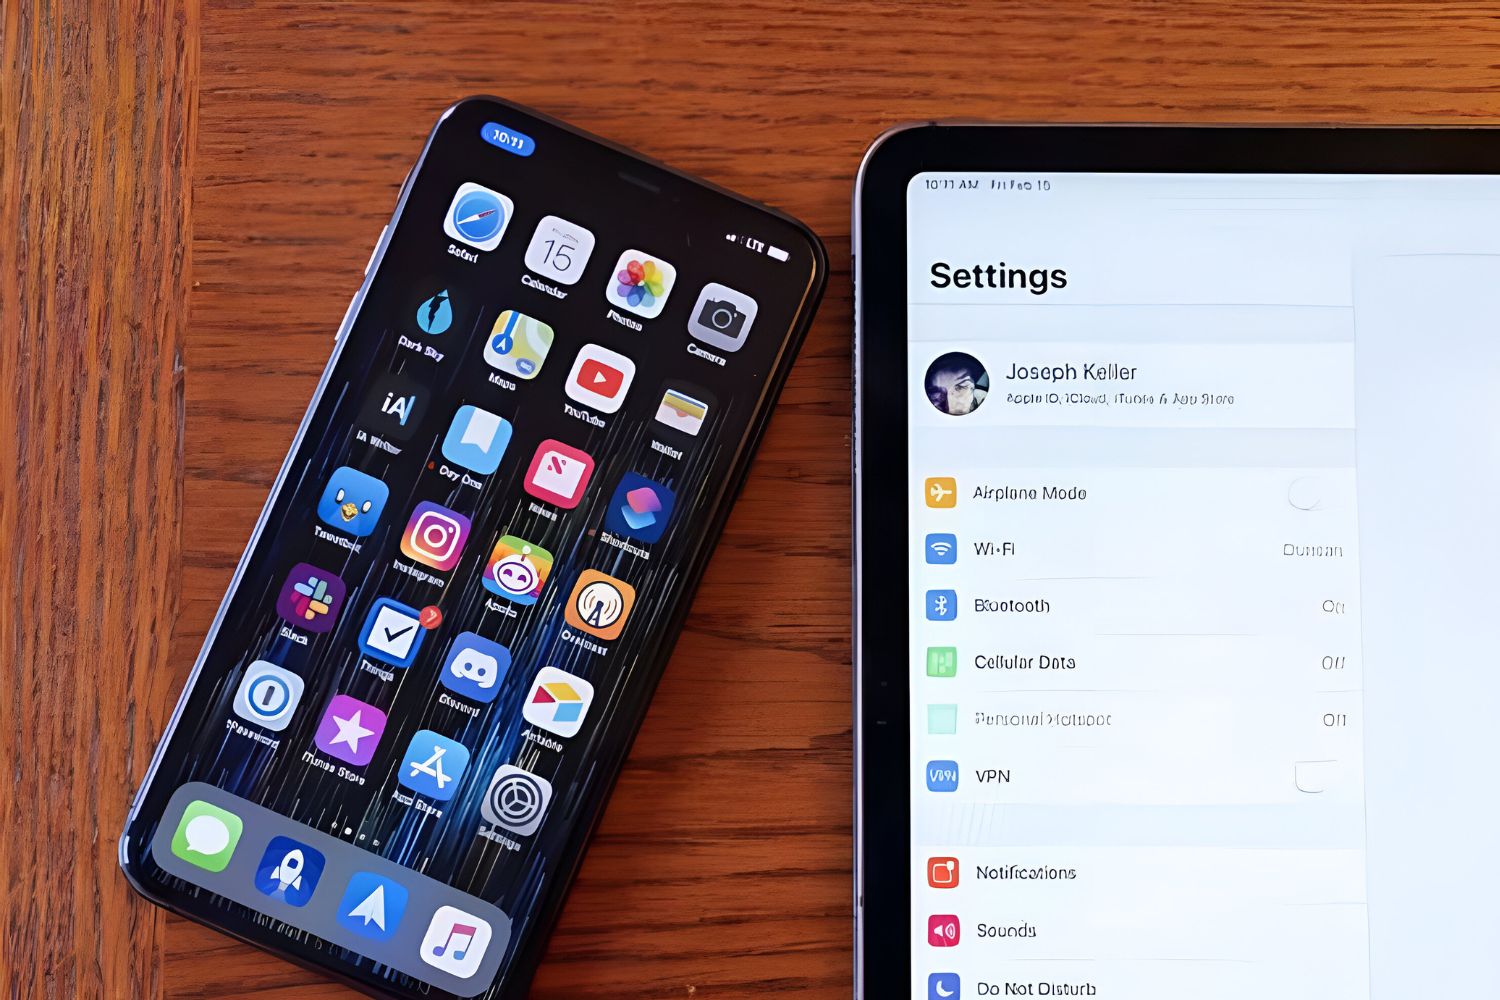
For Canon shooters, the process starts by downloading the Canon Camera Connect app from the Apple App Store, it’s free, though you’ll need an Apple account and an internet connection to download it. On your Canon DSLR, press the Wi-Fi button or navigate to the wireless settings in the menu, then select “Connect to smartphone” or “Add a device.” Your camera will display its SSID (network name) on its screen. On your iPhone, go to Settings > Wi-Fi, make sure Wi-Fi is turned ON, and choose the SSID shown on your camera. If your camera’s wireless settings include a password, enter it on your iPhone. Now open the Canon Camera Connect app; on the camera selection screen, choose your camera. If this is your first connection, the camera may ask for confirmation, select “Yes.” Once paired, you can browse images, import them, geotag shots, or shoot remotely. To import, tap “Images on camera,” select the photos you want, and touch “Save.” When you’re done, tap the disconnect icon in the app to end the session cleanly.
For Sony users, the workflow is similar but uses the Imaging Edge Mobile app (or the newer Creators’ App) from the App Store. Enable Wi-Fi or Bluetooth on your Sony DSLR, then open the app on your iPhone. The app will guide you through pairing, usually by connecting your iPhone to the camera’s Wi-Fi network first, then returning to the app to complete the handshake. Once connected, Imaging Edge Mobile lets you transfer still images and videos, shoot remotely with a live view on your iPhone, and even add location information from your phone to your captured photos. To pull images, use the app’s import function, select the files you want, and save them to your iPhone’s photo library.
Step 3: Use your iPhone as a remote control
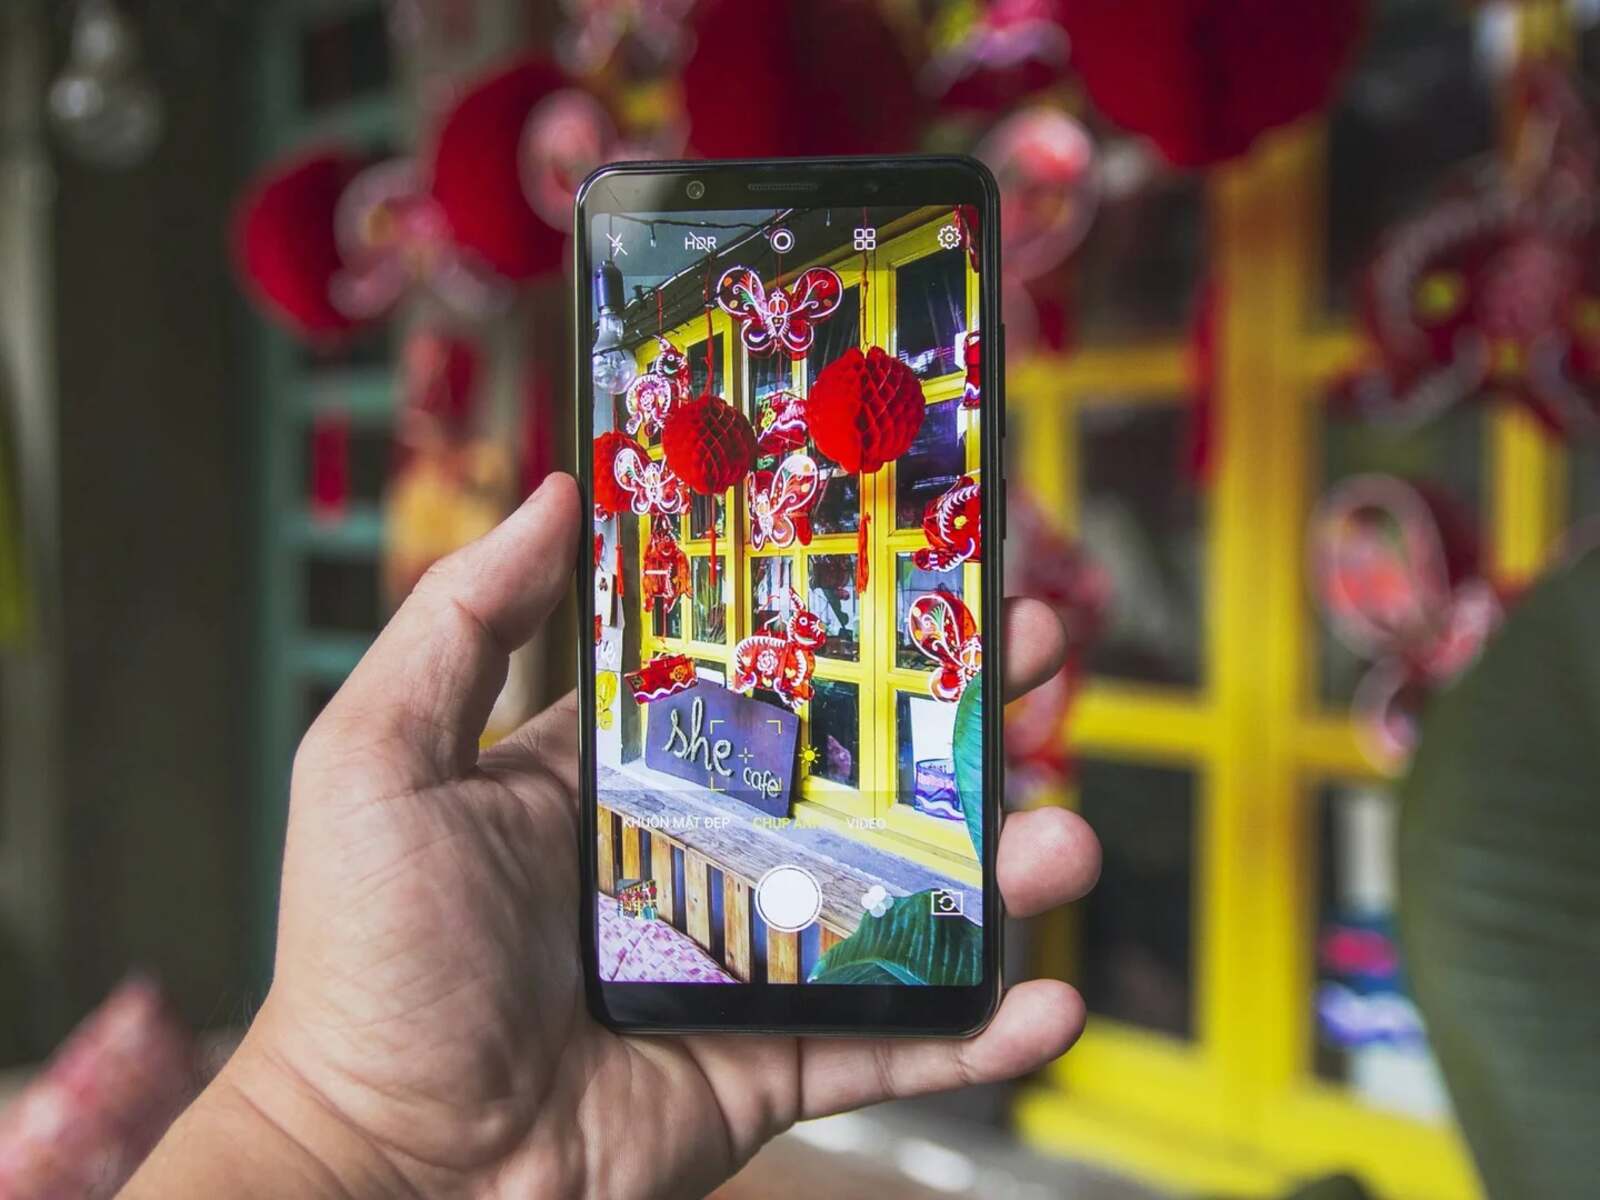
With the Canon Camera Connect or Sony Imaging Edge Mobile app open and your camera paired, you’ll see a live view from your DSLR’s sensor directly on your iPhone screen. This turns your phone into a wireless viewfinder, letting you compose shots, tap to focus, and adjust exposure compensation without touching the camera. The remote shutter button in the app triggers the camera’s shutter wirelessly, essential for long-exposure shots where pressing the camera body would introduce shake, or for group photos where you want to be in the frame. Both apps also let you change aperture, shutter speed, ISO, and white balance from your iPhone, so you can adapt to changing light or creative intent on the fly. Some Sony apps add interval shooting and bulb mode control, which are handy for time-lapses and astrophotography. This remote functionality is especially valuable when your camera is on a tripod, in a tight spot, or positioned for a low-angle shot you can’t easily see through the viewfinder.
Step 4: Transfer photos with a wired adapter
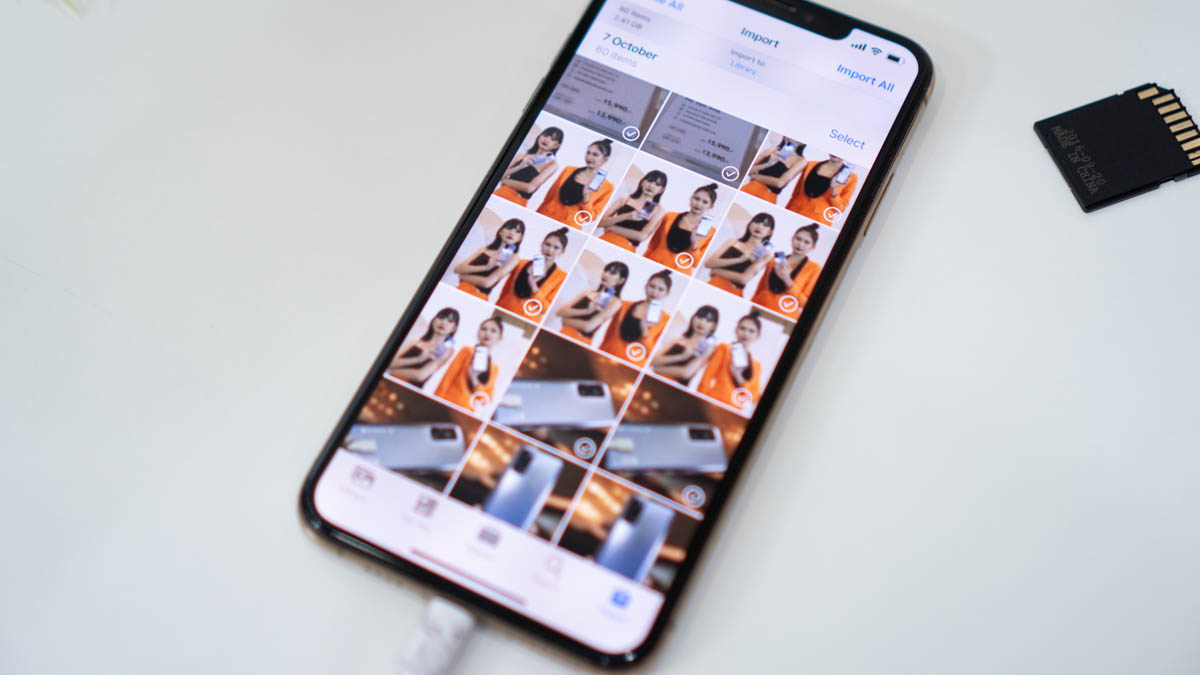
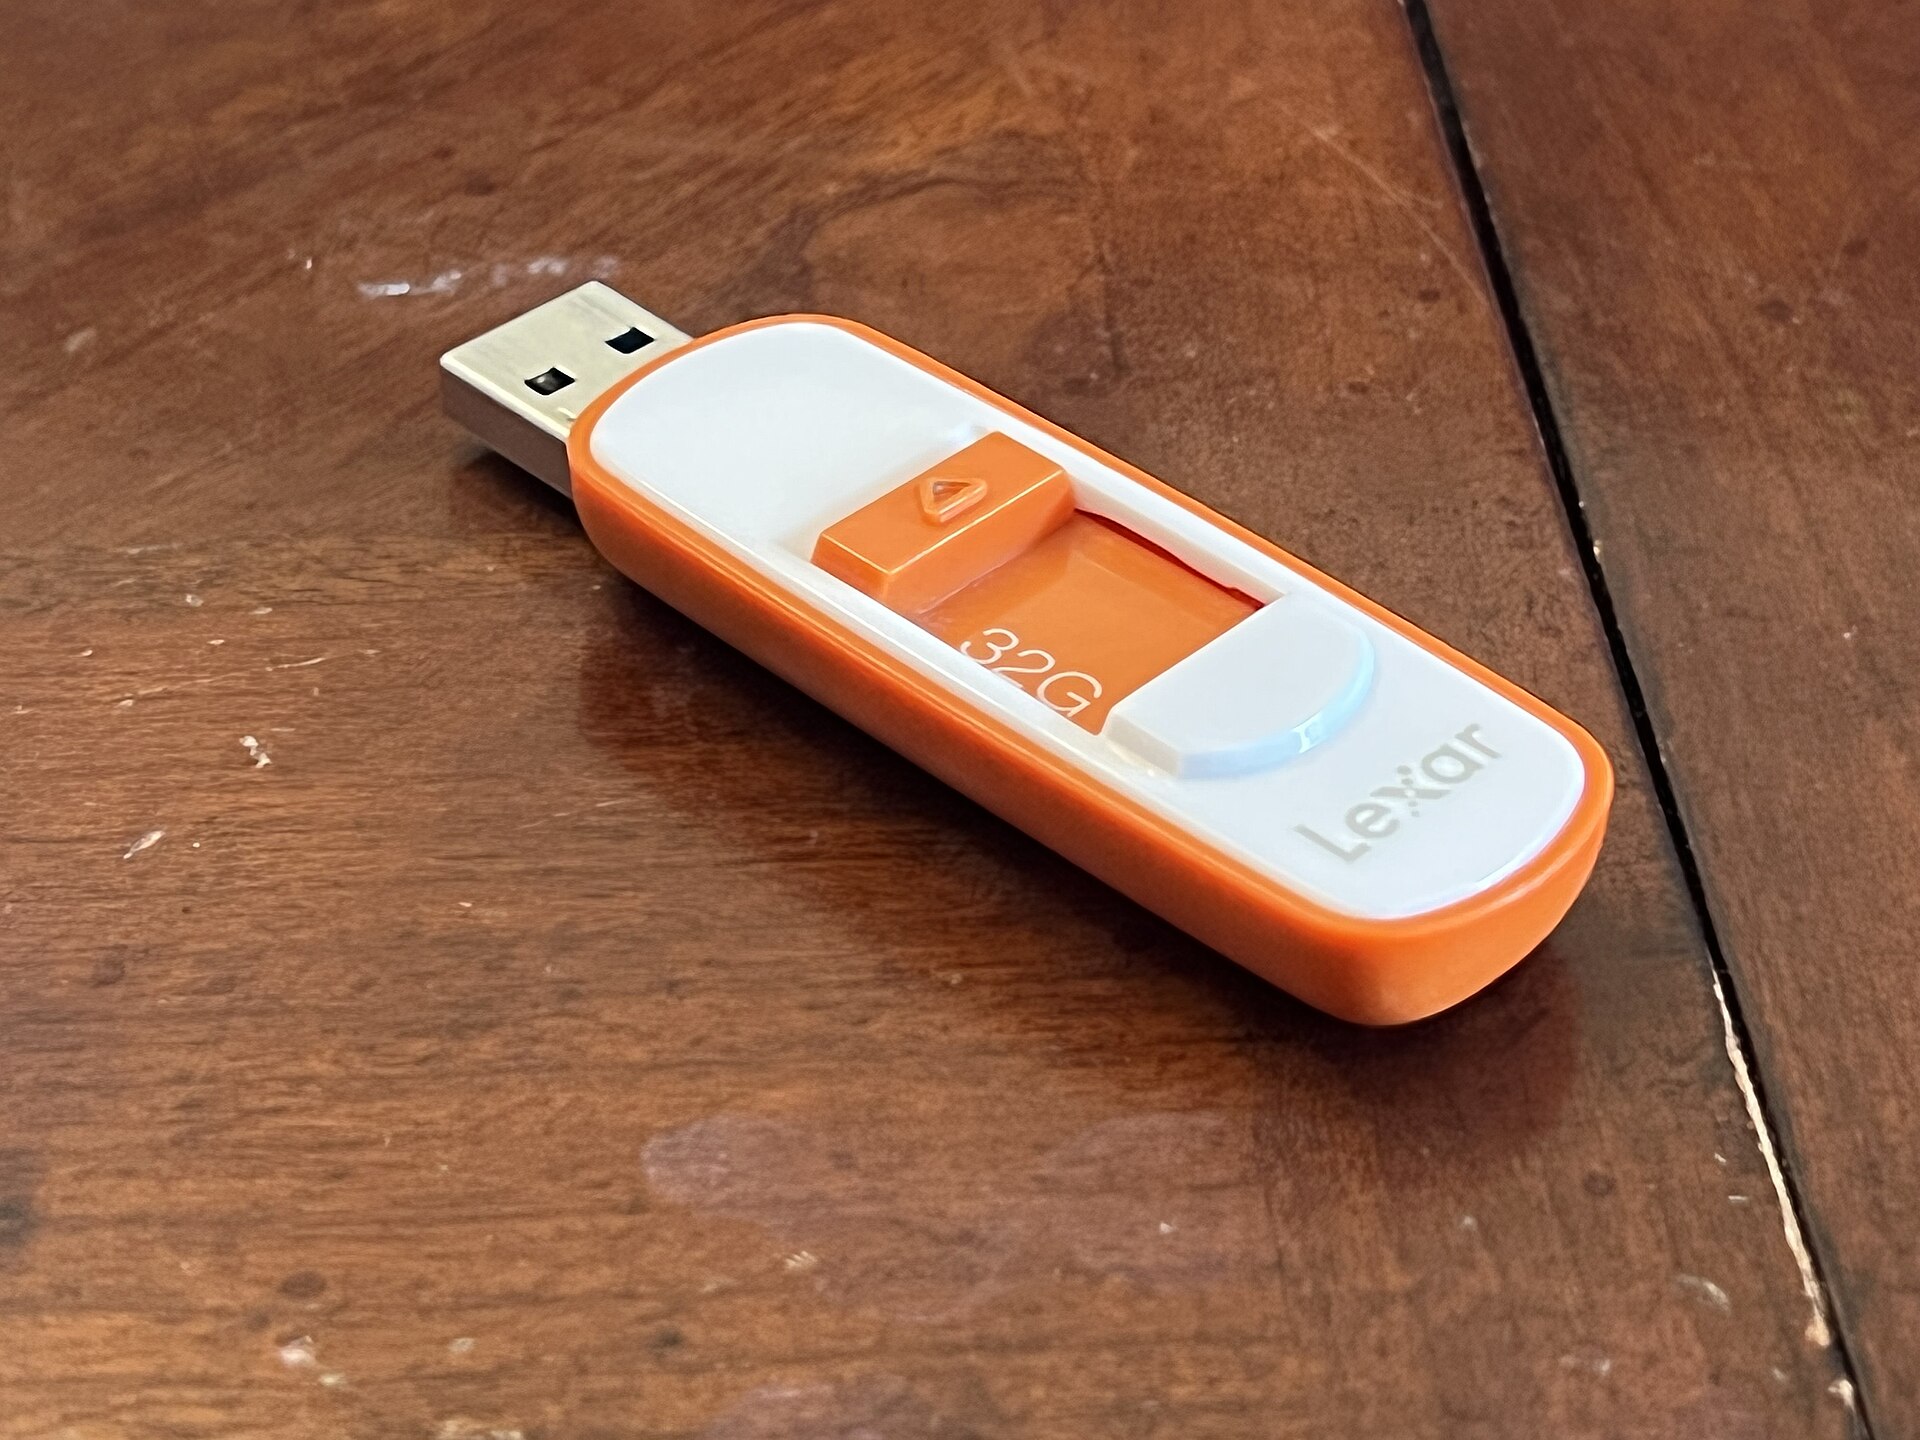
If your DSLR lacks Wi-Fi or Bluetooth, or you prefer a faster, more stable transfer, use an Apple camera adapter. Connect the adapter to your iPhone’s charging port, then either plug your DSLR into the adapter using its USB cable or insert your camera’s SD card directly into the adapter’s card slot. Turn on your digital camera and make sure it’s set to transfer mode (sometimes called PC Connect or Mass Storage). On your iPhone, open the Photos app. In iOS 18, tap “Collections,” then scroll to the “Devices” section and tap your SD card or digital camera. In iOS 17 and earlier, Photos should open automatically to the Import tab; if it doesn’t, open Photos and tap Import. You’ll see thumbnails of your images, tap “Import All” to bring everything over, or select specific photos and tap “Import” for just those. After the transfer, iOS may ask if you want to “Keep” or “Delete” the media on your camera or SD card; choose “Keep” if you want a backup, or “Delete” to free space. Note that the adapter supports SDSC, SDHC, miniSD, microSD, MMC, and SDXC cards, and works with Picture Transfer Protocol (PTP) and Mass Storage Device protocol cameras. It won’t import from USB flash drives, and it only reads content captured by digital cameras, files that were renamed, edited, or copied onto the card may not appear. If you have an iPhone 15 Pro, iPhone 15 Pro Max, iPhone 16 Pro, or iPhone 16 Pro Max, you’ll get USB 3 transfer speeds; all other adapters and iPhones run at USB 2 speeds, which is fine for most photo batches. If a file format isn’t compatible with iOS, you won’t be able to view it on your phone, but you can still import it to a computer later.
Step 5: Edit and share your photos on iPhone
Once your DSLR-captured images are in your iPhone’s photo library, the full power of iOS editing tools is at your fingertips. Open the Photos app, pick any image, and tap Edit to adjust exposure, contrast, saturation, highlights, and shadows with sliders that give you fine control. For more advanced work, download editing apps from the App Store, options range from one-tap enhancers to professional-grade editors that let you layer adjustments, apply masks, and use curves. These tools let you refine composition, correct color casts, and add artistic filters, all on a screen that’s far more accurate than your camera’s rear display. After editing, share your work directly from Photos to Instagram, your portfolio site, or a messaging app, or use AirDrop to send full-resolution files to a Mac or iPad for further work. The combination of DSLR image quality and iPhone editing means you can go from shooting to publishing in minutes, whether you’re posting a single standout shot or building a cohesive series that tells a visual story.