Introduction
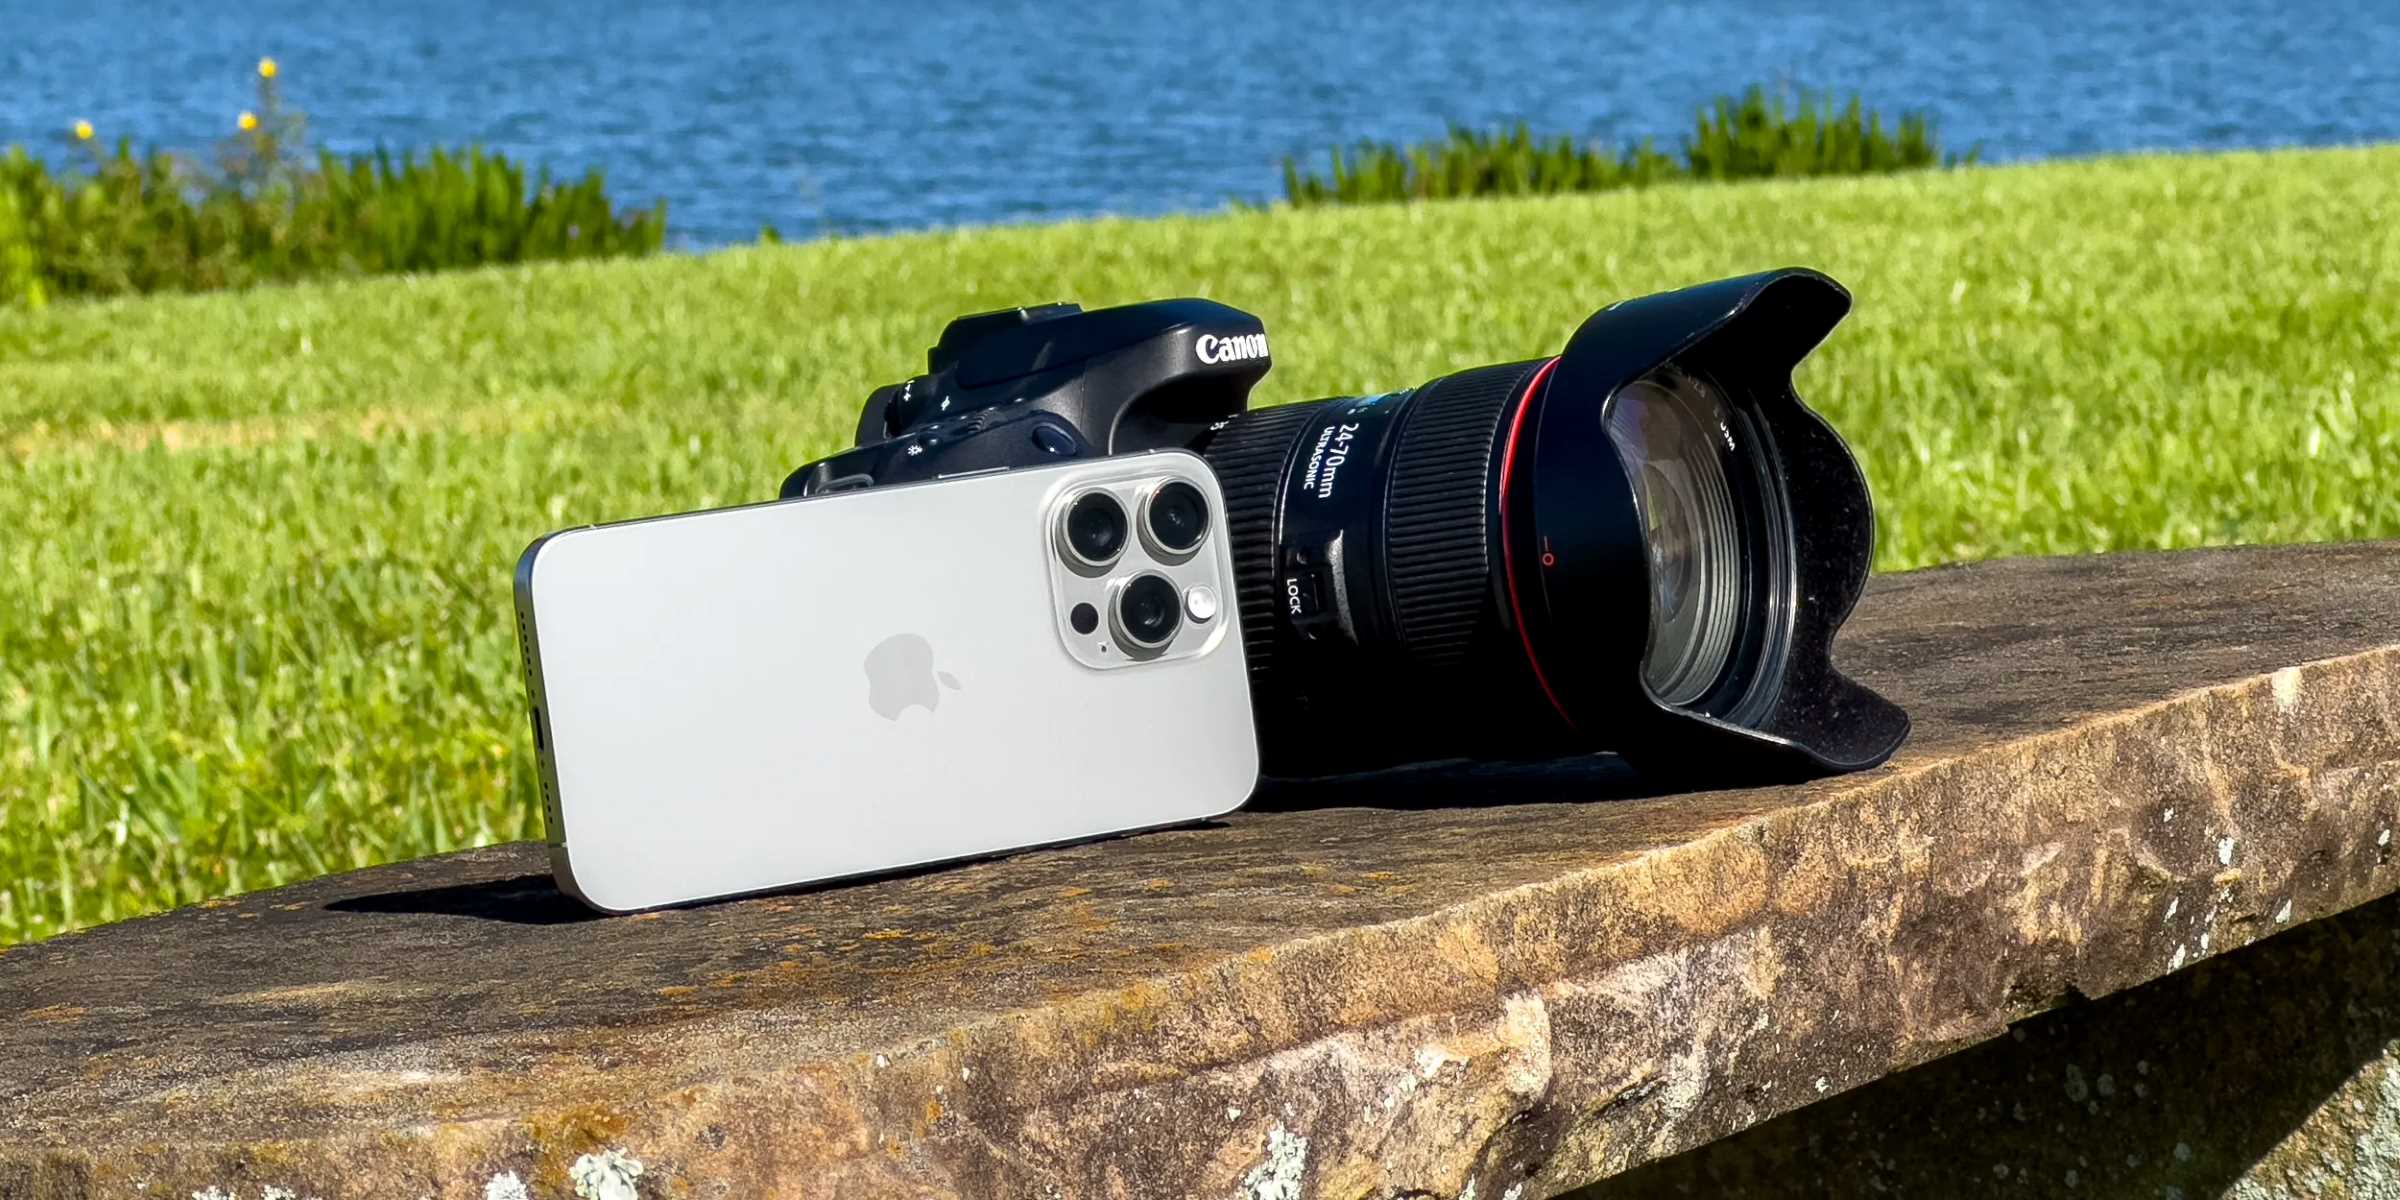
Are you eager to share your stunning DSLR photos on social media or with friends and family, but find the process of transferring them to your iPhone a bit daunting? Fret not, for I am here to guide you through the seamless process of transferring photos from your DSLR camera to your iPhone. With just a few simple steps, you can have your high-quality images ready to be showcased on your iPhone in no time.
In this comprehensive guide, I will walk you through the process of using a USB cable to connect your DSLR camera to your iPhone and importing photos using the Photos app. Additionally, I will delve into the alternative method of utilizing a memory card reader to effortlessly transfer photos to your iPhone. By the end of this tutorial, you will have a clear understanding of how to effortlessly transfer your DSLR photos to your iPhone, enabling you to share your captivating images with ease.
Whether you're a photography enthusiast, a professional photographer, or simply someone who loves capturing precious moments, this guide will equip you with the knowledge and skills to streamline the process of transferring your cherished DSLR photos to your iPhone. Let's embark on this journey together and unlock the potential of your iPhone as a hub for showcasing your photography prowess.
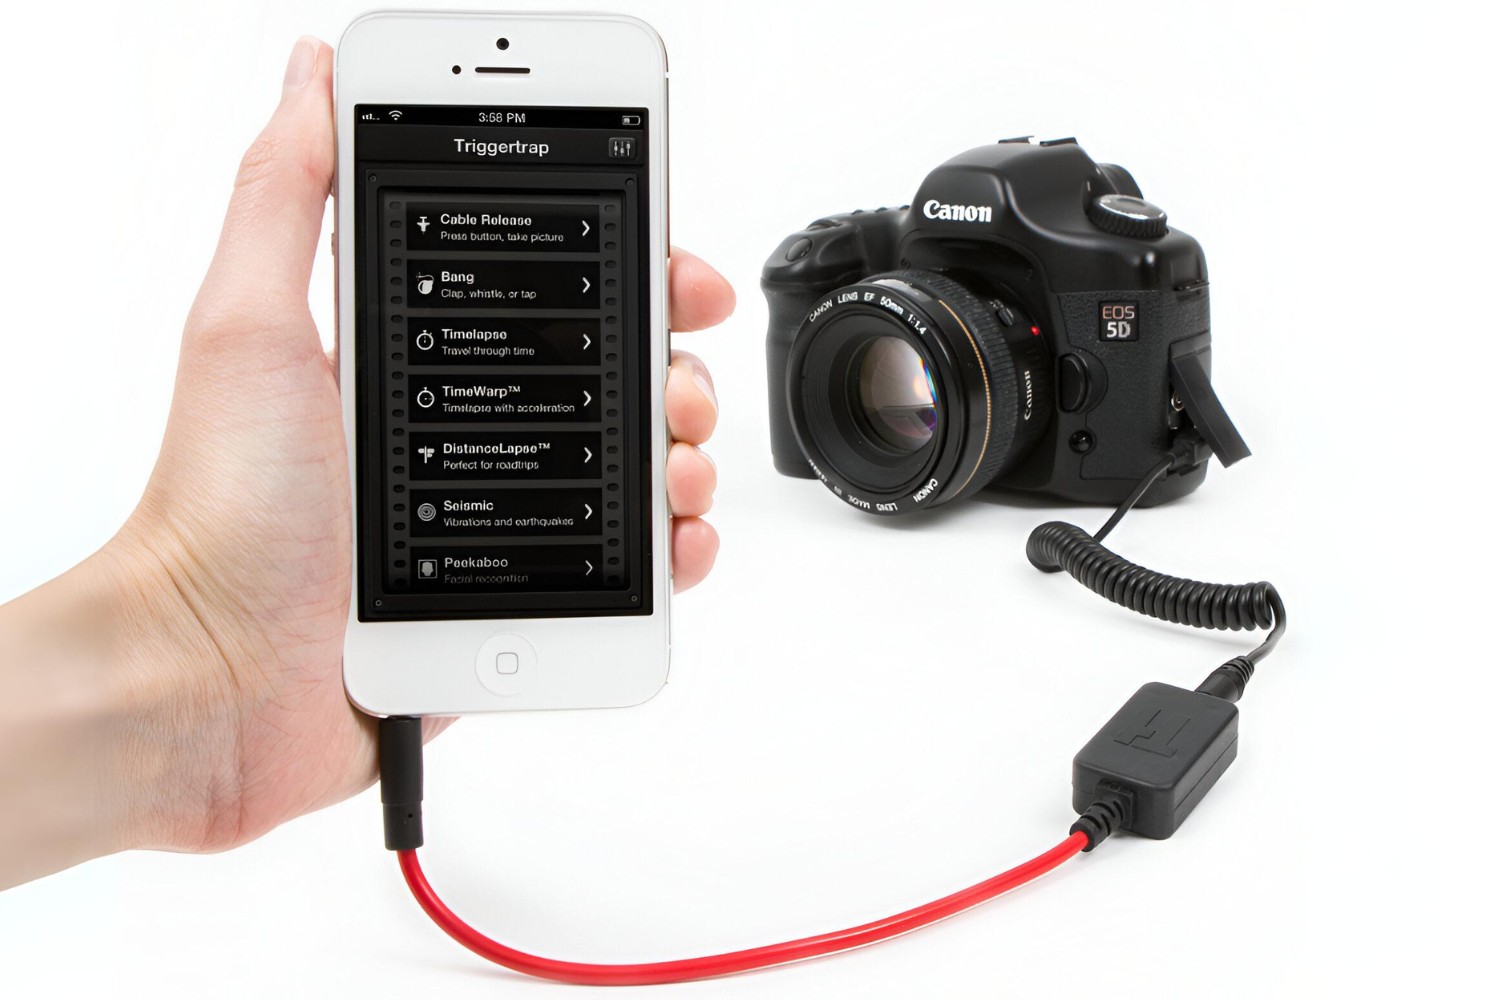
Step 1: Use a USB Cable to Connect Your DSLR Camera to Your iPhone
First and foremost, ensure that you have a USB cable compatible with both your DSLR camera and your iPhone. Most DSLR cameras come with a USB cable for connecting to a computer, which can also be used to establish a direct connection with your iPhone. If your iPhone uses a Lightning connector, you may need an adapter to connect the USB cable to your device.
Once you have the necessary cable and adapter, follow these steps to initiate the connection:
- Turn off both devices: Before connecting the USB cable, it’s advisable to turn off both your DSLR camera and your iPhone to prevent any potential disruptions during the connection process.
- Connect the USB cable: Plug one end of the USB cable into the appropriate port on your DSLR camera and the other end into the adapter connected to your iPhone. Ensure that the connections are secure to avoid any interruptions during the transfer process.
- Turn on your DSLR camera: Once the USB cable is securely connected, power on your DSLR camera. Some cameras may prompt you to select a USB transfer option, so follow the on-screen instructions if prompted.
- Unlock your iPhone: If your iPhone is locked, unlock it and navigate to the home screen.
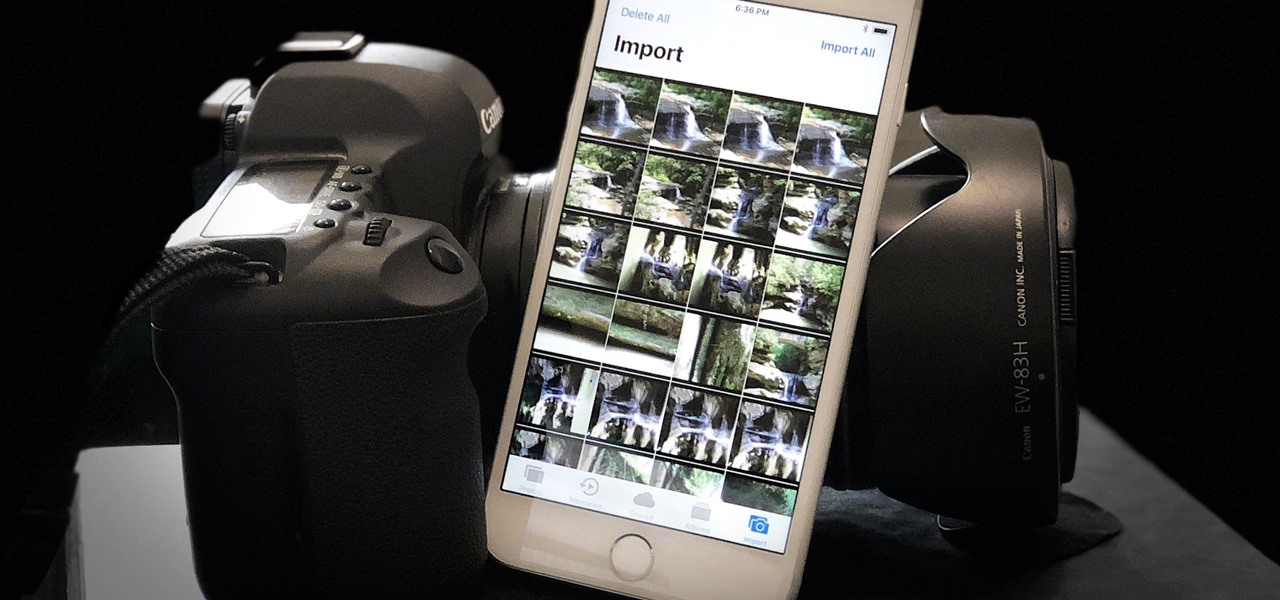
- Access the Photos app: Launch the Photos app on your iPhone to begin the import process. You may be prompted to allow access to the connected device, so grant the necessary permissions to proceed.
- Initiate the import: Within the Photos app, select the option to import photos from the connected DSLR camera. Depending on your camera model and iPhone configuration, the import process may vary slightly, so follow the on-screen instructions to complete the transfer.
Once the import process is complete, you can review and organize your transferred photos within the Photos app on your iPhone. This method provides a direct and reliable way to transfer photos from your DSLR camera to your iPhone, allowing you to seamlessly access and share your high-quality images on the go.
Step 2: Import Photos Using the Photos App
Utilizing the native Photos app on your iPhone, you can efficiently import photos from your DSLR camera with ease. This method eliminates the need for additional hardware and simplifies the transfer process, making it an accessible option for iPhone users. Follow these steps to import your DSLR photos using the Photos app:
- Connect your DSLR camera: Use a compatible USB cable to connect your DSLR camera to your iPhone, following the steps outlined in the previous section. Ensure that both devices are powered on and the connection is established.
- Launch the Photos app: Access the Photos app on your iPhone to initiate the import process. Upon connecting your DSLR camera, the Photos app should recognize the connected device and prompt you to import photos.
- Select and import photos: Within the Photos app, navigate to the import section and select the photos you wish to transfer to your iPhone. You can choose individual photos or opt to import an entire collection, depending on your preferences.
- Confirm the import: Once you have made your selections, confirm the import process to commence transferring the chosen photos from your DSLR camera to your iPhone. The Photos app will display a progress indicator to keep you informed about the transfer status.
- Organize your imported photos: After the import is complete, you can organize and categorize your transferred photos within the Photos app. Utilize albums, tags, and other organizational features to streamline the management of your DSLR images on your iPhone.
By leveraging the Photos app, you can seamlessly import and manage your DSLR photos on your iPhone, empowering you to curate and share your photography portfolio effortlessly. This method offers a user-friendly and integrated approach to transferring high-quality images to your iPhone, ensuring that your captivating moments are readily accessible for viewing and sharing.
Step 3: Use a Memory Card Reader to Transfer Photos to Your iPhone
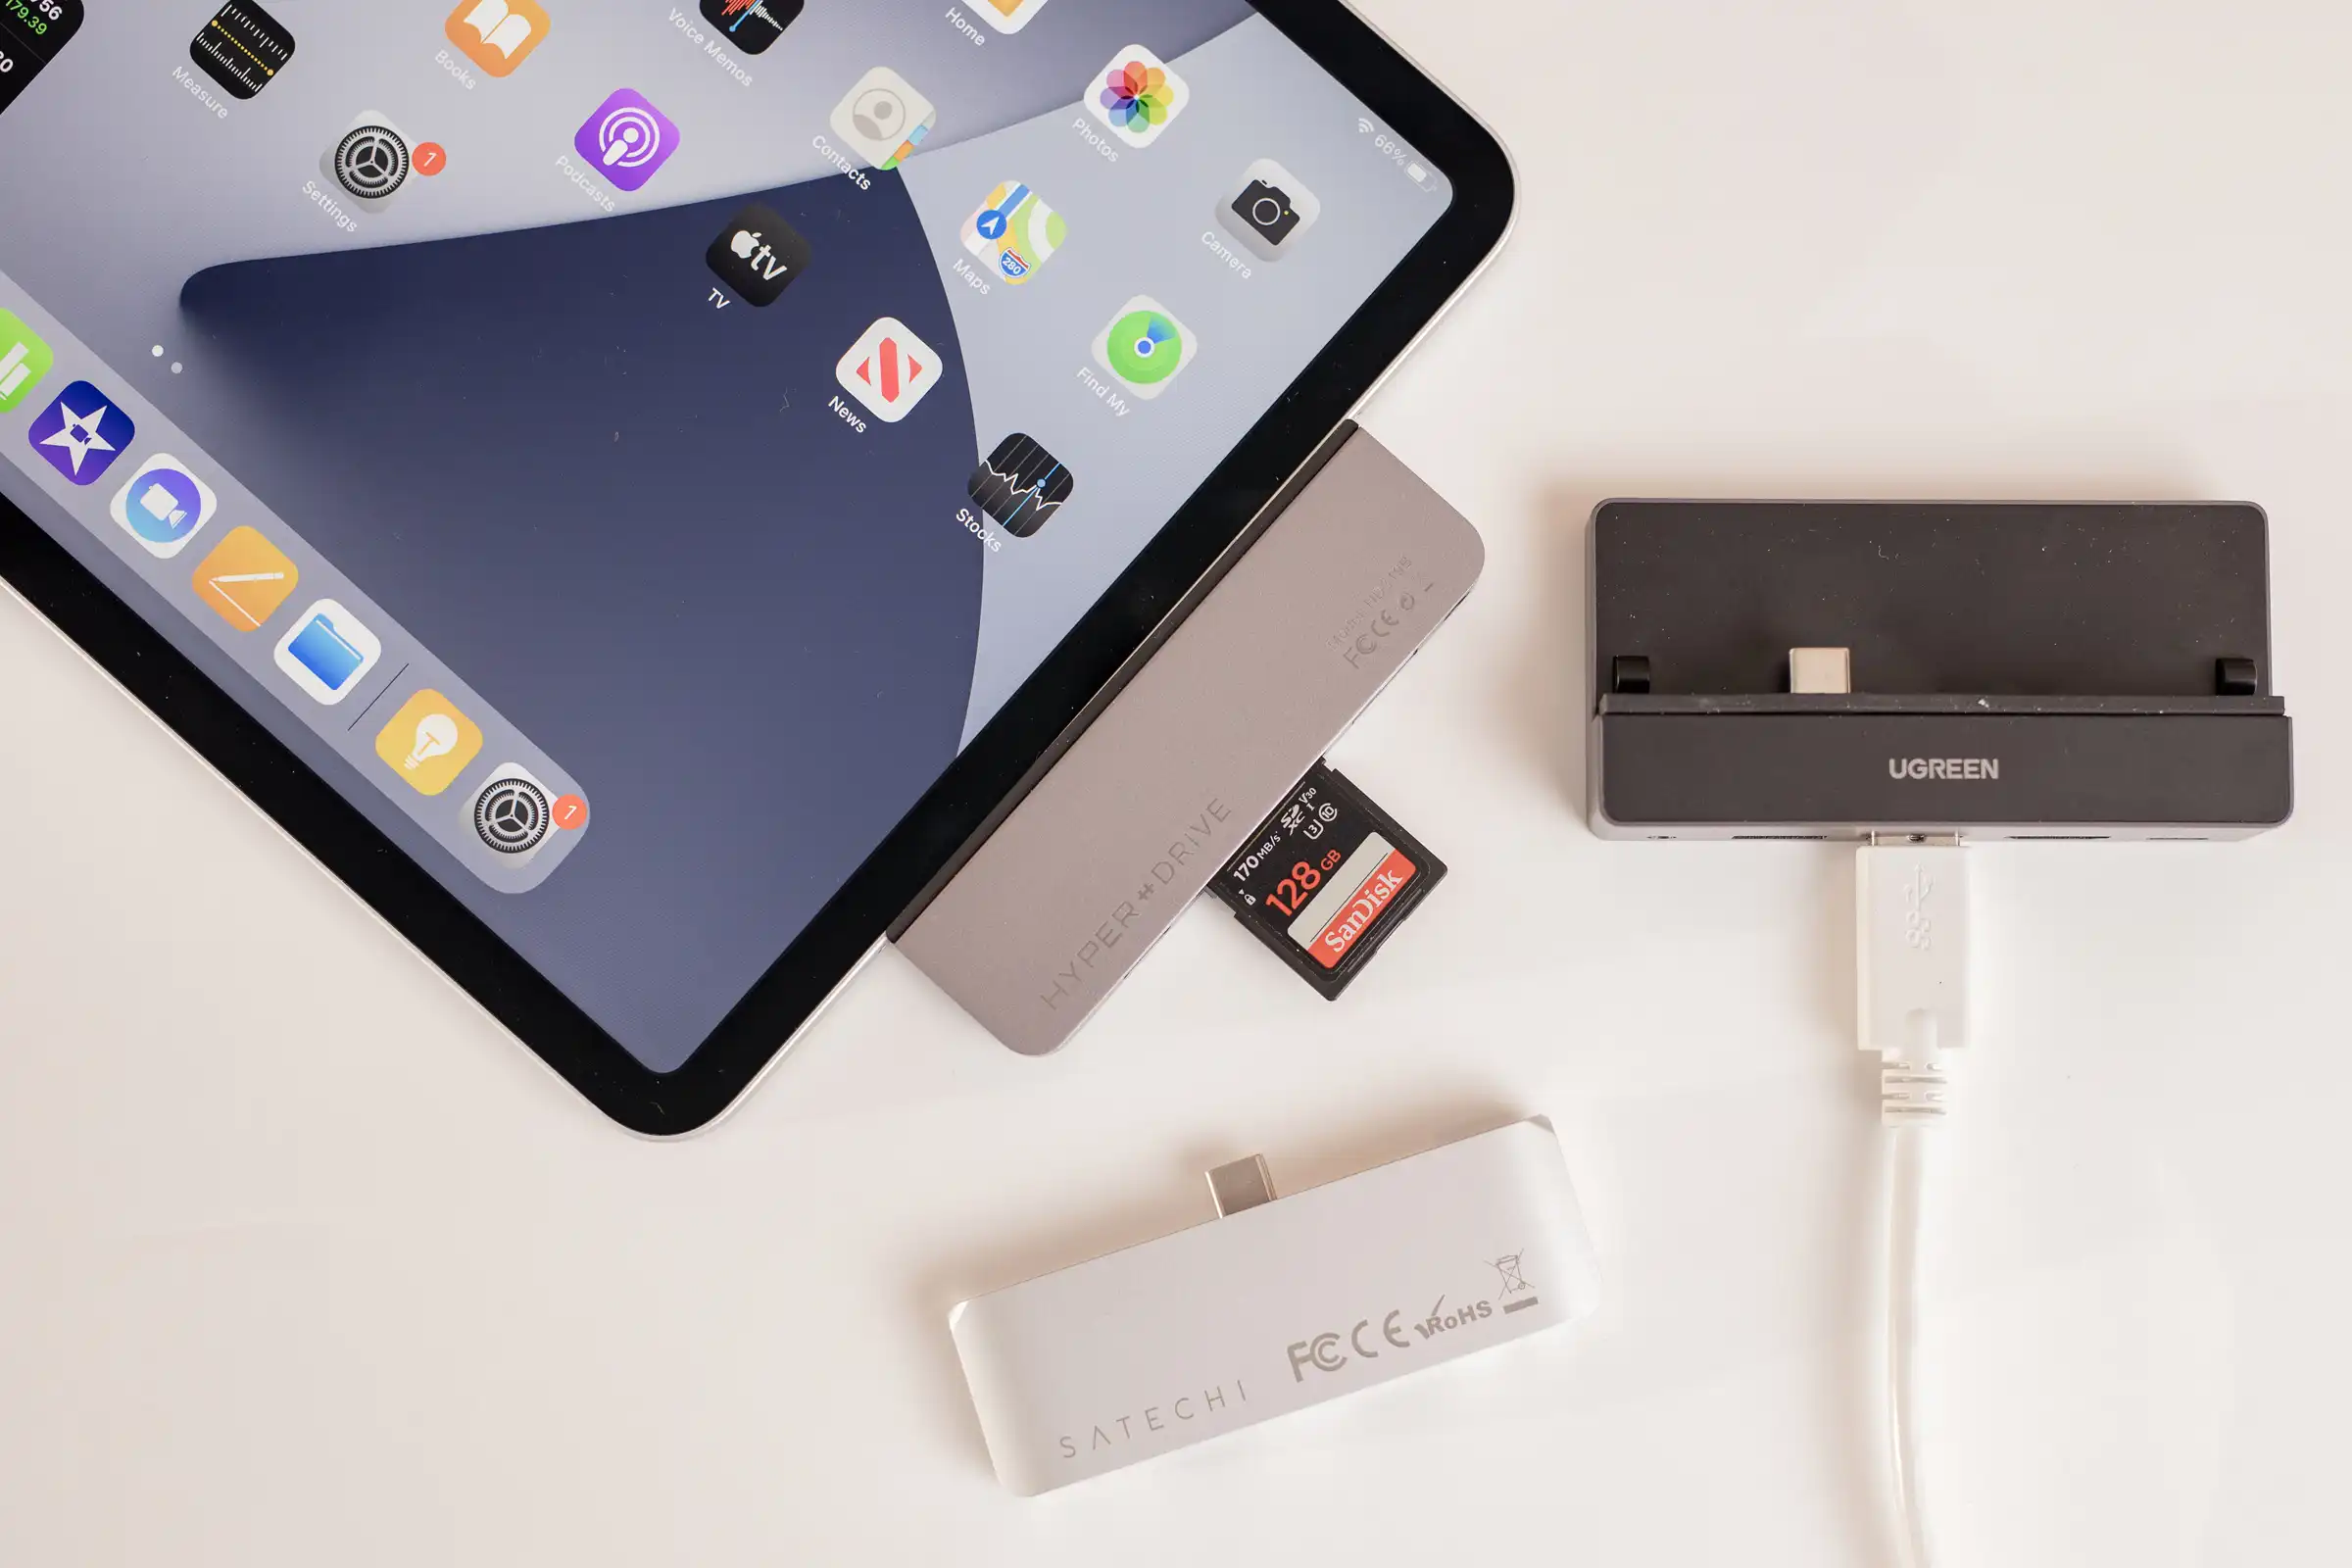
Alternatively, you can opt to utilize a memory card reader to transfer photos from your DSLR camera to your iPhone. This method provides a convenient way to directly access the photos stored on your camera’s memory card and transfer them to your iPhone without the need for a USB cable connection. Follow these steps to seamlessly transfer photos using a memory card reader:
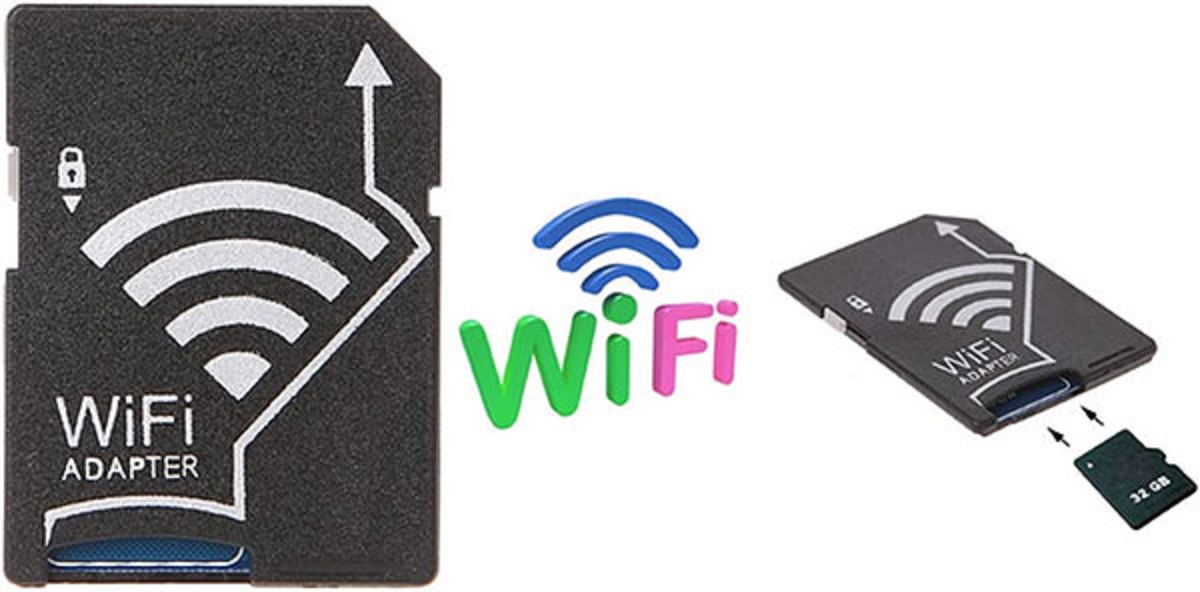
- Select a compatible memory card reader: Ensure that you have a memory card reader that is compatible with your DSLR camera’s memory card and your iPhone. There are various memory card readers available, including Lightning-enabled card readers designed specifically for iPhones.
- Insert the memory card into the reader: Remove the memory card from your DSLR camera and insert it into the memory card reader. If using a Lightning-enabled card reader, connect the reader to your iPhone’s Lightning port.
- Launch the Files app: Access the Files app on your iPhone to browse and manage the contents of the memory card. The Files app provides a convenient interface for accessing external storage devices, including memory card readers.
- Locate and transfer photos: Navigate through the contents of the memory card using the Files app and select the photos you wish to transfer to your iPhone. You can choose individual photos or select entire folders for transfer.
- Copy and save the photos: Once you have made your selections, copy the chosen photos and save them to a location within the Files app on your iPhone. You can create new folders or save the photos directly to your desired location for easy access.
- Review and organize: After the transfer is complete, review the imported photos within the Files app and organize them as needed. You can create albums, categorize your photos, and manage them effectively within the Files app.
By leveraging a memory card reader, you can efficiently transfer photos from your DSLR camera to your iPhone, offering a flexible and portable solution for managing your photography collection. This method provides a versatile approach to accessing and transferring high-quality images, empowering you to curate and showcase your photography portfolio directly from your iPhone.
Conclusion
Congratulations! You have now acquired the essential knowledge and skills to effortlessly transfer photos from your DSLR camera to your iPhone. Whether you chose to use a USB cable, the Photos app, or a memory card reader, each method offers a seamless and efficient way to bring your high-quality DSLR photos to your iPhone for easy access and sharing.
By following the step-by-step guidance provided in this comprehensive guide, you have unlocked the potential of your iPhone as a hub for showcasing your photography prowess. Whether you’re a photography enthusiast, a professional photographer, or simply someone who loves capturing precious moments, the ability to transfer DSLR photos to your iPhone empowers you to curate and share your captivating images with ease.
Embrace the versatility and convenience offered by these transfer methods, and let your iPhone serve as a dynamic platform for displaying your photography skills. Whether you’re eager to share your stunning images on social media, present them to clients, or simply enjoy them on a portable device, the seamless transfer process ensures that your DSLR photos are readily accessible at your fingertips.
As you continue to explore the world of photography and capture memorable moments with your DSLR camera, rest assured that the process of transferring your cherished photos to your iPhone is now well within your grasp. With these transfer methods at your disposal, you can confidently curate and showcase your photography portfolio, allowing your captivating images to shine on the vibrant display of your iPhone.
Now, armed with the knowledge and expertise gained from this guide, you are poised to elevate your photography experience and seamlessly integrate your DSLR photos into your iPhone ecosystem. Embrace the seamless transfer process and revel in the joy of sharing your high-quality images with the world, all from the convenience of your iPhone.