Introduction
So, you've just captured some amazing moments with your Weiliante camcorder, and now you're eager to transfer the videos to your computer for safekeeping, editing, or sharing with friends and family. Fortunately, transferring video files from your Weiliante camcorder to your computer is a straightforward process that can be accomplished with just a few simple steps. In this guide, we'll walk you through the process, from connecting your camcorder to your computer to organizing and editing your video files.
Whether you're a seasoned videographer or a novice enthusiast, the ability to transfer video files from your camcorder to your computer is an essential skill that allows you to preserve and enhance your precious memories. By following the steps outlined in this guide, you'll be able to seamlessly transfer, organize, and edit your Weiliante camcorder videos, unlocking the full potential of your captured footage.
Now, let's dive into the step-by-step process of transferring video files from your Weiliante camcorder to your computer, empowering you to unleash your creativity and share your stories through the captivating medium of video.
Step 1: Connect the Camcorder to Your Computer
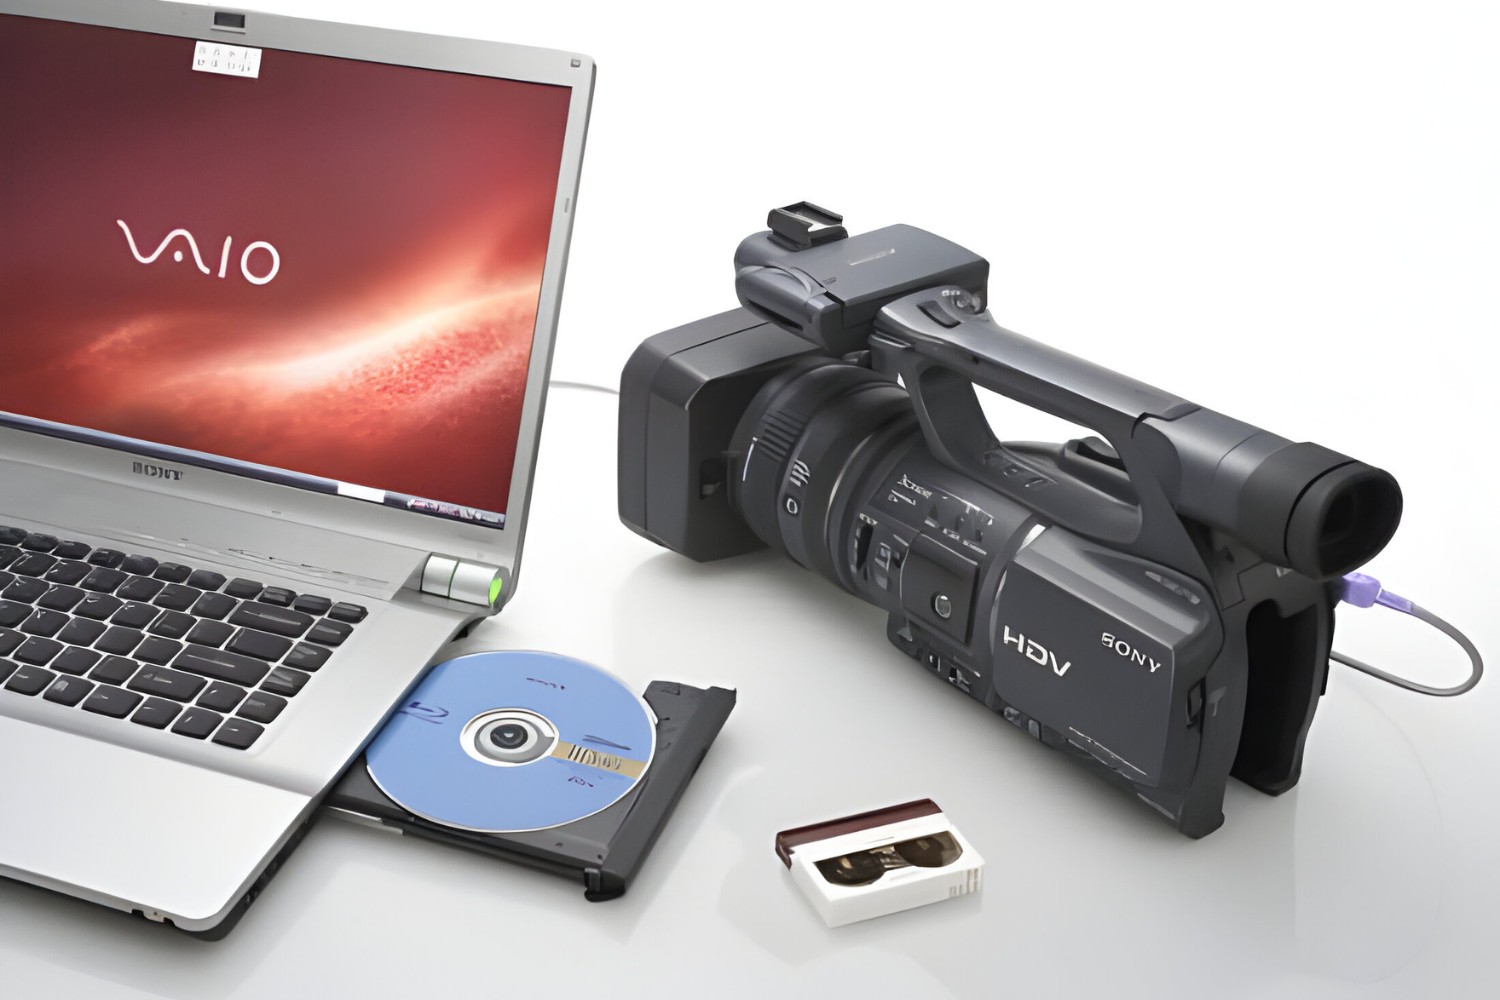
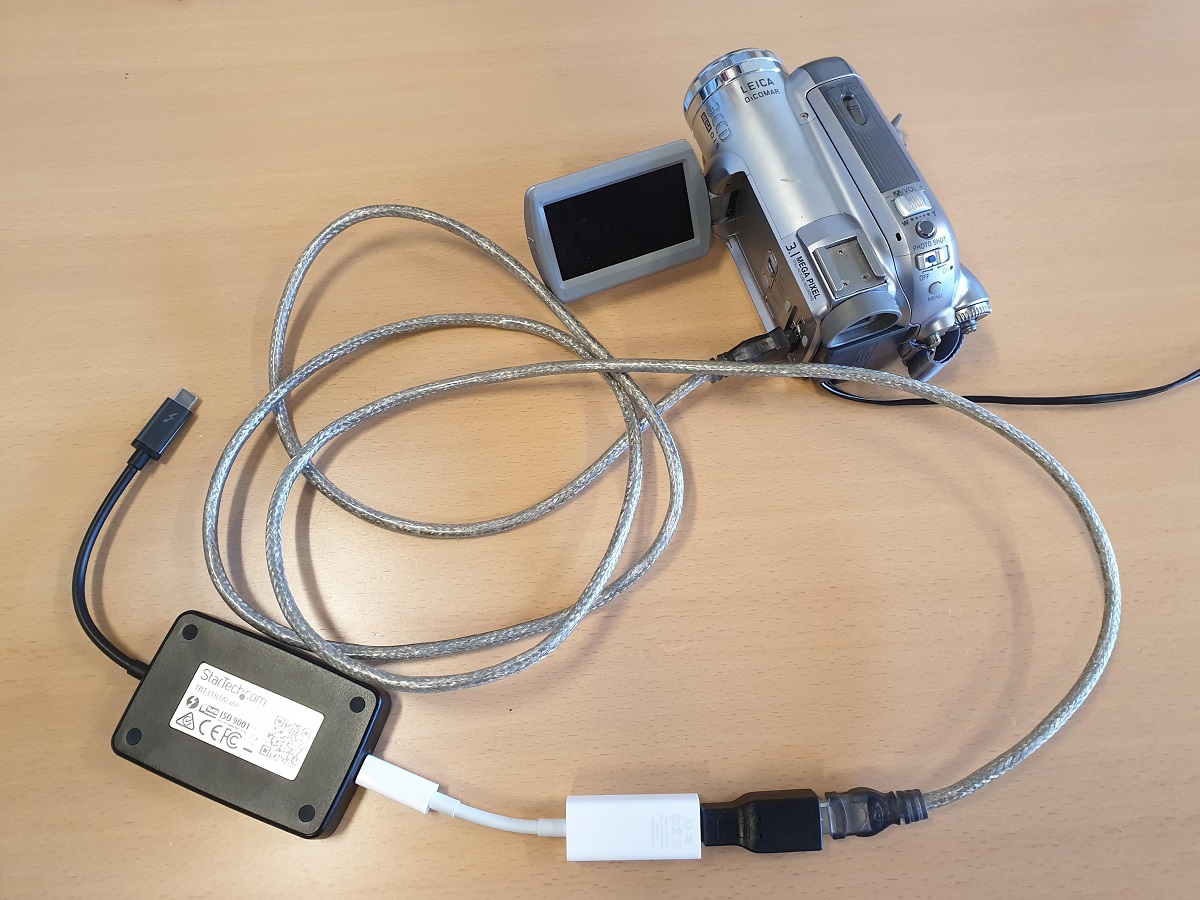
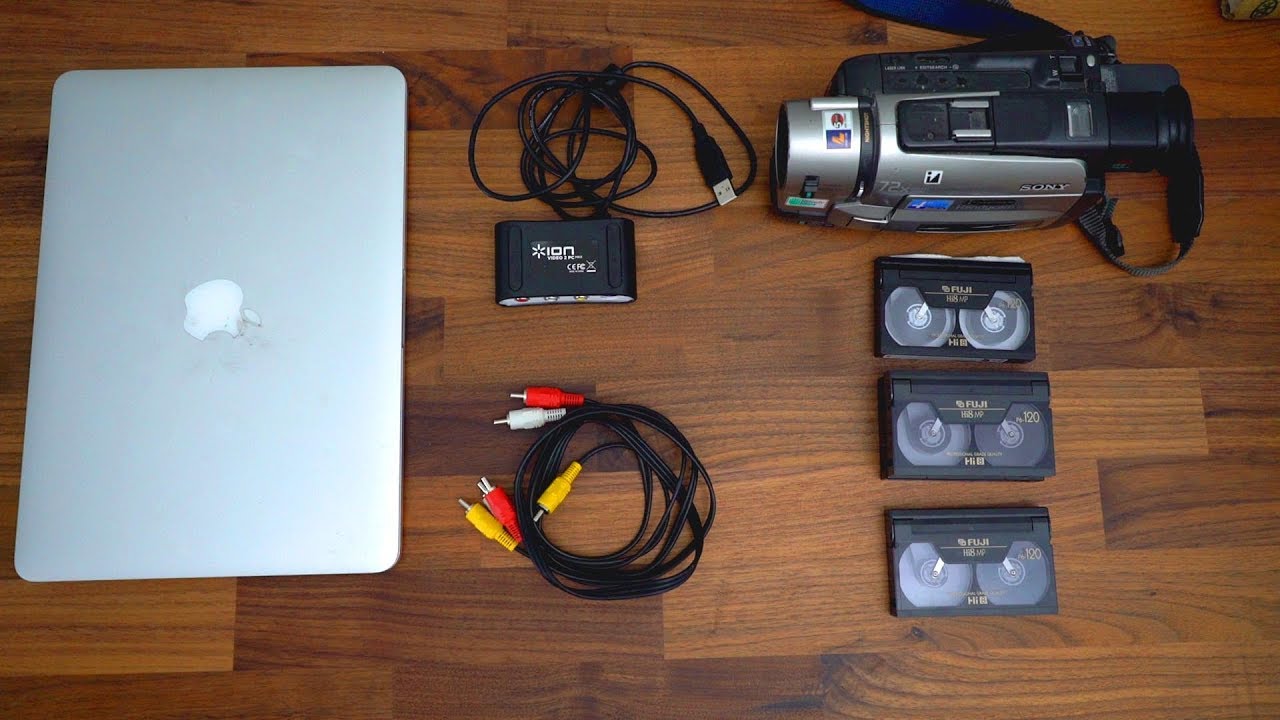
Before you can begin transferring your video files, you'll need to establish a physical connection between your Weiliante camcorder and your computer. This typically involves using a USB cable to link the two devices. Here's a detailed breakdown of the process:
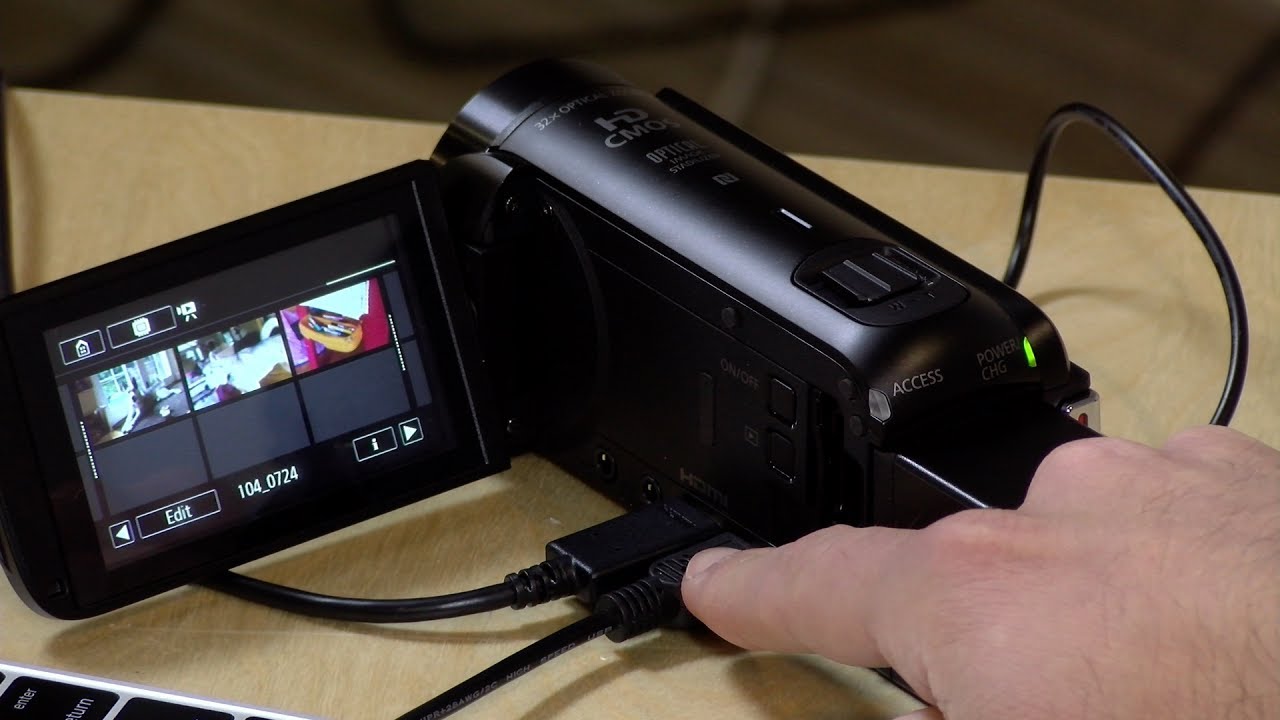
- Locate the USB Port: Begin by identifying the USB port on your Weiliante camcorder. This port is usually located on the body of the camcorder and is used to establish a connection with external devices such as computers.
- Connect the USB Cable: Once you've located the USB port on your camcorder, retrieve the USB cable that came with the device or use a compatible one. Insert one end of the USB cable into the USB port on your camcorder.
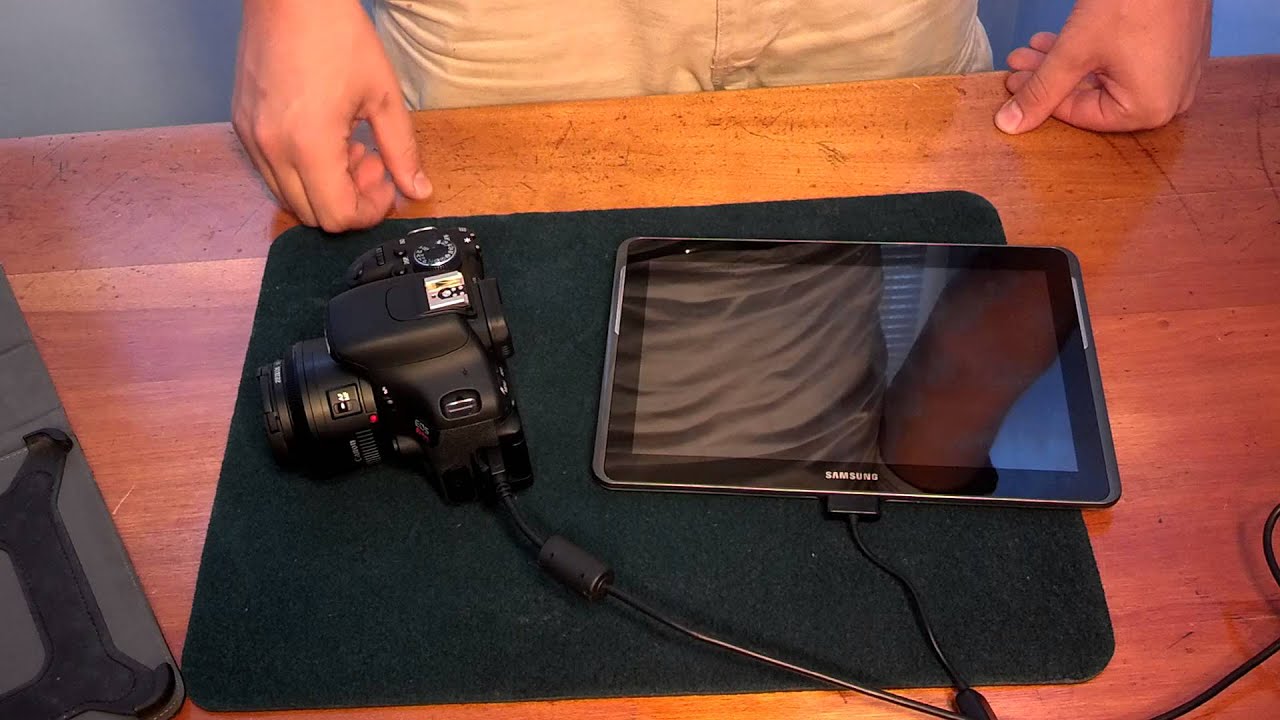
- Connect to Your Computer: After securely attaching one end of the USB cable to your camcorder, it's time to connect the other end to a USB port on your computer. Most modern computers have multiple USB ports, so choose an available port to establish the connection.
- Power On Your Camcorder: Before proceeding, ensure that your Weiliante camcorder is powered on. Some camcorders require you to switch to a specific mode, such as “PC Connect” or “Data Transfer,” to enable the connection with your computer.
- Driver Installation (if applicable): In some cases, your computer may require the installation of specific drivers to recognize and communicate with your camcorder. If prompted, follow the on-screen instructions to install the necessary drivers for seamless connectivity.
Once you've successfully connected your Weiliante camcorder to your computer, you're ready to move on to the next step: transferring the video files from your camcorder to your computer’s storage.
Step 2: Transfer the Video Files
With your Weiliante camcorder successfully connected to your computer, it’s time to initiate the transfer of your valuable video files. The process of transferring these files allows you to safeguard your memories and opens up opportunities for editing and sharing. Here’s a comprehensive guide to transferring the video files from your camcorder to your computer:
- Locate the Video Files: Access the file directory on your Weiliante camcorder to locate the video files you wish to transfer. These files are typically stored in a dedicated folder or directory within the camcorder’s internal storage or memory card.
- Select the Files: Once you’ve located the video files, choose the specific videos you want to transfer to your computer. You can select individual files or opt to transfer entire folders containing multiple videos, depending on your preferences.
- Copy or Cut: After selecting the desired video files, you can either copy or cut them from the camcorder’s storage. The “copy” function creates duplicates of the selected files, leaving the originals intact, while the “cut” function moves the files to the computer, removing them from the camcorder.
- Navigate to Your Computer’s Storage: Open the destination folder on your computer where you’d like to store the transferred video files. This could be a specific directory, such as the “Videos” folder, or a newly created location for organizing your Weiliante camcorder footage.
- Paste the Video Files: Once you’ve reached the designated storage location on your computer, paste the copied or cut video files from your Weiliante camcorder into this folder. The transfer process will commence, and the files will be copied or moved to your computer’s storage.
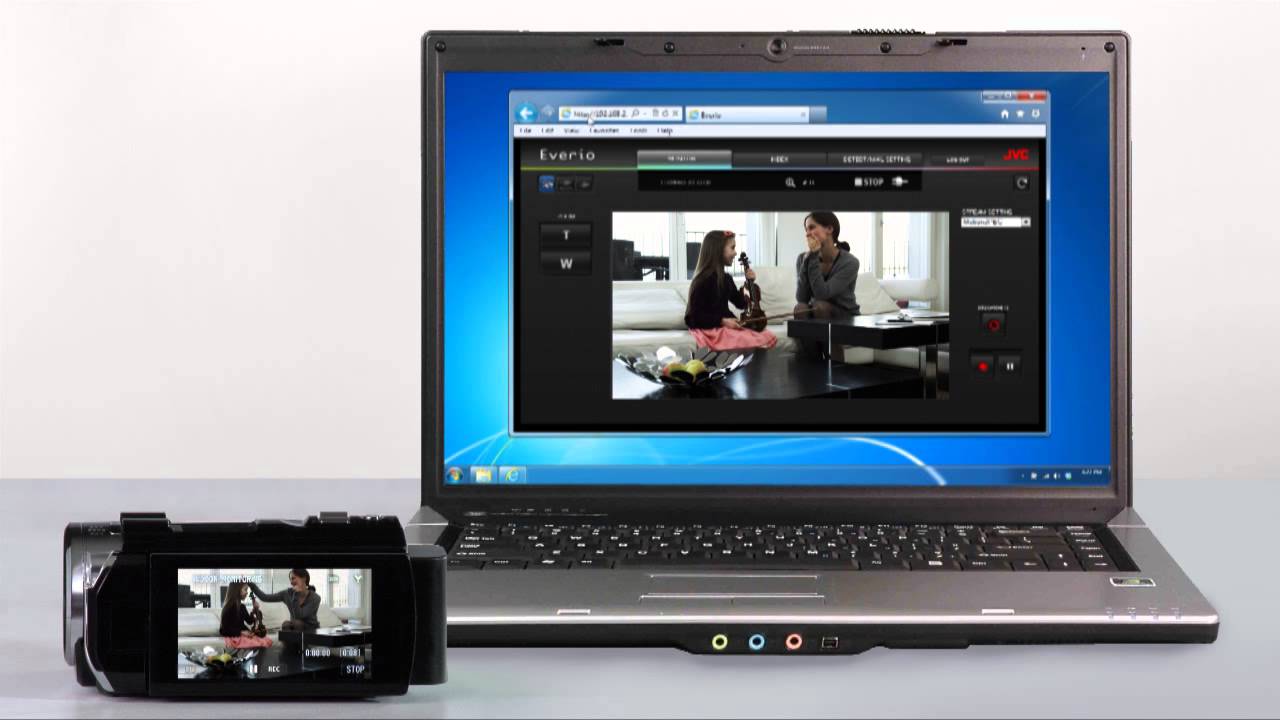
- Monitor the Transfer Progress: Depending on the size and quantity of the video files, the transfer process may take some time. Keep an eye on the progress indicator to ensure that the files are successfully transferred to your computer.
Upon completing these steps, the video files from your Weiliante camcorder will be securely transferred to your computer, ready for further organization, editing, and sharing. The successful transfer marks a pivotal stage in preserving your precious moments and unleashing the creative potential of your captured footage.
Step 3: Organize and Edit the Video Files
Now that your Weiliante camcorder videos have been successfully transferred to your computer, it’s time to delve into the realm of organization and editing. Effectively organizing your video files sets the stage for streamlined access and management, while editing allows you to enhance and personalize your footage. Here’s a detailed guide to organizing and editing your transferred video files:
- Create Folders and Subfolders: Begin by organizing your video files into logical categories. Consider creating folders and subfolders based on themes, events, or dates to facilitate easy navigation and retrieval of specific footage. For instance, you could have folders for “Family Events,” “Travel Adventures,” or “Special Occasions,” each containing relevant subfolders.
- Add Descriptive Filenames: Renaming your video files with descriptive and memorable titles can significantly aid in identifying and selecting specific footage. Include details such as the event location, date, or key highlights in the filenames to provide context and aid in quick browsing.
- Utilize Video Editing Software: Explore the capabilities of video editing software installed on your computer. These tools enable you to trim, merge, add effects, and enhance the visual and auditory aspects of your videos. Familiarize yourself with the software’s features to unlock the full potential of your footage.
- Arrange Footage Chronologically: If your videos are related to sequential events, consider arranging them in chronological order within your folders. This approach allows for a cohesive storytelling experience when revisiting the footage and creates a sense of narrative continuity.
- Add Metadata and Tags: Consider adding metadata and tags to your video files to provide additional context and enhance searchability. Metadata can include details such as location, people involved, and keywords related to the content, making it easier to locate specific videos within your organized library.
- Backup Your Edited Versions: After editing your videos, it’s advisable to create backup copies of the edited versions to safeguard your creative enhancements. This ensures that your edited footage is preserved, even if you decide to make further modifications in the future.
By effectively organizing and editing your Weiliante camcorder video files, you not only maintain a structured and accessible video library but also have the opportunity to infuse your footage with your unique creative vision. This transformative process empowers you to curate compelling visual narratives and share your stories with an enriched and personalized touch.