Introduction
So, you've captured some fantastic moments with your trusty camcorder, and now it's time to clear some space for new recordings. Deleting videos from your camcorder is a straightforward process that allows you to free up storage for future use. Whether you're a seasoned videographer or a casual user, knowing how to delete videos from your camcorder is an essential skill.
In the following steps, we'll guide you through the process of connecting your camcorder to a computer, transferring the videos to the computer, and finally, deleting them from your camcorder. By following these simple steps, you can ensure that your camcorder remains ready for your next recording adventure.
Deleting videos from your camcorder not only creates space for new recordings but also allows you to organize your footage efficiently. This can help you stay organized and focused on capturing the moments that matter most. Additionally, transferring your videos to a computer provides a secure backup, protecting your precious memories from potential loss or damage.
Whether you're a videography enthusiast, a hobbyist, or simply looking to clear some space on your camcorder, mastering the art of deleting videos is a valuable skill. With the guidance provided in the following steps, you'll be equipped to manage your camcorder's storage effectively, ensuring that you're always prepared to capture life's most memorable moments.
Step 1: Connect the Camcorder to a Computer
Before you can delete videos from your camcorder, you’ll need to connect it to a computer. This process allows you to transfer the videos from your camcorder to the computer, providing a secure backup and freeing up space on the device. Here’s how to get started:
Locate the USB Cable:
Most camcorders come with a USB cable for connecting to a computer. If your camcorder uses a different type of connection, such as HDMI or FireWire, ensure that you have the appropriate cable and any necessary adapters.
Power on the Camcorder:
Before connecting the camcorder to the computer, ensure that the camcorder is powered on. This allows the computer to recognize the device when it’s connected.
Connect the Camcorder to the Computer:
Using the USB cable, connect the camcorder to an available USB port on your computer. Depending on the camcorder model, you may need to navigate through the device’s menu to select the appropriate connection mode, such as “PC Connect” or “Transfer Files.” Follow the instructions specific to your camcorder to establish the connection.
Recognize the Camcorder on the Computer:
Once the camcorder is connected, your computer should recognize it as a removable storage device. This allows you to access the videos stored on the camcorder and transfer them to your computer’s hard drive.
Verify the Connection:
After connecting the camcorder to the computer, verify that the connection is successful. You can do this by checking for the camcorder’s icon or drive in the file explorer or by using the software provided by the camcorder manufacturer.
By following these steps, you can establish a connection between your camcorder and computer, setting the stage for the next crucial step: transferring the videos from the camcorder to your computer’s storage. This process not only facilitates the deletion of videos from the camcorder but also ensures that your precious recordings are safely backed up on your computer.
Step 2: Transfer the Videos to the Computer
Now that your camcorder is successfully connected to the computer, it’s time to transfer the videos from the camcorder to your computer’s storage. This step is essential for creating a backup of your recordings and preparing them for deletion from the camcorder. Follow these straightforward instructions to complete the video transfer process:
Open the File Explorer or Use Provided Software:
Depending on your computer’s operating system and the camcorder model, you can open the file explorer to access the connected camcorder as a removable storage device. Alternatively, some camcorders come with proprietary software that facilitates the transfer of videos to the computer. Use the method that best suits your preferences and equipment.
Navigate to the Camcorder’s Storage:
Once the camcorder is recognized by the computer, navigate to its storage location using the file explorer or the provided software. You should be able to access the folders containing your recorded videos.
Select and Copy the Desired Videos:
Within the camcorder’s storage, select the videos you wish to transfer to your computer. You can do this by clicking and dragging to highlight the desired videos or using the copy-and-paste function to transfer them to a designated folder on your computer’s hard drive.
Monitor the Transfer Progress:
During the video transfer process, keep an eye on the progress indicator to ensure that the videos are successfully copied to your computer. Depending on the file sizes and the transfer speed, this process may take some time, so patience is key.
Verify the Transferred Videos:
After the transfer is complete, verify that the videos are now safely stored on your computer. You can do this by navigating to the designated folder and playing back the transferred videos to confirm their integrity.
By following these steps, you can effectively transfer the videos from your camcorder to your computer, creating a secure backup of your recordings. This not only prepares the videos for deletion from the camcorder but also ensures that your memorable moments are safely preserved on your computer’s storage.
Step 3: Delete the Videos from the Camcorder
With the videos safely transferred to your computer, it’s time to clear up space on your camcorder by deleting the videos. This step is essential for ensuring that your camcorder is ready to capture new moments without running out of storage space. Follow these simple guidelines to delete the videos from your camcorder:
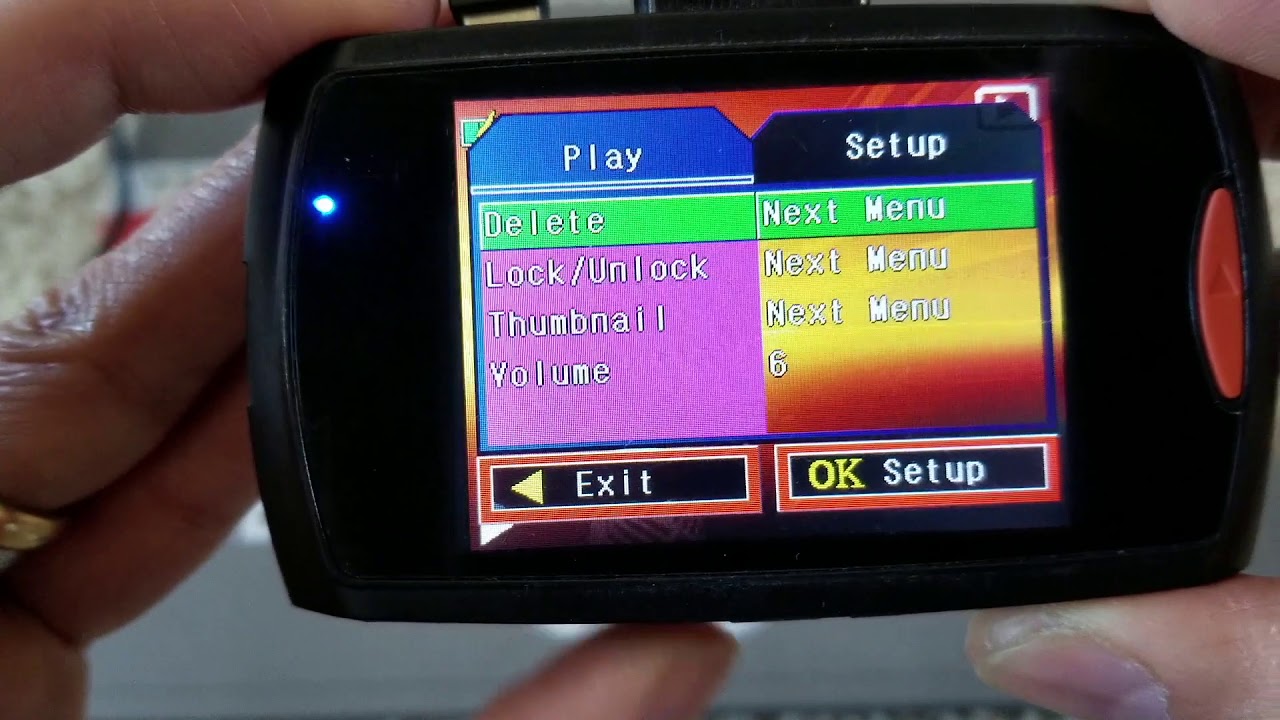
Navigate to the Videos on the Camcorder:
Using the camcorder’s menu or interface, navigate to the location where your recorded videos are stored. Depending on the camcorder model, this may involve accessing a specific folder or gallery where the videos are organized.
Select the Videos for Deletion:
Once you’ve located the videos on your camcorder, select the ones you wish to delete. This can typically be done by highlighting the videos using the camcorder’s controls or touchscreen interface. Some camcorders may offer the option to select multiple videos at once for batch deletion.
Initiate the Deletion Process:
After selecting the videos for deletion, look for the option to delete or remove them from the camcorder’s storage. This option is usually found in the menu or settings, and it may require a confirmation prompt to ensure that you intend to delete the selected videos.
Confirm the Deletion:
Upon initiating the deletion process, the camcorder may prompt you to confirm your decision. This is a safeguard to prevent accidental deletions, ensuring that you are intentionally removing the selected videos from the device’s storage.
Verify the Deletion:
After confirming the deletion, verify that the selected videos have been successfully removed from the camcorder’s storage. You can do this by checking the camcorder’s gallery or folder to ensure that the deleted videos are no longer present.
By following these steps, you can efficiently delete the videos from your camcorder, creating valuable space for new recordings and ensuring that your device remains ready for future use. This process, combined with the previous steps of connecting the camcorder to a computer and transferring the videos, allows you to manage your recordings effectively and maintain an organized approach to your videography endeavors.
Conclusion
Mastering the process of deleting videos from your camcorder is a valuable skill that allows you to manage your recordings efficiently. By following the steps outlined in this guide, you can confidently navigate the essential tasks of connecting your camcorder to a computer, transferring the videos to the computer, and ultimately deleting them from the camcorder’s storage.
Deleting videos from your camcorder not only creates space for new recordings but also provides an opportunity to organize your footage effectively. With the videos safely backed up on your computer, you can rest assured that your precious memories are secure and accessible for future use.
Furthermore, the ability to connect your camcorder to a computer and transfer the videos demonstrates your proficiency in managing digital media, a skill that is increasingly valuable in today’s technology-driven world. Whether you’re a videography enthusiast, a casual user, or a professional, these essential tasks empower you to maintain control over your recordings and ensure that your camcorder is always prepared for your next filming endeavor.
By understanding the process of deleting videos from your camcorder, you can approach your videography activities with confidence, knowing that you have the knowledge and skills to manage your recordings effectively. This proficiency not only enhances your overall experience with your camcorder but also reinforces your ability to capture and preserve life’s most memorable moments.
So, armed with the knowledge gained from this guide, you’re now ready to embark on your next videography adventure, equipped with the ability to manage your recordings with ease and precision. Whether you’re documenting family gatherings, capturing travel experiences, or pursuing professional videography projects, the ability to delete videos from your camcorder is a fundamental aspect of maintaining a well-organized and efficient recording process.