Introduction
Setting the date on your action camera is crucial for organizing and categorizing your footage accurately. Whether you're capturing breathtaking moments during outdoor adventures or recording high-octane sports activities, having the correct date and time stamp on your footage enhances its value and authenticity. Moreover, it facilitates easy retrieval and management of your videos and images.
In this comprehensive guide, you'll learn the step-by-step process of setting the date on your action camera. Whether you're a seasoned action camera user or a novice looking to delve into the exciting world of adventure photography and videography, this tutorial will equip you with the necessary skills to ensure your camera's date and time settings are accurate.
By following these simple instructions, you'll be able to maintain an organized library of your action-packed memories, making it easier to relive and share your experiences with friends and family. Let's dive into the process of setting the date on your action camera and ensure that every moment you capture is accurately documented and easily accessible.
Step 1: Power on the Action Camera
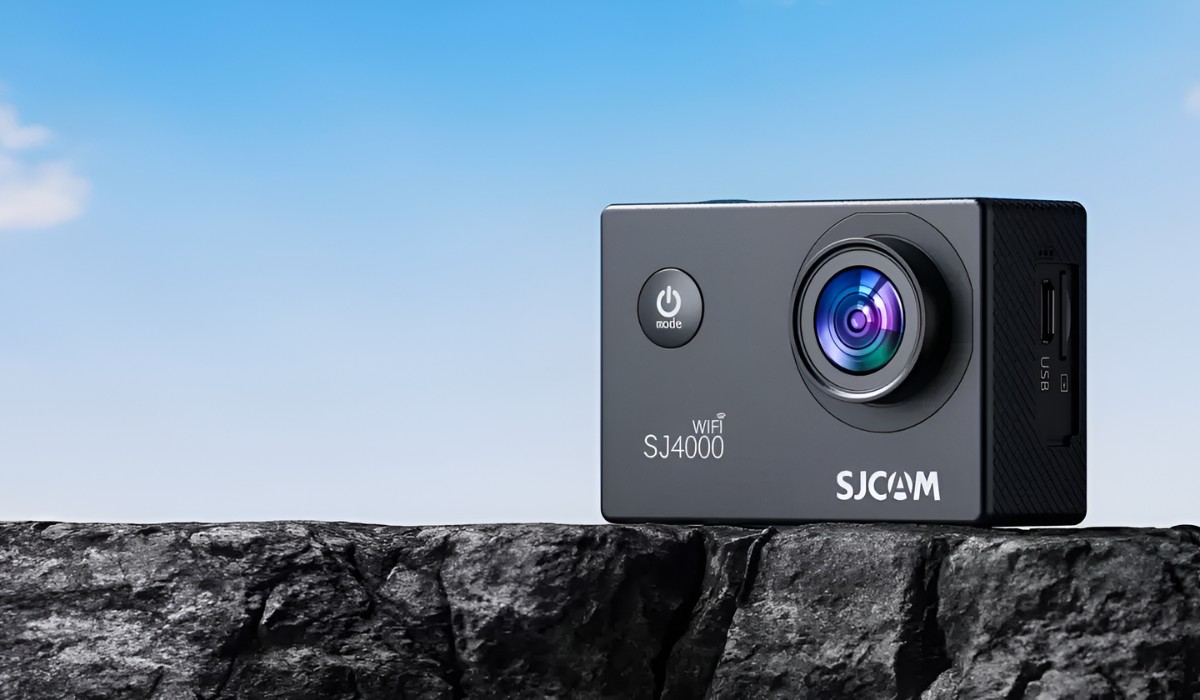
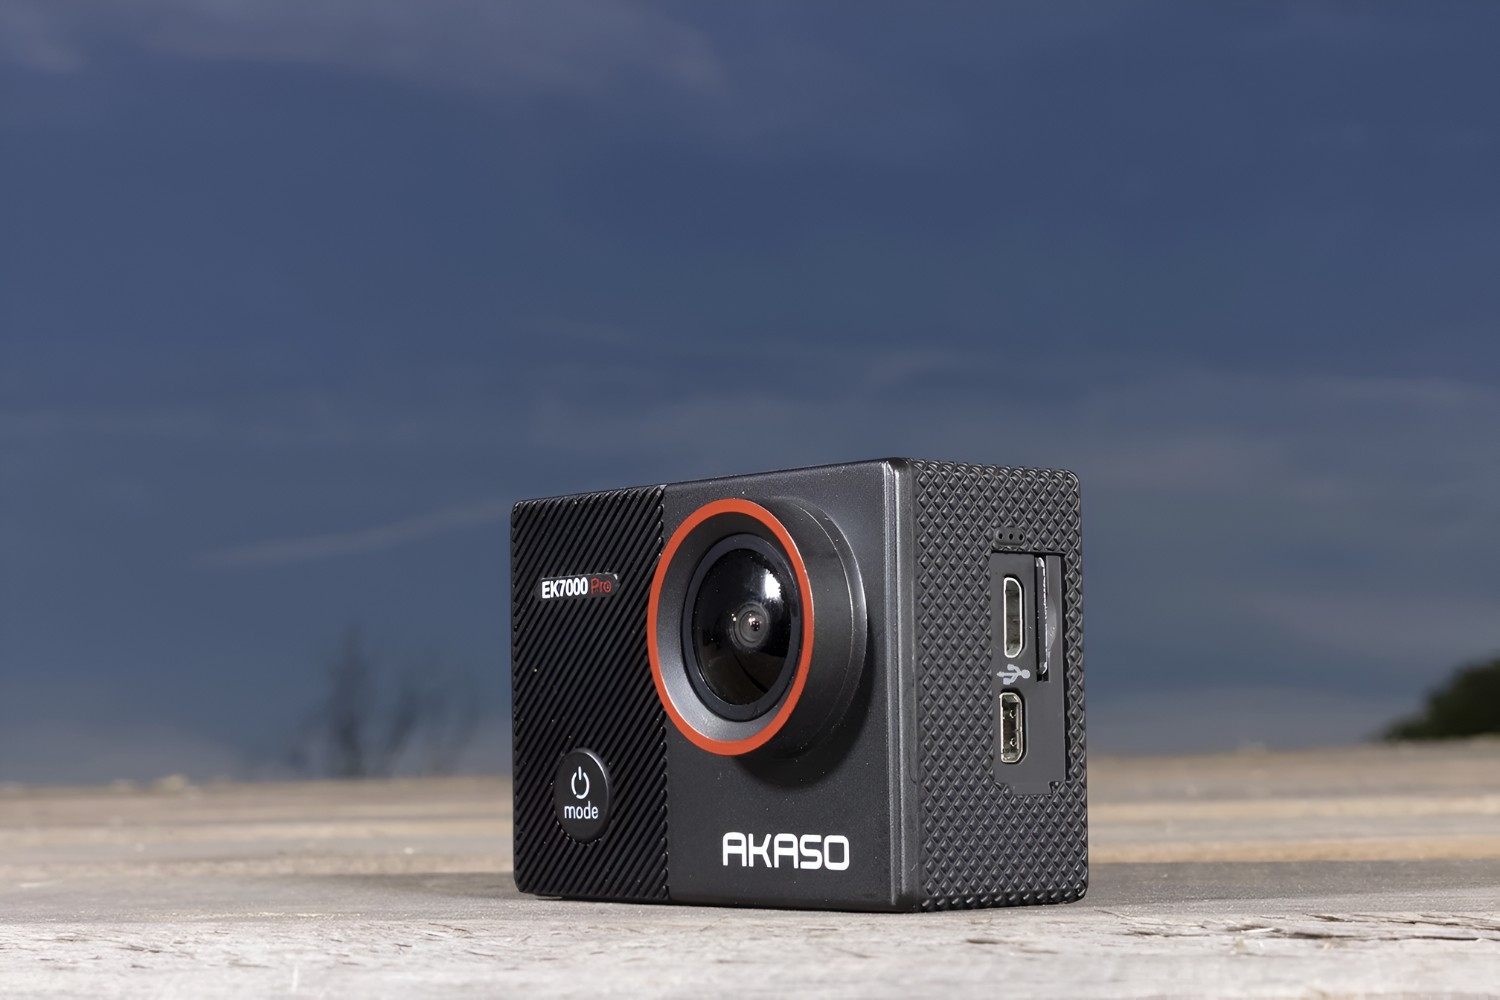
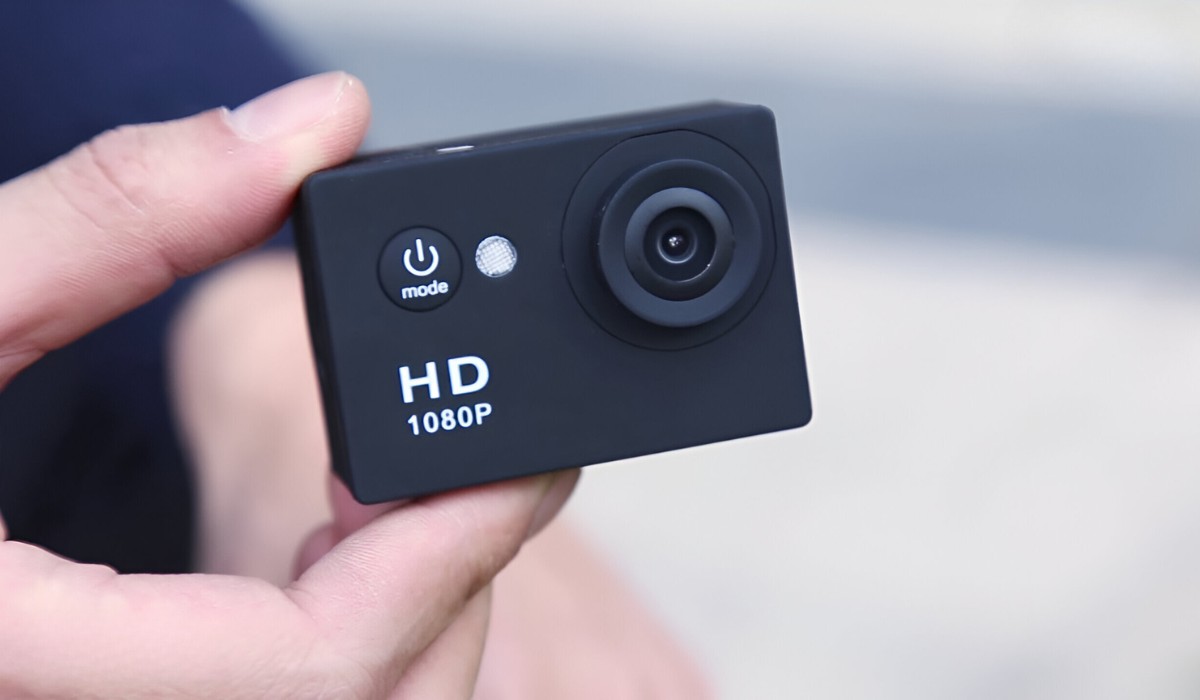
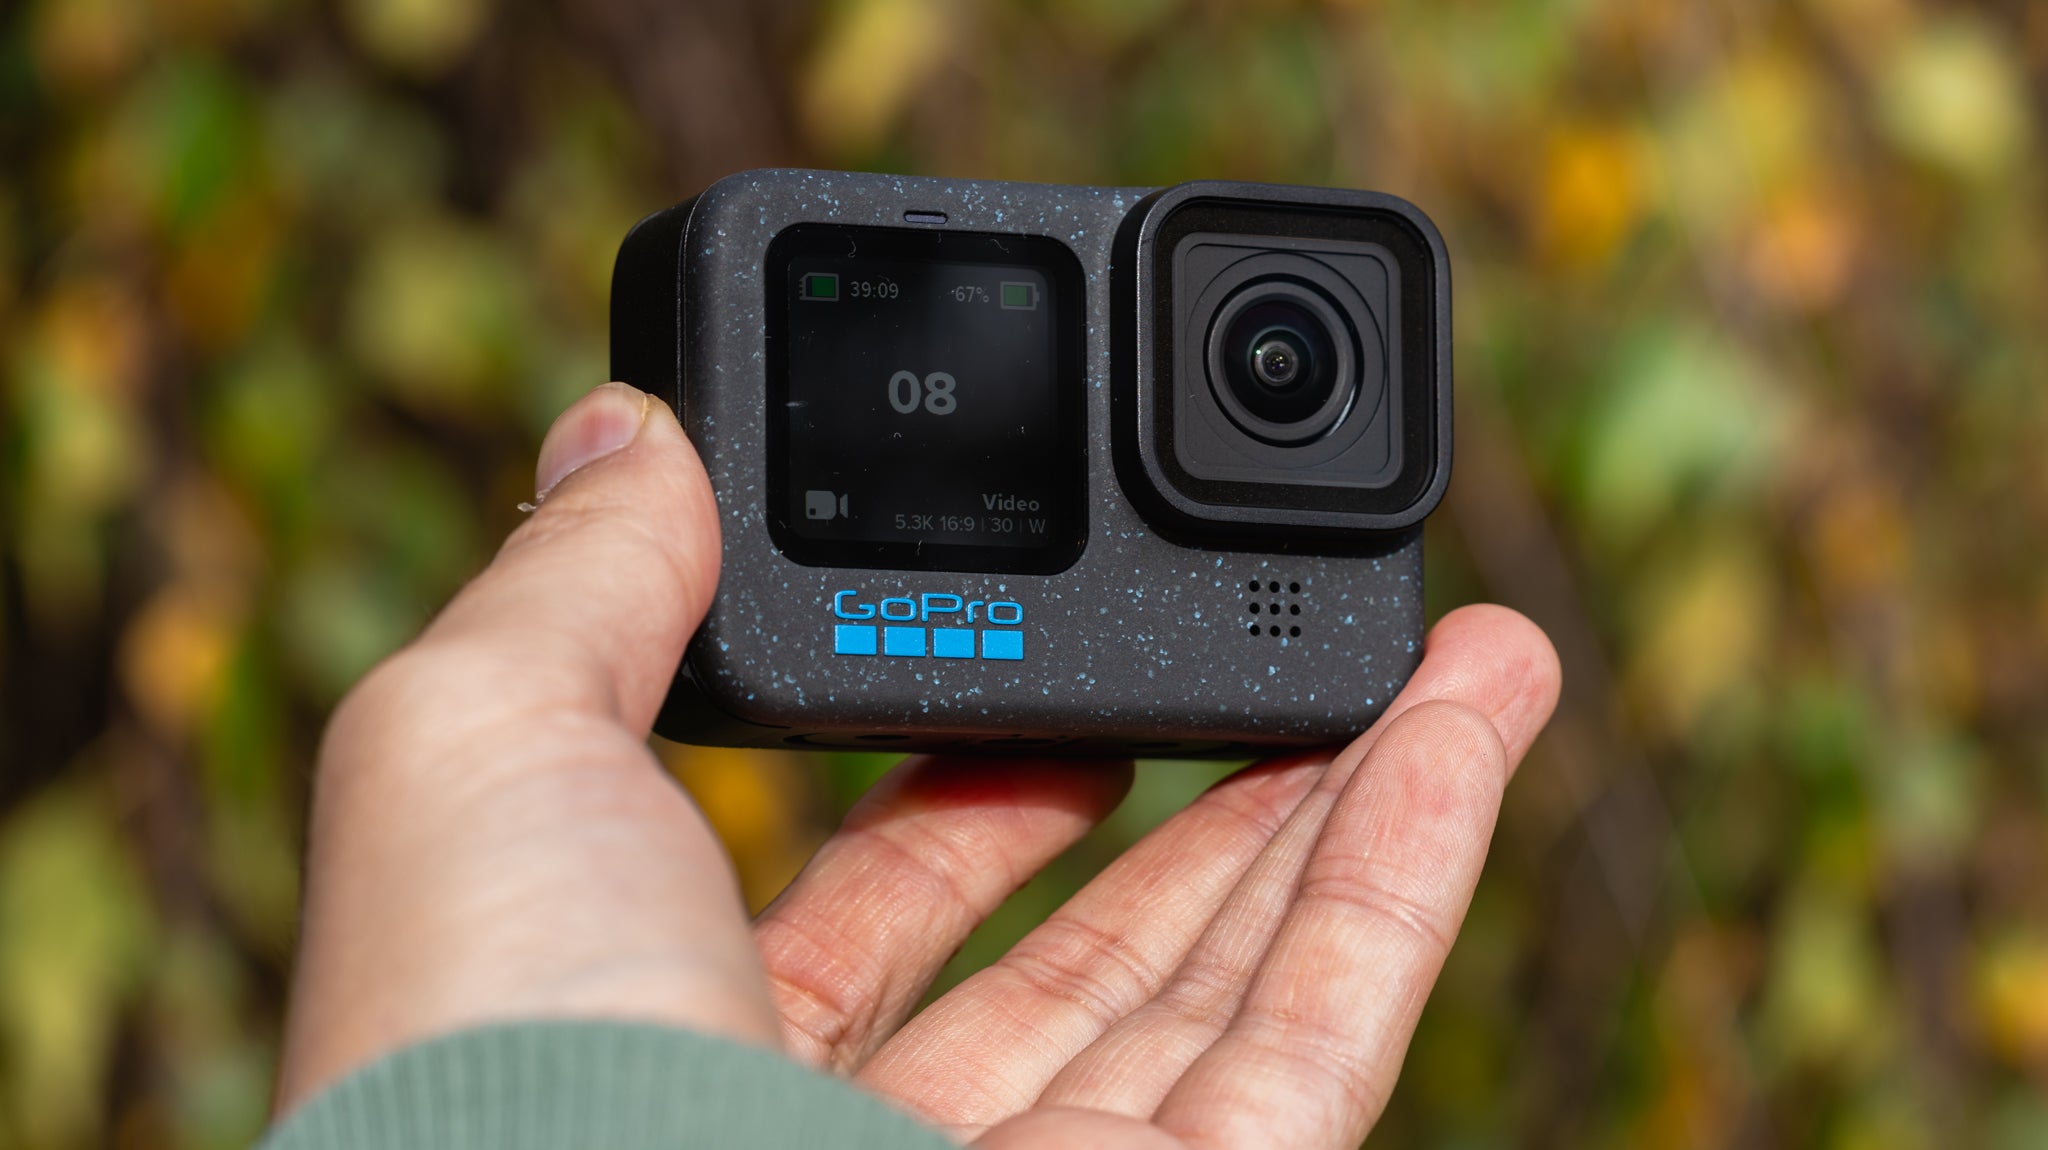
Before you can begin adjusting the date and time settings on your action camera, you’ll need to power it on. The location of the power button may vary depending on the model of your action camera, but it is typically situated on the front, top, or side of the device. Once you’ve located the power button, press and hold it for a few seconds until the camera’s indicator lights illuminate, signaling that the device is powering up.
As the action camera boots up, you’ll typically be greeted by a startup screen or indicator lights that signal the device’s readiness. Depending on the specific model, you may also hear a startup sound or see the camera’s display come to life. It’s important to ensure that the camera has fully powered on before proceeding to the next step, as accessing the settings menu while the device is still initializing may lead to unintended issues or settings errors.
Some action cameras have a power-saving mode, so if you find that the camera doesn’t power on immediately, try charging the device to ensure it has sufficient battery life. Once the camera is powered on and ready for use, you can move on to accessing the settings menu to begin the process of setting the date and time.
Step 2: Access the Settings Menu
After successfully powering on your action camera, the next step is to access the settings menu. The settings menu allows you to customize various aspects of your camera’s functionality, including the date and time settings. The process of accessing the settings menu may vary slightly depending on the make and model of your action camera, but the following general steps should guide you through this process.
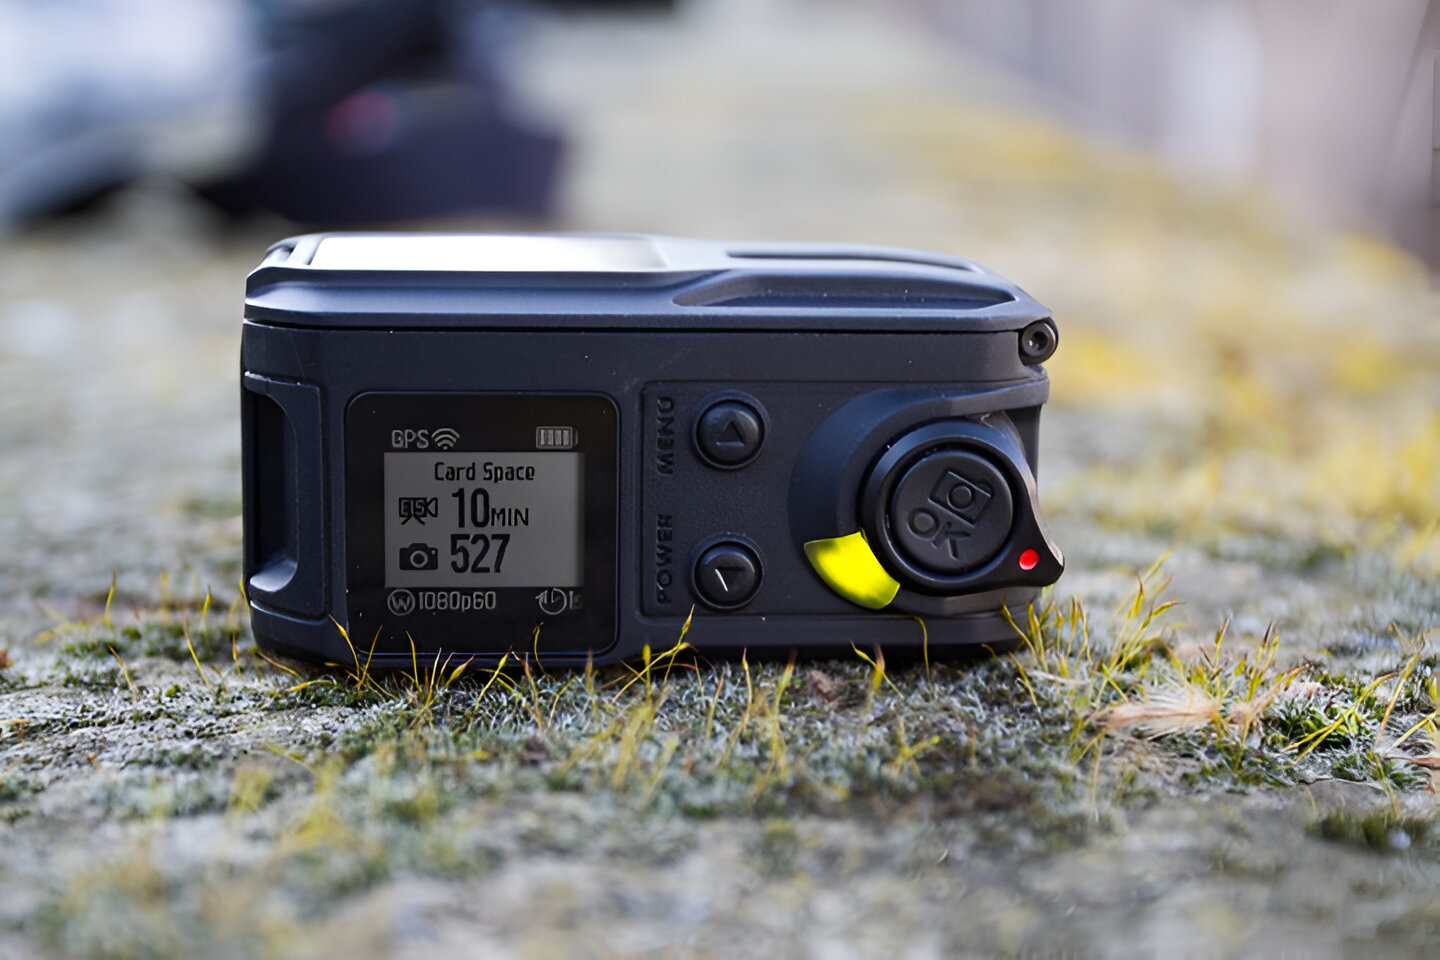
Most action cameras feature a dedicated button or icon that grants access to the settings menu. This button is typically labeled “Menu” or depicted by an icon with three horizontal lines or dots, resembling a list. Locate this button on your camera, and once found, press it to enter the settings interface. Some cameras may require you to press and hold the button for a few seconds to access the menu, so be mindful of the specific requirements for your device.
Upon pressing the menu button, you should be greeted by the settings menu displayed on the camera’s screen. This menu often presents a range of options for adjusting various settings, including video resolution, photo quality, and date and time settings. Navigate through the menu using the camera’s directional buttons or touchscreen interface, depending on the design of your device, until you locate the option for date and time settings.
If you encounter any difficulties accessing the settings menu, consult your action camera’s user manual for specific instructions tailored to your device’s make and model. Once you’ve successfully accessed the settings menu, you’re ready to proceed to the next step of setting the correct date and time on your action camera.
Step 3: Navigate to Date and Time Settings
Having accessed the settings menu, the next crucial step is to locate the date and time settings within the menu interface of your action camera. The process of navigating to these settings may vary slightly depending on the specific model of your camera, but the following general guidelines will help you find the date and time configuration options.
Once in the settings menu, use the directional buttons or touchscreen functionality, if applicable, to scroll through the available options. Look for categories such as “System Settings,” “General Settings,” or “Device Settings,” as these often contain the date and time configuration submenu. Depending on the camera’s interface, the date and time settings may be directly accessible from the main settings menu or nested within a specific subcategory.
Some action cameras feature a dedicated section for date and time settings, making it easier to locate and modify these parameters. If your camera follows this design, simply select the date and time option to proceed to the next step. In cases where the date and time settings are nested within a subcategory, continue to navigate through the menu until you find the specific option for adjusting the date and time.
It’s important to remain patient and thorough while navigating through the settings menu, as the precise location of the date and time settings can vary significantly across different camera models. If you encounter any challenges during this step, refer to the user manual provided with your action camera for detailed instructions tailored to your device’s interface and functionality. Once you’ve successfully located the date and time settings, you’re ready to proceed with setting the correct date and time on your action camera.
Step 4: Set the Correct Date and Time
With the date and time settings menu accessible on your action camera, you can now proceed to set the accurate date and time information. This step is crucial for ensuring that your captured footage is properly timestamped and organized. The process of adjusting the date and time may vary depending on the interface and functionality of your specific action camera, but the following general guidelines will assist you in setting the correct parameters.
Upon entering the date and time settings, you will typically encounter fields for inputting the year, month, day, hour, and minute. Use the directional buttons or touchscreen interface to navigate through these fields and make the necessary adjustments to reflect the current date and time. Some action cameras may also offer the option to set the time format, such as 12-hour or 24-hour notation, based on your preference.
When inputting the date, ensure that the year, month, and day are accurately set to the current date. This precision is essential for maintaining an organized library of your captured moments. Similarly, when setting the time, verify that the hour and minute are adjusted to the current time, taking into account the appropriate AM or PM designation if your camera utilizes a 12-hour time format.
It’s important to double-check the entered date and time to avoid any inaccuracies that could impact the organization and retrieval of your footage. Once you’ve confirmed that the date and time parameters are accurately set, proceed to the next step to save the changes and finalize the configuration of your action camera’s date and time settings.
Step 5: Save the Changes
After setting the correct date and time on your action camera, it’s essential to save the changes to ensure that the updated parameters are applied and retained by the device. The process of saving the date and time settings may vary across different action camera models, but the following general steps will guide you through finalizing the configuration and securing the updated information.
Once you’ve inputted the accurate date and time details, navigate to the option that allows you to confirm and save the changes within the date and time settings menu. This option may be labeled as “Save,” “Apply,” or “Confirm,” and is typically located at the bottom of the date and time configuration interface. Use the directional buttons or touchscreen functionality, if applicable, to highlight and select this option.
Upon selecting the save or confirm option, your action camera will process the updated date and time information, applying the changes to its internal settings. Depending on the model, you may receive a visual or auditory confirmation that the changes have been successfully saved. Some cameras display a message such as “Settings Saved” or “Changes Applied,” while others emit a beep or indicator light to signify the completion of the saving process.
It’s important to wait for the camera to confirm the successful saving of the updated date and time settings before proceeding. This ensures that the changes have been accurately applied and stored within the camera’s system. Once you’ve received confirmation of the saved changes, you can exit the settings menu and return to the camera’s main interface, knowing that your action camera is now accurately configured with the correct date and time information.
Conclusion
Congratulations! You’ve successfully navigated the process of setting the date and time on your action camera. By following the step-by-step instructions outlined in this guide, you’ve ensured that your camera is equipped with accurate date and time parameters, enhancing the organization and authenticity of your captured footage. With the correct date and time settings in place, you can confidently embark on your adventures, knowing that each moment you capture will be accurately documented and easily retrievable.
Accurate date and time settings on your action camera are invaluable for cataloging and managing your footage effectively. Whether you’re documenting thrilling outdoor pursuits, recording memorable family moments, or capturing stunning landscapes, having the correct timestamp on your videos and photos adds a layer of precision and credibility to your visual narratives. This attention to detail not only enhances the viewing experience but also simplifies the process of organizing and sharing your content.
Setting the date and time on your action camera is a foundational step in maximizing the utility and impact of your captured memories. By following the guidelines provided in this tutorial, you’ve empowered yourself to maintain an organized library of your adventures, enabling seamless retrieval and reliving of your most exhilarating experiences. The accurate timestamp on your footage also serves as a testament to the authenticity and chronological sequence of your visual chronicles.
As you continue to explore the boundless possibilities of action photography and videography, remember that the correct date and time settings on your camera are the cornerstone of a well-organized and credible visual archive. By mastering this fundamental aspect of camera configuration, you’ve taken a significant stride toward elevating the impact and authenticity of your captured moments. Embrace the power of accurate date and time settings, and let your action camera chronicle your adventures with precision and clarity.