Introduction
Are you eager to transfer the stunning photos from your DSLR camera to your computer, where you can conveniently store, organize, and edit them? This guide will walk you through the simple steps to achieve this seamlessly. Whether you're a photography enthusiast or a professional, having a straightforward process for downloading pictures from your DSLR camera to your computer is essential for streamlining your workflow and ensuring your precious memories are safely stored.
With the advancements in digital photography, DSLR cameras have become the go-to choice for capturing high-quality images. However, the process of transferring these images to a computer can be daunting for some. Fear not, as we will navigate through this process together, demystifying each step to make it easily understandable for everyone.
In this comprehensive guide, you will learn the essential steps to successfully download pictures from your DSLR camera to your computer. From gathering the necessary equipment to organizing and editing your photos, each step is crucial in ensuring a smooth and efficient transfer process. By the end of this guide, you will be equipped with the knowledge and confidence to effortlessly manage your photography collection on your computer.
So, let's dive into the first step: gathering the equipment you'll need to initiate the picture transfer process.
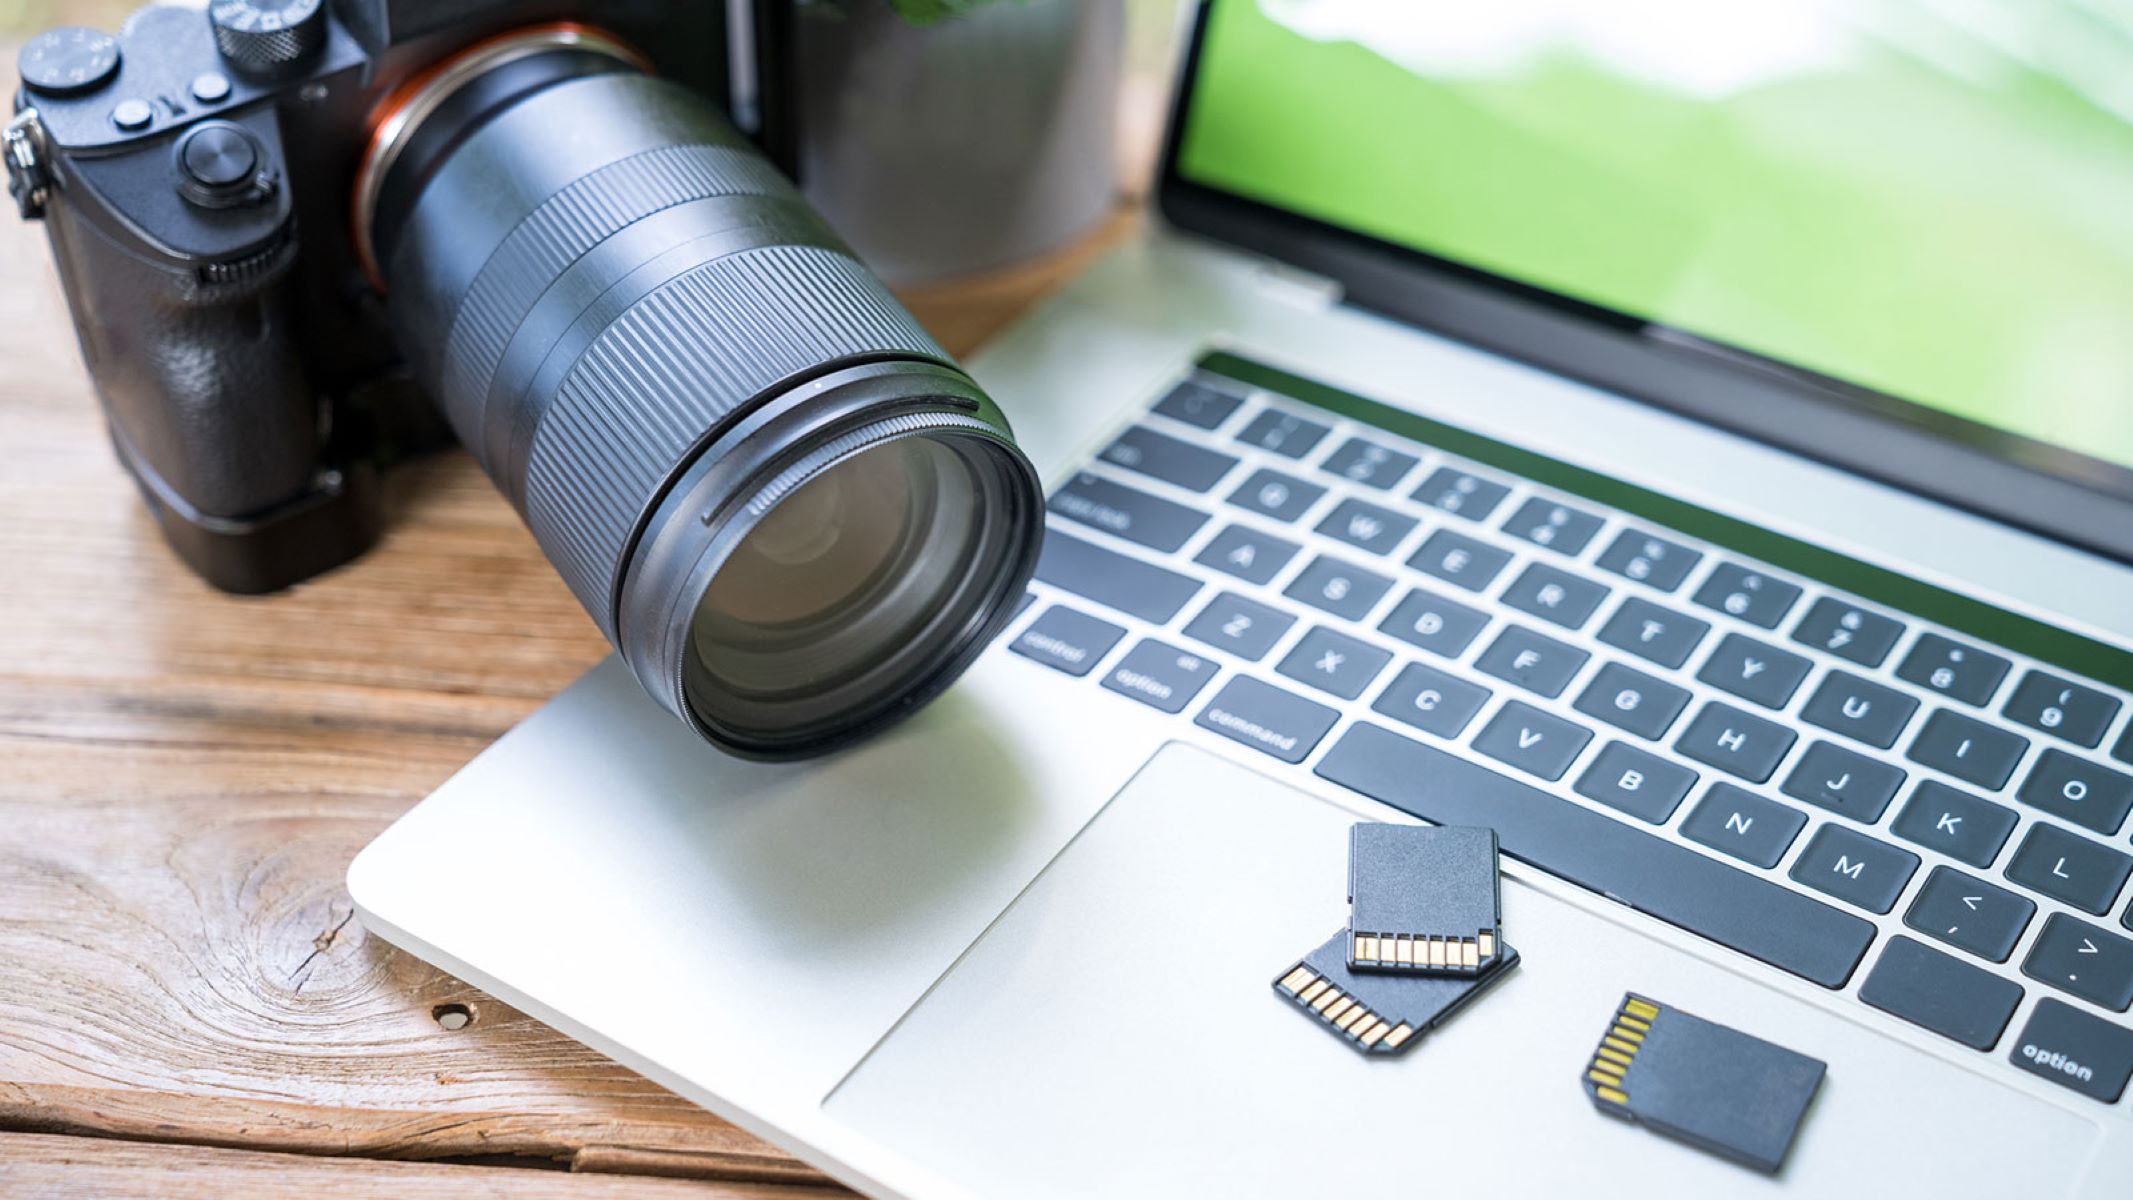
Step 1: Gather Your Equipment
Before embarking on the process of transferring pictures from your DSLR camera to your computer, it’s essential to gather the necessary equipment. Having the right tools at your disposal will ensure a seamless and efficient transfer, allowing you to preserve and manage your photographic memories effectively.
Here’s what you’ll need:
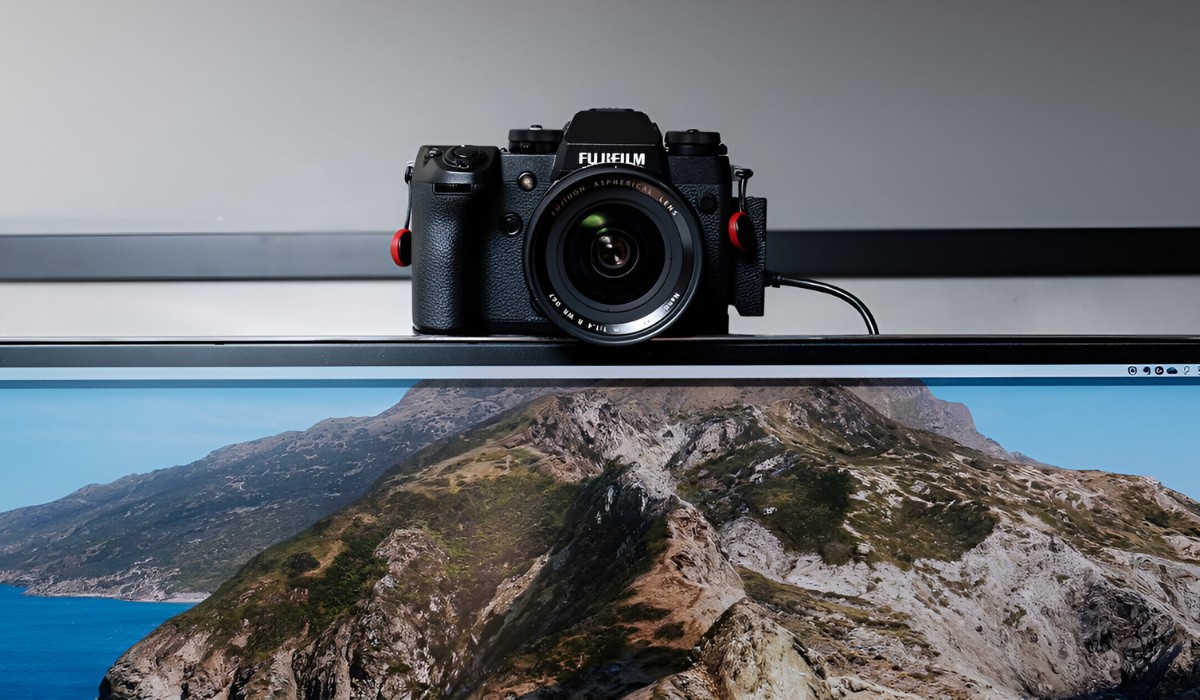
- DSLR Camera: Of course, the primary component of this process is your DSLR camera, equipped with the photos you wish to transfer. Ensure that the camera is powered on and in a ready state before initiating the transfer.
- Computer: You’ll need a computer or laptop with sufficient storage space to accommodate the transferred photos. Make sure the computer is powered on and has a functioning USB port for the connection.
- USB Cable: Most DSLR cameras come with a USB cable for connecting to a computer. If your camera uses a specific type of USB cable, ensure you have the compatible one on hand.
- Memory Card Reader (Optional): If your computer lacks a built-in SD card reader or your camera uses a different type of memory card, having an external memory card reader can be convenient for transferring photos directly from the memory card.
- Photo Editing Software: While not essential for the transfer process, having photo editing software installed on your computer can be beneficial for organizing and editing your photos after they have been transferred.
By gathering these essential pieces of equipment, you’ll be fully prepared to proceed with the process of connecting your DSLR camera to your computer and initiating the picture transfer. With everything in place, you can confidently move on to the next step, where we’ll guide you through the process of establishing a connection between your camera and computer.
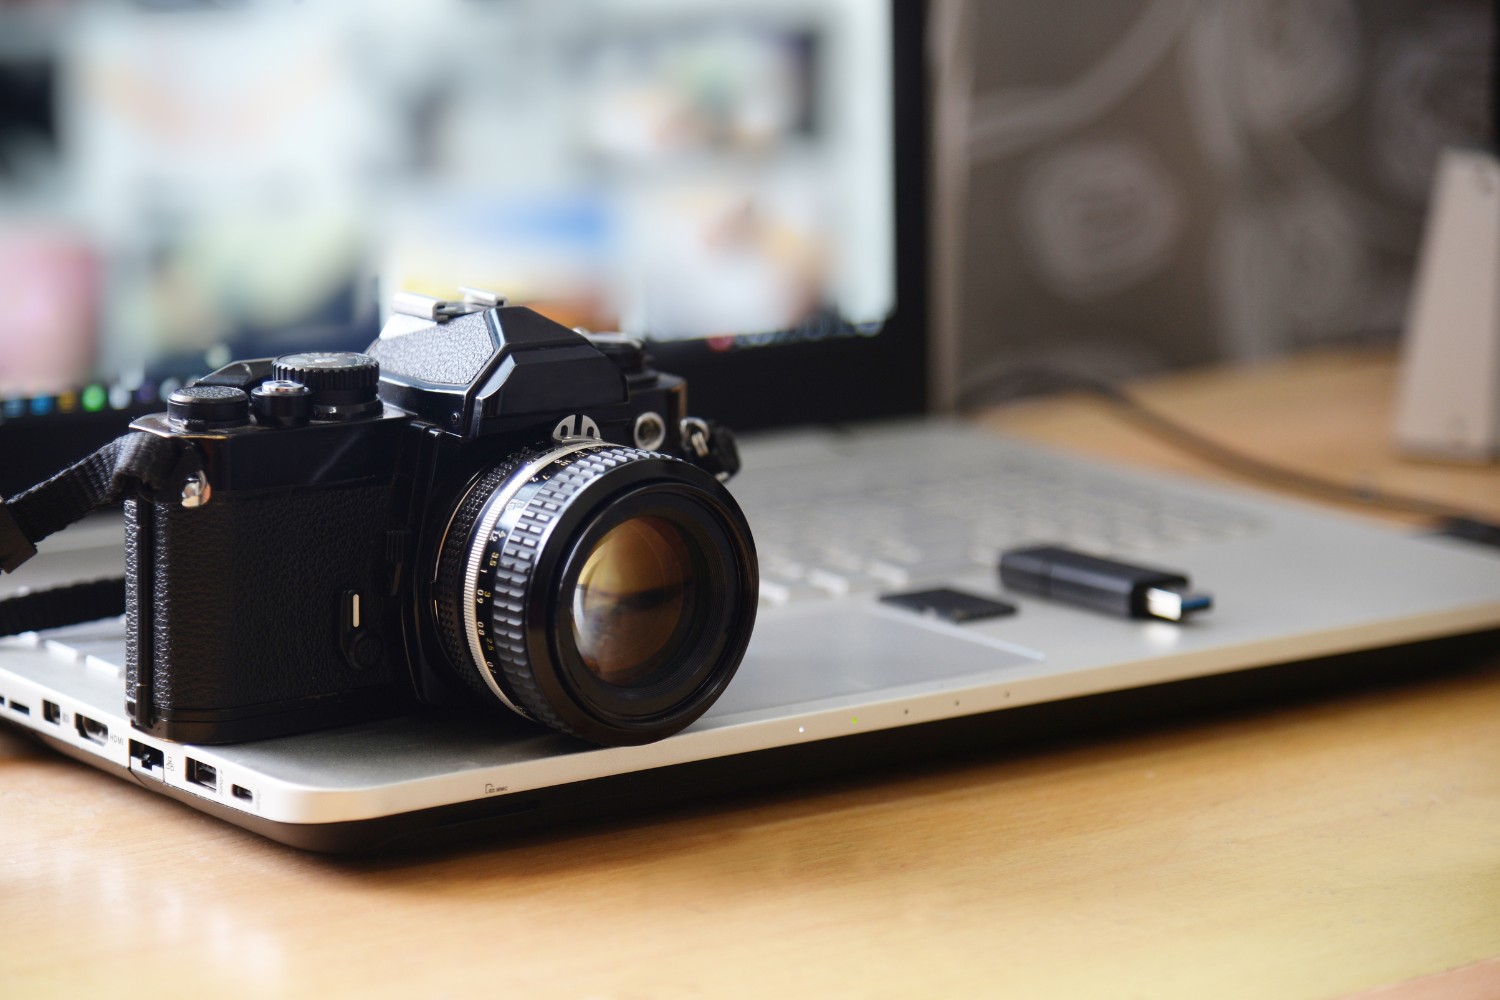
Step 2: Connect Your Camera to Your Computer
Now that you have gathered the necessary equipment, it’s time to establish a connection between your DSLR camera and your computer. This step is crucial in enabling the seamless transfer of your precious photos. Follow these simple guidelines to ensure a successful connection:
- Locate the USB Port: Begin by identifying the USB port on your DSLR camera. It is typically located on the side or back of the camera body. Once located, ensure that the port is clean and free from any debris that may hinder the connection.
- Connect the USB Cable: Take the USB cable that came with your camera or the compatible one you have prepared, and insert one end into the USB port on your camera. Ensure that the connection is secure to prevent any interruptions during the transfer process.
- Connect to Your Computer: With the USB cable connected to your camera, locate an available USB port on your computer. Insert the other end of the USB cable into the USB port on your computer, ensuring a secure connection.
- Power On Your Camera: Once the camera is connected to the computer, power it on. Some cameras may prompt you to select a USB transfer option. Follow the on-screen instructions if prompted, ensuring that the camera is set to the appropriate mode for data transfer.
- Computer Recognition: Upon establishing the connection, your computer should recognize the newly connected device. Depending on your operating system, you may receive a notification indicating that a new device has been detected.
By following these steps, you will have successfully connected your DSLR camera to your computer, laying the foundation for the seamless transfer of your photos. With the connection established, you can proceed to the next step, where we will delve into the process of transferring the pictures from your camera to your computer’s storage.
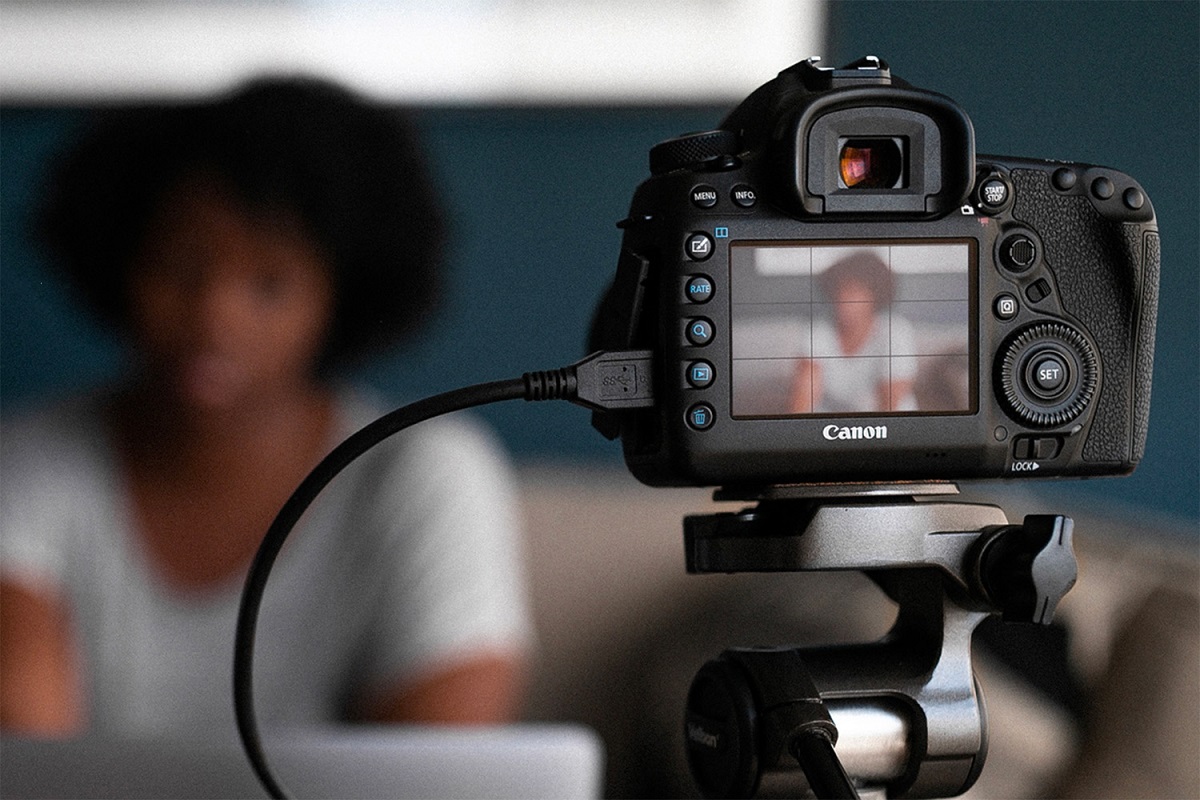
Step 3: Transfer the Pictures
With your DSLR camera successfully connected to your computer, it’s time to initiate the transfer of your cherished photos. This step involves moving the images from your camera’s storage to your computer, where you can conveniently store, organize, and access them. Follow these straightforward steps to seamlessly transfer your pictures:
- Locate the Camera Drive: On your computer, navigate to the file explorer or finder to locate the connected camera. Depending on your operating system, the camera may appear as a removable drive or device.
- Access the Photos: Once you have located the camera drive, open it to access the photos stored on your DSLR camera. You may find the photos organized into folders based on the date they were taken or other categorization methods set on your camera.
- Select and Copy: Choose the photos you wish to transfer to your computer. You can select individual photos, multiple photos, or entire folders based on your preferences. Once selected, copy the chosen photos by right-clicking and choosing the “Copy” option or using the keyboard shortcut for copying.
- Navigate to Your Computer’s Storage: After copying the photos from your camera, navigate to the location on your computer where you want to store the transferred photos. This can be a specific folder dedicated to your photography collection or any other location of your choice.
- Paste the Photos: Once in your desired storage location, paste the copied photos into the folder or directory. You can do this by right-clicking and choosing the “Paste” option or using the keyboard shortcut for pasting.
- Verify the Transfer: After pasting the photos, verify that the transfer is complete and that the photos are now stored on your computer. You can open the folder where you pasted the photos to confirm their presence and ensure that the transfer was successful.
By following these steps, you have effectively transferred the pictures from your DSLR camera to your computer, where they are now readily accessible for organization, editing, and sharing. With the transfer complete, you can proceed to the next step, where we will explore the process of organizing and editing your newly transferred photos.
Step 4: Organize and Edit Your Photos
Now that your photos have been successfully transferred to your computer, it’s time to organize and potentially edit them to enhance their visual appeal and ensure easy access. This step involves creating a structured system for managing your photos and making any necessary adjustments to enhance their quality. Follow these steps to effectively organize and edit your newly transferred photos:
- Create Folders and Albums: Begin by creating folders or albums on your computer to categorize your photos. You can organize them based on dates, events, locations, or any other criteria that suit your preferences. This organizational structure will make it easier to locate specific photos when needed.
- Rename and Tag Photos: Consider renaming your photos to provide descriptive titles that reflect their content. Additionally, you can utilize tagging features to add keywords or labels to your photos, further enhancing their searchability and categorization.
- Backup Your Photos: As a best practice, consider creating backups of your transferred photos to prevent any loss of data. You can utilize external hard drives, cloud storage services, or dedicated backup software to ensure the security and preservation of your photographic collection.
- Edit Your Photos (Optional): If desired, you can use photo editing software to make enhancements to your photos. This may include adjusting brightness, contrast, color balance, or applying creative filters to achieve the desired visual effects.
- Share and Showcase: Once your photos are organized and potentially edited, consider sharing them with friends, family, or online communities. You can create digital albums, slideshows, or printed photo books to showcase your photography and share your visual stories with others.
By following these steps, you have effectively organized and potentially edited your transferred photos, ensuring that they are easily accessible, well-categorized, and visually appealing. This process sets the stage for seamless photo management and allows you to showcase your photography in various formats. With your photos now organized and potentially enhanced, you have completed the essential steps for managing your photography collection on your computer.
Conclusion
Congratulations on successfully completing the process of downloading pictures from your DSLR camera to your computer! By following the step-by-step guide outlined in this article, you have gained the knowledge and confidence to manage your photography collection with ease and efficiency. From gathering the essential equipment to organizing and potentially editing your transferred photos, each step plays a crucial role in ensuring a seamless and enjoyable photography experience.
Transferring your cherished photos from your DSLR camera to your computer is not only a practical way to store and access them but also an opportunity to showcase your visual storytelling and creativity. By organizing your photos into structured folders, adding descriptive titles, and potentially making enhancements, you have transformed your photography collection into a well-curated visual narrative.
Remember, the process of downloading pictures from your DSLR camera to your computer is just the beginning of your photography journey. With your photos now readily accessible on your computer, you can explore endless possibilities for sharing, printing, and further refining your visual artistry.
Whether you’re a photography enthusiast, a professional photographer, or someone who simply enjoys capturing life’s moments, the ability to seamlessly transfer, organize, and potentially enhance your photos is a valuable skill that empowers you to preserve and share your visual stories for years to come.
Embrace the creativity and storytelling embedded in your photography, and continue to explore the boundless opportunities for showcasing your visual artistry. With your photography collection now seamlessly integrated into your computer, you are well-equipped to embark on new photographic endeavors and share your visual narratives with the world.