Choosing the Right Display Method
When it comes to showcasing the beauty and intricate details of a DSLR camera, choosing the right display method is crucial. Whether you are aiming to capture the camera in its natural environment or create a visually appealing display in a studio setting, the method you choose can significantly impact the overall presentation. Here are some essential considerations to keep in mind when selecting the ideal display method for your DSLR camera.
Showcasing in a Natural Environment
Displaying a DSLR camera in a natural environment can create a captivating and authentic presentation. Consider photographing the camera in outdoor settings such as a lush garden, a serene lakeside, or a bustling urban street to convey a sense of versatility and adaptability. Utilize the natural elements and lighting to enhance the camera's features, capturing its ability to perform seamlessly in various conditions.
Studio Display
Opting for a studio display allows for complete control over the lighting, background, and overall composition of the image. This method is ideal for highlighting specific features of the DSLR camera with precision and attention to detail. Experiment with different backdrops, lighting setups, and props to create a visually striking display that accentuates the camera's design and functionality.
Close-Up Shots
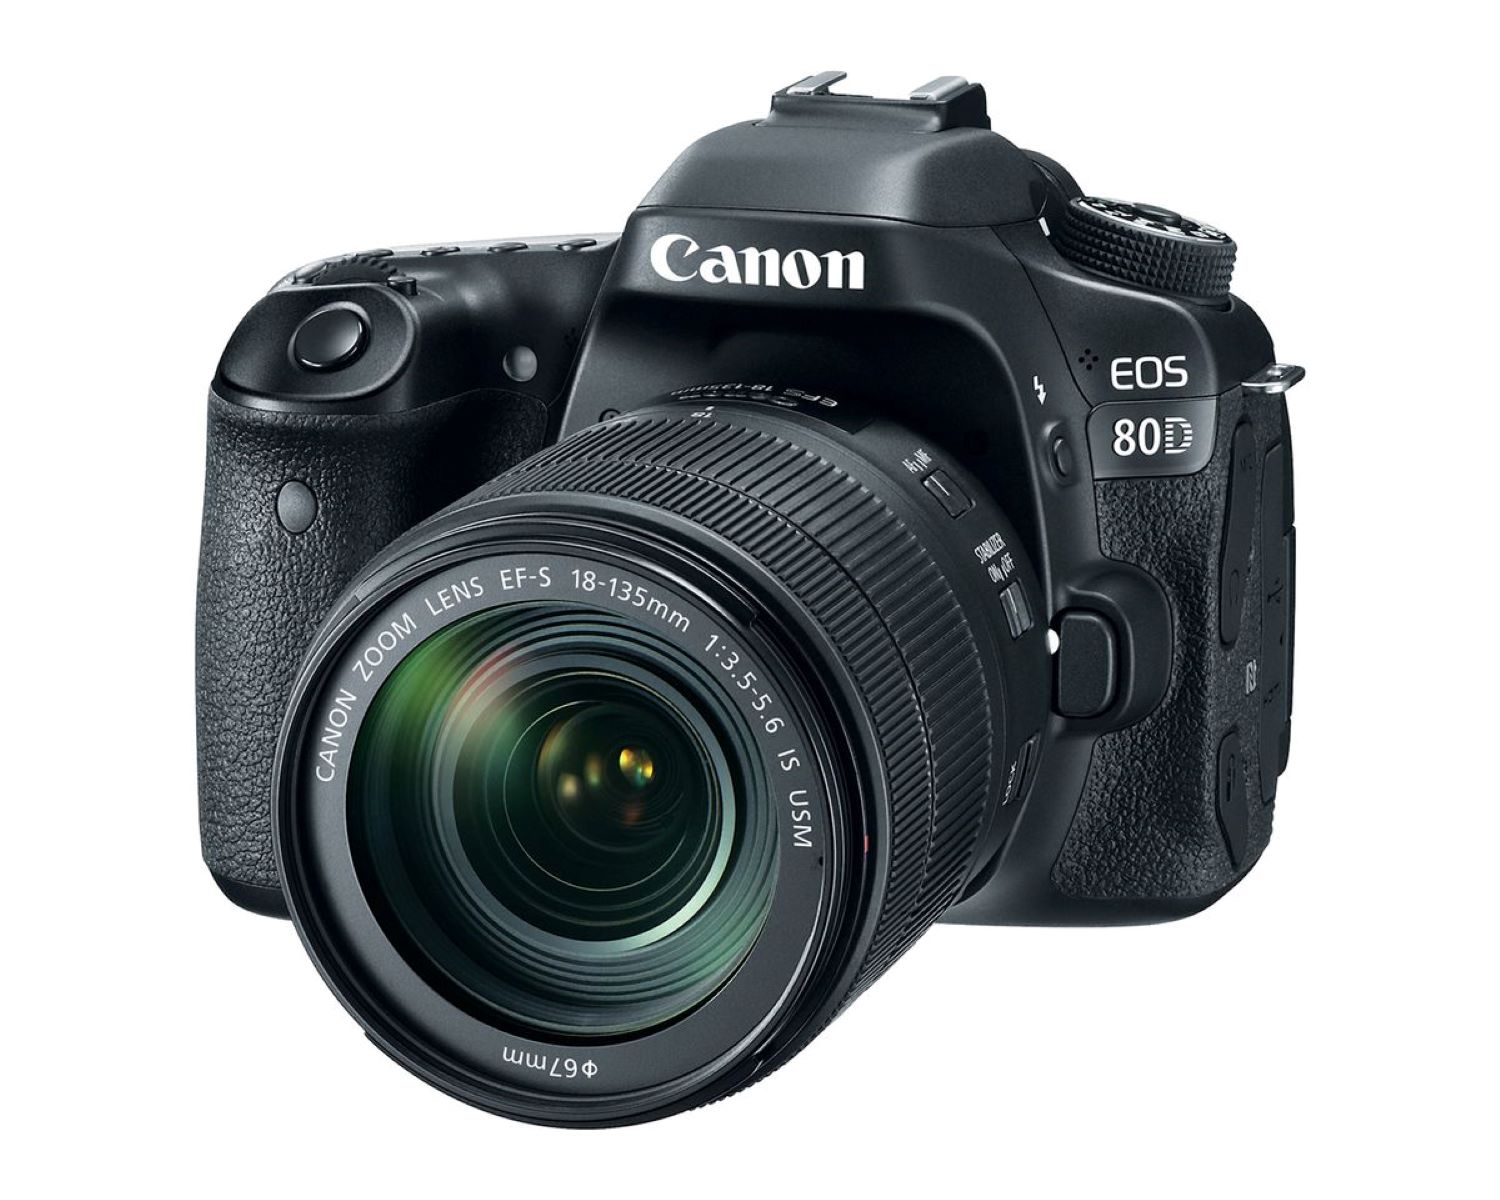
Close-up shots are perfect for emphasizing the intricate details of the DSLR camera. Whether it's the texture of the camera body, the precision of the lens, or the fine adjustments on the controls, close-up shots offer a compelling way to showcase the craftsmanship and quality of the camera. Utilize macro lenses to capture stunning close-up images that highlight the camera's superior build and design.
Lifestyle Display
Incorporating the DSLR camera into real-life scenarios can resonate with potential buyers on a personal level. Consider showcasing the camera being used in various settings, such as a professional photoshoot, a family gathering, or a travel adventure. By illustrating the camera's role in capturing meaningful moments, you can evoke an emotional connection and demonstrate its practicality in everyday life.
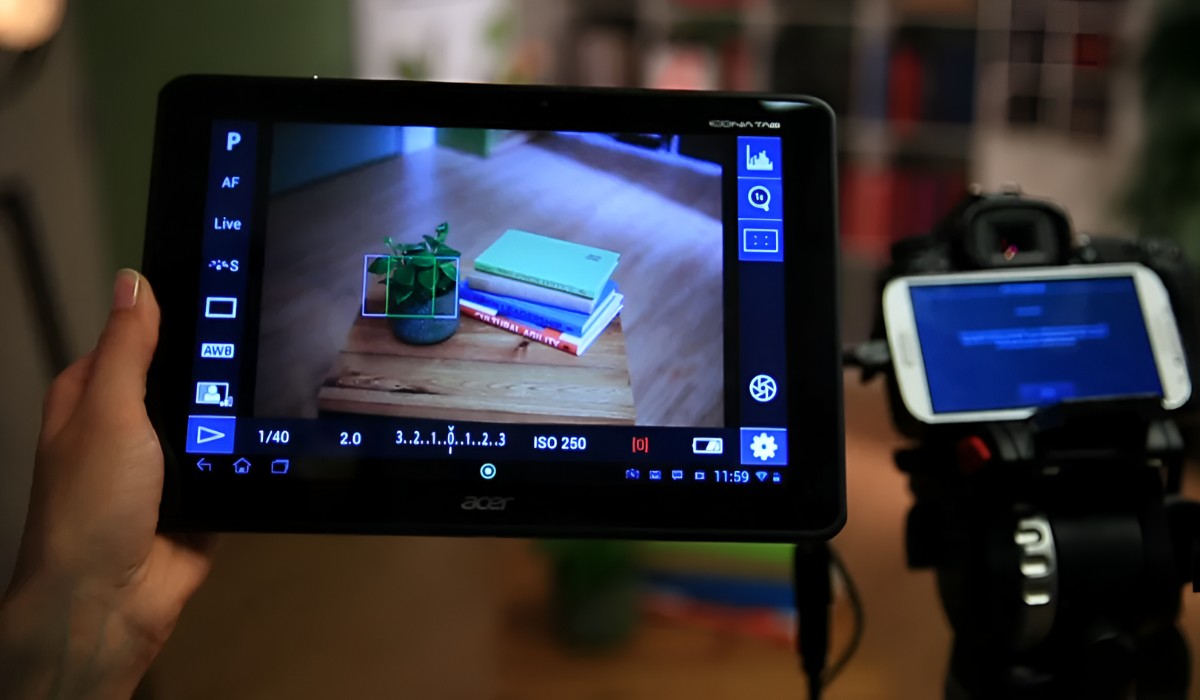
Product Demonstration
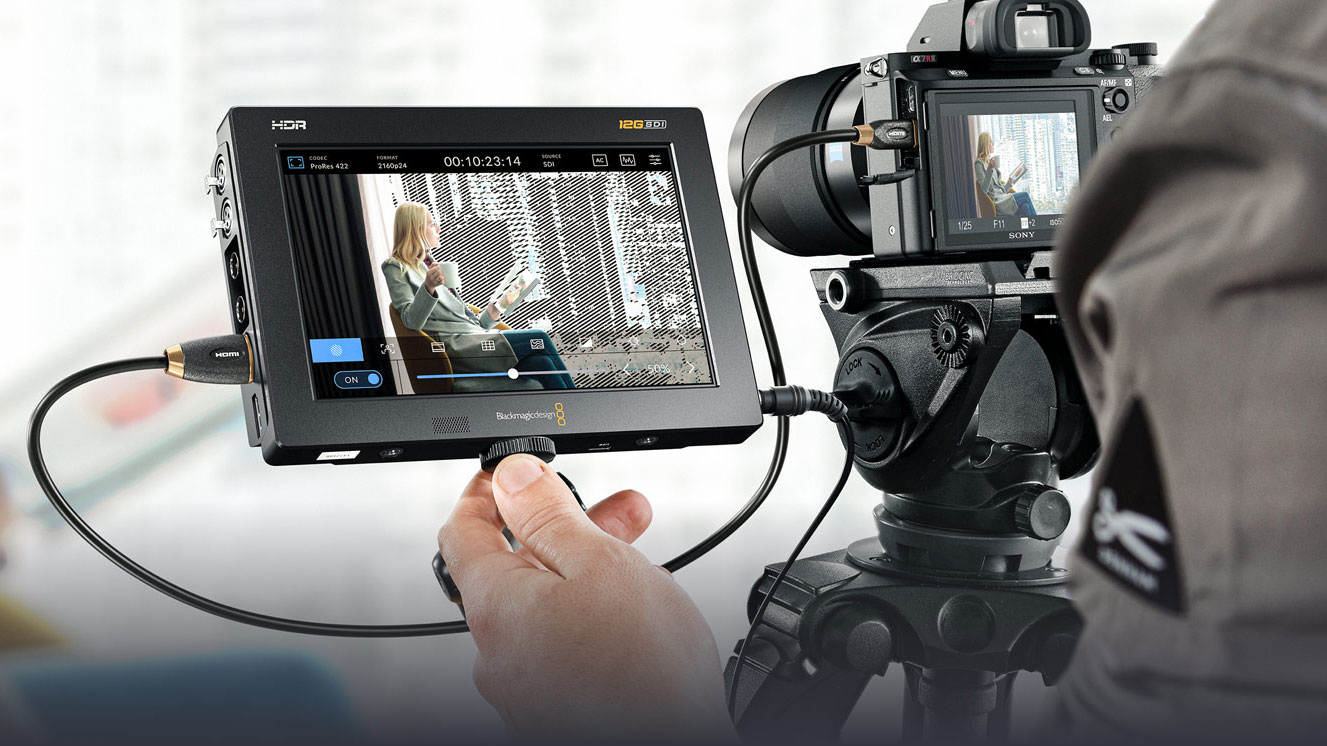
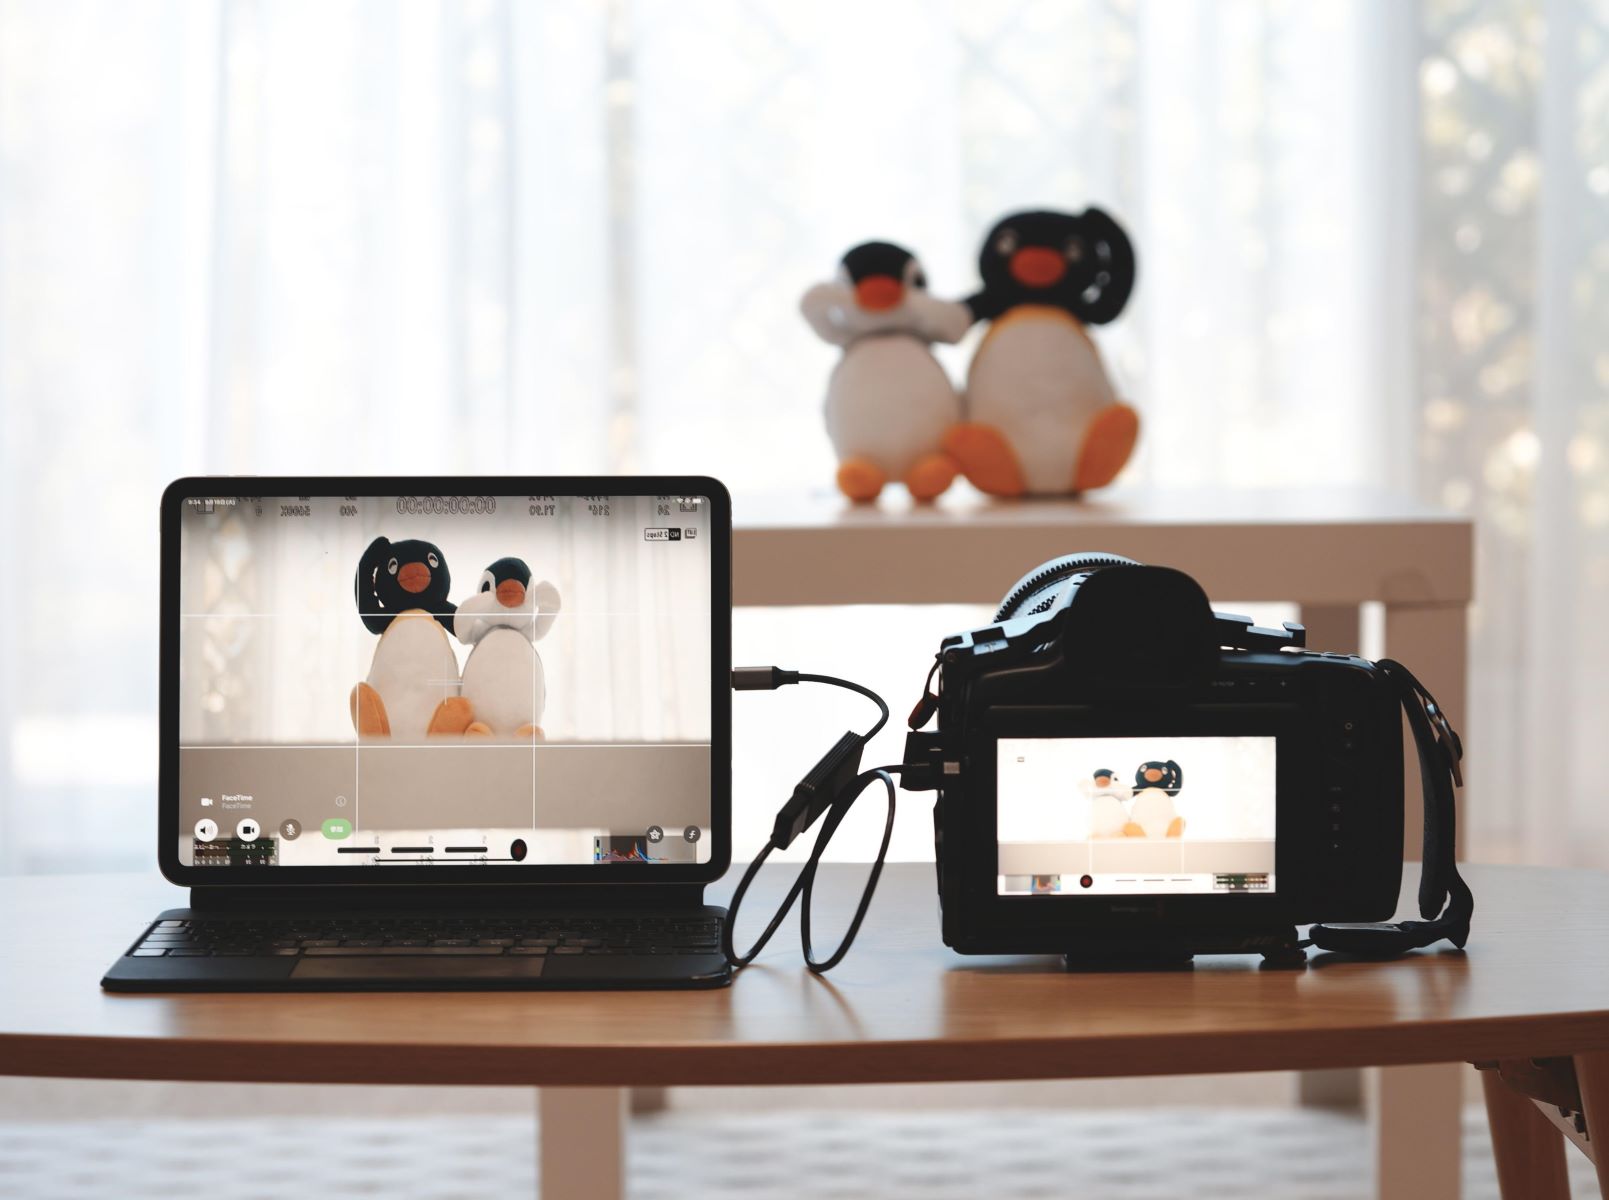
A product demonstration display method allows potential buyers to see the DSLR camera in action. Create engaging videos or series of images that showcase the camera's features, functionality, and performance. Highlight its autofocus capabilities, low-light performance, and video recording quality to provide a comprehensive overview of the camera's capabilities.
In selecting the right display method for your DSLR camera, consider the target audience, the intended message, and the unique selling points of the camera. By choosing a method that effectively communicates the camera's strengths and versatility, you can create a compelling display that captures the attention of potential buyers and enthusiasts alike.
Using a Tripod for Stability
When it comes to capturing stunning images of a DSLR camera, stability is paramount. The use of a tripod provides the necessary steadiness to achieve sharp, clear photographs that effectively showcase the camera’s features. Whether you are shooting in a studio, outdoors, or in low-light conditions, employing a tripod can significantly enhance the quality of your display. Here’s how utilizing a tripod can elevate the presentation of your DSLR camera.
Eliminating Camera Shake
One of the primary advantages of using a tripod is its ability to eliminate camera shake, especially in low-light environments or when using longer exposure times. By securing the DSLR camera on a stable platform, you can avoid the blurriness and loss of detail that often result from handheld photography. This is particularly beneficial when highlighting the fine details and intricate design of the camera.
Precision and Consistency
Using a tripod ensures precision and consistency in framing your shots. Whether you are capturing the camera from different angles or showcasing specific features, the tripod allows you to maintain a consistent composition throughout the display. This level of precision is essential for creating a cohesive and professional presentation that effectively communicates the camera’s attributes.
Long Exposure Photography
For long exposure photography, such as capturing the mesmerizing light trails of a cityscape at night or the serene flow of a waterfall, a tripod is indispensable. It provides the stability required to achieve stunning long exposure shots without any blurring or distortion, allowing you to emphasize the camera’s exceptional low-light performance and image stabilization capabilities.
Flexibility in Composition
Using a tripod offers the flexibility to experiment with various compositions and angles. Whether you are displaying the DSLR camera in a studio setup or amidst a natural backdrop, the stability provided by the tripod enables you to explore creative compositions and perspectives. This flexibility can result in captivating images that effectively highlight the camera’s versatility and design.
Professional Presentation
Employing a tripod conveys a sense of professionalism and attention to detail in the display of the DSLR camera. It demonstrates a commitment to presenting the camera in the best possible light, both figuratively and literally. This meticulous approach to stability and composition can leave a lasting impression on potential buyers and photography enthusiasts.
By utilizing a tripod for stability, you can elevate the overall presentation of your DSLR camera, ensuring that its features and capabilities are showcased with clarity and precision. Whether you are aiming to capture the camera’s design, performance, or versatility, the use of a tripod can significantly enhance the visual impact of your display.
Adjusting the Camera Settings
Properly adjusting the camera settings is essential to effectively showcase the capabilities and features of a DSLR camera. Whether you are aiming to highlight its low-light performance, dynamic range, or autofocus precision, optimizing the camera settings can significantly enhance the overall display. Here are the key considerations when adjusting the camera settings to capture the best possible images of the DSLR camera.
Optimizing Aperture, Shutter Speed, and ISO
Understanding and adjusting the fundamental exposure settings—aperture, shutter speed, and ISO—is crucial for capturing high-quality images of the DSLR camera. By optimizing the aperture, you can control the depth of field, ensuring that the camera’s features are showcased with clarity while creating a pleasing background blur. Adjusting the shutter speed allows for precise control over motion blur and sharpness, especially when highlighting the camera’s fast-action capabilities. Additionally, fine-tuning the ISO settings enables you to capture clear, noise-free images, particularly in challenging lighting conditions.
Utilizing White Balance for Accurate Color Representation
White balance plays a pivotal role in accurately representing the colors of the DSLR camera. By adjusting the white balance settings, you can ensure that the hues and tones of the camera are faithfully reproduced in the images. Whether you are showcasing the camera’s vibrant color options or its ability to capture true-to-life tones, proper white balance adjustment is essential for conveying the camera’s color accuracy.
Customizing Picture Styles and Presets
Many DSLR cameras offer customizable picture styles and presets that allow you to tailor the look and feel of the images. By selecting the appropriate picture style, such as vivid, neutral, or monochrome, you can effectively showcase the camera’s diverse imaging capabilities and the unique aesthetic it can deliver. Additionally, utilizing presets for specific shooting scenarios, such as landscapes, portraits, or action shots, can demonstrate the camera’s adaptability and performance across various photographic genres.
Fine-Tuning Autofocus and Metering Modes
Ensuring precise autofocus and accurate metering is crucial for capturing sharp, well-exposed images of the DSLR camera. By fine-tuning the autofocus modes and selecting the appropriate focus points, you can demonstrate the camera’s ability to swiftly and accurately capture subjects. Additionally, adjusting the metering modes allows you to showcase the camera’s dynamic range and exposure accuracy, especially in challenging lighting conditions.
Shooting in RAW Format for Maximum Flexibility
Shooting in RAW format provides maximum flexibility in post-processing and allows you to capture the full potential of the DSLR camera’s image sensor. RAW files retain all the image data captured by the camera, enabling you to showcase the camera’s exceptional image quality and dynamic range. This format also allows for extensive adjustments in post-production, demonstrating the camera’s capacity for producing professional-grade images.
By meticulously adjusting the camera settings, you can capture compelling images that effectively showcase the capabilities and features of the DSLR camera. Whether you are aiming to highlight its imaging prowess, color accuracy, or versatility in various shooting scenarios, optimizing the camera settings is essential for creating a visually impactful display.
Positioning the Camera for the Best Angle
Positioning the DSLR camera to capture the best angle is crucial for presenting its design, features, and functionality in the most compelling way. Whether you are aiming to showcase the camera’s sleek aesthetics, intuitive controls, or versatile lens options, the angle at which the camera is displayed can significantly impact its visual appeal. Here are key considerations for positioning the DSLR camera to capture the best possible angles and perspectives.
Highlighting Design Elements
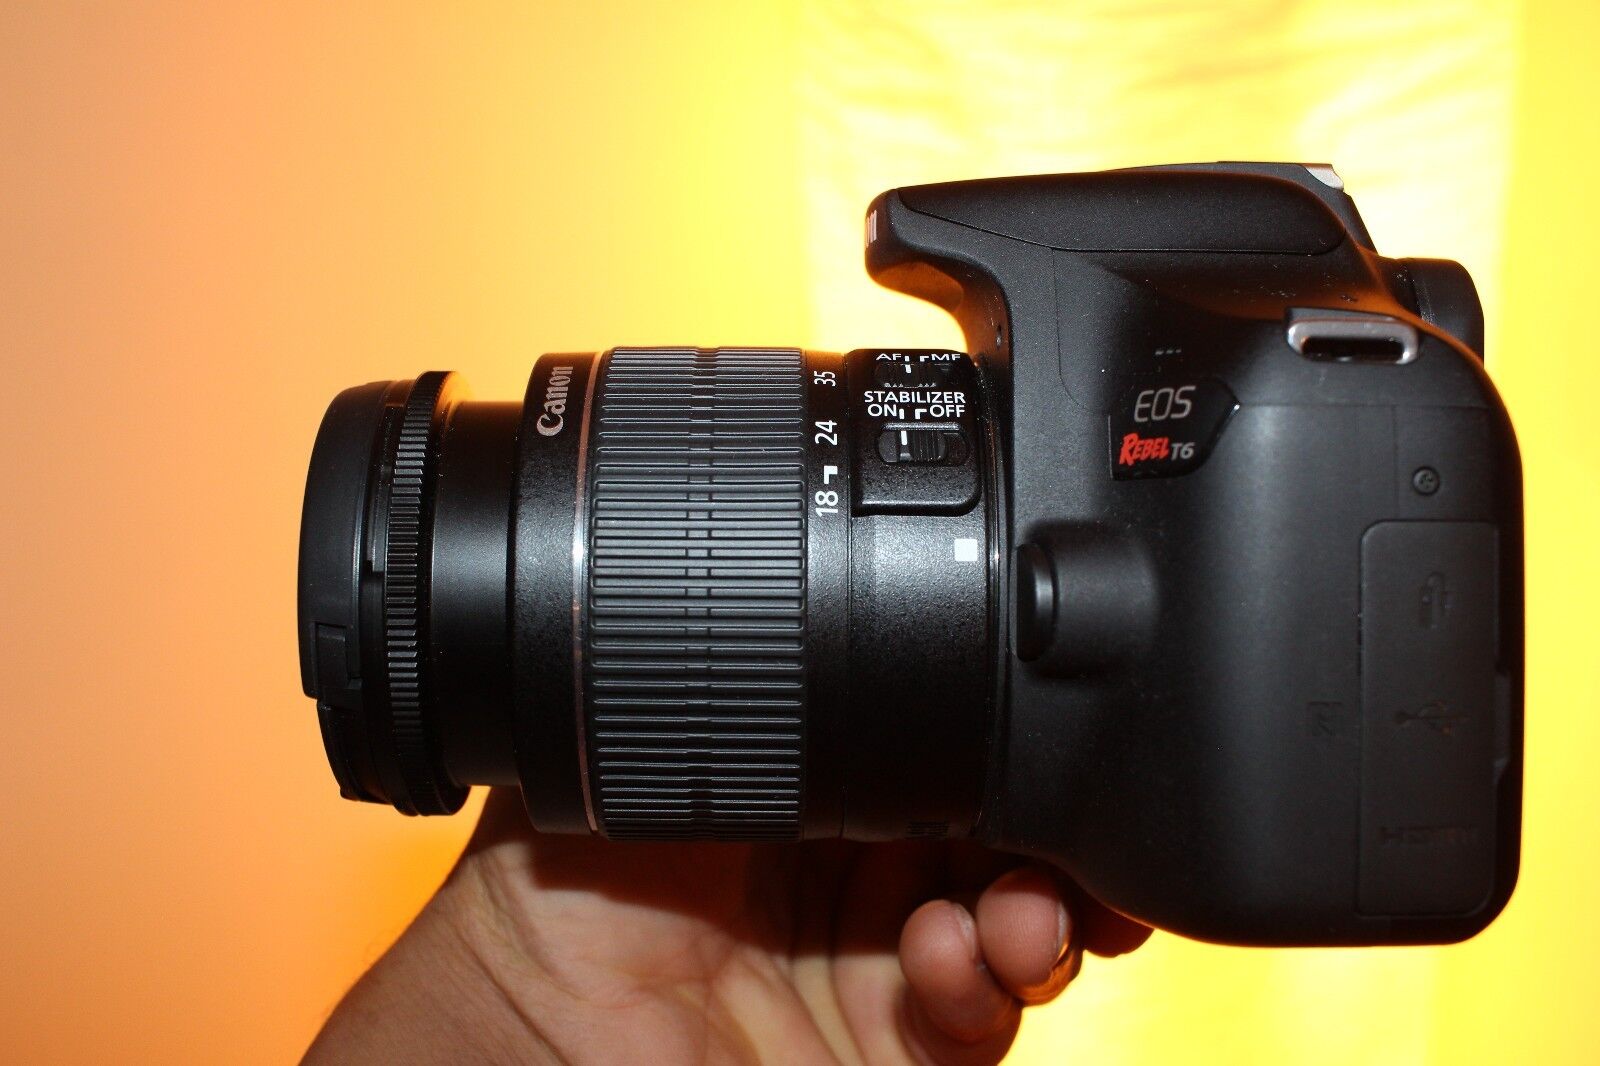
When positioning the DSLR camera, consider angles that accentuate its design elements. Showcase the camera’s ergonomic grip, intuitive button layout, and sleek contours by capturing angles that highlight these features. Emphasizing the camera’s design aesthetics can effectively convey its premium build quality and user-friendly ergonomics, appealing to both photography enthusiasts and potential buyers.
Emphasizing Lens Versatility
Positioning the camera to emphasize the versatility of its interchangeable lenses can showcase the breadth of creative possibilities it offers. Capture angles that demonstrate the ease of swapping lenses, the expansive focal range, and the exceptional optical quality. By highlighting the camera’s lens options, you can convey its adaptability across diverse photographic genres, from wide-angle landscapes to telephoto portraits.
Showcasing Control Accessibility
When positioning the DSLR camera, ensure that the accessibility and functionality of its controls are prominently displayed. Capture angles that showcase the intuitive placement of dials, buttons, and touchscreen interfaces, highlighting the camera’s user-friendly design and ease of operation. This approach allows potential buyers to visualize the camera’s intuitive control layout and ergonomic usability.
Exploring Creative Perspectives
Experiment with unconventional angles and perspectives to create visually engaging displays of the DSLR camera. Capture low-angle shots to convey a sense of authority and power, or explore high-angle perspectives to showcase the camera’s compactness and portability. By exploring creative perspectives, you can present the camera in a fresh and captivating light, appealing to the creativity of photography enthusiasts.
Contextualizing the Environment
Consider positioning the DSLR camera within its intended environment to provide context and narrative. Whether it’s capturing the camera in a professional studio setup, amidst a vibrant urban landscape, or in the midst of a picturesque natural setting, contextualizing the environment can add depth and storytelling to the display. This approach allows potential buyers to envision the camera’s adaptability and performance in real-world scenarios.
By strategically positioning the DSLR camera to capture the best angles and perspectives, you can create a visually compelling display that effectively communicates its design, versatility, and performance. Whether you are highlighting its aesthetics, lens options, user-friendly controls, or creative potential, the right positioning can elevate the overall presentation of the camera.
Using Natural Light for a Better Display
Harnessing the beauty of natural light is a powerful way to enhance the display of a DSLR camera, allowing its features and design to shine with clarity and authenticity. Whether you are showcasing the camera in outdoor settings or utilizing natural light in a studio environment, the use of sunlight can significantly elevate the visual impact of the display. Here are the key benefits and considerations for using natural light to create a captivating and authentic presentation of a DSLR camera.
Accentuating Textures and Details
Natural light has a remarkable ability to accentuate the textures and details of a DSLR camera. When positioned strategically, sunlight can create captivating highlights and shadows, revealing the intricate craftsmanship of the camera’s body, lens, and controls. This emphasis on textures and details conveys a sense of authenticity and craftsmanship, appealing to photography enthusiasts and potential buyers who appreciate fine design.
Creating Dynamic and Natural Tones
The use of natural light results in dynamic and natural tones that accurately represent the colors and finishes of the DSLR camera. Whether the camera features a sleek metallic body, a matte finish, or vibrant color accents, natural light allows for faithful color reproduction and tonal richness. This authenticity in color representation can effectively convey the camera’s visual appeal and aesthetic characteristics.
Utilizing Soft, Diffused Light
Soft, diffused natural light, such as that found on overcast days or during the golden hours of sunrise and sunset, can create a flattering and gentle illumination for the DSLR camera display. This type of light minimizes harsh shadows and highlights, resulting in a balanced and pleasing presentation of the camera. Utilizing soft, diffused light can evoke a sense of tranquility and sophistication, enhancing the camera’s visual allure.
Emphasizing Environmental Adaptability
Positioning the DSLR camera in natural light environments, such as lush gardens, urban landscapes, or scenic outdoor settings, allows you to convey its adaptability to diverse lighting conditions. By showcasing the camera in natural light, potential buyers can visualize its performance and imaging capabilities in real-world scenarios, reinforcing its versatility and ability to capture stunning images in various environments.
Capturing Authentic Lifestyle Scenarios
Utilizing natural light to capture the DSLR camera in authentic lifestyle scenarios, such as during a portrait session in a sunlit park or amidst the golden hues of a sunset, can evoke a sense of realism and emotional connection. This approach allows potential buyers to envision the camera’s role in capturing genuine moments, emphasizing its ability to preserve memories and emotions in a natural and authentic manner.
By leveraging natural light for the display of a DSLR camera, you can create a visually captivating and authentic presentation that effectively communicates its design, features, and adaptability. Whether you are aiming to highlight its craftsmanship, color accuracy, or real-world performance, the use of natural light can elevate the overall visual impact of the camera’s display.