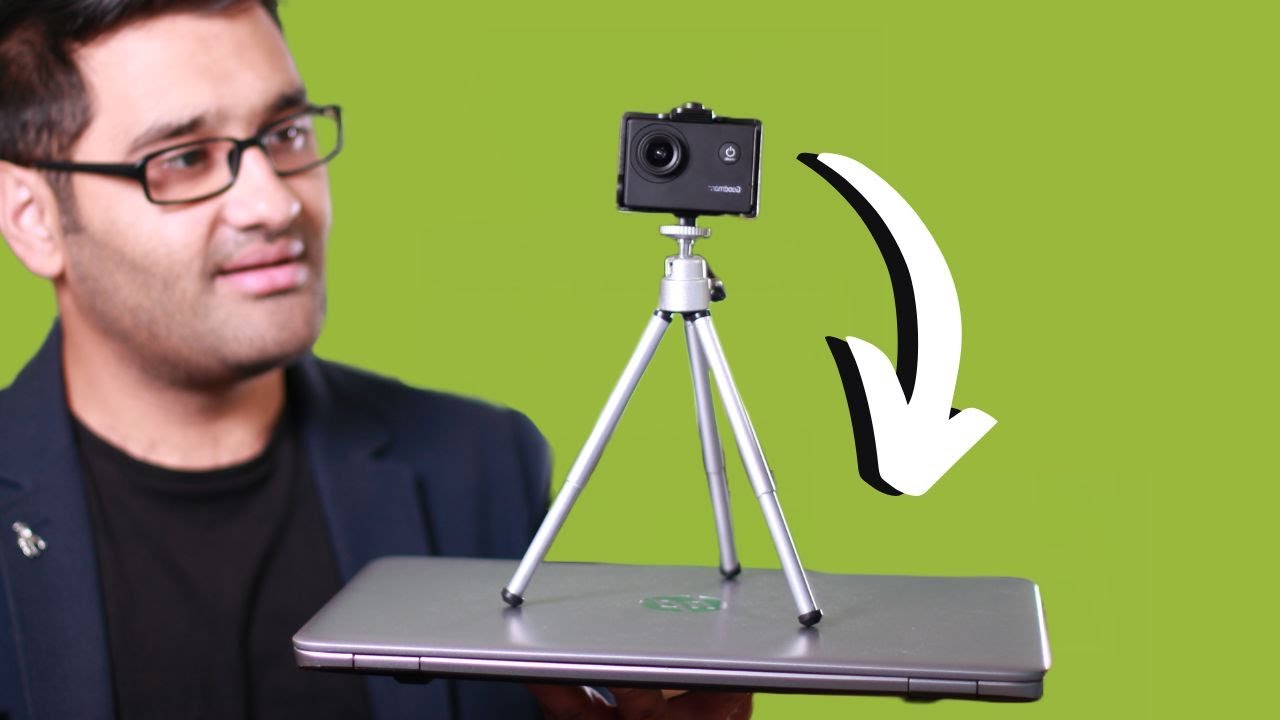
Introduction
Connecting an action camera to a laptop opens up a world of possibilities, allowing you to transfer files, access camera settings, and even use your laptop as a monitor or control panel for your camera. Whether you're a photography enthusiast, a vlogger, or someone who simply wants to manage their action camera files more efficiently, understanding how to connect your action camera to your laptop is a valuable skill.
By establishing a direct connection between your action camera and laptop, you can streamline the process of transferring and organizing your footage. This not only saves time but also provides the convenience of accessing and viewing your files on a larger screen. Additionally, connecting your action camera to your laptop can facilitate firmware updates, file management, and even live streaming in some cases.
In this guide, we will walk you through the step-by-step process of connecting your action camera to your laptop. From checking the ports and cables to transferring files and accessing camera settings, you will gain a comprehensive understanding of how to seamlessly integrate your action camera with your laptop. Whether you're using a GoPro, DJI Osmo, or any other action camera, these steps are designed to help you establish a reliable and efficient connection.
So, if you're ready to harness the full potential of your action camera and elevate your photography or videography experience, let's dive into the process of connecting your action camera to your laptop.
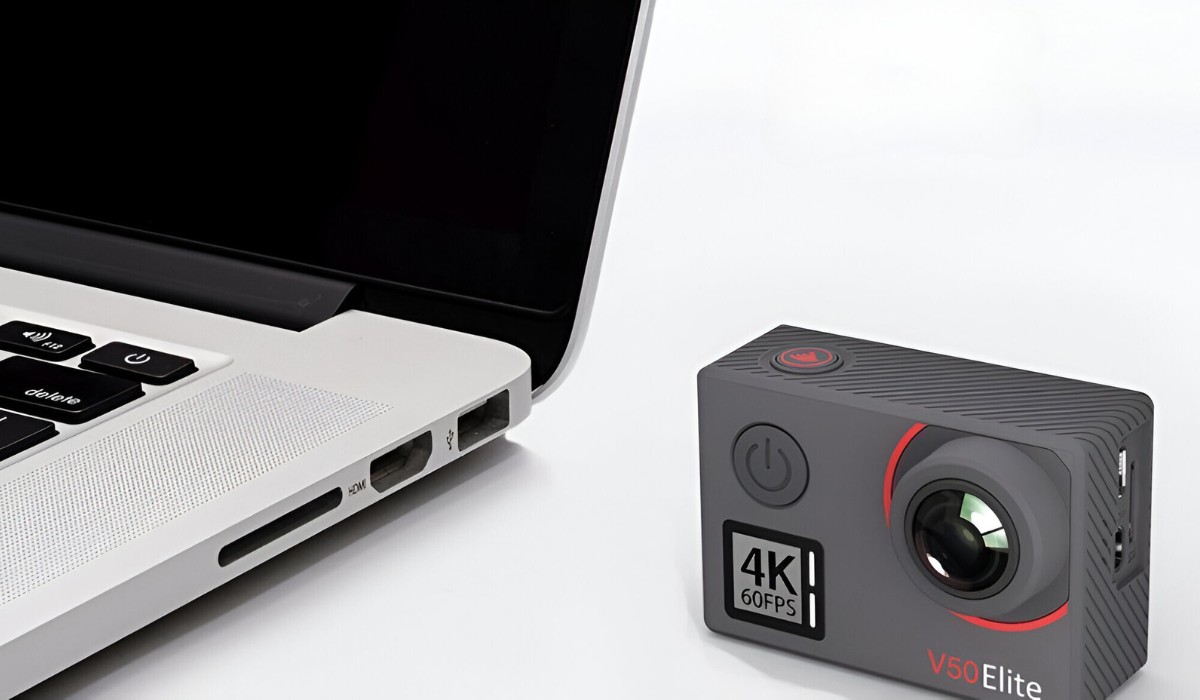
Step 1: Check the ports and cables
Before connecting your action camera to your laptop, it’s essential to assess the available ports and cables on both devices. Most action cameras feature a micro USB or USB-C port for data transfer and charging, while laptops typically include USB ports, USB-C ports, or Thunderbolt ports. Here’s how to proceed:
- Identify the ports: Examine your action camera and laptop to identify the specific ports available. If your action camera uses a micro USB port, ensure that your laptop has a compatible USB port or an adapter to facilitate the connection.
- Check for USB-C or Thunderbolt compatibility: If your action camera and laptop both feature USB-C or Thunderbolt ports, you may be able to establish a direct connection using a compatible cable without the need for adapters.
- Assess the cable requirements: Determine the type of cable required to connect your action camera to your laptop. Whether it’s a micro USB to USB-A cable, a USB-C to USB-C cable, or a USB-C to Thunderbolt cable, having the appropriate cable is crucial for seamless connectivity.
- Verify the laptop’s capabilities: Some laptops support data transfer and charging through their USB-C or Thunderbolt ports, while others may require specific drivers or software for recognizing and accessing external devices. Ensure that your laptop is equipped to handle the data transfer from your action camera.
By thoroughly examining the ports and cables on both your action camera and laptop, you can preemptively address any compatibility issues and prepare the necessary connections for a smooth integration process. This proactive approach minimizes the risk of encountering connectivity hurdles and ensures that you have the required components to proceed to the next step.
Step 2: Install necessary software
Before establishing a connection between your action camera and laptop, it’s important to ensure that your laptop has the requisite software to recognize and interact with the camera. While some operating systems may automatically detect and install the necessary drivers for basic functionality, installing specific software can enhance the overall user experience and provide access to advanced features. Here’s how to proceed:
- Check for manufacturer-provided software: Visit the official website of your action camera’s manufacturer to identify any proprietary software or drivers designed for seamless integration with your laptop. Manufacturers often offer dedicated applications that enable file transfer, firmware updates, and remote camera control.
- Download and install the software: Once you’ve identified the appropriate software for your action camera, download it from the manufacturer’s website and follow the installation instructions. Ensure that you’re downloading the correct version compatible with your laptop’s operating system.
- Explore third-party solutions: In addition to manufacturer-provided software, there are third-party applications that offer extended functionality for managing and controlling action cameras from a laptop. Research and consider these options based on user reviews and compatibility with your specific camera model.
- Update existing software: If you’ve previously installed software for your action camera, check for updates to ensure that you have the latest features and compatibility enhancements. Keeping the software up to date can address potential compatibility issues and improve the overall performance of the connection.
By installing the necessary software tailored to your action camera and laptop, you can unlock a host of capabilities that extend beyond basic file transfer. These applications often provide intuitive interfaces for managing your media, adjusting camera settings, and even live streaming from your action camera directly to your laptop. With the software in place, you’ll be well-prepared to seamlessly connect your action camera and explore its full potential.
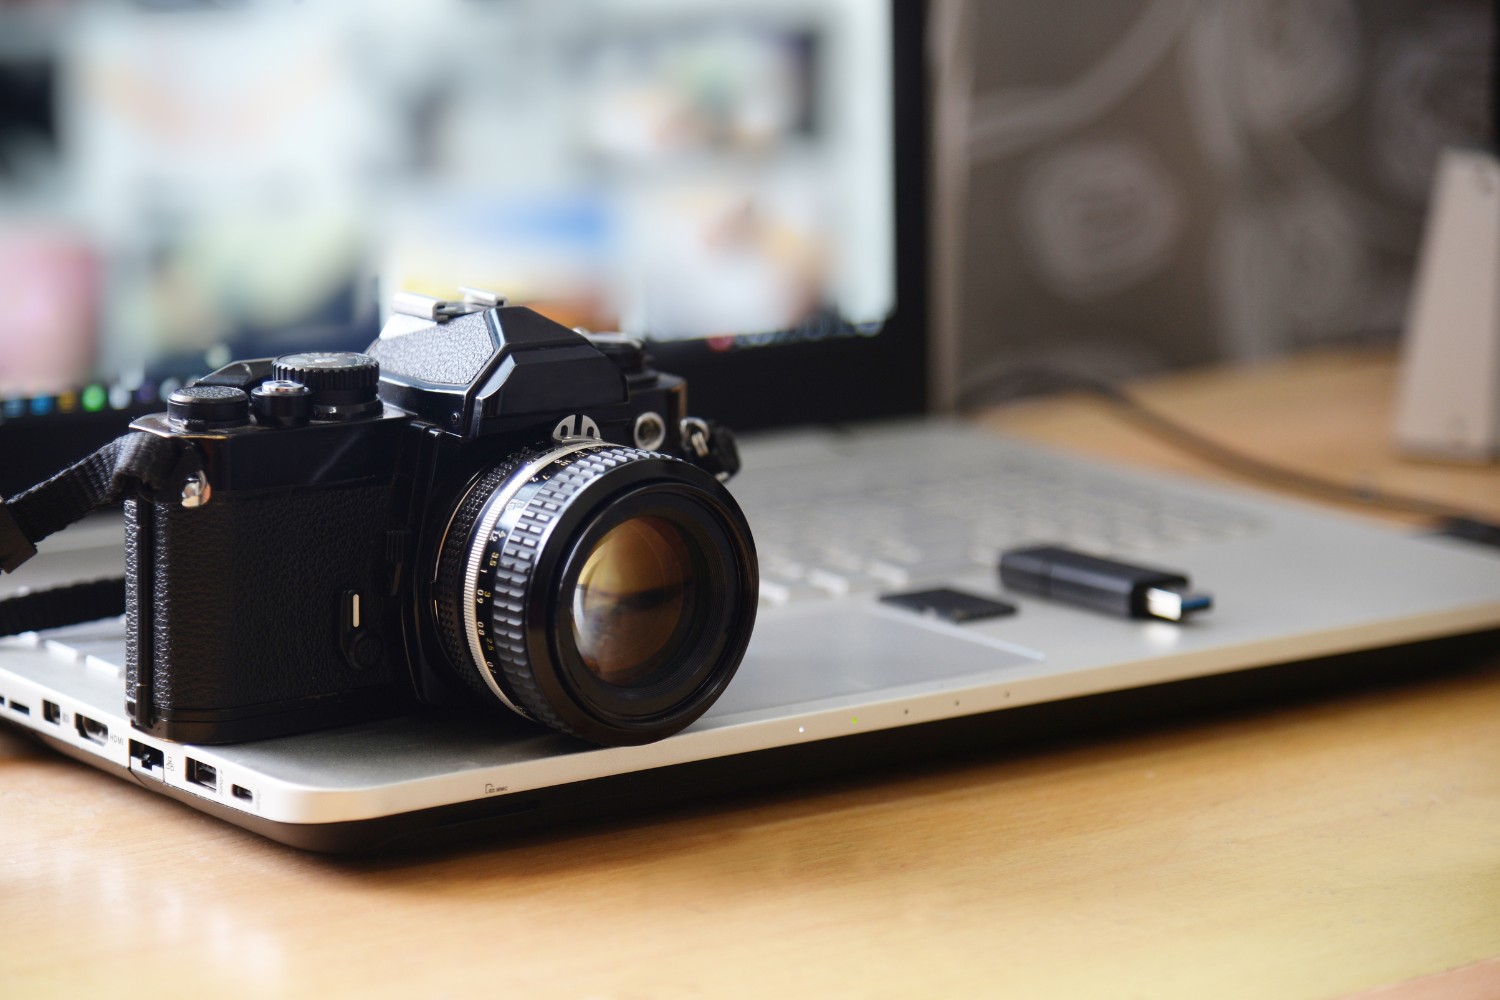
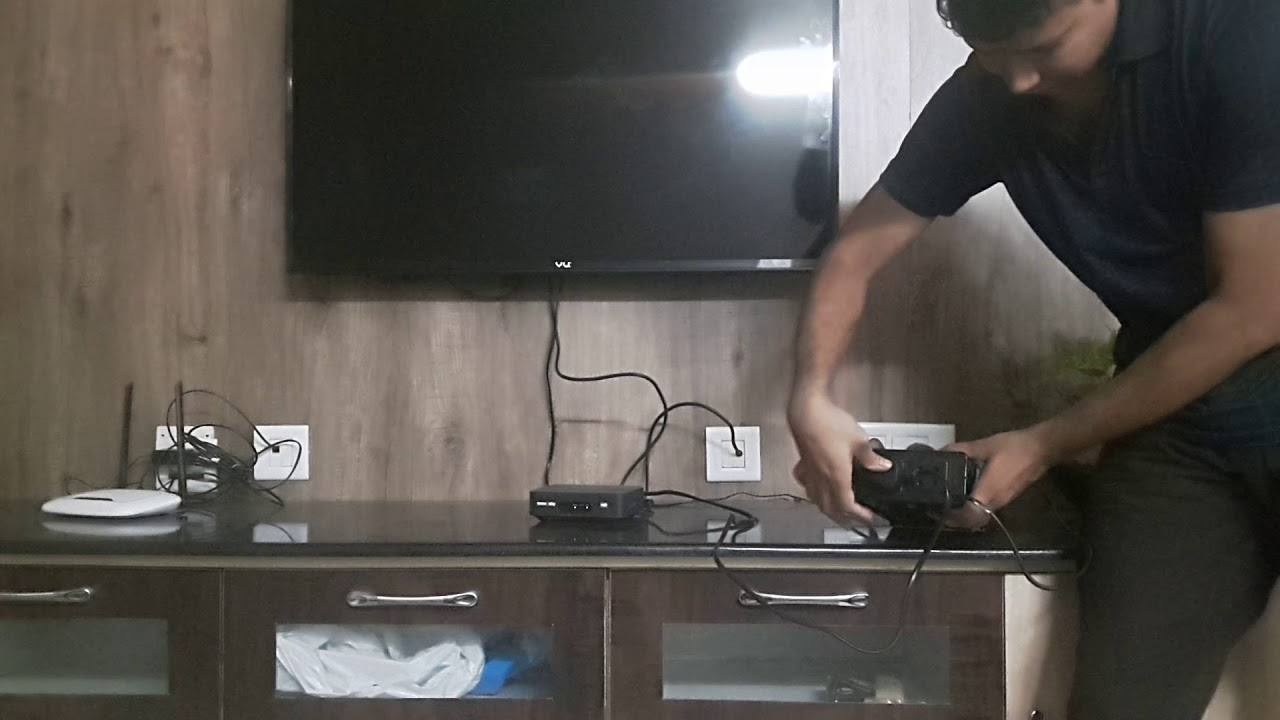
Step 3: Connect the action camera to the laptop
Once you’ve confirmed the availability of compatible ports, cables, and necessary software, it’s time to establish the physical connection between your action camera and laptop. This step is pivotal in enabling data transfer, accessing camera settings, and potentially utilizing your laptop as a monitor for your action camera’s live feed. Follow these guidelines to ensure a successful connection:
- Power off the action camera: Before connecting the camera to your laptop, ensure that it’s powered off to prevent any potential data transfer interruptions or compatibility issues.
- Connect the cable: Using the appropriate cable, such as a micro USB to USB-A or USB-C to USB-C, establish a secure connection between your action camera and an available USB port on your laptop. Ensure that the connection is secure to facilitate stable data transfer.
- Power on the action camera: Once the cable is securely connected, power on your action camera. Depending on the camera model, you may need to navigate to a specific mode or setting to enable data transfer or remote control functionality.
- Wait for recognition: Upon connecting the action camera to your laptop, give the system a moment to recognize the device. If you’ve installed the necessary software, you may receive a prompt indicating successful recognition and providing options for accessing the camera’s files or settings.
- Access the camera’s storage: Once the action camera is recognized by your laptop, you can access its storage like any other external device. Navigate to the designated file explorer or software interface to view and manage the camera’s files, including photos, videos, and configuration settings.
By following these steps, you’ll establish a direct connection between your action camera and laptop, paving the way for seamless data transfer, file management, and potential live monitoring or control capabilities. This connection not only streamlines the process of accessing and organizing your media but also sets the stage for leveraging your laptop as a versatile tool in your action camera workflow.
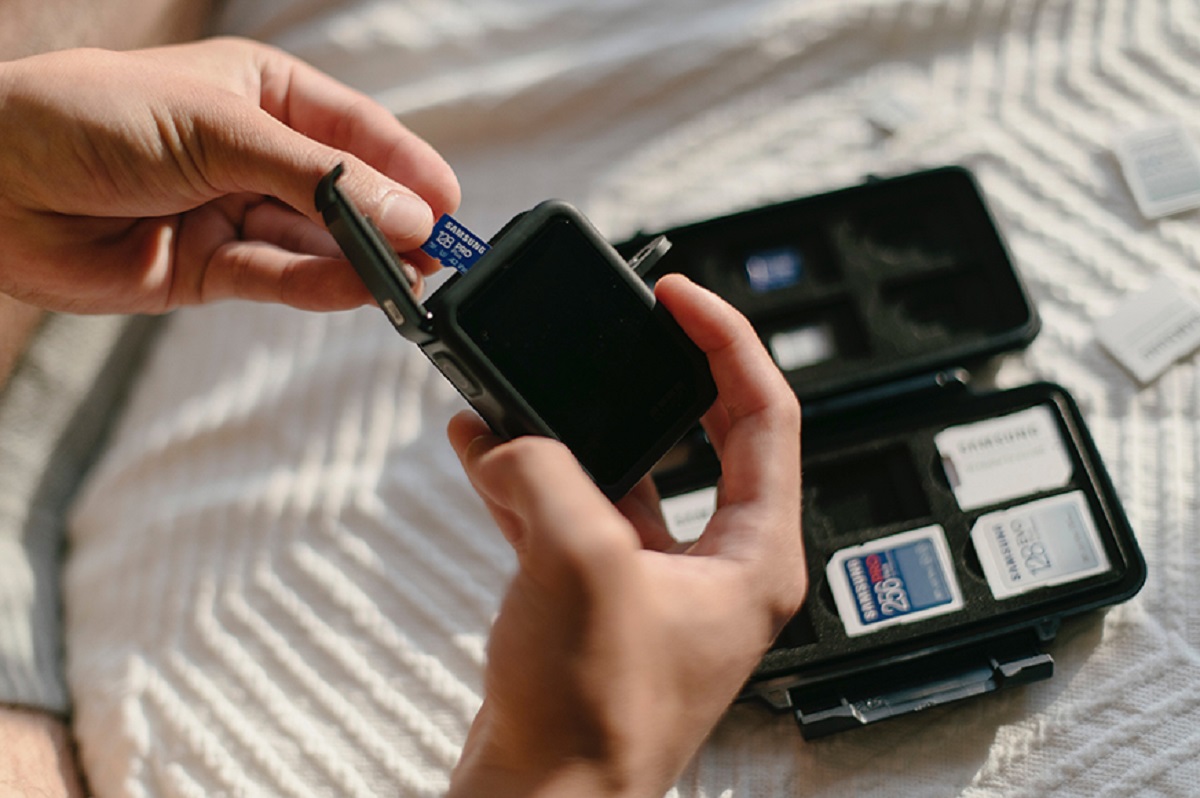
Step 4: Transfer files and access camera settings
With your action camera successfully connected to your laptop, you can now leverage this seamless integration to transfer files, manage your media, and access the camera’s settings directly from your laptop. This step empowers you to efficiently organize your footage and fine-tune your camera’s configurations without the need for additional hardware. Here’s how to make the most of this connection:
- File transfer: Utilize the established connection to transfer your photos and videos from the action camera to your laptop’s storage. This process enables you to create backups, edit your footage using professional software, or share your content across various platforms with ease.
- Organize your media: Once the files are transferred to your laptop, take advantage of your preferred file management system to organize and categorize your media. This can include creating folders, adding metadata, and establishing a structured hierarchy for efficient retrieval in the future.
- Access camera settings: Depending on the capabilities of the manufacturer-provided software or third-party applications, you may be able to access and adjust your action camera’s settings directly from your laptop. This streamlined approach eliminates the need to navigate the camera’s physical interface, providing convenience and precision in configuring your device.
- Remote control and monitoring: Some advanced software solutions offer the ability to remotely control your action camera from your laptop, enabling functions such as capturing photos, recording videos, and adjusting camera parameters in real time. Additionally, you may be able to monitor the camera’s live feed directly on your laptop’s screen, expanding your creative possibilities.
By capitalizing on the connectivity between your action camera and laptop, you can streamline your workflow, enhance your media management capabilities, and gain greater control over your camera’s settings. This seamless integration not only simplifies the process of handling your footage but also opens doors to creative experimentation and efficient content creation.
Conclusion
Connecting your action camera to your laptop presents a myriad of advantages, ranging from streamlined file transfer and media management to advanced control and monitoring capabilities. By following the step-by-step process outlined in this guide, you’ve gained the knowledge and confidence to seamlessly integrate your action camera with your laptop, unlocking a world of creative possibilities and efficiency.
Through careful assessment of ports and cables, installation of necessary software, and the physical connection between your devices, you’ve established a reliable link that empowers you to transfer files, organize your media, and access your action camera’s settings with ease. This integration not only simplifies your workflow but also serves as a catalyst for exploring new creative avenues and maximizing the potential of your action camera.
As you continue to harness the power of this connection, consider exploring additional features offered by manufacturer-provided software or third-party applications, such as remote control, live monitoring, and advanced camera settings adjustment. Embracing these capabilities can elevate your photography or videography experience, enabling you to capture and manage stunning visuals with enhanced convenience and precision.
Ultimately, the seamless integration of your action camera with your laptop transcends conventional file transfer, evolving into a dynamic partnership that amplifies your creative vision and simplifies your media management endeavors. By leveraging this connection, you’re poised to elevate your content creation process, expand your technical proficiency, and immerse yourself in the boundless opportunities offered by the fusion of action camera technology and laptop versatility.