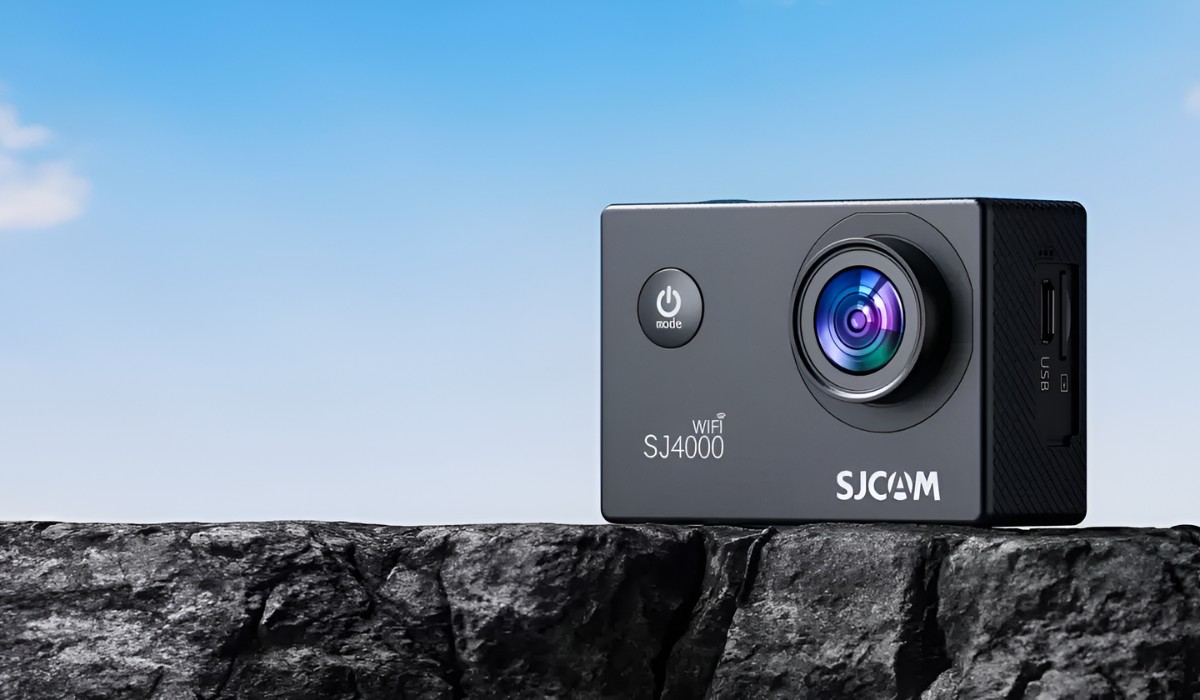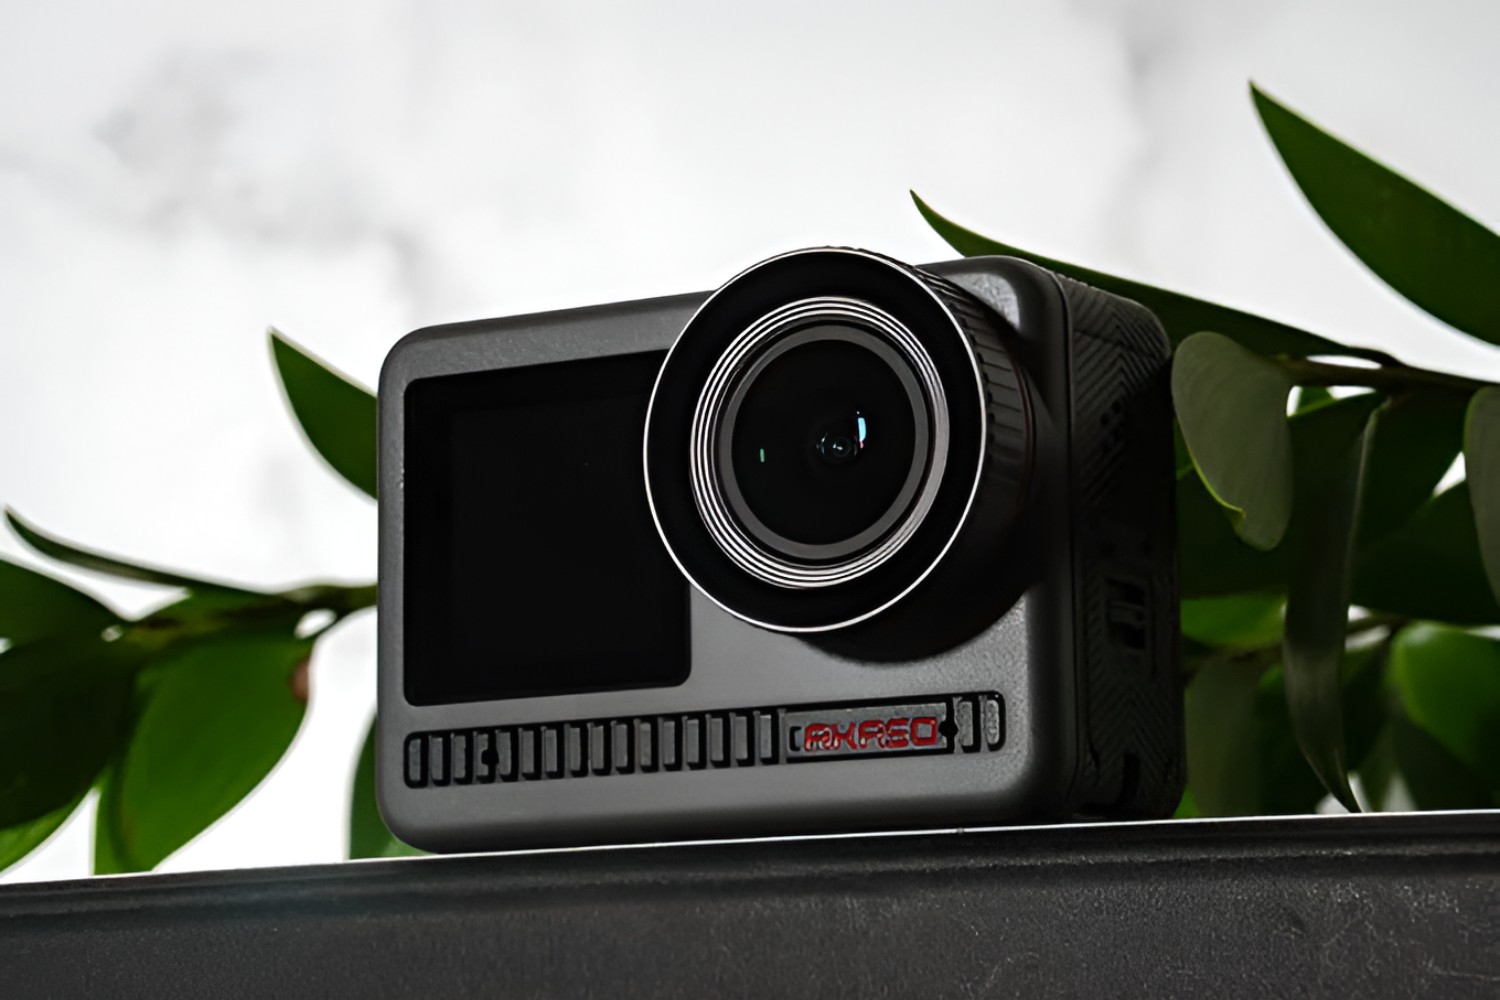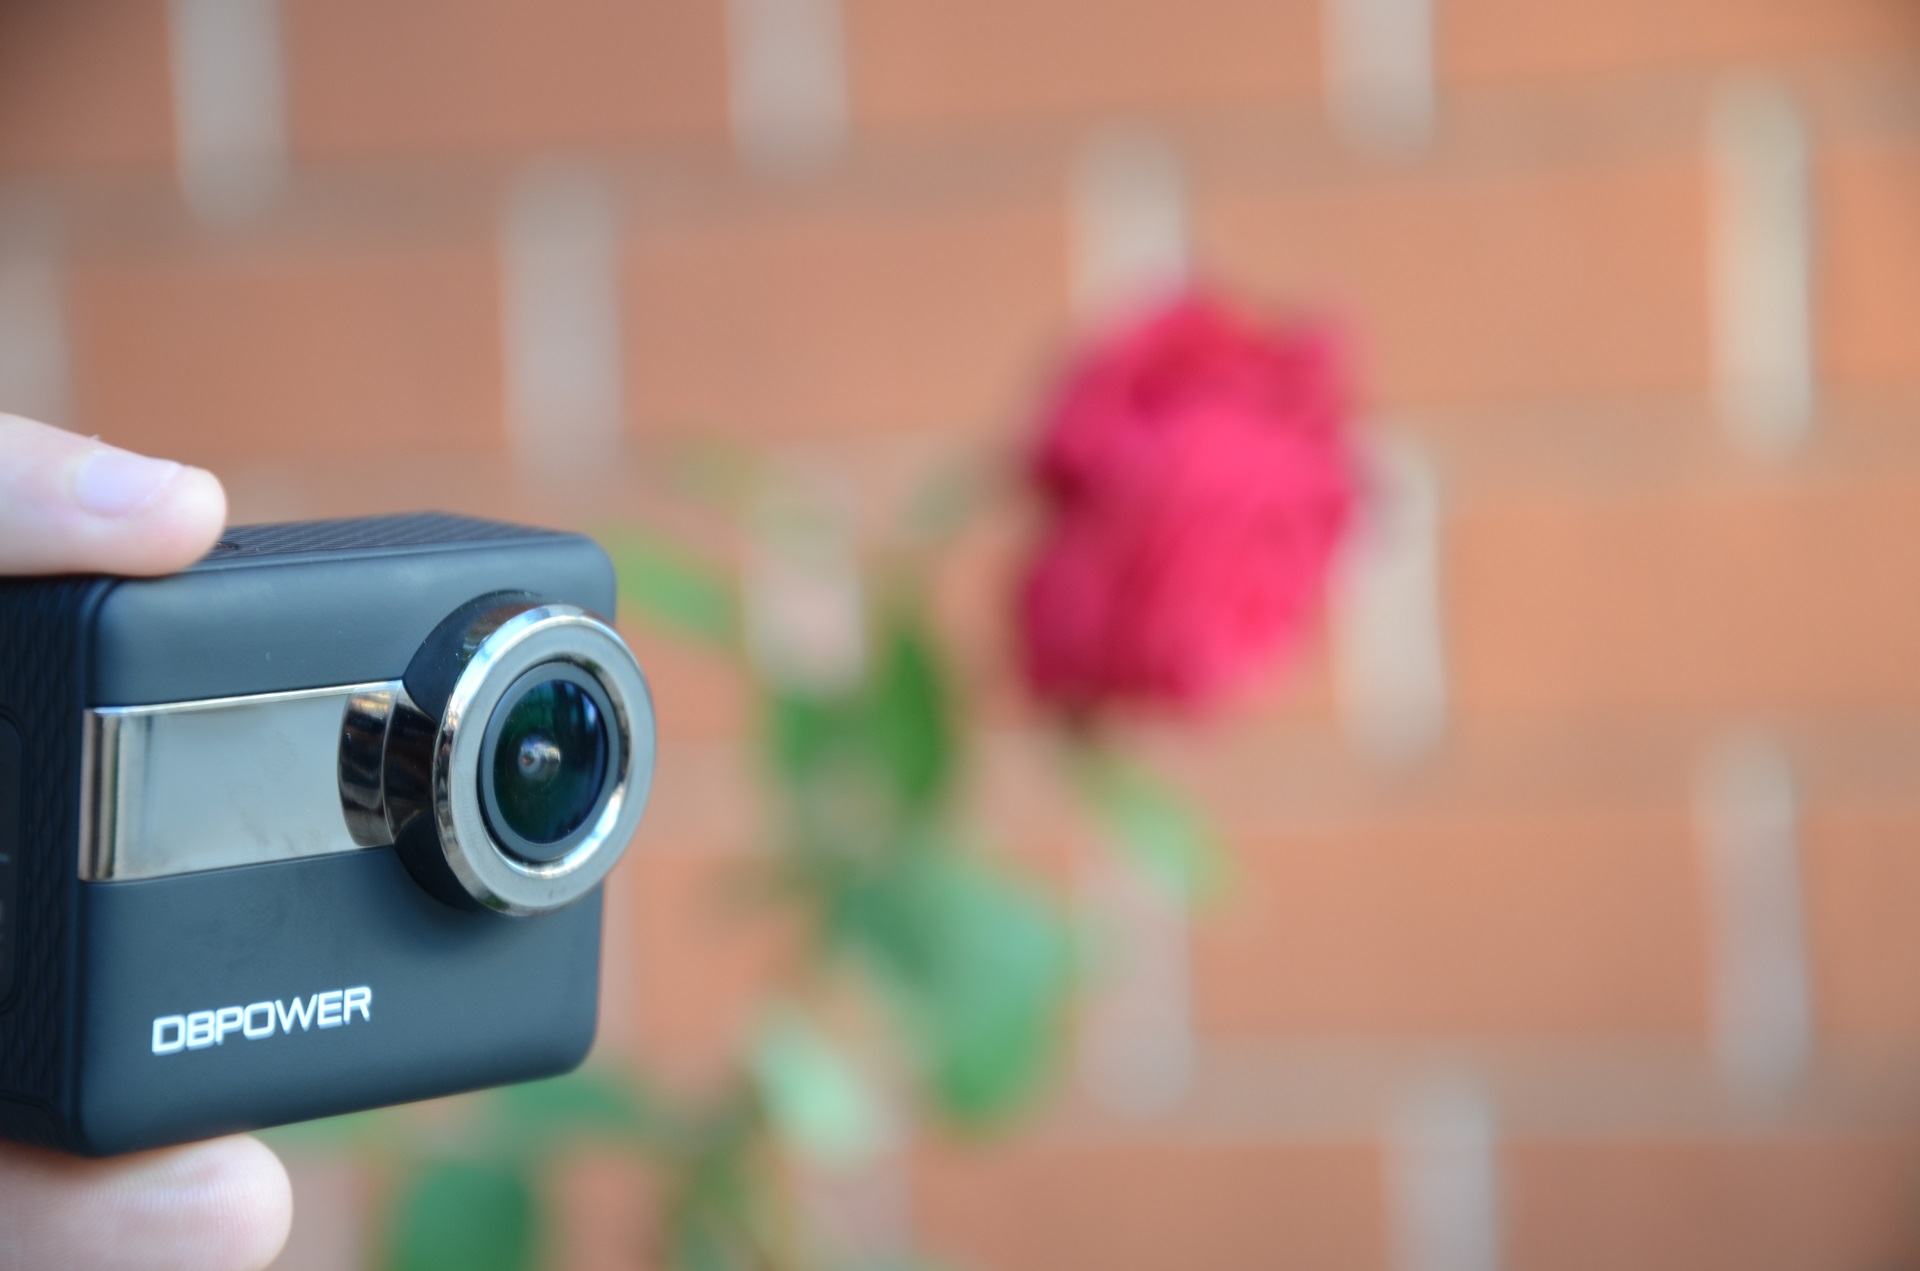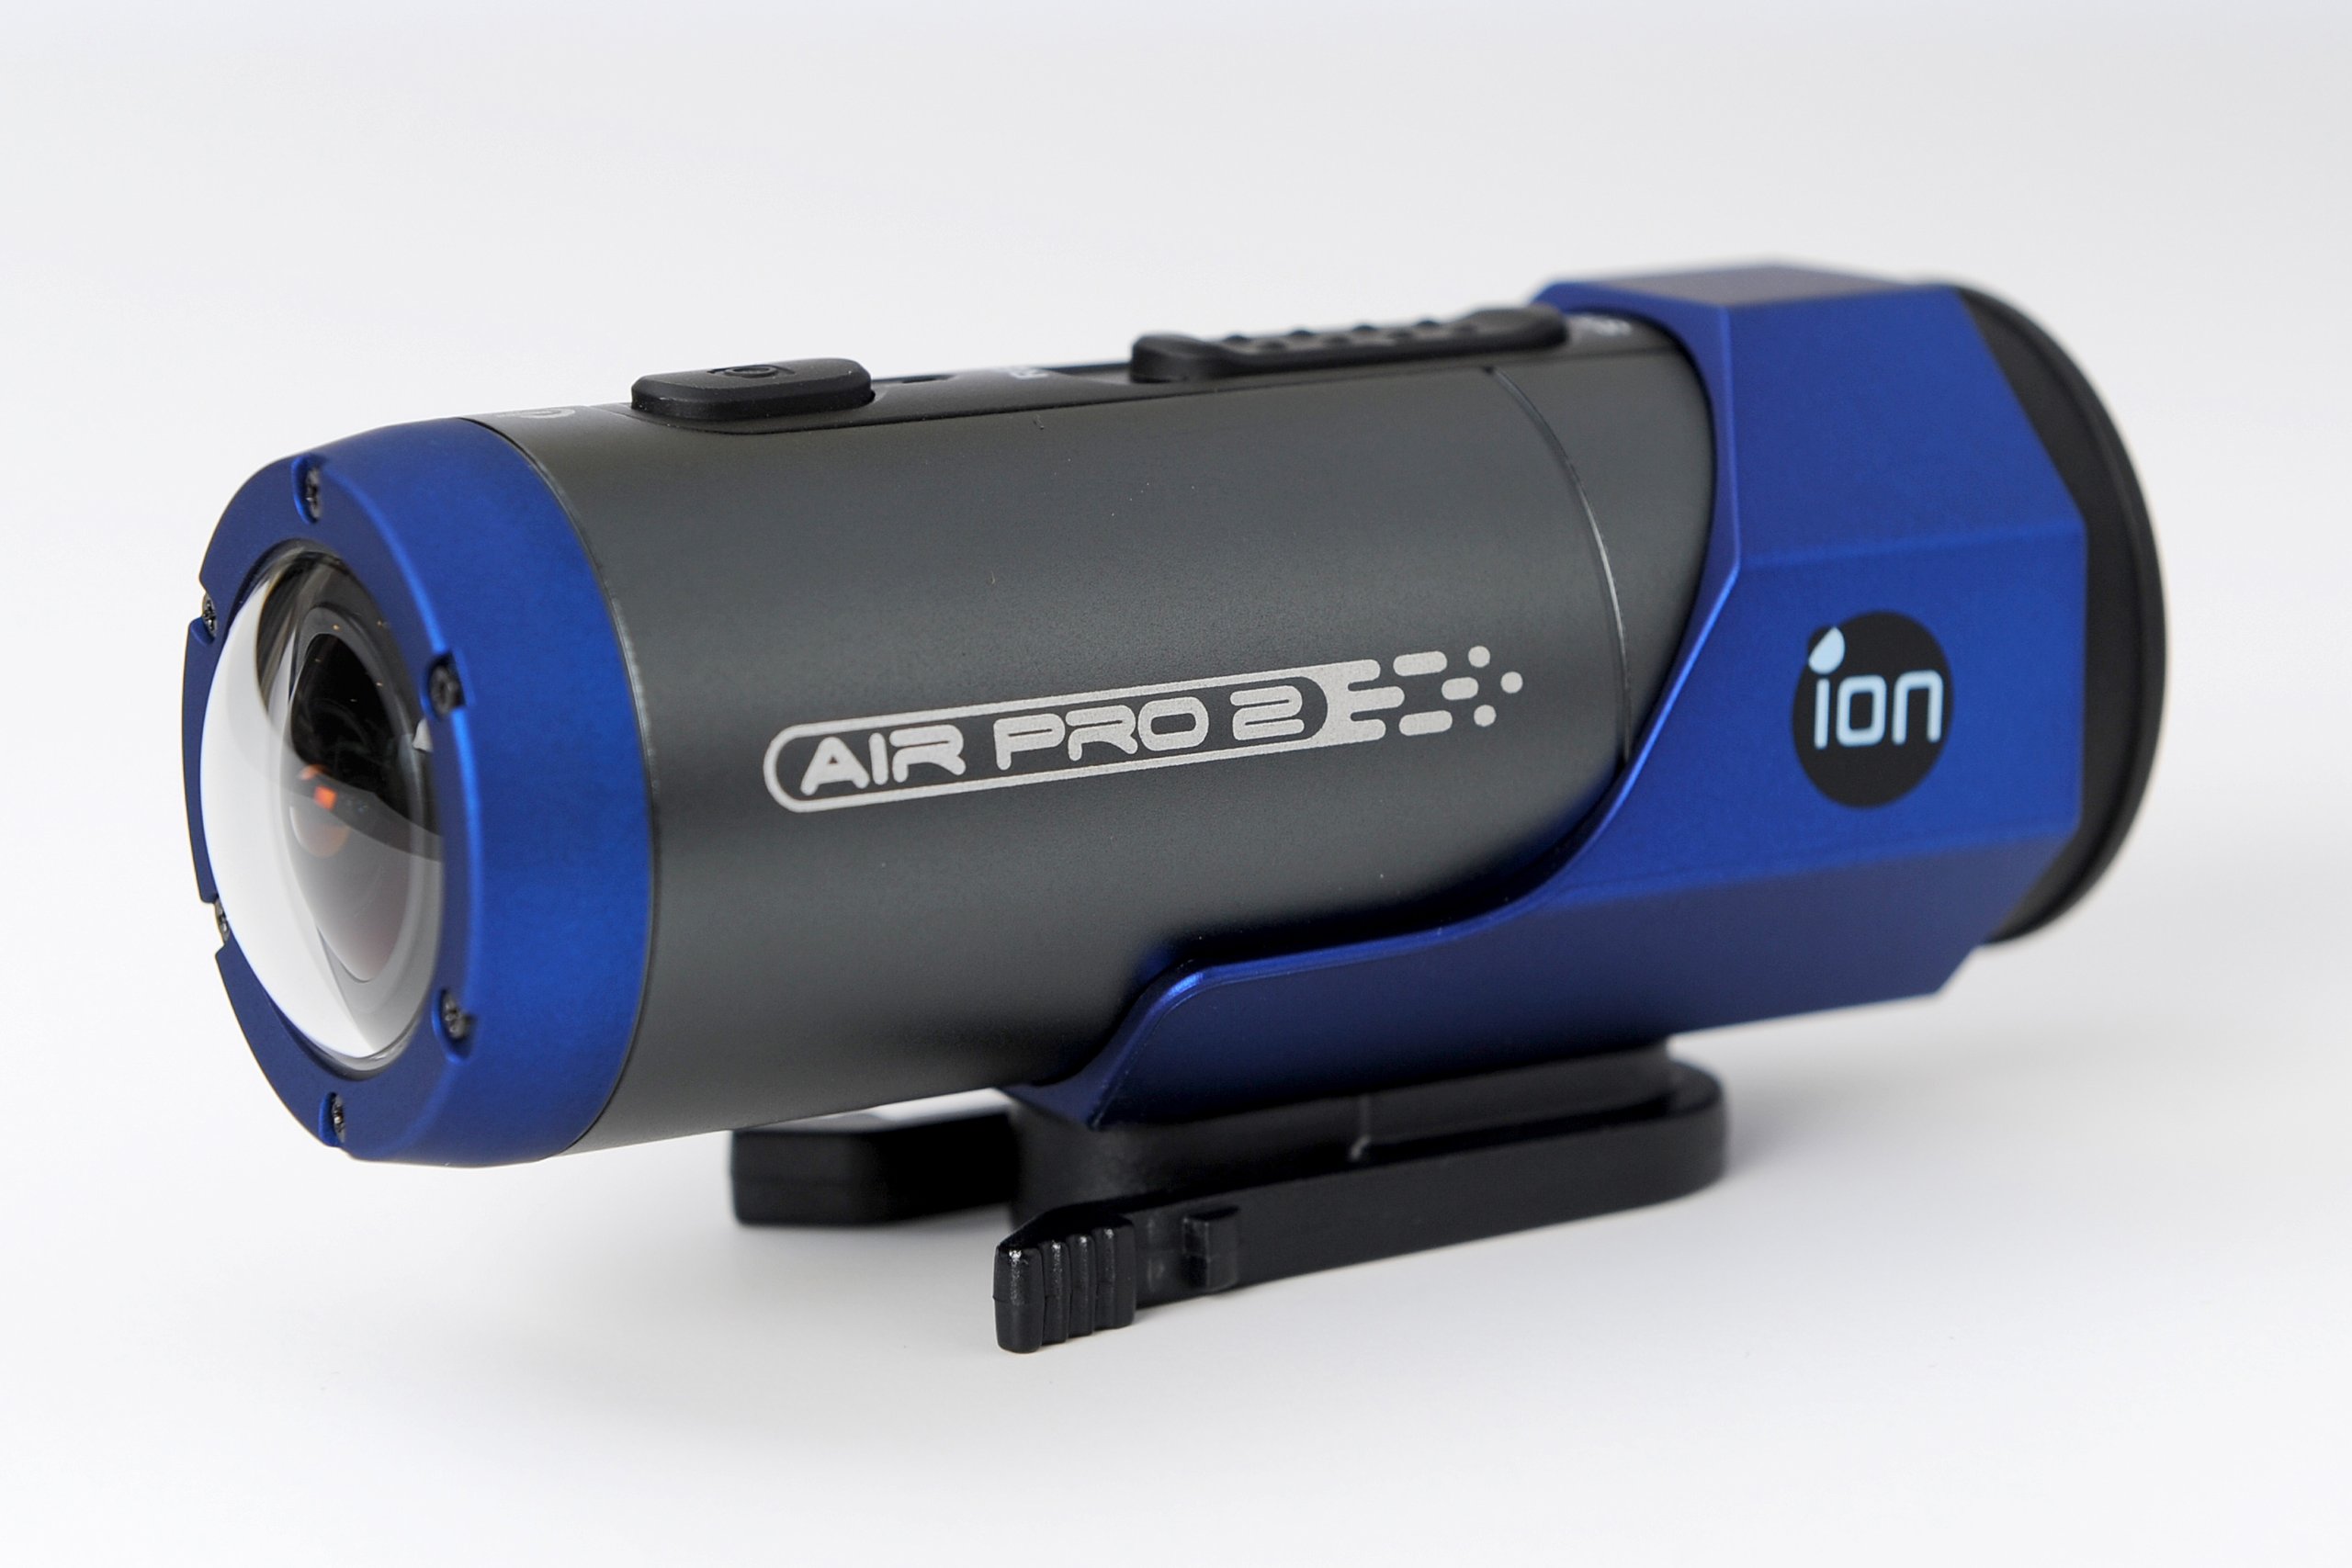
Introduction
Are you ready to relive the exhilarating moments captured by your action camera? Whether it's from an epic mountain biking adventure, a thrilling surfing session, or an unforgettable skydiving experience, your action camera has faithfully documented these incredible memories. Now, it's time to transfer those stunning photos from your action camera to your computer, so you can share, edit, and preserve them for years to come.
Transferring photos from your action camera to your computer is a simple process that allows you to free up space on your camera's memory card and access your photos on a larger screen. This guide will walk you through the step-by-step process, ensuring that you can effortlessly transfer, organize, and edit your action-packed photos. So, grab your action camera, buckle up, and let's dive into the exciting world of photo transfer and editing!
In the following steps, you'll learn how to prepare your action camera and computer, connect your action camera to your computer, transfer photos from your action camera to your computer, and organize and edit your photos. By the end of this guide, you'll be equipped with the knowledge and skills to seamlessly transfer your action camera photos and embark on a creative journey to showcase your thrilling adventures.
Let's embark on this exciting photo transfer expedition and unleash the full potential of your action camera photos!
Step 1: Prepare Your Action Camera and Computer
Before diving into the photo transfer process, it’s essential to ensure that both your action camera and computer are ready for seamless connectivity and data transfer. Here’s a comprehensive guide to preparing your devices for the upcoming photo transfer adventure:
- Charge Your Action Camera: Begin by ensuring that your action camera is sufficiently charged. A fully charged battery will prevent any interruptions during the photo transfer process and allow you to transfer a large number of photos without the risk of the camera shutting down.
- Check Available Storage: Take a moment to review the available storage space on your action camera’s memory card. If the memory card is nearing its capacity, consider transferring existing photos to your computer or replacing the memory card with a higher capacity one to accommodate the upcoming photo transfer.
- Prepare Your Computer: Ensure that your computer is powered on and ready for the photo transfer process. If you’re using a laptop, connect it to a power source to avoid any potential interruptions due to low battery.
- Install Necessary Software: If your action camera requires specific software for photo transfer, ensure that it is installed on your computer. Many action cameras are compatible with popular photo management software, making it easier to transfer, organize, and edit your photos seamlessly.
- Locate Necessary Cables: Identify the appropriate cables required to connect your action camera to your computer. Most action cameras use USB cables for data transfer, so locate the compatible cable and have it readily available for the next step.
By meticulously preparing your action camera and computer, you’ll set the stage for a smooth and efficient photo transfer process. With both devices fully charged, ample storage space available, and the necessary software and cables at your disposal, you’re poised to embark on the exciting journey of transferring your action-packed photos to your computer.
Step 2: Connect Your Action Camera to Your Computer
Now that your action camera and computer are prepared, it’s time to establish a seamless connection between the two devices. Follow these steps to connect your action camera to your computer and initiate the photo transfer process:
- Locate the USB Port: Identify the USB port on your action camera. This port is typically used to establish a connection with your computer for data transfer. If your action camera uses a USB-C or micro-USB port, ensure that you have the corresponding cable to connect it to your computer.
- Power On Your Action Camera: Turn on your action camera to initiate the connection process. Some action cameras may require you to navigate to a specific menu option to enable data transfer mode. Refer to your camera’s user manual for detailed instructions on accessing the data transfer settings.
- Connect the USB Cable: With your action camera powered on, connect one end of the USB cable to the USB port on the camera and the other end to an available USB port on your computer. Once connected, your computer should detect the action camera as a removable storage device.
- Access the Action Camera’s Storage: Open the file explorer or photo management software on your computer to access the contents of your action camera’s storage. You should be able to view and select the photos you wish to transfer to your computer.
- Transfer Photos: Select the desired photos and initiate the transfer process. Depending on your computer’s operating system, you can simply drag and drop the selected photos to a designated folder on your computer or use the import feature within photo management software to transfer the photos.
By following these steps, you’ll establish a secure and efficient connection between your action camera and computer, allowing you to seamlessly transfer your captivating photos to your computer’s storage. With the photos safely transferred, you’re now ready to embark on the next phase of organizing and editing your action camera photos.
Step 3: Transfer Photos from Your Action Camera to Your Computer
With your action camera successfully connected to your computer, it’s time to initiate the photo transfer process. Follow these straightforward steps to transfer your exhilarating photos from your action camera to your computer:
- Select Photos for Transfer: Navigate through the contents of your action camera’s storage on your computer and select the photos you wish to transfer. You can choose individual photos or select entire folders based on your organization preferences.
- Drag and Drop Method: Utilize the drag and drop method to transfer your selected photos to a designated folder on your computer. Simply drag the selected photos from the action camera’s storage and drop them into the desired location on your computer. This method offers a quick and intuitive way to transfer photos without the need for additional software.
- Import Function within Photo Management Software: If you prefer a more organized approach, consider using photo management software to import the selected photos from your action camera. Many photo management applications offer an import feature that allows you to specify the destination folder and apply organizational tags or metadata to the transferred photos.
- Monitor the Transfer Process: During the transfer, monitor the progress to ensure that all selected photos are successfully transferred to your computer. Depending on the number and size of the photos, the transfer process may take some time. Once the transfer is complete, verify that the photos are safely stored on your computer.
- Safely Eject Your Action Camera: Once the transfer is complete and you’ve confirmed the presence of the photos on your computer, safely eject your action camera from your computer to avoid any data corruption or loss. Follow the recommended eject procedure to disconnect your action camera securely.
By following these steps, you’ll seamlessly transfer your action-packed photos from your action camera to your computer, ensuring that your cherished memories are securely stored and easily accessible for future viewing and editing.
Step 4: Organize and Edit Your Photos
Now that your action camera photos are safely transferred to your computer, it’s time to embark on the exciting journey of organizing and editing your captivating images. Follow these steps to organize and edit your photos, allowing you to showcase your thrilling adventures in a polished and visually stunning manner:
- Create Folders and Categories: Begin by organizing your transferred photos into meaningful folders and categories. Consider creating folders based on the location, date, or type of adventure captured in the photos. This organizational approach will make it easier to locate specific photos and create a structured library of your action camera memories.
- Apply Metadata and Tags: Leverage the capabilities of photo management software to apply relevant metadata and tags to your photos. Adding descriptive tags, such as keywords related to the activities or locations depicted in the photos, will enhance the searchability and organization of your photo collection.
- Review and Select Key Shots: Take the time to review your transferred photos and select key shots that encapsulate the essence of your adventures. Identify photos that convey the excitement, beauty, and emotions captured during your action-packed experiences.
- Edit and Enhance: Utilize photo editing software to enhance the visual impact of your selected photos. Adjust the brightness, contrast, and color balance to bring out the vibrant details of your action camera shots. Additionally, consider applying creative filters or effects to add a unique touch to your images.
- Crop and Resize: If necessary, crop and resize your photos to emphasize specific elements or prepare them for sharing on social media or printing. Pay attention to composition and framing to highlight the most compelling aspects of each photo.
- Save and Back Up: Once you’re satisfied with the organization and editing of your action camera photos, save your work and consider creating a backup of the edited photos to prevent any potential data loss. Backing up your edited photos ensures that your enhanced images are securely preserved for the long term.
By following these steps, you’ll transform your raw action camera photos into polished visual narratives that vividly portray your thrilling adventures. Organizing, editing, and preserving your action camera photos will allow you to share your captivating experiences with friends, family, and fellow adventure enthusiasts, ensuring that your memories are immortalized in stunning imagery.
Conclusion
Congratulations on successfully transferring, organizing, and editing your action camera photos! By following the step-by-step guide outlined in this article, you’ve unlocked the full potential of your action camera’s captivating images and transformed them into compelling visual narratives.
Through meticulous preparation, seamless connectivity, and thoughtful organization, you’ve ensured that your action camera photos are securely stored on your computer, ready to be shared and cherished for years to come. The process of transferring photos from your action camera to your computer not only frees up valuable space on your camera’s memory card but also provides you with the opportunity to relive and showcase your exhilarating adventures in stunning detail.
As you organized and edited your action camera photos, you’ve crafted a curated collection of images that authentically capture the essence of your thrilling experiences. By applying metadata, tags, and creative enhancements, you’ve transformed raw photos into visually striking representations of your action-packed escapades.
Remember to regularly back up your edited photos to safeguard your cherished memories and ensure their longevity. By creating duplicates of your enhanced images, you can preserve your visual narratives for future generations to enjoy, safeguarding the legacy of your adventurous spirit.
Whether you’re sharing your action camera photos with friends and family, creating captivating photo albums, or showcasing your adventures on social media, the organized and edited photos from your action camera will serve as enduring mementos of your daring exploits.
As you continue to embark on thrilling escapades with your action camera in hand, the skills and knowledge gained from this photo transfer and editing process will empower you to seamlessly capture, preserve, and share the excitement of your future adventures.
Embrace the exhilarating world of action camera photography, and let your stunning images reflect the heart-pounding moments and breathtaking landscapes that define your adventurous spirit. Your action camera photos are not just snapshots; they’re windows into the extraordinary experiences that define your unique journey.