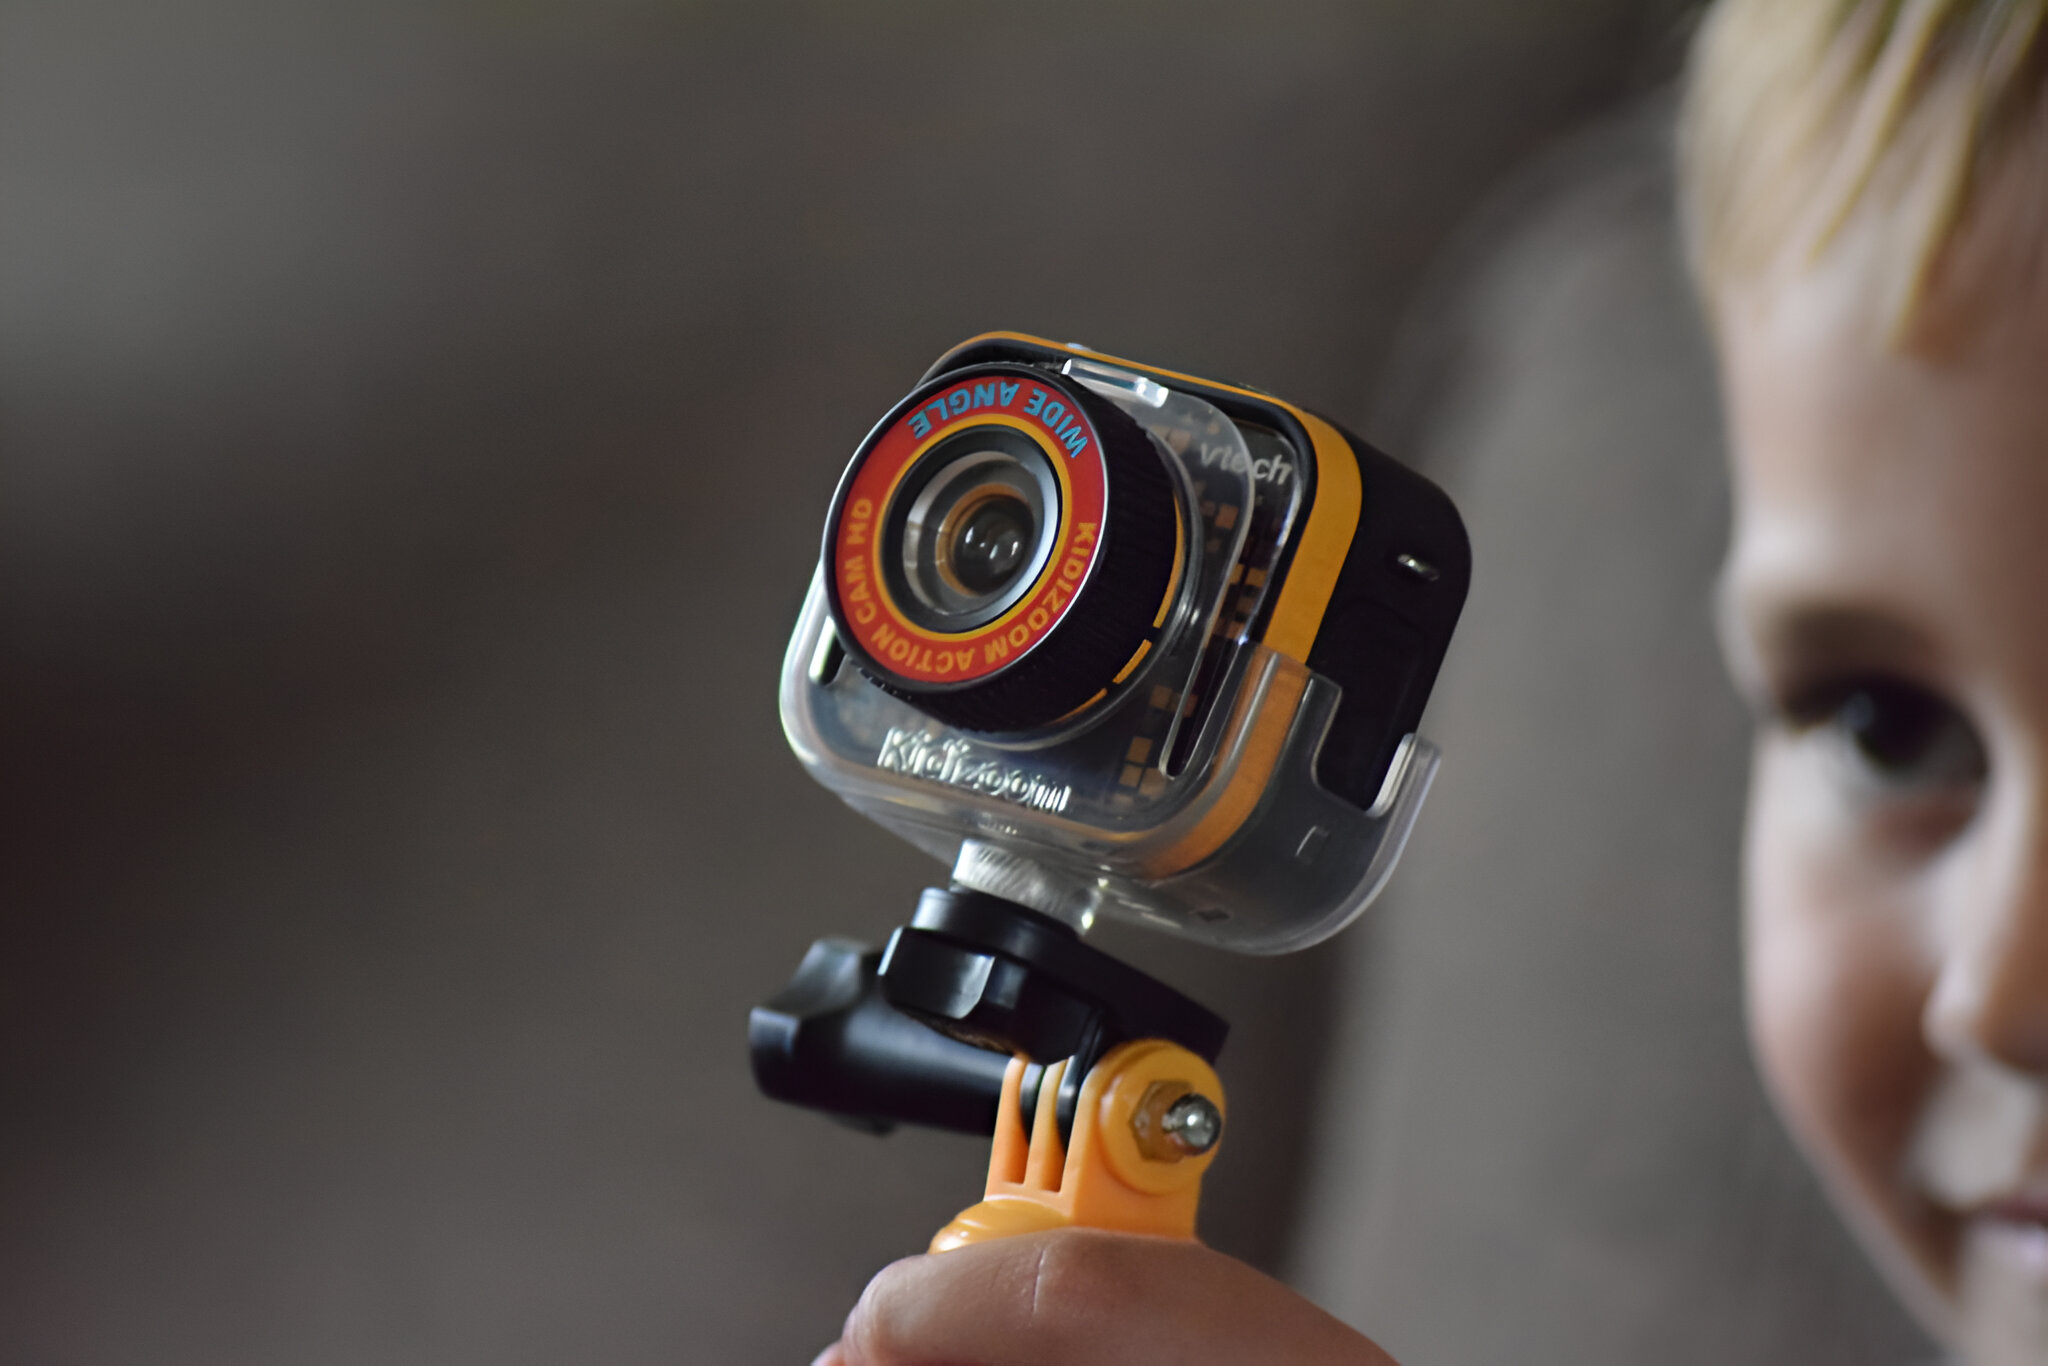
To connect a Kidizoom action camera to a computer, you only need the camera, its USB cable, and a computer with a USB port, no software or drivers required. Once plugged in, the camera appears as a removable drive, so you can drag and drop photos and videos straight to your desktop or folders.
What you need to connect a Kidizoom action camera to a computer
Before you start, gather these four items so the transfer goes smoothly. The camera itself should be charged, because a dead battery can interrupt the connection mid-transfer. You’ll also need the USB cable that came with the camera, it’s a standard mini-USB cable, but using the original ensures a snug fit. Finally, make sure your computer has a working USB port; both Windows and Mac machines support this camera without extra software.
Power on the camera and connect it with the USB cable
Turn on the Kidizoom action camera by pressing and holding its power button until the screen lights up. Then plug the small end of the USB cable into the camera’s port (usually on the side or bottom) and the large end into your computer’s USB port. Within a few seconds, your computer will recognize the camera as a removable drive, you might see a notification pop up, or a new drive letter appear in File Explorer (Windows) or Finder (Mac). If nothing happens, try a different USB port or check that the camera is fully powered on.
Find and transfer your photos and videos
Once the camera is recognized, open File Explorer or Finder and look for the drive named “VTech [model number].” Double-click it, then open the DCIM folder, followed by the 100VTECH folder, that’s where all your captured files are stored. To move them to your computer, simply select the photos and videos you want and drag them to a folder on your hard drive, like Pictures or Desktop. You can also copy and paste them if you prefer. This direct drag-and-drop method lets you back up your entire memory card or pick just the best shots.
Safely disconnect your Kidizoom action camera
After the files finish copying, don’t just yank the cable out, that can corrupt the data. Instead, safely eject the drive first. On Windows, right-click the “VTech [model number]” drive in File Explorer and choose “Eject.” On Mac, drag the drive icon to the Trash (which changes to an Eject symbol) or click the eject arrow next to it in Finder. Wait for the confirmation message that it’s safe to remove, then unplug the USB cable from both the camera and the computer. The camera will power off automatically, and your files are now safely stored on your computer, ready to view, edit, or share.
\nRelated reading: How To Use A DSLR Camera With An iPhone, How To Digitize Old Photos With A DSLR Camera, and How To Take A Picture Of The Moon With A DSLR Camera.