Introduction
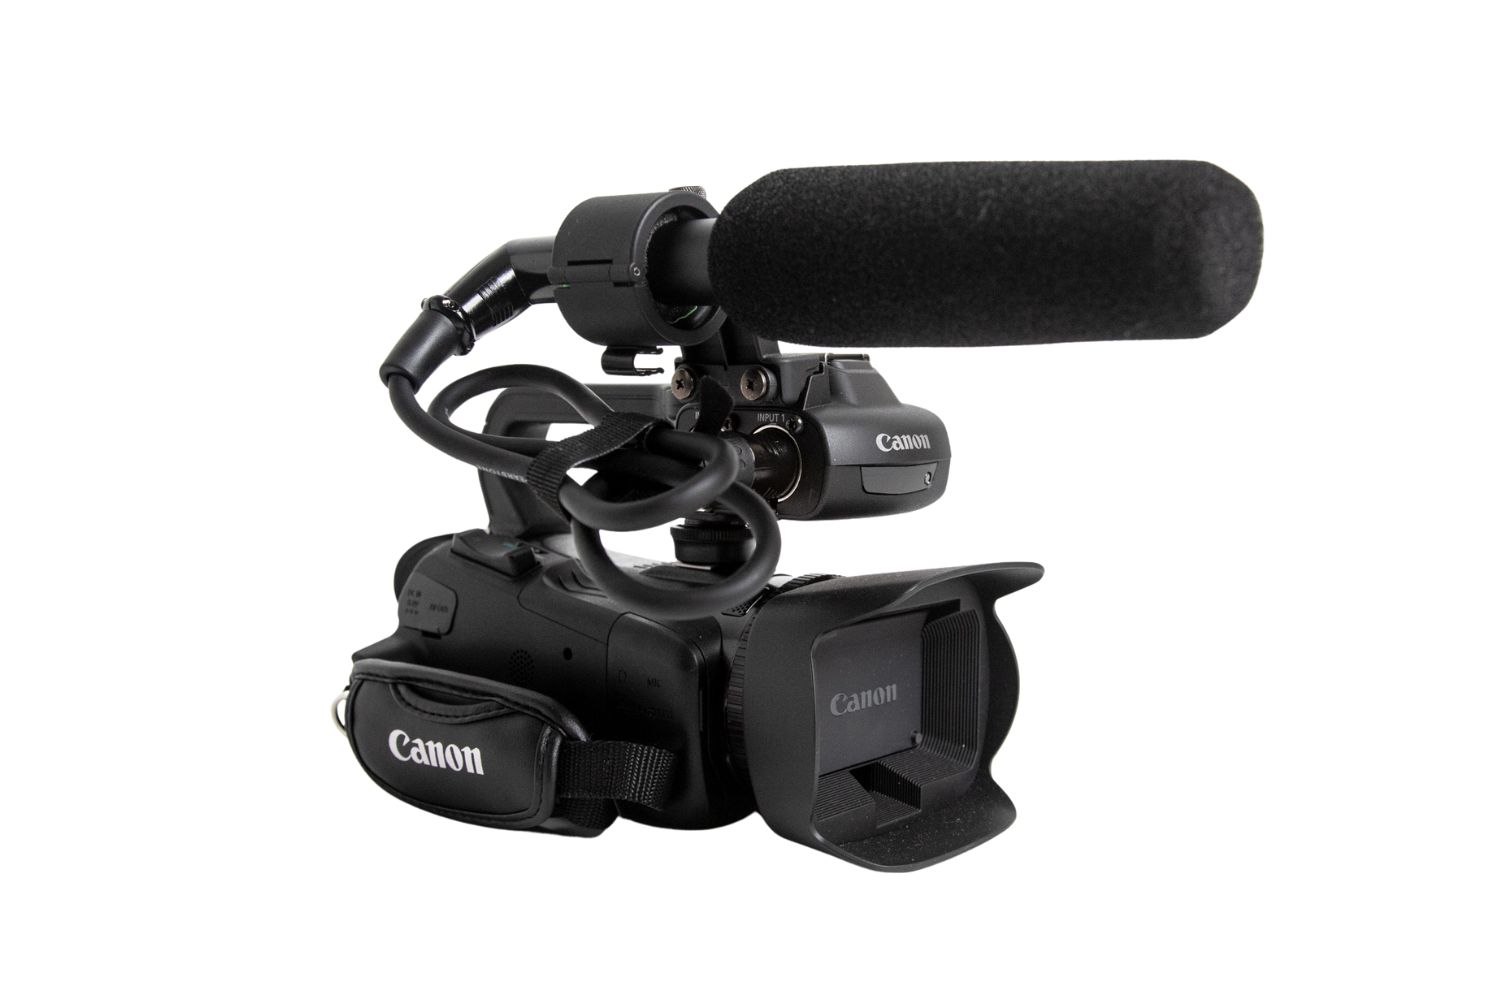
So, you've got your hands on a top-notch camcorder and a high-quality shotgun microphone, and you're ready to take your video production to the next level. But how do you go about connecting the two? In this guide, we'll walk you through the process of connecting a shotgun mic to a camcorder, ensuring that you capture crystal-clear audio to complement your stunning visuals.
Whether you're a vlogger, filmmaker, or content creator, the audio quality is just as crucial as the visual elements in your videos. A shotgun microphone, known for its highly directional audio capture, is a popular choice for capturing clear and focused sound in various shooting scenarios. By connecting a shotgun mic to your camcorder, you can significantly enhance the audio quality of your recordings, making your content more engaging and professional.
In the following sections, we'll delve into the specifics of understanding the shotgun mic, the step-by-step process of connecting it to your camcorder, and optimizing its settings for the best audio performance. We'll also cover the essential steps for testing the audio to ensure everything is working as expected.
By the end of this guide, you'll have the knowledge and confidence to seamlessly integrate a shotgun mic with your camcorder, elevating the overall quality of your video productions. Let's dive in and explore the world of professional audio capture for your video content.
Understanding the Shotgun Mic
Before delving into the technical aspects of connecting a shotgun mic to your camcorder, it's essential to understand the unique capabilities of this specialized microphone. Unlike traditional omnidirectional microphones that capture sound from all directions, a shotgun mic is designed to pick up sound from a highly focused and narrow area in front of the camera, effectively isolating the desired audio source from ambient noise and unwanted distractions.
The distinctive elongated shape of a shotgun mic, often resembling the barrel of a shotgun (hence the name), plays a crucial role in its directional audio capture. This design allows the mic to focus on the sound directly in front of it while minimizing the pickup of peripheral noises. As a result, shotgun mics are ideal for recording dialogue, interviews, and other targeted audio in diverse filming environments, ranging from bustling city streets to serene natural settings.
Furthermore, understanding the pickup pattern of a shotgun mic is essential for optimizing its performance. Most shotgun mics feature a supercardioid or hypercardioid pickup pattern, which means they capture sound primarily from the front while attenuating off-axis noise from the sides and rear. This directional characteristic enables filmmakers and content creators to capture clear, crisp audio while minimizing unwanted background noise and reverberation, enhancing the overall audio quality of their productions.
When selecting a shotgun mic for your camcorder, consider factors such as frequency response, sensitivity, and build quality to ensure that it aligns with your specific recording needs. Additionally, familiarize yourself with the various accessories that complement shotgun mics, such as shock mounts, windshields, and boom poles, which can further enhance their performance in different shooting environments.
By comprehending the unique attributes and capabilities of a shotgun mic, you can harness its directional audio capture to elevate the quality of your video productions, creating immersive and professional content that resonates with your audience.
Connecting the Shotgun Mic to the Camcorder
Now that you have a solid grasp of the shotgun mic’s capabilities, it’s time to seamlessly integrate it with your camcorder to capture high-quality audio for your video recordings. The process of connecting a shotgun mic to a camcorder involves a few essential steps to ensure a reliable and efficient setup.
First and foremost, identify the microphone input port on your camcorder. This port is typically located on the camera body, often near the top or side, and is labeled as “MIC IN” or “Audio In.” Once you’ve located the input port, you’ll need a compatible audio cable to establish the connection between the shotgun mic and the camcorder. Most shotgun mics utilize a standard 3.5mm TRS (tip-ring-sleeve) audio cable, which is widely compatible with camcorders and other audio recording devices.
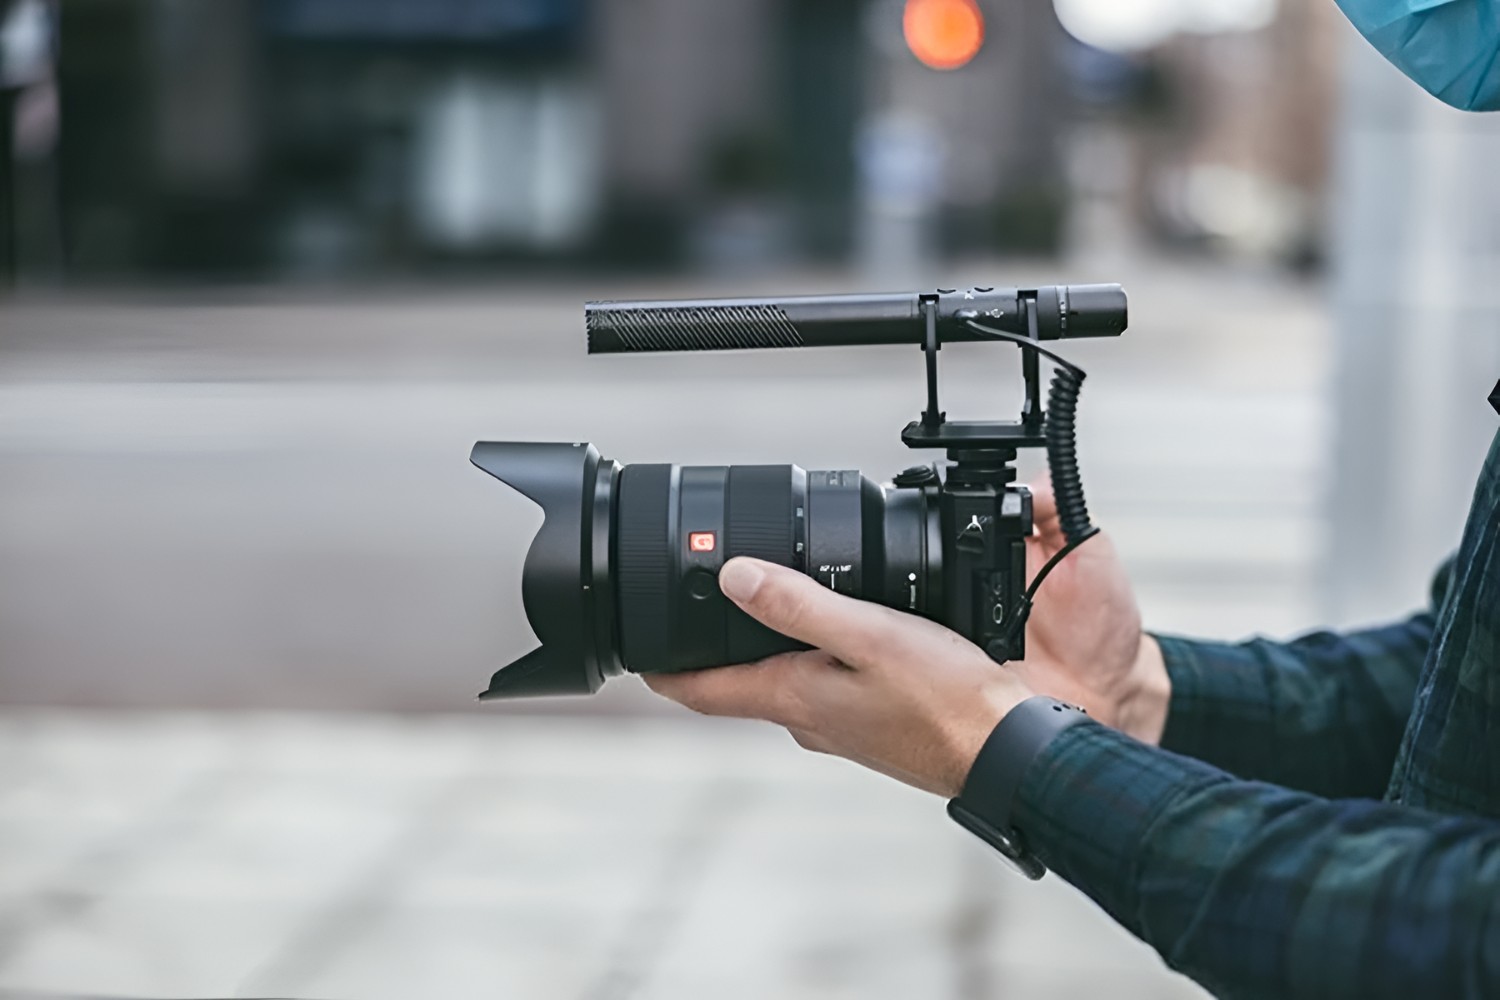
Next, carefully plug one end of the audio cable into the output port of the shotgun mic. Ensure a secure connection to prevent audio interference or signal loss during recording. Once the mic is connected, gently route the cable towards the camcorder, keeping it neatly organized and free from obstructions that could impede your filming activities.
With the shotgun mic connected, locate the microphone input port on the camcorder and insert the other end of the audio cable into the corresponding jack. Apply gentle pressure to secure the connection, ensuring that the cable is properly seated to facilitate clear and uninterrupted audio transmission to the camcorder.
Before finalizing the setup, it’s advisable to perform a quick visual inspection to verify that the connections are secure and the cable routing is tidy, minimizing the risk of accidental disconnection or audio disruptions during recording sessions.
Once the shotgun mic is successfully connected to the camcorder, you’re one step closer to harnessing its superior audio capture capabilities for your video productions. In the next section, we’ll explore the crucial steps for adjusting the mic settings to optimize its performance and ensure exceptional audio quality for your recordings.
Adjusting the Mic Settings
With the shotgun mic securely connected to your camcorder, it’s essential to fine-tune the microphone settings to achieve optimal audio performance. These adjustments will enable you to customize the mic’s behavior according to the specific recording environment and the sound sources you intend to capture, ensuring that your recordings are of the highest quality.
One of the fundamental settings to consider is the microphone’s gain or sensitivity level. Most camcorders feature adjustable input levels for external microphones, allowing you to control the mic’s sensitivity to incoming audio signals. When setting the mic’s gain, aim to achieve a balance that captures clear, robust audio without introducing unwanted noise or distortion. It’s advisable to conduct test recordings and monitor the audio levels to ensure that the mic’s sensitivity is optimized for the recording environment.
Additionally, if your shotgun mic features a built-in low-cut filter or high-pass filter, consider activating this feature to attenuate low-frequency rumble and background noise, particularly in outdoor or windy conditions. The filter helps focus the mic’s capture on the desired mid and high-frequency audio while reducing the impact of environmental disturbances, resulting in cleaner and more intelligible recordings.
Furthermore, if your camcorder offers the option to adjust the audio recording format or bitrate, ensure that it aligns with the capabilities of your shotgun mic. Selecting the appropriate recording format, such as WAV or AAC, and setting the bitrate to a suitable level can significantly impact the clarity and fidelity of the recorded audio, enhancing the overall quality of your video productions.
Another crucial aspect of mic settings is monitoring the audio levels during recording. Many camcorders provide visual indicators, such as level meters or audio level displays, to help you monitor the incoming audio signal. Keeping an eye on these indicators allows you to ensure that the audio levels remain within an optimal range, preventing clipping or excessively low volume that may compromise the quality of your recordings.
By carefully adjusting the mic settings on your camcorder and shotgun mic, you can harness the full potential of your audio equipment, capturing pristine and immersive sound that complements the visual elements of your video productions. In the following section, we’ll explore the essential steps for testing the audio to verify the effectiveness of your setup and settings.
Testing the Audio
Before embarking on your video recording endeavors, it’s crucial to conduct thorough audio tests to ensure that your shotgun mic and camcorder setup are delivering the desired audio quality. Testing the audio allows you to identify and address any potential issues or anomalies, ultimately ensuring that your recordings are pristine and professional.
Begin by performing a sound check in the actual filming environment where you intend to conduct your recordings. This step provides valuable insights into the ambient noise levels, reverberation, and any potential audio challenges that may impact the quality of your recordings. By listening attentively to the environmental sounds and conducting test recordings, you can proactively address any audio obstacles before commencing your actual filming sessions.
During the sound check, pay close attention to the clarity and presence of the audio captured by the shotgun mic. Listen for any unwanted background noise, wind interference, or other distractions that may compromise the quality of your recordings. If you encounter any issues, consider adjusting the mic’s position, activating additional wind protection measures, or exploring alternative recording locations to mitigate the impact of environmental factors on your audio capture.
After addressing environmental considerations, proceed to conduct test recordings with simulated dialogue, interviews, or other sound sources that are representative of your intended recording scenarios. Monitor the audio levels and the overall sound quality, ensuring that the shotgun mic effectively captures the targeted audio while minimizing extraneous noise and distractions.
While reviewing the test recordings, pay attention to the tonal characteristics, intelligibility, and overall fidelity of the captured audio. Verify that the mic settings, including gain, low-cut filtering, and recording format, are optimized to deliver clear and balanced audio that enhances the visual content of your recordings.
It’s also valuable to evaluate the consistency of the audio capture across different recording scenarios and environmental conditions. By conducting test recordings in diverse settings and situations, you can assess the versatility and adaptability of your shotgun mic setup, ensuring that it consistently delivers exceptional audio quality regardless of the filming environment.
By meticulously testing the audio performance of your shotgun mic and camcorder setup, you can identify and address potential challenges, refine your mic settings, and ultimately ensure that your video recordings feature immersive and professional-grade audio that complements your visual content seamlessly.
Conclusion
Mastering the art of connecting a shotgun mic to a camcorder is a pivotal step in elevating the audio quality of your video productions. By understanding the unique capabilities of the shotgun mic and following the step-by-step process of connecting it to your camcorder, you can harness its directional audio capture to enhance the overall impact of your visual content.
Throughout this guide, we’ve explored the intricacies of the shotgun mic, delving into its highly directional audio capture capabilities and the essential considerations for selecting and integrating it with your camcorder. Understanding the pickup pattern, frequency response, and accessories that complement the shotgun mic empowers you to make informed choices that align with your specific recording needs.
The process of connecting the shotgun mic to your camcorder involves identifying the microphone input port, selecting a compatible audio cable, and ensuring a secure and tidy connection. By following these steps, you establish a reliable audio setup that sets the stage for capturing high-quality sound in your video recordings.
Adjusting the mic settings is a critical aspect of optimizing its performance. Fine-tuning the gain, activating filters, and monitoring audio levels empower you to tailor the mic’s behavior to the recording environment, ensuring that it captures pristine and balanced audio that complements your visual content seamlessly.
Conducting thorough audio tests allows you to validate the effectiveness of your shotgun mic and camcorder setup. By addressing environmental considerations, evaluating the audio quality, and refining your mic settings, you can proactively identify and mitigate potential audio challenges, ultimately ensuring that your video recordings feature immersive and professional-grade sound.
Equipped with the knowledge and insights gained from this guide, you’re poised to seamlessly integrate a shotgun mic with your camcorder, unlocking its full potential to capture captivating and high-fidelity audio for your video productions. Embrace the art of professional audio capture, and elevate the impact of your visual storytelling with pristine and immersive soundscapes.


