Introduction
Welcome to the comprehensive guide on how to clean the inside of a DSLR camera. As a proud owner of a digital single-lens reflex (DSLR) camera, you understand the importance of keeping its interior components free from dust, smudges, and debris. Regular maintenance not only ensures optimal performance but also extends the lifespan of your valuable investment.
This guide will walk you through the step-by-step process of cleaning the mirror, viewfinder, sensor, and lens of your DSLR camera. By following these instructions and using the recommended tools and materials, you can maintain the clarity of your images and prevent potential issues caused by a dirty interior.
Proper cleaning and maintenance of your DSLR camera's interior components are essential for professional photographers and hobbyists alike. Whether you're preparing for a photo shoot or simply want to preserve the quality of your equipment, this guide will equip you with the knowledge and techniques to effectively clean the inside of your DSLR camera.
With a clear understanding of the tools and materials required, as well as the detailed steps for preparing the camera and cleaning its various components, you'll be able to maintain your DSLR camera in top condition. Let's delve into the essential steps and best practices for cleaning the inside of your DSLR camera, ensuring that your equipment continues to deliver exceptional results for years to come.
Tools and Materials Needed
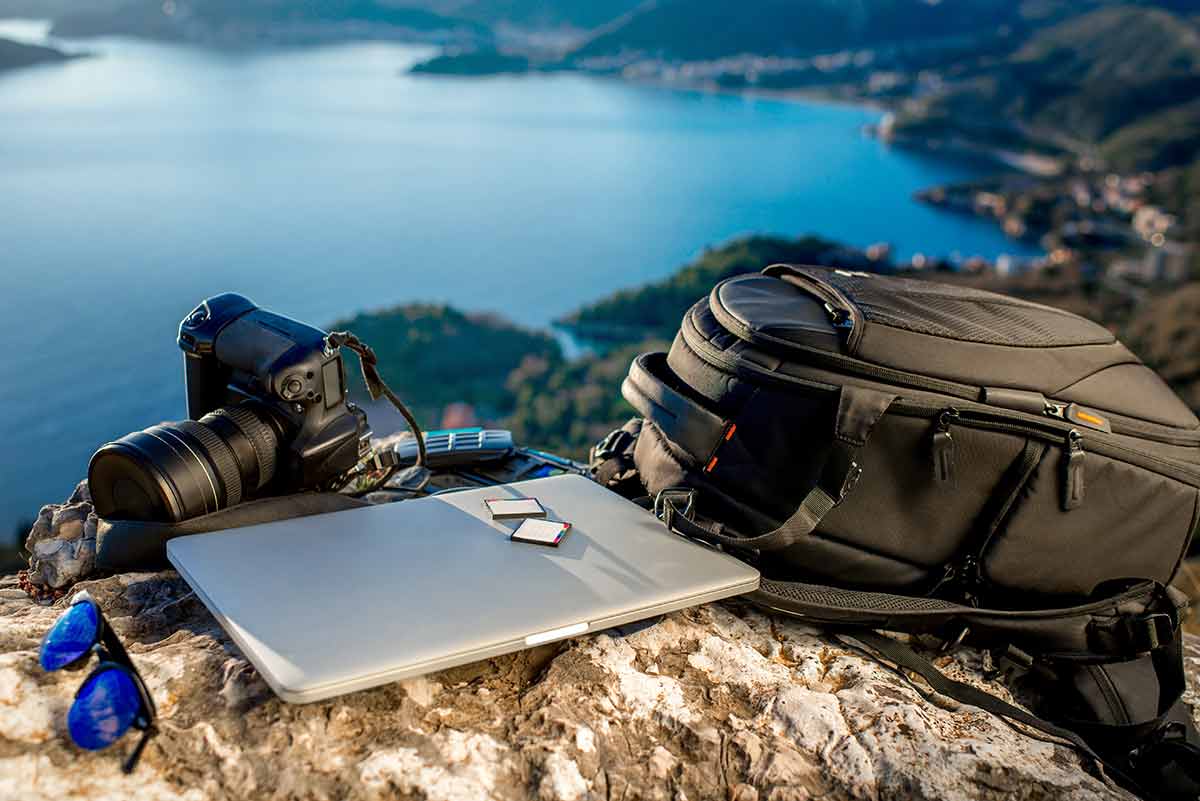
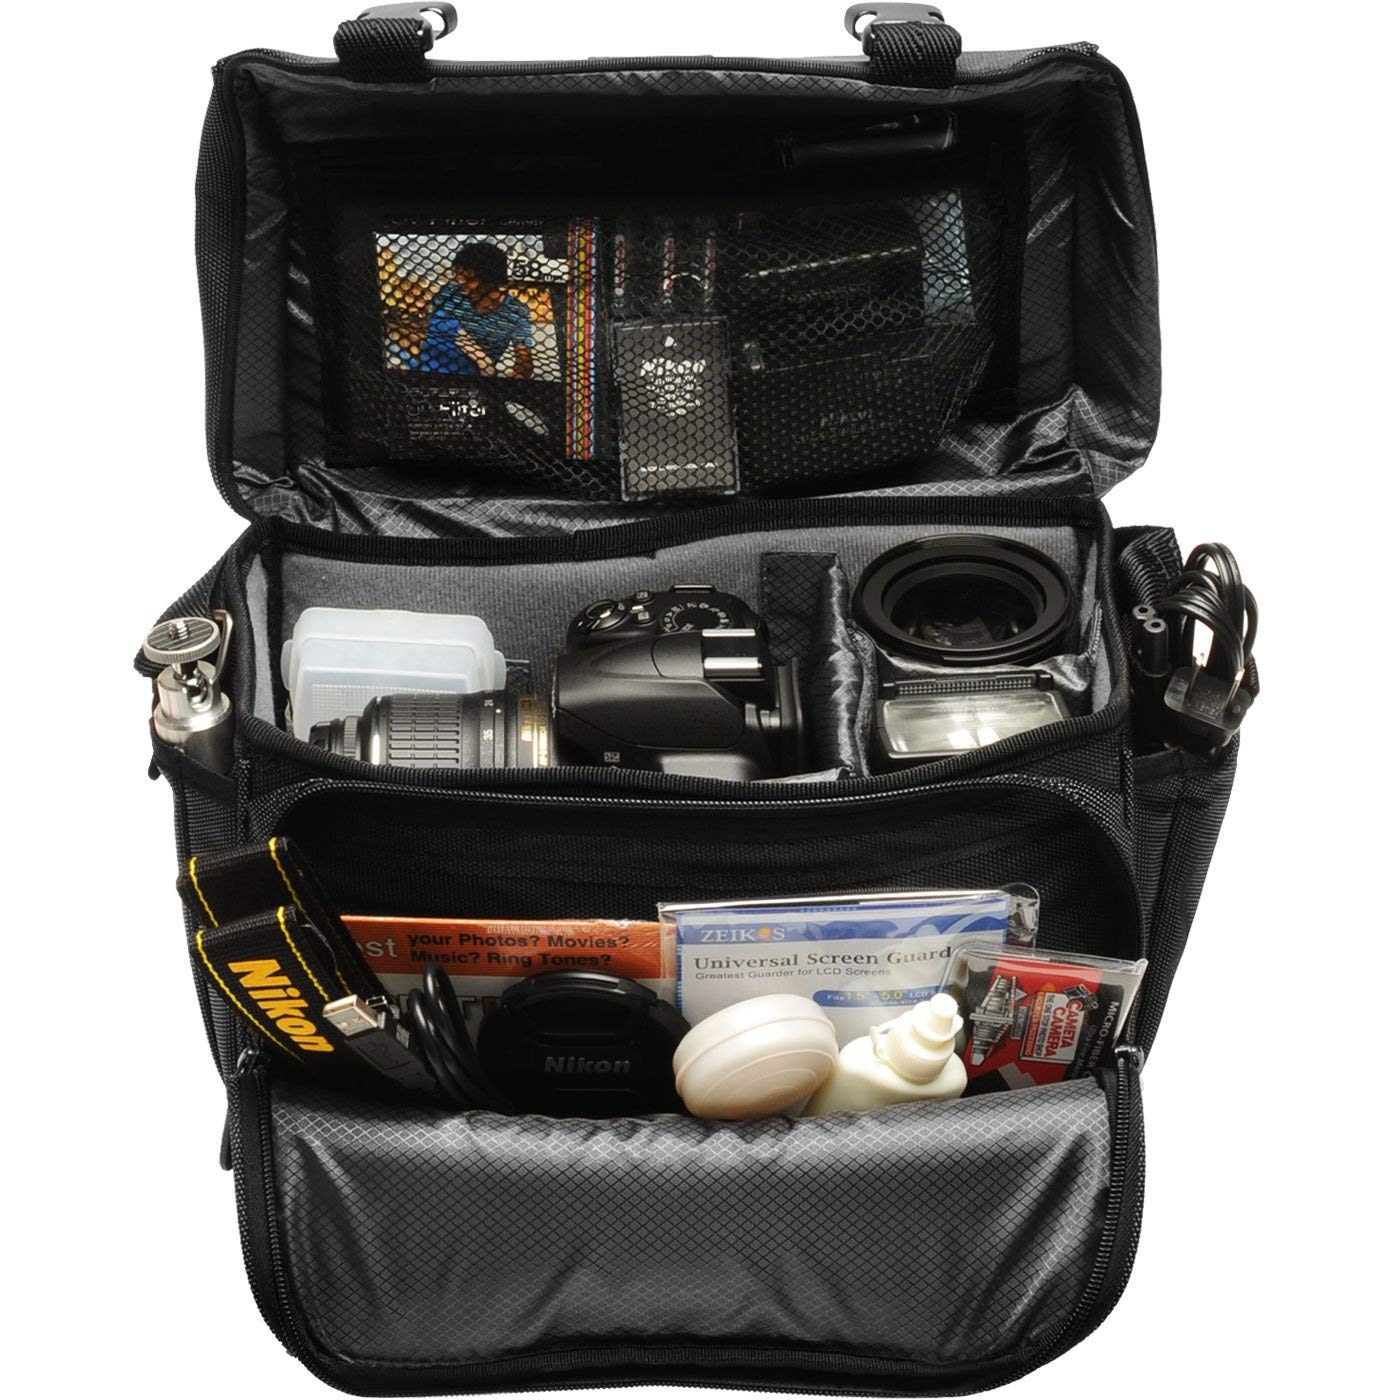
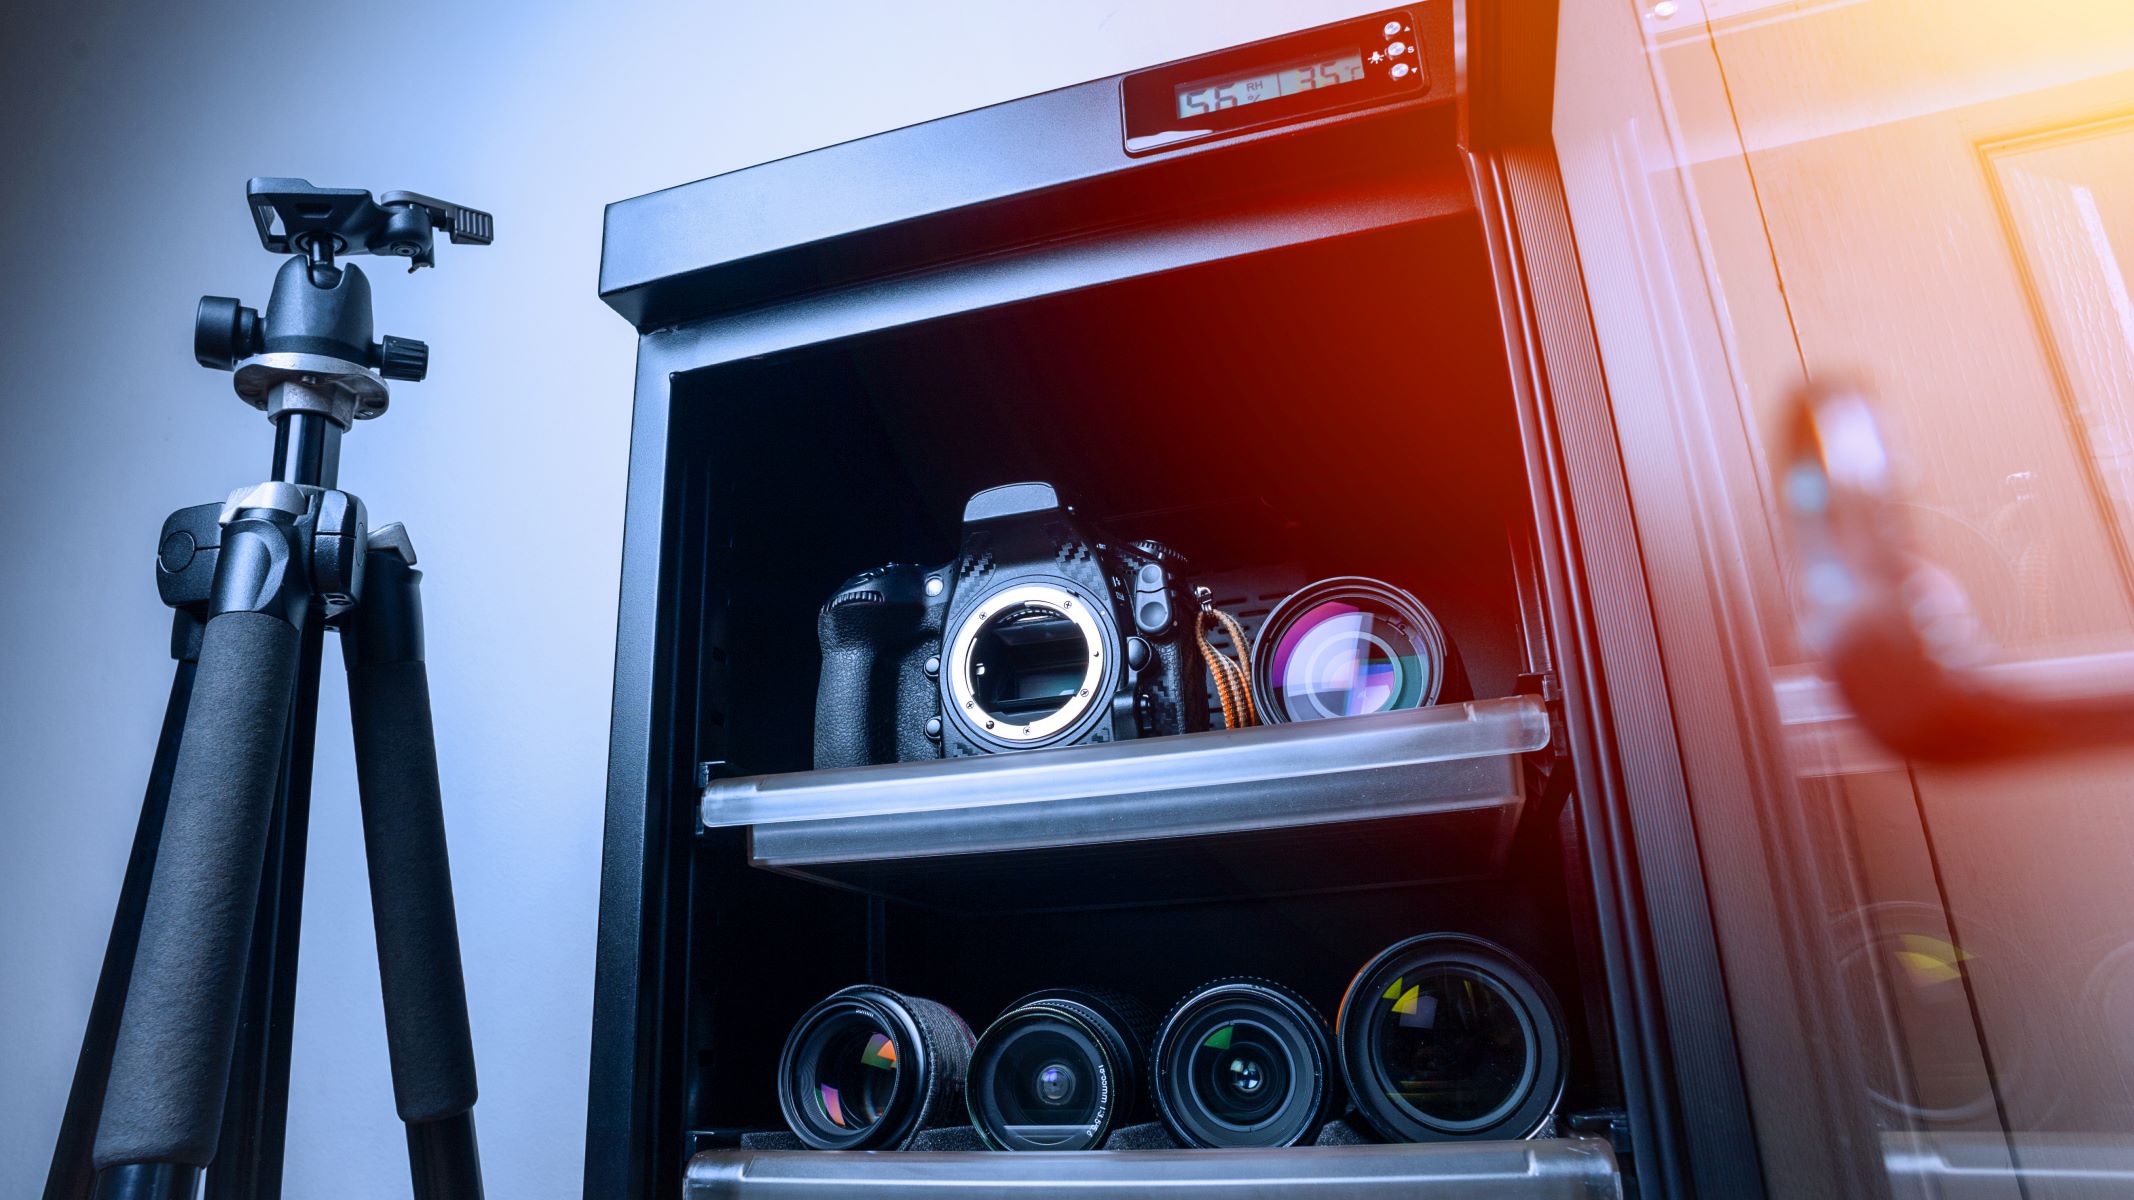
Before embarking on the task of cleaning the inside of your DSLR camera, it’s essential to gather the necessary tools and materials to ensure a thorough and safe cleaning process. Here’s a list of the items you’ll need:
- Rocket Air Blower: This tool is essential for removing loose dust and debris from the camera’s interior without causing damage.
- Microfiber Cleaning Cloth: Use a soft, lint-free cloth to gently wipe the exterior and interior surfaces of the camera.
- Sensor Cleaning Swabs: Specifically designed for cleaning the sensor, these swabs help remove stubborn particles without leaving residue.
- Lens Cleaning Solution: Opt for a high-quality, alcohol-free solution to clean the lens without causing damage or streaks.
- Lens Cleaning Pen: This dual-ended tool features a brush for removing loose debris and a cleaning tip for smudges and fingerprints on the lens.
- Cotton Swabs: These are useful for reaching small crevices and corners within the camera’s interior.
- Camera Cleaning Gloves: To minimize the transfer of oils and fingerprints, wear lint-free gloves during the cleaning process.
- Camera Cleaning Brush: A soft-bristled brush helps remove dust and particles from the camera’s exterior and hard-to-reach areas.
- Camera Cleaning Solution: Use a specialized solution to clean the camera body and other exterior components.
By ensuring you have these tools and materials on hand, you’ll be well-equipped to effectively and safely clean the inside of your DSLR camera. With the right supplies and a methodical approach, you can maintain the integrity and performance of your camera’s internal components, ensuring that it continues to capture stunning images with clarity and precision.
Preparing the Camera
Prior to delving into the cleaning process, it’s crucial to prepare your DSLR camera to ensure a smooth and effective cleaning experience. Here are the essential steps to prepare your camera for the interior cleaning:
- Power Off and Remove the Battery: Before initiating any cleaning procedures, power off your camera and remove the battery to prevent any accidental activation or damage during the process.
- Choose a Clean, Controlled Environment: Select a well-lit, dust-free area to perform the cleaning. A controlled environment minimizes the risk of introducing additional debris into the camera.
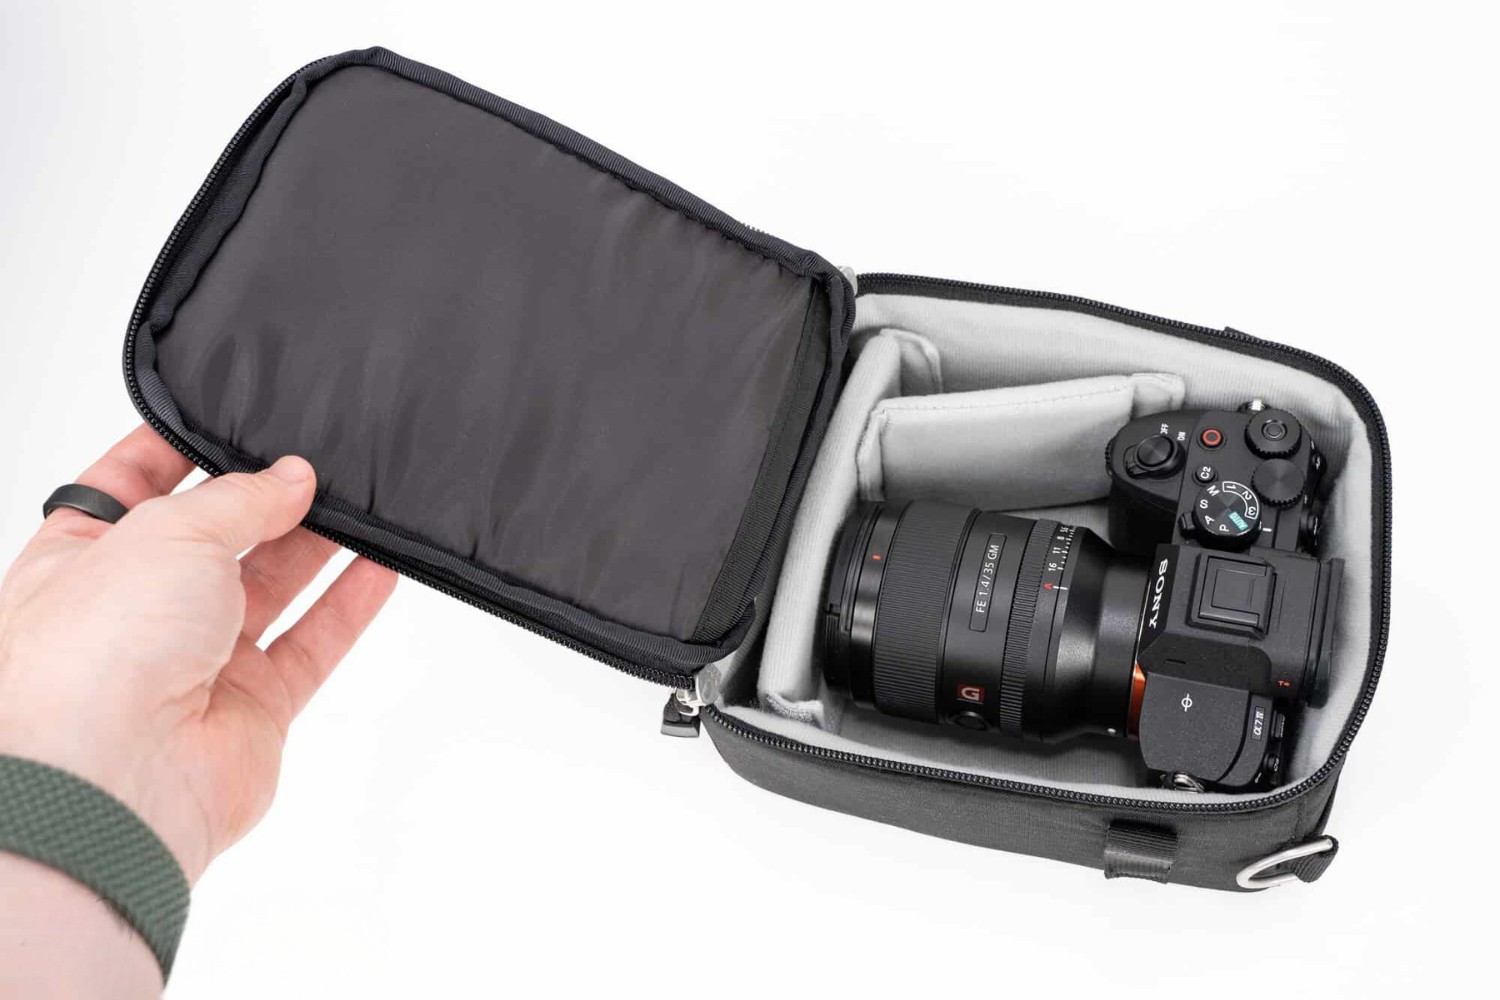
- Attach the Body Cap and Rear Lens Cap: Protect the interior components by placing the body cap on the camera and the rear lens cap on the lens mount. This prevents dust and particles from entering the camera body and lens.
- Inspect the Exterior: Before proceeding, carefully inspect the exterior of the camera for any visible dust, dirt, or smudges. Use a soft brush or microfiber cloth to gently remove any surface debris.
- Secure the Camera on a Stable Surface: To ensure stability during the cleaning process, place the camera on a clean, flat surface, such as a table or workbench, to prevent accidental drops or movement.
By meticulously preparing your DSLR camera for the interior cleaning process, you’ll create an optimal environment for achieving thorough and effective results. These preparatory steps set the stage for a successful cleaning experience, allowing you to maintain the integrity and performance of your camera’s internal components.
Cleaning the Mirror and Viewfinder
The mirror and viewfinder of a DSLR camera play a crucial role in composing and capturing images. To maintain optimal functionality and clarity, it’s essential to clean these components with precision and care. Here’s a detailed guide on how to clean the mirror and viewfinder of your DSLR camera:
- Accessing the Mirror and Viewfinder: With the lens removed, locate the mirror inside the camera body and the viewfinder above it. Use a rocket air blower to gently remove any loose dust and debris from the mirror and the surrounding area.
- Cleaning the Viewfinder Eyepiece: Use a microfiber cleaning cloth to gently wipe the viewfinder eyepiece, ensuring that it’s free from smudges and dust. Avoid applying excessive pressure to prevent damaging the delicate components.
- Inspecting and Cleaning the Mirror: Use a flashlight to inspect the mirror for any stubborn particles or smudges. If necessary, use a sensor cleaning swab or a microfiber cloth lightly moistened with a sensor cleaning solution to gently remove any residue or marks from the mirror’s surface.
- Verifying Clarity and Functionality: After cleaning, reattach the lens and check the clarity and functionality of the mirror and viewfinder by capturing test images and observing the viewfinder image. Ensure that the components are free from smudges and debris, providing a clear and unobstructed view.
By following these steps and exercising caution and precision, you can effectively clean the mirror and viewfinder of your DSLR camera, ensuring that these critical components remain free from dust, smudges, and obstructions. With a clear and unobstructed view, you’ll be well-equipped to compose and capture stunning images with confidence and precision.
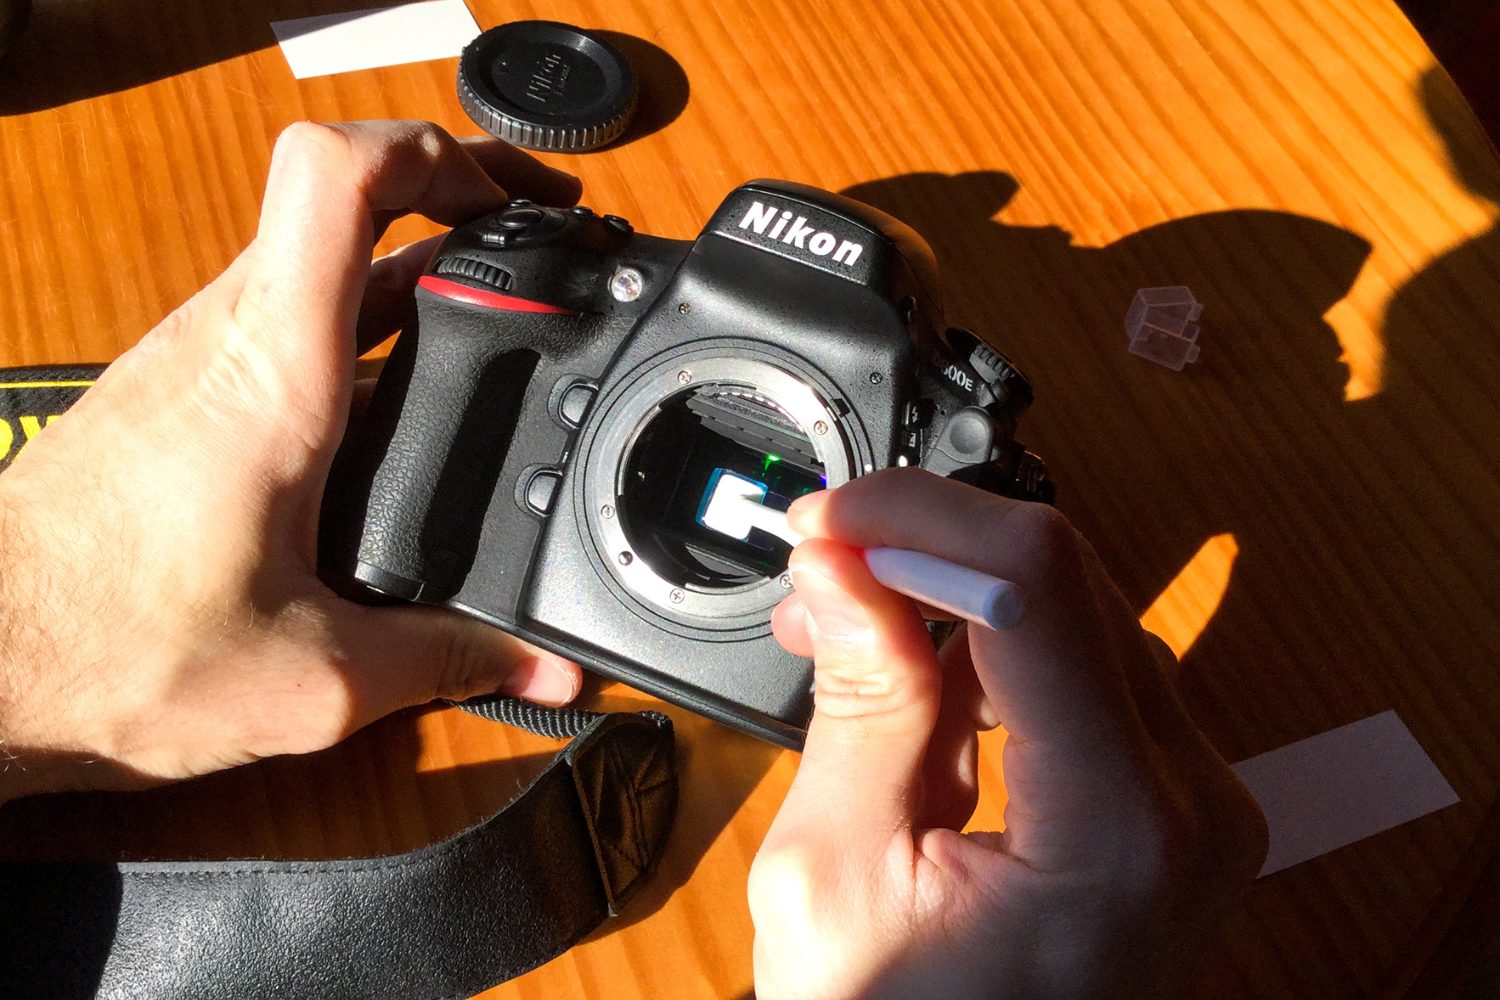
Cleaning the Sensor
The sensor is a vital component of a DSLR camera, responsible for capturing the image and transferring it to the memory card. Over time, dust and particles can accumulate on the sensor, leading to visible spots and blemishes in captured images. To maintain the sensor’s cleanliness and the overall image quality, it’s crucial to perform sensor cleaning with precision and care. Here’s a comprehensive guide on how to clean the sensor of your DSLR camera:
- Activate the Sensor Cleaning Mode: Most DSLR cameras feature a sensor cleaning mode in the menu settings. Activate this mode to reveal the sensor, making it easier to access and clean.
- Use a Rocket Air Blower: Prior to directly cleaning the sensor, use a rocket air blower to gently remove any loose dust and debris from the sensor’s surface. Point the blower opening downward to prevent dislodged particles from resettling on the sensor.
- Inspect the Sensor: Use a sensor loupe or a bright light source to inspect the sensor for any visible spots or particles. Take note of the location and nature of any detected debris to guide your cleaning process.
- Utilize Sensor Cleaning Swabs: When dealing with stubborn particles or smudges, use sensor cleaning swabs specifically designed for sensor cleaning. Apply a minimal amount of sensor cleaning solution to the swab and gently swipe across the sensor’s surface in a single, smooth motion.
- Verify Sensor Clarity: After cleaning, deactivate the sensor cleaning mode and attach a lens to the camera. Set the aperture to a small value (e.g., f/16) and capture a test image of a uniform, well-lit surface. Inspect the image for any remaining spots or blemishes on the sensor.
By following these meticulous steps and exercising caution, you can effectively clean the sensor of your DSLR camera, ensuring that it remains free from visible spots and blemishes. A clean sensor contributes to the overall image quality, allowing you to capture stunning, blemish-free images with confidence and precision.
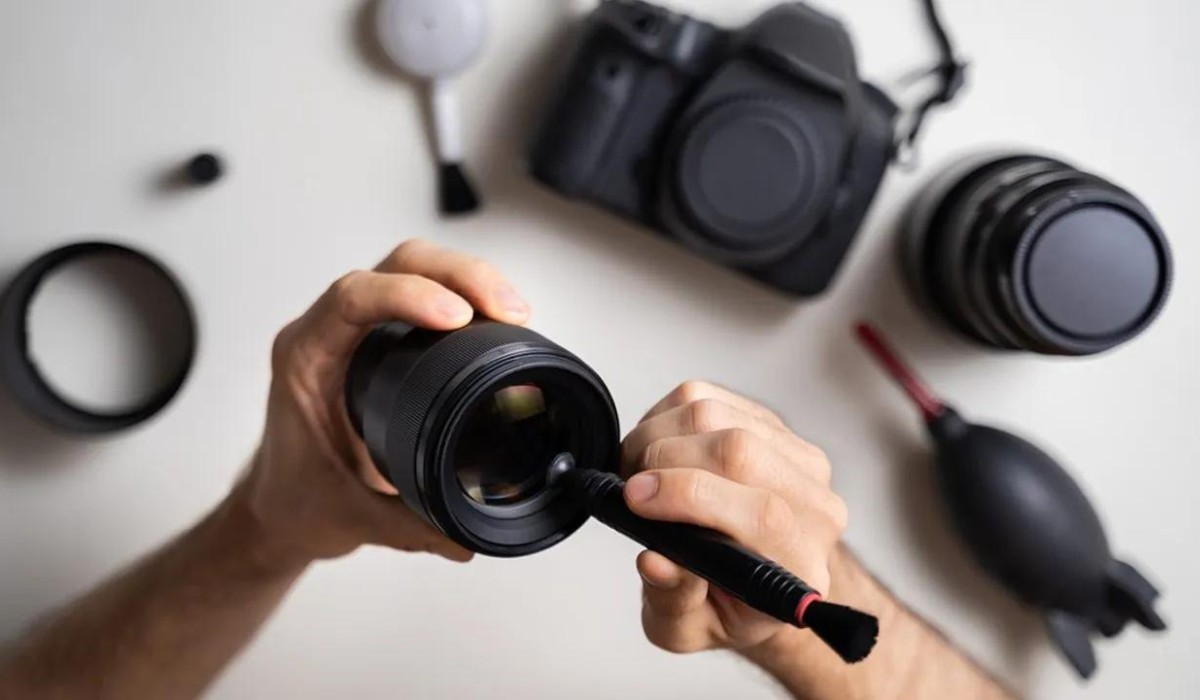
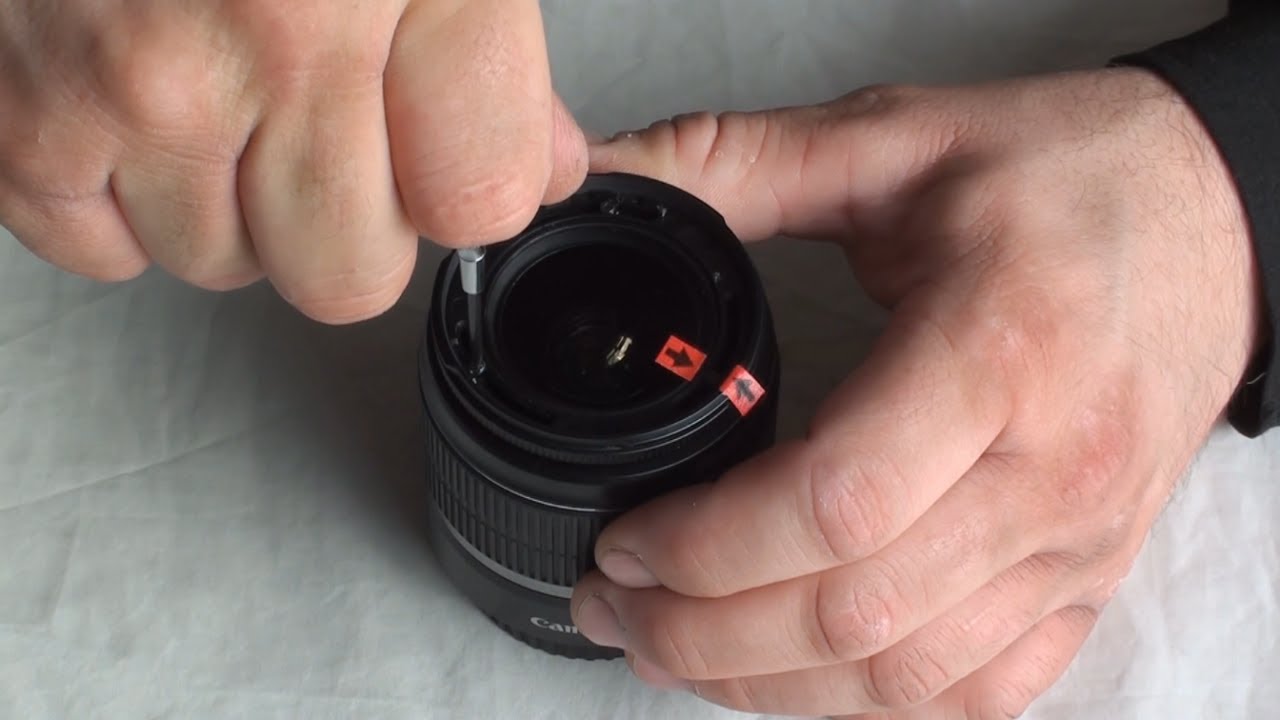
Cleaning the Lens
The lens of a DSLR camera is a critical component that directly impacts the quality and clarity of captured images. To maintain optimal performance and prevent image degradation, it’s essential to keep the lens clean and free from dust, smudges, and debris. Here’s a detailed guide on how to clean the lens of your DSLR camera:
- Remove the Lens: Carefully detach the lens from the camera body, ensuring that the camera and lens mount are facing downward to prevent dislodged particles from entering the camera.
- Use a Rocket Air Blower: Prior to directly cleaning the lens, use a rocket air blower to gently remove any loose dust and debris from the lens’s front and rear elements. This helps prevent scratching the lens surface during the subsequent cleaning steps.
- Apply Lens Cleaning Solution: Use a high-quality, alcohol-free lens cleaning solution applied to a microfiber cleaning cloth to gently wipe the lens’s front and rear elements in a circular motion. Avoid excessive pressure to prevent damaging the delicate lens coatings.
- Utilize a Lens Cleaning Pen: For stubborn smudges and fingerprints, use a lens cleaning pen with a retractable brush to remove loose debris, followed by the cleaning tip to gently eliminate smudges and marks from the lens surface.
- Inspect and Reattach the Lens: After cleaning, inspect the lens elements for any remaining smudges or debris. Once satisfied with the cleanliness, carefully reattach the lens to the camera body, ensuring a secure fit.
By following these meticulous steps and exercising care and precision, you can effectively clean the lens of your DSLR camera, ensuring that it remains free from dust, smudges, and debris. A clean lens contributes to the overall image quality, allowing you to capture sharp, clear, and visually stunning images with your DSLR camera.
Reassembling the Camera
After completing the thorough cleaning of the interior and exterior components of your DSLR camera, it’s essential to carefully reassemble the camera to ensure proper functionality and performance. Here’s a step-by-step guide on reassembling your DSLR camera:
- Inspect the Components: Before reassembling, carefully inspect the mirror, viewfinder, sensor, and lens to ensure they are free from dust, smudges, and debris following the cleaning process.
- Attach the Lens: Align the lens with the camera’s lens mount and rotate it clockwise until it locks into place. Ensure a secure attachment to prevent dust and debris from entering the camera body.
- Install the Battery: Insert a fully charged battery into the camera and secure the battery compartment door to provide power for the camera’s operation.
- Power On and Test: Turn on the camera and verify that all functions, including the viewfinder display, autofocus, and image capture, are operating as expected. Capture test images to ensure the clarity and quality of the images.
- Perform a Sensor Check: Capture a test image of a uniform, well-lit surface at various apertures to check for any remaining spots or blemishes on the sensor. Inspect the test images to ensure the sensor is free from visible debris.
By meticulously following these steps and ensuring the proper reassembly of your DSLR camera, you can rest assured that the camera is ready to deliver optimal performance and image quality. A thorough reassembly process ensures that the camera’s internal and external components are clean, functional, and poised to capture exceptional images with precision and clarity.
Conclusion
Cleaning the inside of a DSLR camera is a crucial aspect of maintaining optimal performance and image quality. By following the detailed steps outlined in this guide, you’ve acquired the knowledge and techniques to effectively clean the mirror, viewfinder, sensor, and lens of your DSLR camera. With the right tools, materials, and a methodical approach, you can ensure that your camera’s internal components remain free from dust, smudges, and debris, allowing you to capture stunning images with clarity and precision.
Proper preparation, meticulous cleaning, and careful reassembly are key elements in preserving the integrity and functionality of your DSLR camera. By adhering to best practices and exercising caution throughout the cleaning process, you can prolong the lifespan of your valuable equipment and continue to produce exceptional photographic results.
Remember to perform regular maintenance and cleaning to prevent the accumulation of dust and debris, particularly on the sensor and lens, which directly impact image quality. By incorporating these cleaning practices into your routine, you’ll maintain the performance and longevity of your DSLR camera, ensuring that it continues to be a reliable tool for capturing memorable moments and stunning photographs.
With a clean and well-maintained DSLR camera, you’re equipped to unleash your creativity and capture breathtaking images with confidence, knowing that your equipment is in prime condition to deliver exceptional results.