Introduction
When it comes to creating high-quality videos, capturing clear and crisp audio is just as important as obtaining excellent visuals. Whether you're a vlogger, filmmaker, or content creator, ensuring that your camcorder records top-notch audio is essential for engaging your audience. Attaching a microphone to your camcorder can significantly enhance the audio quality, providing a professional touch to your videos.
In this comprehensive guide, we'll delve into the various types of microphones suitable for camcorders and explore the step-by-step process of attaching different microphone types to your camcorder. By the end of this article, you'll have a clear understanding of how to optimize your audio setup and elevate the overall quality of your video content.
From shotgun microphones that capture directional audio to lavalier microphones ideal for hands-free recording, we'll cover the diverse range of options available for enhancing your camcorder's audio capabilities. Additionally, we'll provide valuable tips for achieving superior audio quality, ensuring that your recordings are professional and polished.
Whether you're embarking on a documentary project, recording interviews, or simply documenting your daily experiences, mastering the art of attaching a microphone to your camcorder will undoubtedly elevate the impact of your videos. So, let's dive into the world of microphones and uncover the secrets to achieving exceptional audio for your camcorder recordings.
Types of Microphones for Camcorders
Before delving into the process of attaching a microphone to your camcorder, it’s crucial to understand the various types of microphones available and their suitability for different recording scenarios. When it comes to capturing high-quality audio for your videos, selecting the right microphone can make a significant difference in the overall sound production. Here are the primary types of microphones commonly used with camcorders:
- Shotgun Microphones: These highly directional microphones are ideal for capturing sound from a specific source while minimizing ambient noise. Shotgun microphones are commonly used in filmmaking, interviews, and outdoor recording, as they excel in isolating the desired audio source from the surrounding environment.
- Lavalier Microphones: Also known as lapel microphones, lavalier mics are small, discreet, and designed to be clipped onto clothing, making them perfect for hands-free recording. They are commonly used in interviews, presentations, and vlogs, providing clear and close-up audio capture.
- Handheld Microphones: These microphones are held by the speaker or performer and are suitable for live reporting, interviews, and on-the-go recording. Handheld microphones offer versatility and are often used in news reporting, event coverage, and live performances.
- Wireless Microphones: Wireless technology allows microphones to transmit audio signals to the camcorder without the constraints of cables. These microphones offer freedom of movement, making them ideal for dynamic recording situations such as live events, presentations, and performances.
Each type of microphone serves distinct purposes and excels in specific recording environments. Understanding the characteristics and applications of these microphones will help you choose the most suitable option for your camcorder-based recording needs. Whether you’re aiming to capture focused audio from a distance, achieve hands-free mobility, or facilitate live interactions, selecting the right microphone is essential for achieving optimal audio quality in your videos.
Attaching a Shotgun Microphone to a Camcorder
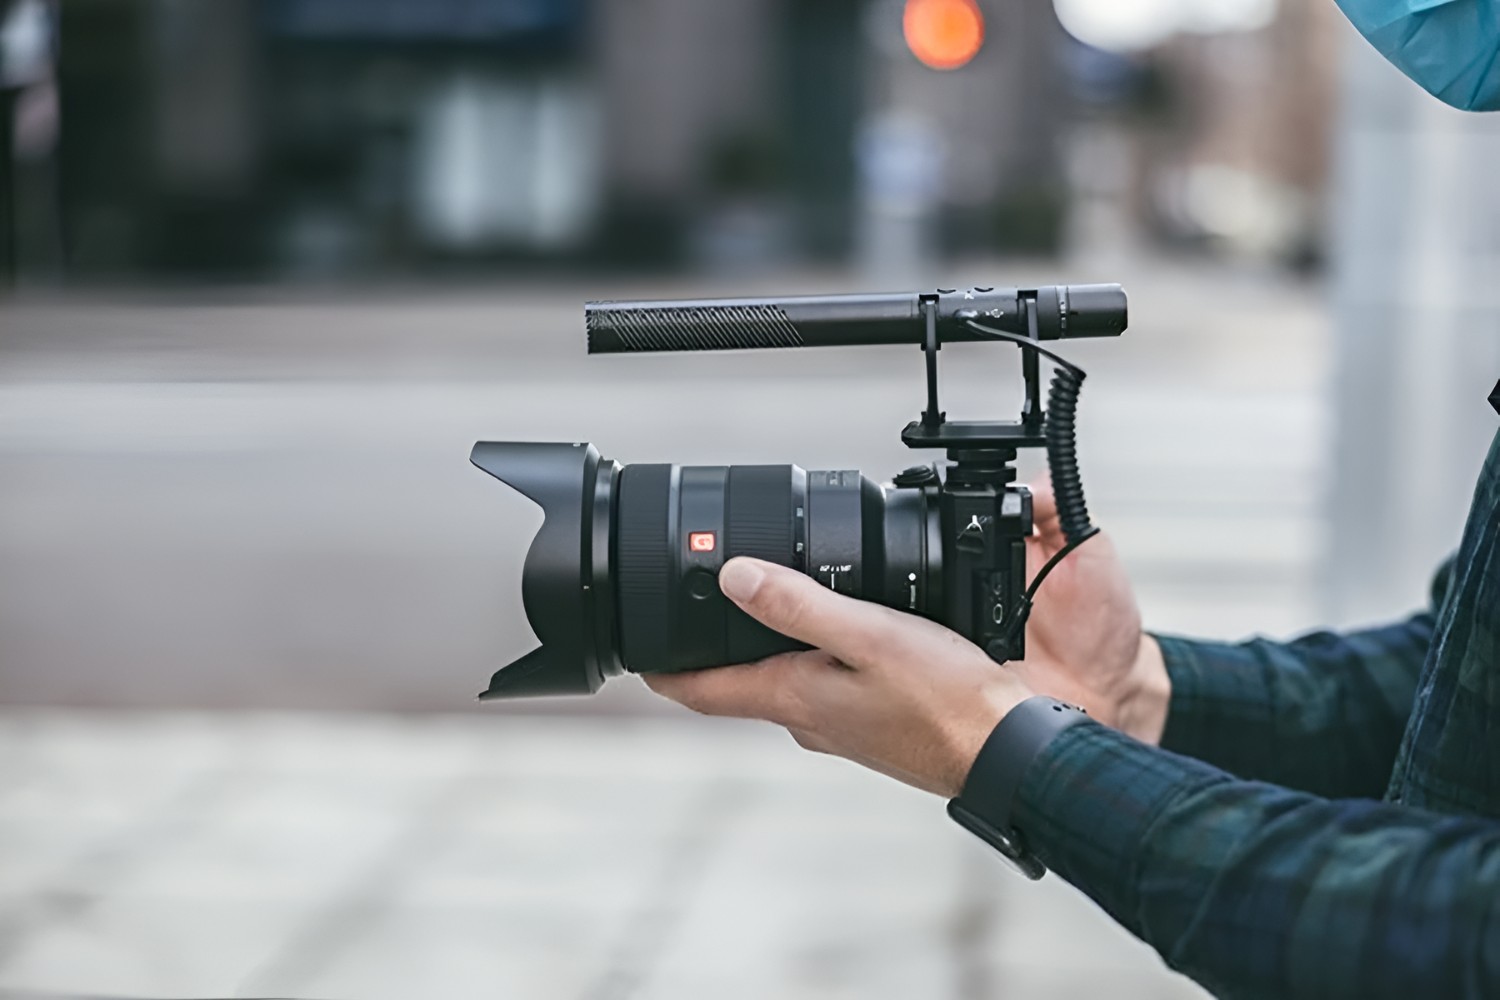
Shotgun microphones are highly effective for capturing directional audio, making them a popular choice for filmmakers, videographers, and content creators seeking to isolate specific sound sources while minimizing background noise. Attaching a shotgun microphone to your camcorder is a straightforward process that can significantly enhance the audio quality of your recordings. Here’s a step-by-step guide to attaching a shotgun microphone to your camcorder:
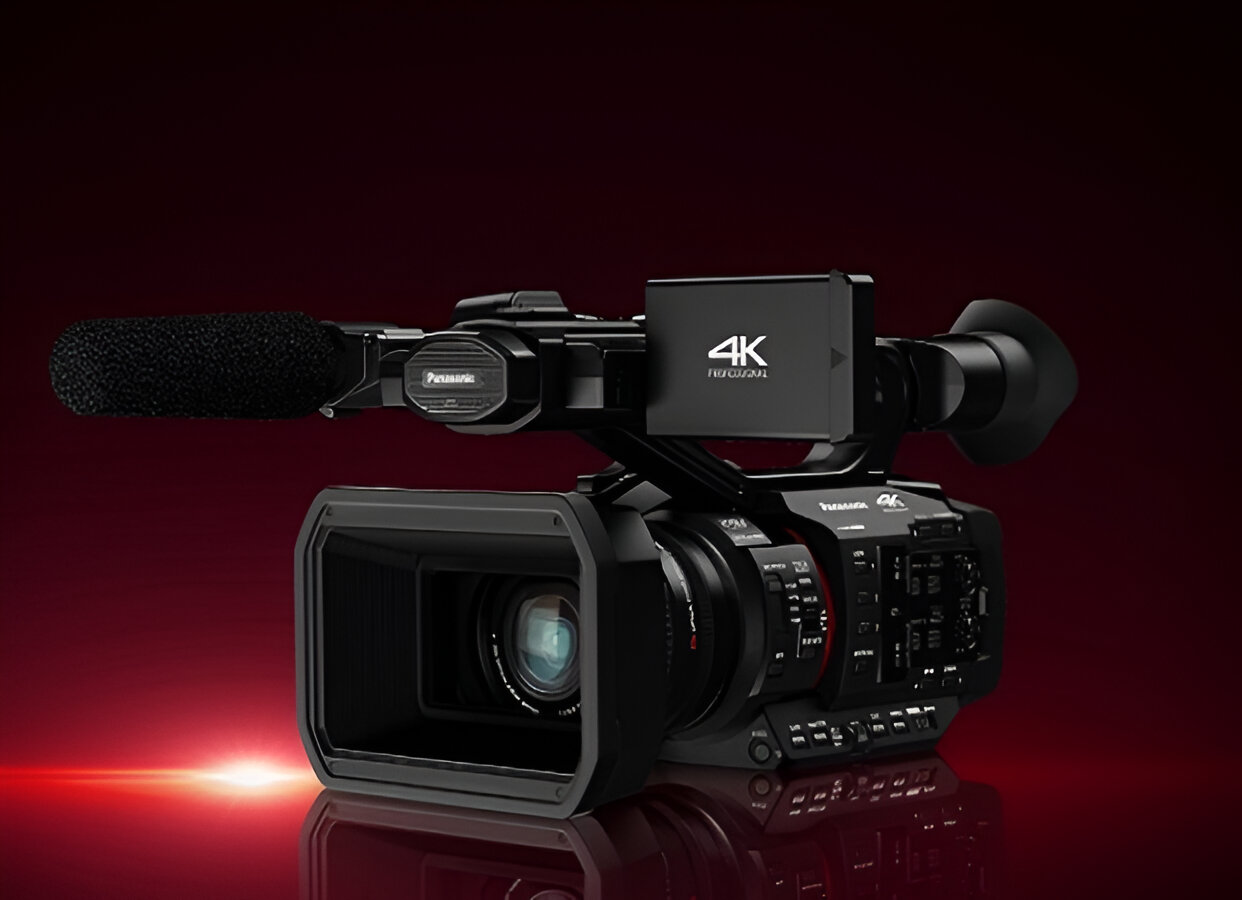
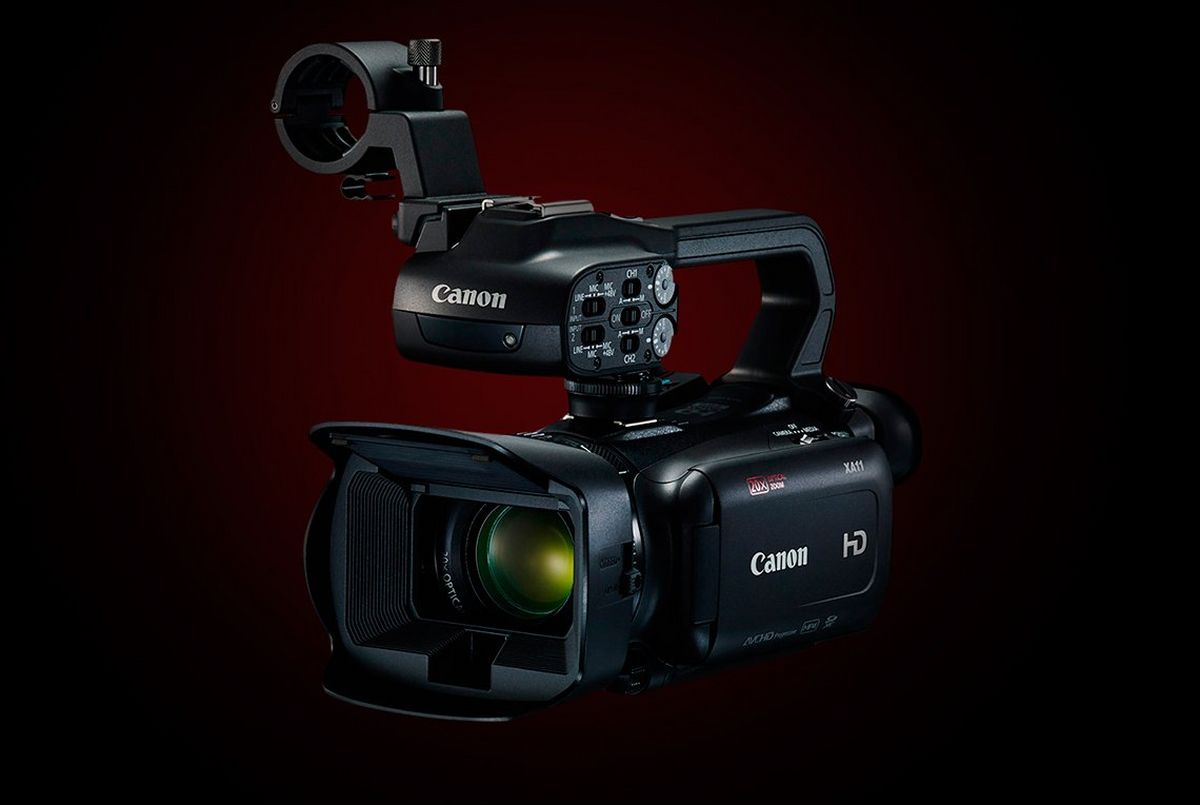
- Locate the Microphone Mounting Point: Most camcorders feature a built-in microphone mount, typically located on the top of the camera. Identify this mounting point, as it is designed to accommodate external microphones, including shotgun mics.
- Prepare the Microphone: Before attaching the shotgun microphone, ensure that it is powered and ready for use. If the microphone requires batteries or has an on/off switch, make the necessary preparations to activate its functionality.
- Mount the Microphone: Align the mounting end of the shotgun microphone with the microphone mount on the camcorder. Depending on the microphone and camcorder models, you may need to slide, twist, or secure the microphone into place using the provided mounting mechanism.
- Secure the Connection: Once the microphone is attached to the camcorder, ensure that it is securely fastened to prevent any accidental dislodging during recording. Check for any locking mechanisms or tightening features to stabilize the microphone attachment.
- Adjust the Microphone Position: Position the shotgun microphone according to your recording requirements. Depending on the microphone’s directional capabilities, you may need to aim it towards the intended sound source to optimize audio capture and minimize unwanted noise.
- Test the Audio: Before commencing your recording, perform a quick audio check to ensure that the shotgun microphone is effectively capturing the desired sound and rejecting extraneous noise. Adjust the microphone’s settings as needed to achieve the best audio quality.
By following these steps, you can seamlessly attach a shotgun microphone to your camcorder, empowering you to capture precise and clear audio in various recording environments. Whether you’re filming interviews, outdoor scenes, or live events, the directional capabilities of a shotgun microphone can elevate the overall audio quality of your video productions, resulting in professional and engaging content.
Attaching a Lavalier Microphone to a Camcorder
When it comes to hands-free audio capture and close-up sound reinforcement, lavalier microphones, also known as lapel microphones, offer a convenient and discreet solution. Attaching a lavalier microphone to your camcorder enables you to record clear and intimate audio, making it an ideal choice for interviews, presentations, vlogs, and other scenarios where mobility and unobtrusive recording are essential. Here’s a step-by-step guide to attaching a lavalier microphone to your camcorder:
- Prepare the Microphone: Ensure that the lavalier microphone is powered and ready for use. Check the battery status and activate any necessary switches or controls to enable the microphone’s functionality.
- Position the Microphone: Clip the lavalier microphone onto the clothing of the individual who will be speaking or performing. Common placement locations include the collar, lapel, or neckline, ensuring that the microphone is positioned close to the sound source for optimal audio capture.
- Connect the Microphone: Attach the lavalier microphone’s cable to the input jack on your camcorder. Many camcorders feature a dedicated microphone input, often identified by a microphone icon or labeled as “mic in.” Ensure that the connection is secure to prevent any audio interruptions during recording.
- Conceal the Cable (Optional): If desired, discreetly route the microphone cable along the individual’s clothing to minimize visibility and prevent any potential obstruction or tangling during recording. Carefully tuck the cable behind clothing or use clips to secure it in place.
- Perform an Audio Check: Before initiating your recording, conduct a brief audio test to ensure that the lavalier microphone is effectively capturing the intended sound source. Adjust the microphone’s positioning and audio levels as needed to achieve optimal audio quality.
By following these steps, you can seamlessly attach a lavalier microphone to your camcorder, enabling you to capture clear and unobtrusive audio in a variety of recording scenarios. Whether you’re conducting interviews, delivering presentations, or creating dynamic vlogs, the hands-free nature of lavalier microphones empowers you to achieve professional-grade audio recordings, enhancing the overall impact of your video content.
Attaching a Handheld Microphone to a Camcorder
Handheld microphones offer versatility and mobility, making them a popular choice for live reporting, interviews, event coverage, and on-the-go recording scenarios. Attaching a handheld microphone to your camcorder allows you to capture clear and dynamic audio while leveraging the convenience of handheld operation. Here’s a step-by-step guide to attaching a handheld microphone to your camcorder:
- Prepare the Microphone: Ensure that the handheld microphone is powered and ready for use. If the microphone requires batteries or has adjustable settings, make the necessary preparations to activate its functionality and optimize audio capture.
- Hold the Microphone: Grasp the handheld microphone securely, positioning it at an appropriate distance from the sound source. The microphone should be held at a comfortable angle to facilitate clear and consistent audio capture during recording.
- Connect the Microphone: Locate the microphone input jack on your camcorder, often designated by a microphone icon or labeled as “mic in.” Insert the handheld microphone’s cable into the microphone input, ensuring a secure connection to facilitate uninterrupted audio transmission.
- Adjust Audio Levels: Depending on your camcorder’s audio settings, adjust the microphone input levels to optimize audio quality and prevent distortion or audio clipping. Many camcorders feature manual audio level controls that allow you to fine-tune the microphone’s input volume.
- Perform a Test Recording: Before initiating your main recording, conduct a brief test recording to assess the audio quality captured by the handheld microphone. Listen to the playback and make any necessary adjustments to the microphone’s positioning and audio levels to achieve optimal sound reproduction.
By following these steps, you can seamlessly attach a handheld microphone to your camcorder, empowering you to capture clear and dynamic audio in a variety of recording environments. Whether you’re conducting interviews, reporting on live events, or capturing on-the-go audio, the handheld microphone provides a versatile and user-friendly solution for achieving professional-grade audio recordings, enhancing the overall impact of your video content.
Tips for Better Audio Quality
Enhancing the audio quality of your camcorder recordings goes beyond simply attaching a microphone. Implementing the following tips and best practices can significantly elevate the overall sound production of your videos, ensuring a professional and engaging auditory experience for your audience:
- Choose the Right Microphone for the Job: Selecting the most suitable microphone for your specific recording needs is crucial. Consider the acoustic environment, the distance from the sound source, and the desired audio capture characteristics when choosing between shotgun, lavalier, handheld, or wireless microphones.
- Monitor Audio Levels: Regularly monitor the audio levels during recording to prevent distortion or excessively low volume. Utilize your camcorder’s audio level indicators or wear headphones to monitor the sound quality in real time and make necessary adjustments as you record.
- Minimize Background Noise: When recording, be mindful of ambient noise that can detract from the clarity of your audio. Choose quiet recording locations whenever possible and consider using noise-reducing accessories or software to minimize unwanted background sounds.
- Position Microphones Strategically: Proper microphone placement is essential for capturing clear and balanced audio. Experiment with microphone positioning to achieve the best sound quality, considering factors such as distance, angle, and potential obstructions that may affect audio capture.
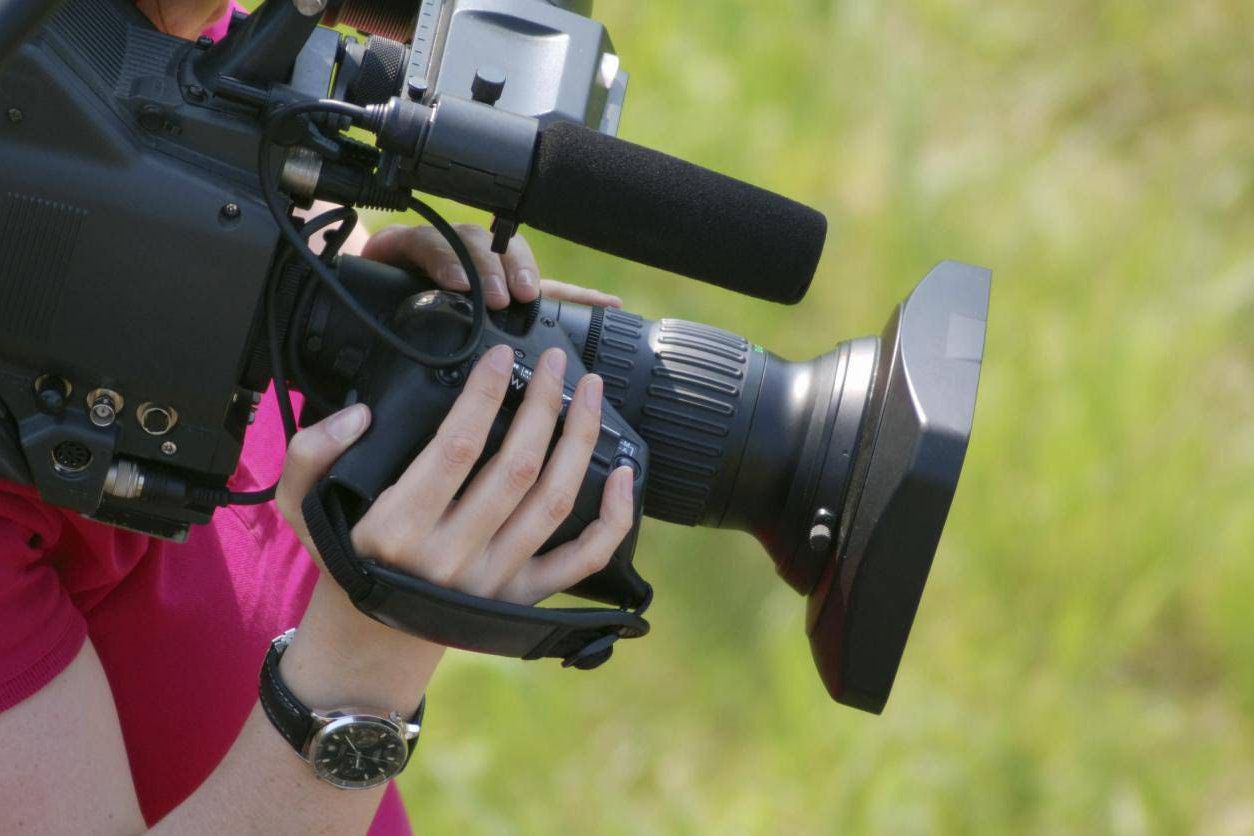
- Utilize Wind Protection: When recording outdoors or in windy environments, use windshields or foam covers to protect your microphone from wind noise. These accessories can significantly reduce unwanted wind interference, ensuring cleaner audio recordings.
- Optimize Audio Settings: Familiarize yourself with your camcorder’s audio settings and features, such as equalization, gain control, and audio filters. Adjust these settings based on the recording environment and the characteristics of your microphones to enhance audio clarity and fidelity.
- Test and Calibrate Equipment: Before important recordings, perform audio tests and equipment calibrations to ensure that your microphones, cables, and camcorder settings are optimized for the best possible sound quality. Address any issues or inconsistencies to prevent audio-related challenges during recording.
- Invest in Quality Accessories: Consider investing in high-quality microphone accessories, such as shock mounts, extension cables, and microphone stands, to enhance stability, mobility, and overall audio performance during recording sessions.
By incorporating these tips into your camcorder-based audio setup, you can achieve superior audio quality and elevate the impact of your video content. Whether you’re capturing interviews, live events, or cinematic sequences, prioritizing audio excellence will undoubtedly enhance the overall production value and audience engagement of your videos.
Conclusion
Mastering the art of attaching a microphone to your camcorder is a pivotal step in elevating the audio quality of your video recordings. Whether you opt for a shotgun microphone to capture directional audio, a lavalier microphone for hands-free convenience, or a handheld microphone for dynamic recording scenarios, the process of seamlessly integrating these audio tools with your camcorder empowers you to achieve professional-grade sound production.
Understanding the distinct characteristics and applications of each microphone type allows you to make informed decisions when selecting the most suitable option for your recording needs. By following the step-by-step guides provided for attaching shotgun, lavalier, and handheld microphones to your camcorder, you can navigate the process with confidence and precision, ensuring optimal audio capture in diverse recording environments.
Furthermore, implementing the recommended tips for enhancing audio quality equips you with valuable insights to refine your recording techniques, minimize audio challenges, and deliver exceptional sound reproduction in your videos. From strategic microphone positioning to meticulous audio level monitoring, these best practices serve as essential tools for achieving professional audio excellence.
Ultimately, the seamless integration of microphones with your camcorder, coupled with a nuanced understanding of audio optimization, enables you to produce videos that resonate with clarity, depth, and impact. Whether you’re documenting real-life experiences, conducting interviews, or producing cinematic content, the ability to capture pristine audio enhances the overall storytelling and immersive quality of your video productions.
By embracing the knowledge and techniques presented in this guide, you are poised to embark on a journey of audio mastery, enriching your video creations with captivating and immersive soundscapes. As you continue to explore the realm of audiovisual storytelling, the seamless attachment of microphones to your camcorder will remain a cornerstone of your pursuit of audio excellence.


