Introduction
Welcome to the fascinating world of digital single-lens reflex (DSLR) photography! As a proud owner of a DSLR camera, you are already aware of the unparalleled image quality and creative control it offers. However, to ensure that your photographs remain pristine and free from imperfections, it is crucial to understand the significance of sensor cleaning.
The sensor is the heart of your DSLR camera, playing a pivotal role in capturing the stunning images you desire. Over time, dust, dirt, and other particles can accumulate on the sensor, resulting in unsightly spots and blemishes on your photographs. This can be particularly noticeable when shooting at narrow apertures or in uniform, bright areas of an image. Therefore, learning how to effectively clean the sensor is an essential skill for any DSLR photographer.
In this comprehensive guide, we will delve into the intricacies of sensor cleaning, equipping you with the knowledge and techniques necessary to maintain the optimal performance of your DSLR camera. From understanding the importance of sensor cleaning to identifying the tools required and mastering the cleaning process, you will gain valuable insights that will elevate your photography experience.
Join us on this enlightening journey as we unravel the mysteries of sensor cleaning and empower you to take control of the maintenance and care of your DSLR camera. Let's embark on this adventure together and discover the art and science of sensor cleaning.
Why Cleaning the Sensor is Important
The sensor of a DSLR camera is akin to its digital canvas, capturing the essence of every scene with precision and clarity. However, as you embark on your photographic endeavors, the sensor is susceptible to accumulating dust, dirt, and other particles, which can compromise the quality of your images. Understanding why sensor cleaning is crucial will underscore the significance of this maintenance task.
First and foremost, a clean sensor is essential for producing pristine, professional-quality images. Dust and debris on the sensor manifest as visible spots or blemishes in the final photographs, detracting from the overall visual appeal. These imperfections can be particularly noticeable in areas of uniform color or brightness, such as clear blue skies or smooth, solid backgrounds. By keeping the sensor clean, you can maintain the integrity of your images and avoid the need for time-consuming post-processing to remove unwanted artifacts.
Furthermore, sensor cleanliness directly impacts the overall performance of your DSLR camera. A dirty sensor can lead to inaccurate autofocus functionality and compromised metering, resulting in subpar exposure and focus in your photographs. In some cases, the presence of debris on the sensor may even affect the camera’s ability to achieve optimal image sharpness and detail, undermining the very essence of your creative vision.
Additionally, neglecting sensor cleaning can lead to a gradual buildup of contaminants, potentially causing them to adhere more stubbornly to the sensor surface over time. This can exacerbate the difficulty of cleaning and increase the risk of causing damage to the sensor during the cleaning process. By understanding the importance of regular sensor maintenance, you can mitigate these risks and ensure the long-term reliability and performance of your DSLR camera.
In essence, the significance of sensor cleaning lies in its direct impact on the quality, performance, and longevity of your DSLR camera. By prioritizing sensor maintenance, you can uphold the impeccable standards of your photographic work and preserve the integrity of your equipment, ultimately enhancing your overall photography experience.
Tools Needed for Sensor Cleaning
Embarking on the journey of sensor cleaning requires the acquisition of specialized tools designed to delicately and effectively remove contaminants from the sensor surface. Equipping yourself with the appropriate tools is essential for executing the cleaning process with precision and care, ensuring optimal results without compromising the integrity of the sensor.
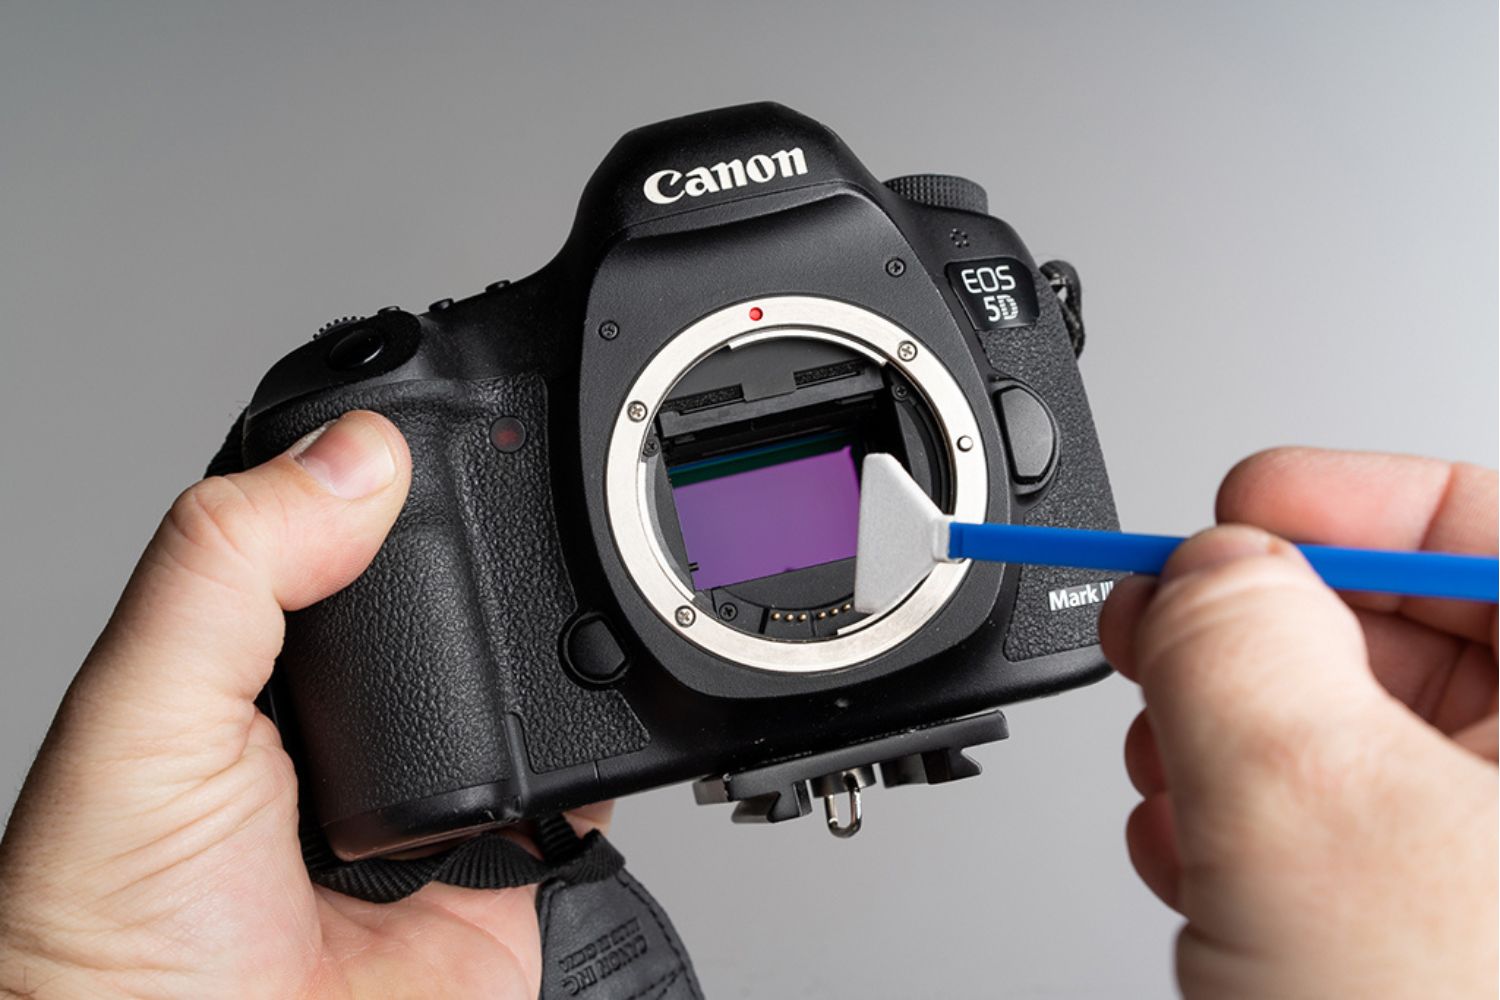
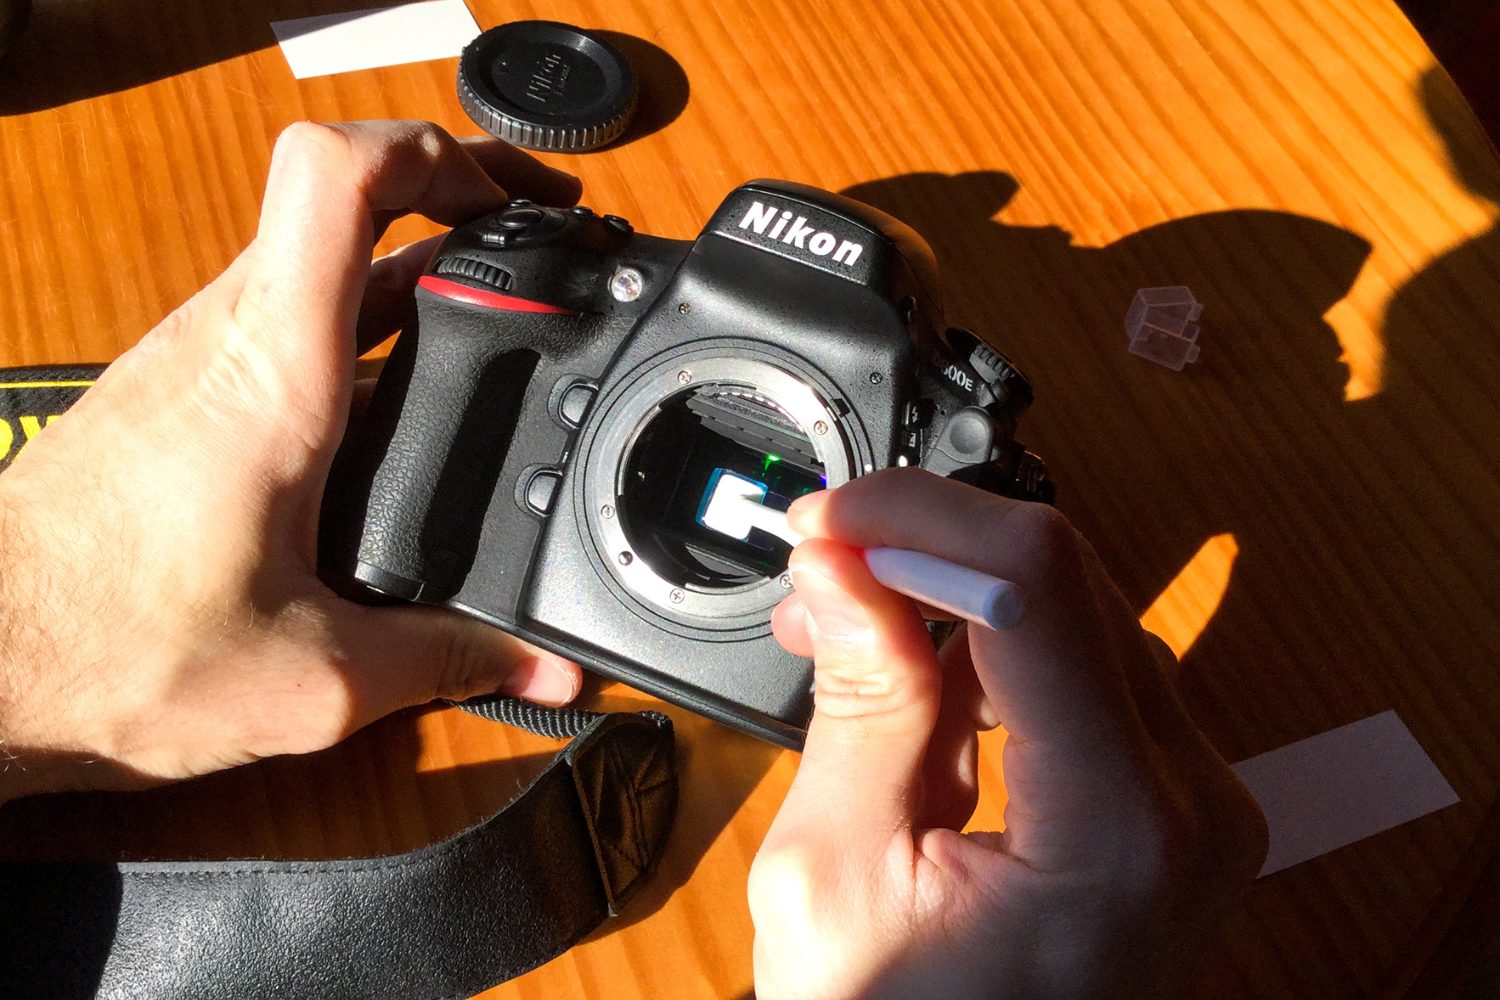
1. Sensor Cleaning Swabs: These swabs, often made of lint-free, ultra-fine materials, are designed to fit the specific dimensions of your camera’s sensor. They are used in conjunction with a suitable cleaning solution to gently wipe the sensor surface, effectively removing dust and debris without leaving residue or causing damage.
2. Sensor Cleaning Solution: A specialized sensor cleaning solution is formulated to dissolve and lift stubborn contaminants from the sensor without leaving streaks or residue. It is crucial to use a solution that is specifically designed for sensor cleaning to ensure compatibility with the sensor’s delicate surface.
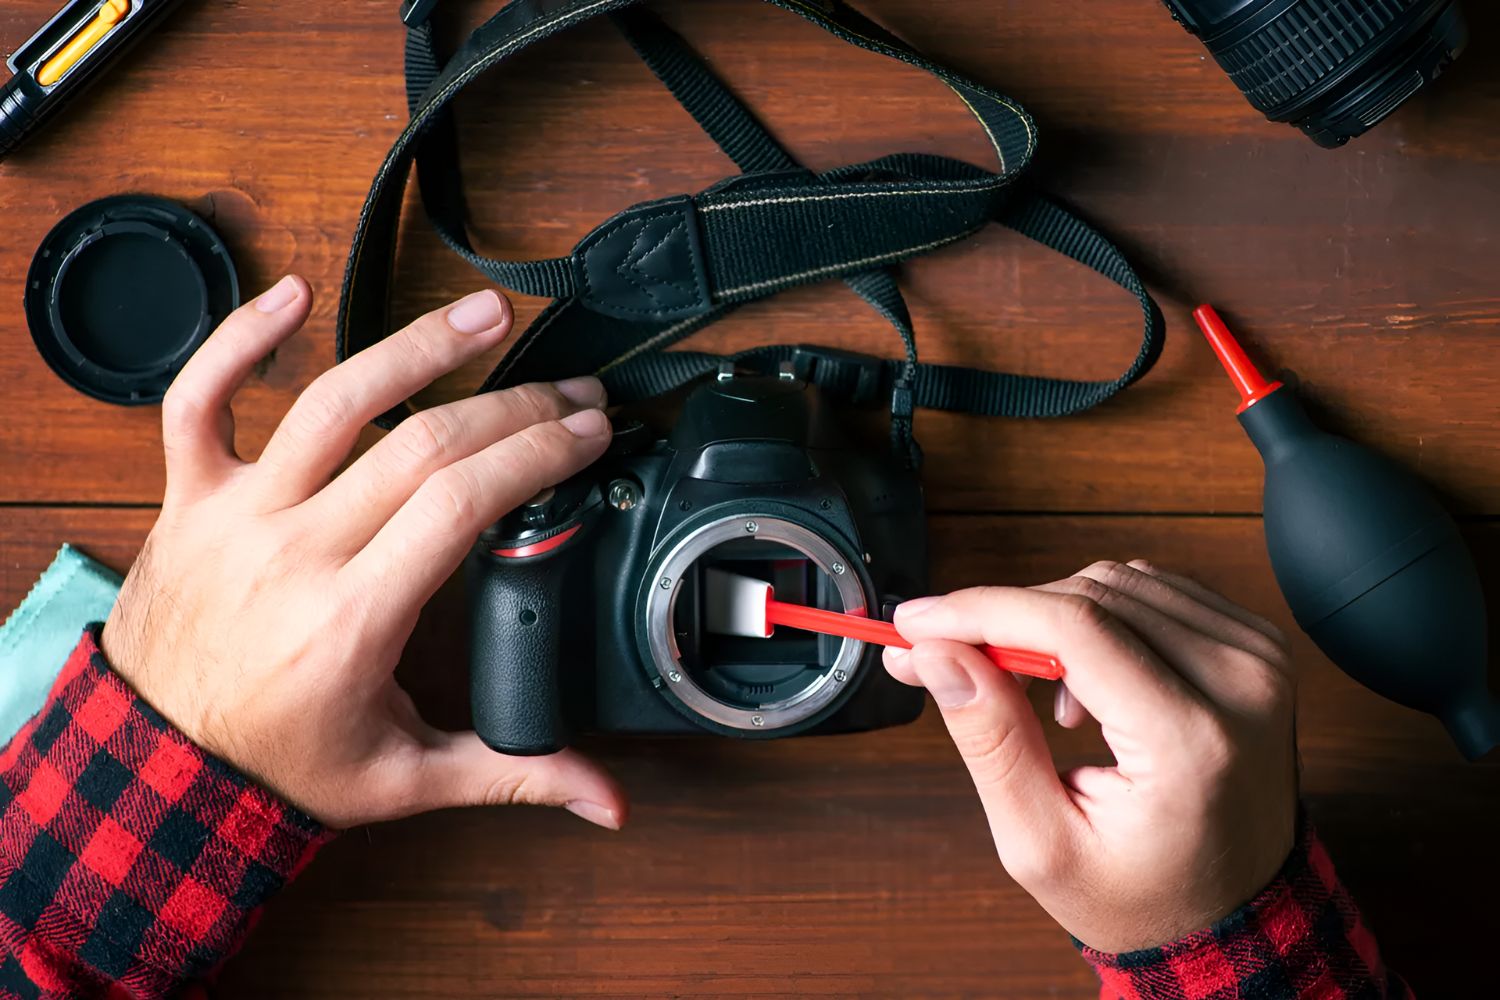
3. Rocket Blower or Air Blower: A gentle blast of air from a rocket blower or air blower can dislodge loose particles from the sensor surface, preparing it for subsequent cleaning with swabs. This tool is essential for initial debris removal before employing swabs and cleaning solution.
4. Sensor Loupe or Magnifying Loupe: A sensor loupe or magnifying loupe is indispensable for inspecting the sensor surface with precision. It magnifies the sensor area, allowing you to identify and assess the presence of dust and debris before and after the cleaning process.
5. Sensor Cleaning Brush: A sensor cleaning brush with ultra-soft bristles is useful for gently sweeping away loose particles from the sensor surface before proceeding with more targeted cleaning methods. It complements the use of a rocket blower or air blower for preliminary debris removal.
6. Gloves: Clean, lint-free gloves are essential for handling the sensor cleaning tools and materials, minimizing the risk of transferring oils or contaminants from your skin to the sensor or other components of the camera.
By assembling these essential tools, you can establish a comprehensive sensor cleaning kit that empowers you to maintain the pristine condition of your DSLR camera’s sensor. With these tools at your disposal, you are well-prepared to embark on the sensor cleaning process with confidence and precision, ensuring the continued excellence of your photographic endeavors.
Precautions to Take Before Cleaning
Before embarking on the sensor cleaning process, it is imperative to observe a series of precautions to safeguard the delicate sensor and ensure the effectiveness of the cleaning endeavor. By adhering to these precautions, you can minimize the risk of mishaps and maximize the likelihood of achieving a successful and uneventful sensor cleaning experience.
1. Work in a Clean, Dust-Free Environment: Choose a well-lit and clean workspace devoid of airborne particles and dust. This reduces the likelihood of additional contaminants entering the camera body during the cleaning process, minimizing the need for subsequent cleaning procedures.
2. Ensure Sufficient Battery Power: Before initiating sensor cleaning, ensure that your camera’s battery is adequately charged or connected to a reliable power source. A sudden loss of power during the cleaning process can lead to complications and potential damage to the sensor or other internal components.
3. Perform a Dust Reduction Function (If Available): Some DSLR cameras feature a built-in sensor cleaning mechanism or a dust reduction function. Activate this feature before commencing manual sensor cleaning to dislodge loose particles and minimize the extent of manual cleaning required.
4. Remove the Lens Carefully: Prior to accessing the sensor for cleaning, remove the lens from the camera body with care, ensuring that no dust or debris from the lens inadvertently enters the interior of the camera. Store the lens in a clean, dust-free environment during the cleaning process.
5. Review the Camera Manual: Familiarize yourself with the manufacturer’s recommendations and guidelines for sensor cleaning as outlined in the camera’s manual. Different camera models may have specific instructions or considerations for sensor maintenance that should be taken into account.
6. Exercise Patience and Precision: Approach the sensor cleaning process with patience and precision, avoiding rushed or hasty movements that may lead to accidental damage. Deliberate, methodical actions are essential for ensuring the safety and integrity of the sensor during cleaning.
By conscientiously observing these precautions, you can establish a conducive environment for sensor cleaning and mitigate potential risks that may compromise the effectiveness of the cleaning process. These proactive measures lay the foundation for a successful and uneventful sensor maintenance routine, empowering you to preserve the pristine condition of your DSLR camera’s sensor with confidence and care.
Steps to Clean the Sensor
Embarking on the sensor cleaning process requires a methodical approach and meticulous attention to detail to ensure the safe and effective removal of contaminants from the sensor surface. By following a series of carefully orchestrated steps, you can navigate the sensor cleaning process with confidence and precision, preserving the integrity and functionality of your DSLR camera’s sensor.
1. Prepare the Workspace: Begin by setting up a clean, well-lit workspace free from airborne particles and dust. Ensure that all necessary sensor cleaning tools and materials are readily accessible, and that the camera’s battery is adequately charged or connected to a power source.
2. Perform an Initial Inspection: Activate the camera’s sensor cleaning mode, if available, to dislodge loose particles. Use a sensor loupe or magnifying loupe to inspect the sensor surface for visible contaminants, taking note of their location and severity.
3. Use a Rocket Blower: Gently use a rocket blower or air blower to dislodge any loose particles from the sensor surface. Direct the airflow across the sensor in a methodical manner, exercising caution to avoid inadvertently introducing additional contaminants.
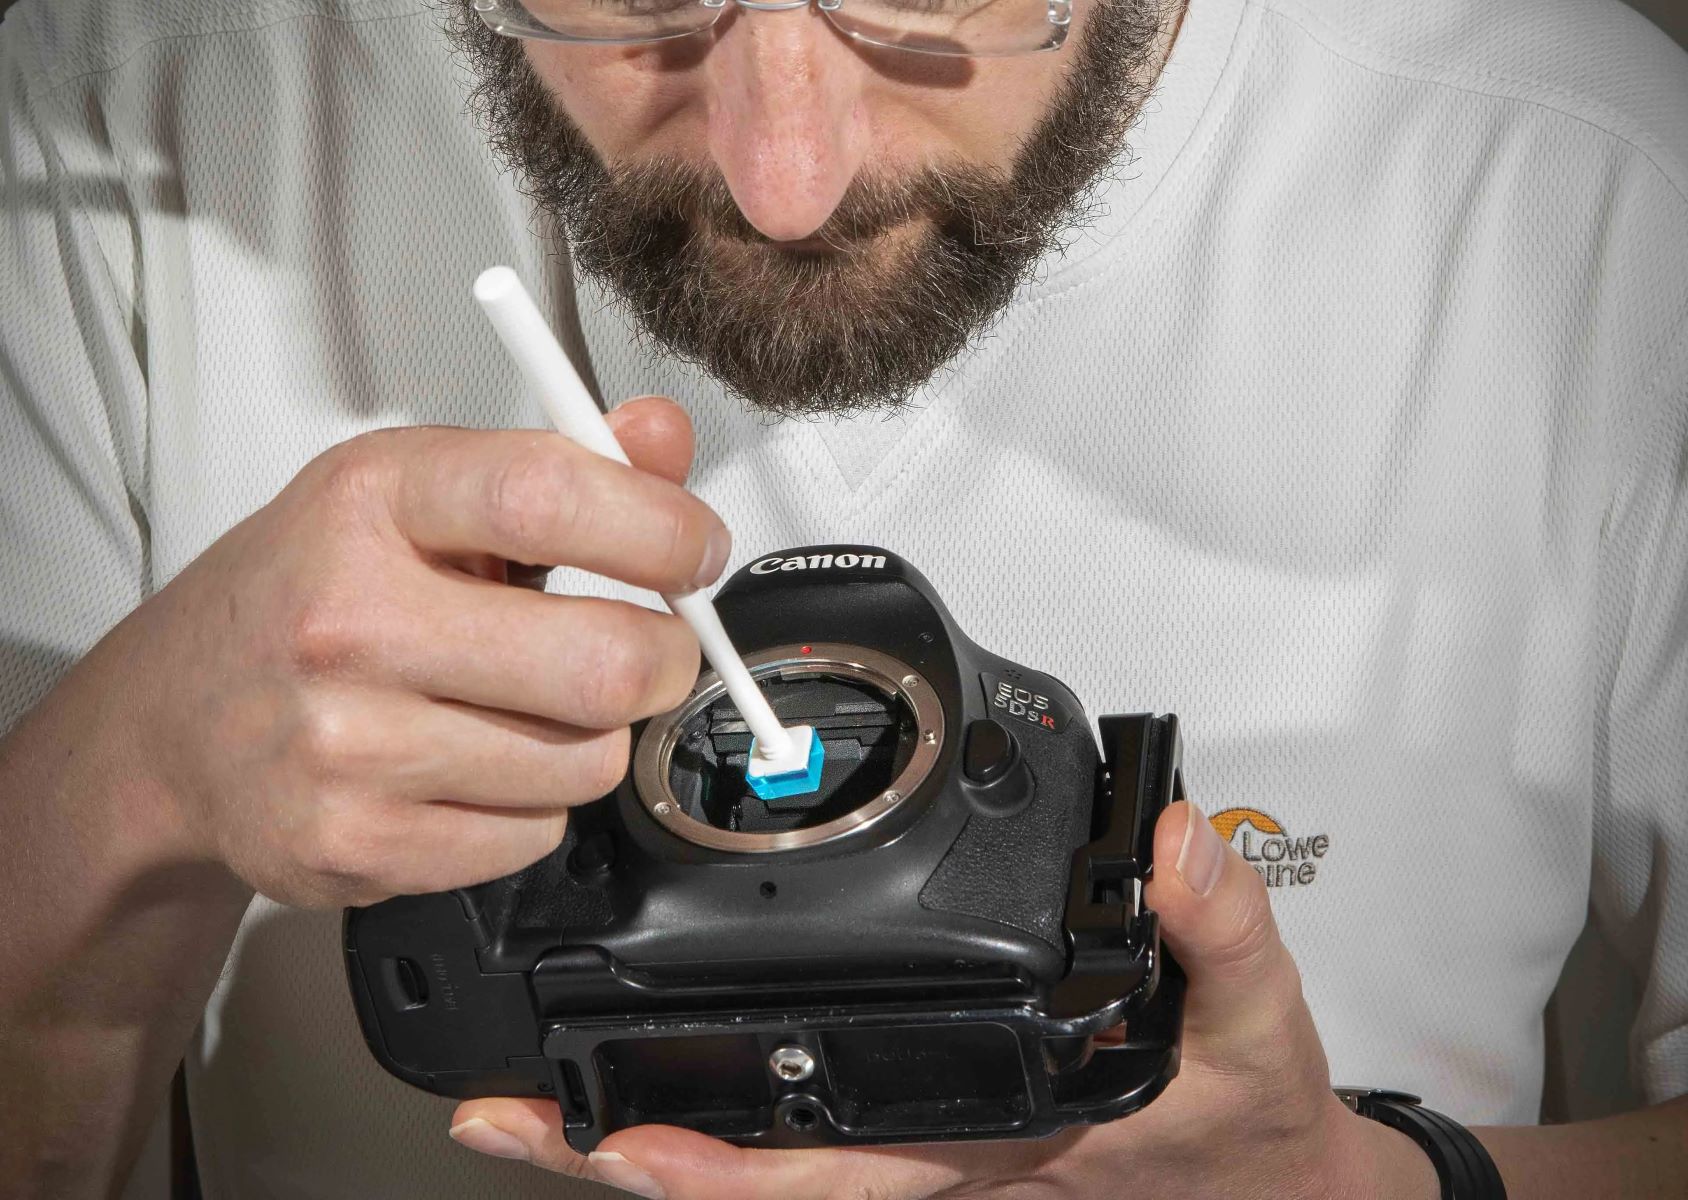
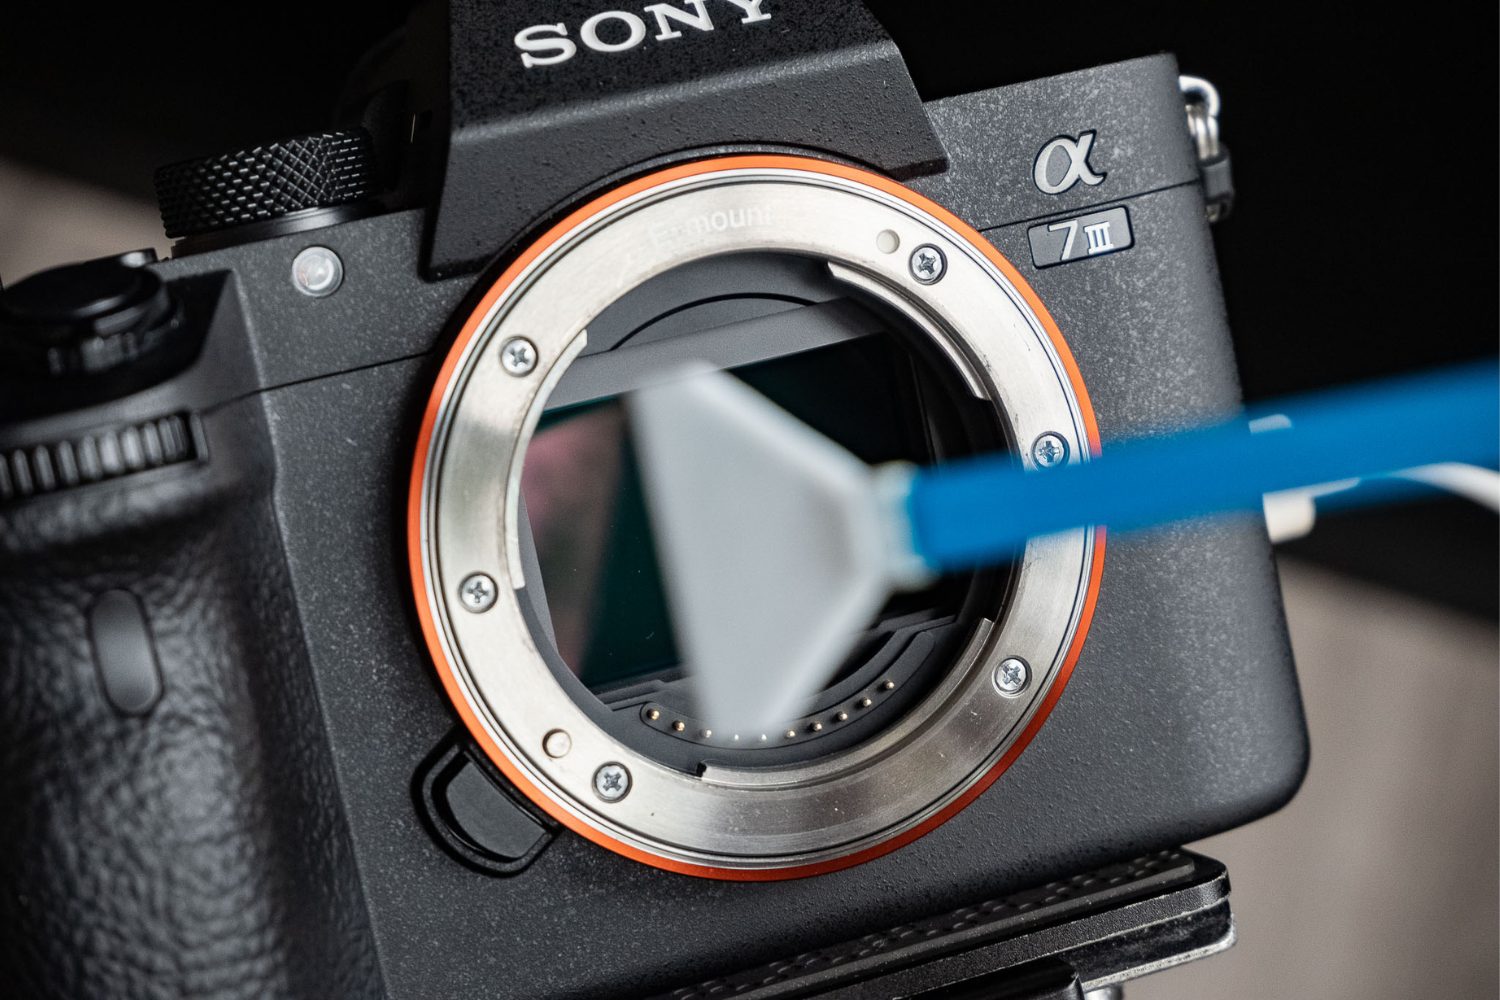
4. Apply Sensor Cleaning Solution: Moisten a sensor cleaning swab with a minimal amount of sensor cleaning solution, following the manufacturer’s recommendations. With a steady hand, gently swipe the swab across the sensor surface in a single, unidirectional motion to remove stubborn contaminants.
5. Inspect the Sensor: After using the swab, reinspect the sensor surface with the magnifying loupe to ensure that contaminants have been effectively removed. If necessary, repeat the swabbing process with a fresh swab until the sensor is pristine and free from visible debris.
6. Reassemble the Camera: Once the sensor cleaning process is complete, carefully reattach the lens to the camera body, ensuring that no dust or debris is introduced during the reassembly. Power on the camera and perform a test capture to verify the cleanliness of the sensor.
7. Conduct a Test Capture: Capture a test image of a uniformly bright subject, such as a clear blue sky, at various apertures to assess the cleanliness of the sensor. Inspect the test image at 100% magnification on a computer to identify any residual spots or imperfections.
By meticulously following these steps, you can navigate the sensor cleaning process with precision and care, safeguarding the sensor from potential damage and preserving the pristine condition of your DSLR camera’s most critical component. With patience and attention to detail, you can maintain the optimal performance and image quality of your camera, ensuring that your photographic endeavors continue to shine with unparalleled clarity and brilliance.
Testing the Sensor After Cleaning
After completing the sensor cleaning process, it is imperative to conduct thorough testing to verify the cleanliness and integrity of the sensor. Rigorous testing ensures that any residual contaminants are identified and addressed, guaranteeing that the sensor is free from imperfections that could compromise the quality of your photographs.
1. Capture Test Images: Begin by capturing a series of test images at varying apertures and focal lengths to assess the cleanliness of the sensor. Choose subjects with uniform, bright areas to reveal any residual spots or blemishes that may be present on the sensor surface.
2. Inspect Test Images: Transfer the test images to a computer and review them at 100% magnification using image viewing software. Methodically inspect the images for any signs of remaining spots, streaks, or other imperfections that may indicate the presence of residual contaminants on the sensor.
3. Utilize Image Editing Software: If any residual spots or imperfections are detected, utilize image editing software to identify and mark their locations on the test images. This facilitates a targeted approach to addressing specific areas of concern during subsequent cleaning iterations.
4. Repeat the Cleaning Process if Necessary: If residual contaminants are identified during the testing phase, repeat the sensor cleaning process using the appropriate tools and techniques. Exercise caution and precision to address the specific areas of concern without introducing additional contaminants.
5. Perform Additional Test Captures: After repeating the cleaning process, capture additional test images to evaluate the effectiveness of the cleaning efforts. Inspect the new test images with the same meticulous scrutiny to verify the successful removal of any residual spots or blemishes.
6. Document the Cleaning Process: Maintain a record of the sensor cleaning process, including the number of cleaning iterations performed, the specific tools and materials utilized, and any observations regarding the effectiveness of the cleaning efforts. This documentation can inform future sensor maintenance and serve as a reference for troubleshooting potential issues.
By subjecting the sensor to rigorous testing after the cleaning process, you can ensure that the sensor is free from imperfections and ready to deliver pristine, professional-quality images. Thorough testing serves as a critical quality assurance measure, affirming the success of the sensor cleaning endeavor and instilling confidence in the continued performance and reliability of your DSLR camera’s sensor.
Conclusion
Congratulations! By delving into the intricacies of sensor cleaning, you have embarked on a journey to safeguard the pristine condition and optimal performance of your DSLR camera’s sensor. Understanding the importance of sensor maintenance and mastering the techniques involved in sensor cleaning empowers you to elevate your photography experience and preserve the integrity of your photographic work.
Through this comprehensive guide, you have gained valuable insights into the significance of sensor cleaning, the essential tools required for the process, and the meticulous precautions and steps necessary to execute sensor cleaning with precision and care. By embracing these principles and techniques, you have equipped yourself with the expertise and confidence to maintain the sensor of your DSLR camera in impeccable condition, ensuring that your photographic endeavors continue to shine with unparalleled clarity and brilliance.
As you venture forth on your photographic odyssey, remember that sensor cleaning is not merely a maintenance task; it is a testament to your dedication to the art and science of photography. By nurturing and preserving the sensor, the very essence of your creative vision is upheld, allowing you to capture moments with unrivaled precision and artistry.
Embrace the sensor cleaning process as a ritual of reverence for your craft, a dedication to uncompromising quality, and a commitment to the enduring legacy of your photographic legacy. With each sensor cleaning endeavor, you reaffirm your role as a guardian of visual storytelling, ensuring that your images resonate with the clarity and authenticity that define your artistic vision.
As you continue your photographic pursuits, may the knowledge and skills acquired in this guide serve as a steadfast companion, guiding you through the intricacies of sensor maintenance and empowering you to unleash the full potential of your DSLR camera. Embrace the art and science of sensor cleaning, and let your photographic journey unfold with unparalleled clarity, precision, and brilliance.


