Introduction
So, you've just purchased a Logitech USB microphone and you're eager to start using it to enhance your audio recording and communication experiences. Whether you're a podcaster, gamer, musician, or simply looking to improve the quality of your video calls, the Logitech USB microphone offers a convenient and high-quality solution. In this guide, we'll walk you through the process of unboxing, setting up, and utilizing your new microphone with ease.
The Logitech USB microphone is renowned for its plug-and-play simplicity, making it accessible to users of all technical backgrounds. Whether you're a seasoned tech enthusiast or a novice user, you'll find that getting started with this microphone is a straightforward and rewarding experience. By following the steps outlined in this guide, you'll be able to seamlessly integrate the Logitech USB microphone into your computer setup and begin enjoying its exceptional audio performance.
Throughout this guide, we'll cover everything from unboxing the microphone to adjusting its settings and conducting a test to ensure everything is functioning as intended. Additionally, we'll explore the various applications of the Logitech USB microphone, from recording vocals and instruments to engaging in crystal-clear voice chats and conference calls.
By the end of this guide, you'll have the knowledge and confidence to harness the full potential of your Logitech USB microphone, unlocking a world of improved audio quality and communication capabilities. Let's dive into the unboxing and setup process to get you started on your journey to superior audio performance.
Step 1: Unboxing and Setting Up the Logitech USB Microphone
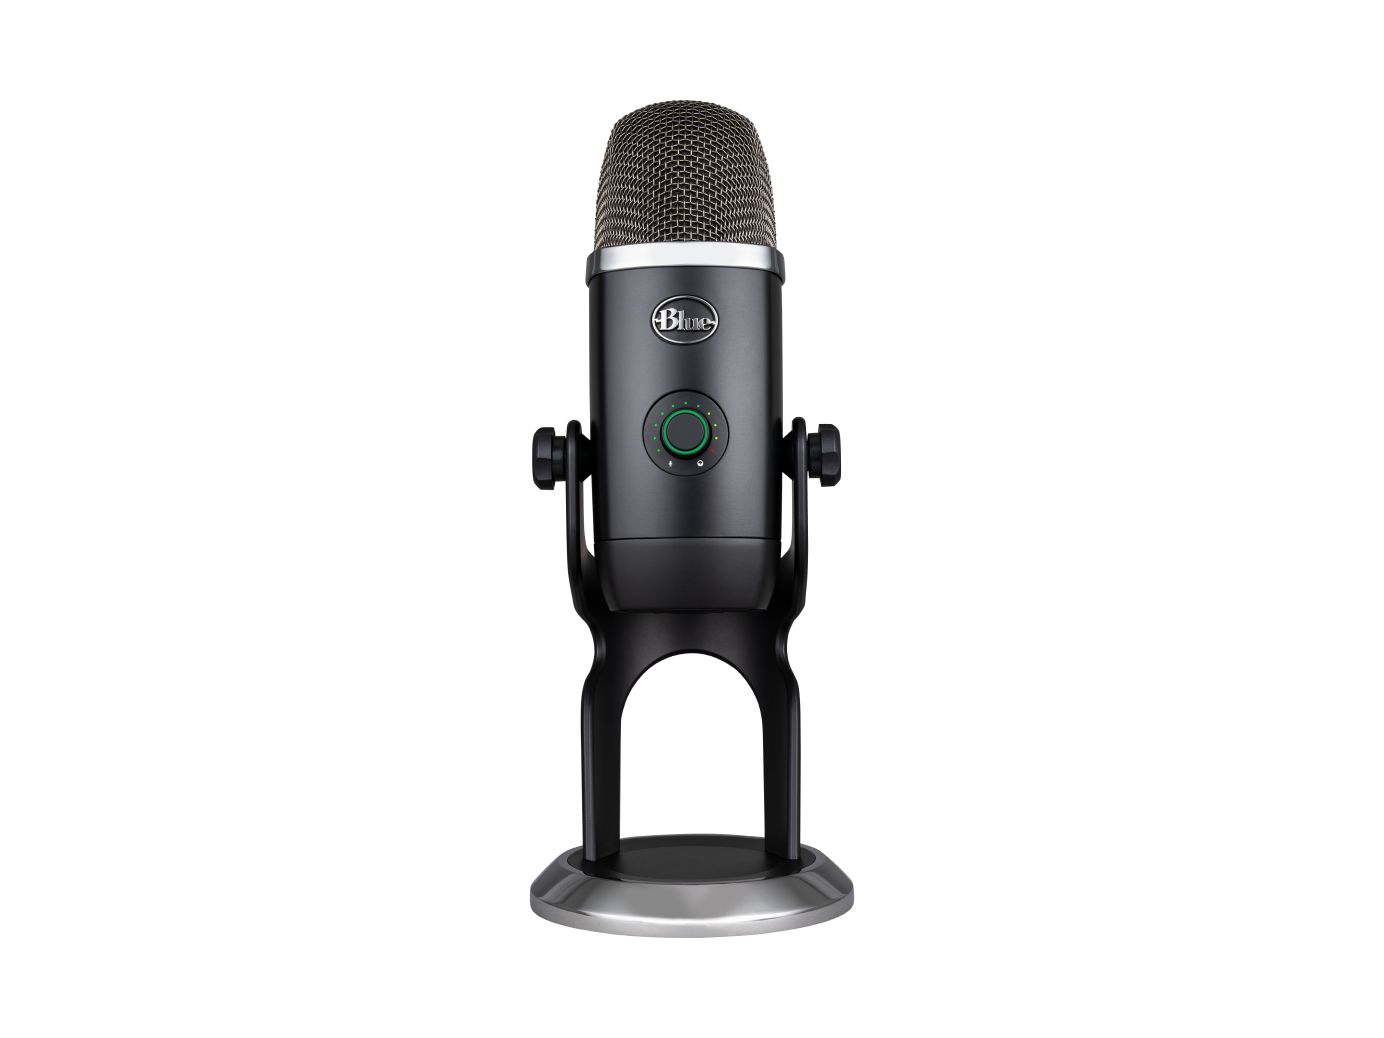
Upon receiving your Logitech USB microphone, the first step is to carefully unbox it and prepare it for setup. Begin by removing the microphone from its packaging, taking care to inspect the contents to ensure that everything is included and in good condition. Typically, the package will contain the microphone itself, a USB cable for connectivity, and any relevant documentation.
After unboxing the microphone, you’ll want to find a suitable location for it on your desk or workspace. Consider a position that allows for optimal sound capture and minimizes any potential obstructions. Once you’ve chosen the ideal spot, proceed to connect the USB cable to the microphone and then to an available USB port on your computer. The Logitech USB microphone is designed for plug-and-play functionality, eliminating the need for additional software or drivers in most cases.
Next, ensure that the microphone is securely positioned and stable, minimizing any potential movement or vibrations that could affect audio quality. If your Logitech USB microphone features an adjustable stand or mount, take the time to position it at the desired angle and height for comfortable use.
With the physical setup complete, take a moment to familiarize yourself with the microphone’s controls and features. Depending on the model, you may find buttons or dials for adjusting volume, muting the microphone, or toggling between different audio capture modes. Understanding these functions will empower you to make the most of your microphone during various recording and communication scenarios.
Now that the Logitech USB microphone is unboxed, connected, and ready for use, you’re one step closer to elevating your audio experiences. In the next step, we’ll delve into the process of connecting the microphone to your computer, ensuring seamless integration and functionality.
Step 2: Connecting the Microphone to Your Computer
Now that your Logitech USB microphone is unboxed and set up, the next crucial step is to establish a seamless connection between the microphone and your computer. The USB interface of the microphone simplifies this process, allowing for easy integration with a wide range of devices, including desktops, laptops, and even some tablets.
Begin by locating an available USB port on your computer. The Logitech USB microphone utilizes a standard USB Type-A connector, which is commonly found on most modern computing devices. Once you’ve identified a suitable port, insert the USB cable from the microphone into the port, ensuring a secure and snug connection. The plug-and-play nature of the Logitech USB microphone means that, in most cases, your computer will automatically recognize and configure the microphone for use.
Upon connecting the microphone, your computer may display a notification indicating that a new audio device has been detected. Depending on your operating system, you may also have the option to adjust specific microphone settings at this stage, such as input volume levels and default audio input devices. It’s advisable to review these settings to ensure that the Logitech USB microphone is configured to your preferences and requirements.
If you encounter any issues with the initial connection or configuration of the microphone, refer to the included documentation or visit the Logitech support website for troubleshooting guidance. In rare cases, you may need to install specific drivers or software provided by Logitech to ensure full compatibility and functionality with your computer.
With the Logitech USB microphone successfully connected to your computer, you’re now poised to explore its versatility in various audio recording and communication applications. In the next step, we’ll delve into the process of adjusting microphone settings on your computer, fine-tuning its performance to suit your specific needs and preferences.
Step 3: Adjusting Microphone Settings on Your Computer
With the Logitech USB microphone successfully connected to your computer, it’s essential to optimize its settings to ensure optimal audio capture and performance. Depending on your operating system and specific requirements, you may need to adjust various microphone settings to suit your recording or communication needs.
On Windows-based systems, you can access the microphone settings by right-clicking on the speaker icon in the taskbar and selecting “Open Sound settings.” In the Sound settings window, navigate to the “Input” section, where you can select the Logitech USB microphone as the default input device and adjust its volume levels. Additionally, clicking on “Device properties” allows for more advanced adjustments, such as microphone enhancements and spatial sound settings.
For Mac users, the microphone settings can be accessed by clicking on the Apple menu, selecting “System Preferences,” and then choosing “Sound.” In the Sound preferences window, navigate to the “Input” tab to select the Logitech USB microphone and adjust its input volume as needed. Mac users may also have access to additional audio settings based on the specific model and macOS version.
Regardless of your operating system, it’s advisable to conduct a test recording or voice input session while adjusting the microphone settings. This allows you to gauge the audio quality and make real-time adjustments to volume levels, input sensitivity, and other relevant parameters. Fine-tuning the settings in this manner ensures that the Logitech USB microphone is optimized for your specific use case, whether it involves podcasting, gaming, voice calls, or music production.
Furthermore, if you plan to use the microphone with specific software applications, such as digital audio workstations (DAWs) or voice chat programs, it’s important to review the settings within those applications to ensure seamless integration with the Logitech USB microphone. This may involve selecting the microphone as the default input device within the software and configuring any additional audio processing or effects as desired.
By taking the time to adjust the microphone settings on your computer and within relevant software applications, you can harness the full potential of the Logitech USB microphone, unlocking exceptional audio clarity and precision tailored to your unique requirements. In the next step, we’ll explore the process of testing the microphone to verify its functionality and performance.
Step 4: Testing the Microphone
After setting up and adjusting the Logitech USB microphone, it’s crucial to conduct a thorough test to ensure that it is functioning as intended and capturing audio with the desired clarity and fidelity. A comprehensive microphone test allows you to identify any potential issues and make real-time adjustments to optimize its performance for your specific recording or communication needs.
To begin the testing process, open a software application that allows for audio input, such as a voice recorder, video conferencing platform, or digital audio workstation (DAW). Ensure that the Logitech USB microphone is selected as the default input device within the application’s settings. This step is essential for directing the microphone’s audio input to the desired software, enabling you to capture and monitor the audio output in real time.
Once the microphone is selected within the application, proceed to speak or produce sound into the microphone while monitoring the audio levels and quality. Pay close attention to the clarity, volume, and absence of any unwanted background noise or distortion. If necessary, adjust the microphone’s input volume or sensitivity within the application’s settings to achieve an optimal balance between audio clarity and volume.
In addition to testing the microphone’s performance with spoken voice, consider conducting a brief recording of musical instruments or vocal performances to evaluate its suitability for music production or podcasting. This comprehensive testing approach allows you to assess the microphone’s versatility across a range of audio capture scenarios, ensuring that it meets your expectations and requirements.
During the testing phase, it’s also beneficial to solicit feedback from others by engaging in a brief voice call or video chat, allowing them to provide insights into the microphone’s audio quality from an external perspective. This external feedback can offer valuable insights into the microphone’s performance in real-world communication scenarios, such as online meetings, gaming sessions, or podcast recordings.
By thoroughly testing the Logitech USB microphone across various audio input scenarios and seeking external feedback, you can confidently verify its functionality and performance. Any necessary adjustments to the microphone’s settings or positioning can be made based on the outcomes of the testing phase, ensuring that it is fully optimized for your intended use. In the next step, we’ll explore the diverse applications of the Logitech USB microphone, showcasing its versatility and potential for enhancing your audio experiences.
Step 5: Using the Logitech USB Microphone for Various Purposes
Now that you’ve unboxed, set up, adjusted, and tested the Logitech USB microphone, it’s time to explore the multitude of applications where this versatile audio device can elevate your recording and communication experiences.
Podcasting: The Logitech USB microphone is an ideal companion for podcasters, offering exceptional audio clarity and ease of use. Whether you’re hosting solo shows or conducting interviews, the microphone’s precise audio capture ensures that your content is delivered with professional-grade quality.
Gaming: Engage in immersive gaming experiences with crystal-clear voice communication using the Logitech USB microphone. Whether you’re coordinating strategies with teammates or live streaming your gameplay, the microphone enhances the clarity and impact of your voice, contributing to a more dynamic and engaging gaming environment.
Music Production: Capture pristine vocal performances and instrument recordings with the Logitech USB microphone, providing a reliable and high-fidelity audio input for your music production endeavors. Whether you’re recording vocals, acoustic instruments, or podcast intros, the microphone’s versatility and accuracy contribute to exceptional audio results.
Video Calls and Conferencing: Elevate your online meetings, video calls, and virtual conferences with the Logitech USB microphone’s superior audio quality. Enjoy clear and natural voice reproduction, ensuring that your communication is conveyed with precision and impact, whether you’re collaborating with colleagues or connecting with friends and family.
Content Creation: Whether you’re creating YouTube videos, live streaming content, or recording tutorials, the Logitech USB microphone enhances the overall audio quality of your productions. By providing a professional-grade audio input, the microphone contributes to a more polished and engaging content creation experience.
By leveraging the Logitech USB microphone across these diverse applications, you can unlock its full potential and experience a significant enhancement in audio quality and clarity. The microphone’s adaptability and precision make it a valuable asset for a wide range of recording and communication purposes, empowering you to deliver impactful and professional-grade audio content.
Conclusion
Congratulations on successfully navigating the process of unboxing, setting up, and harnessing the potential of your Logitech USB microphone. By following the steps outlined in this guide, you’ve embarked on a journey toward elevating your audio recording and communication experiences, unlocking the full capabilities of this versatile and high-performance microphone.
From the initial unboxing and setup to the meticulous adjustment of microphone settings and comprehensive testing, you’ve gained valuable insights into optimizing the microphone for your specific needs. Whether you’re a podcaster, gamer, musician, content creator, or professional seeking to enhance your online communication, the Logitech USB microphone stands ready to deliver exceptional audio clarity and precision across a diverse range of applications.
As you continue to explore the capabilities of the Logitech USB microphone, consider the various scenarios in which it can make a meaningful impact on your audio experiences. Whether it’s enhancing the quality of your podcast recordings, elevating your gaming communication, or contributing to professional-grade music production, the microphone’s adaptability and performance ensure that you’re equipped with a reliable and high-fidelity audio input.
Furthermore, by leveraging the microphone for video calls, online meetings, and content creation, you’re poised to make a lasting impression with clear and impactful communication. The Logitech USB microphone serves as a valuable tool for conveying your voice with precision and authenticity, whether in professional settings or casual online interactions.
As you continue to integrate the Logitech USB microphone into your audio setup, remember to explore its features and settings to discover new possibilities for enhancing your audio content. Whether it’s experimenting with different recording techniques, exploring advanced microphone configurations, or integrating the microphone with new software applications, the potential for creativity and innovation is boundless.
By embracing the capabilities of the Logitech USB microphone and incorporating it into your audio recording and communication workflows, you’ve taken a significant step toward achieving an elevated standard of audio quality and performance. As you continue to refine your skills and explore new opportunities for leveraging the microphone’s capabilities, you’ll undoubtedly discover a world of possibilities for expressing yourself through exceptional audio experiences.


