Introduction
Welcome to this guide on how to use a USB microphone on an iPhone. If you’re looking to enhance the audio quality of your recordings or live streams on your iPhone, using a USB microphone is a great option. USB microphones offer superior sound quality and convenience compared to the built-in microphone on your iPhone. Whether you’re a content creator, musician, podcaster, or just someone who wants to improve the audio for their videos, using a USB microphone can make a significant difference.
In this guide, we will walk you through the process of choosing a suitable USB microphone for your iPhone, connecting it to your device, setting it up correctly, and testing it. We will also provide solutions for common issues you may encounter along the way. By the end of this guide, you’ll be well-equipped to use a USB microphone and enjoy professional-grade audio on your iPhone.
Before we get started, it’s essential to note that not all USB microphones are compatible with iPhones. iPhones require USB microphones that support the Lightning connector, as the latest iPhones do not have a dedicated headphone jack. Therefore, it’s important to choose a USB microphone that specifically mentions iPhone compatibility.
Now that you have a basic understanding let’s dive into the details of selecting the right USB microphone for your iPhone and getting it all set up.
Choosing a USB Microphone for iPhone
When it comes to choosing a USB microphone for your iPhone, there are a few factors to consider to ensure compatibility and optimal performance:
- Compatibility: Make sure the USB microphone you choose explicitly states that it is compatible with iPhones. Look for models that support the Lightning connector, as this is the interface used by newer iPhone models.
- Microphone Type: USB microphones come in various types, including dynamic, condenser, and ribbon microphones. For most iPhone users, a condenser microphone is a versatile option that delivers excellent sound quality and sensitivity.
- Features: Consider the features you need for your specific use case. Some USB microphones offer adjustable polar patterns, gain control, headphone monitoring, and built-in pop filters. Determine what features are essential for your recording needs.
- Portability: If you plan to record on the go or outside of a studio, consider a USB microphone that is compact and portable. Look for lightweight options with a sturdy build that can withstand travel.
- Budget: USB microphones come in a wide range of prices. Set a budget and choose a microphone that offers a good balance of quality and affordability. It’s worth investing in a higher-end USB microphone if you have professional recording needs.
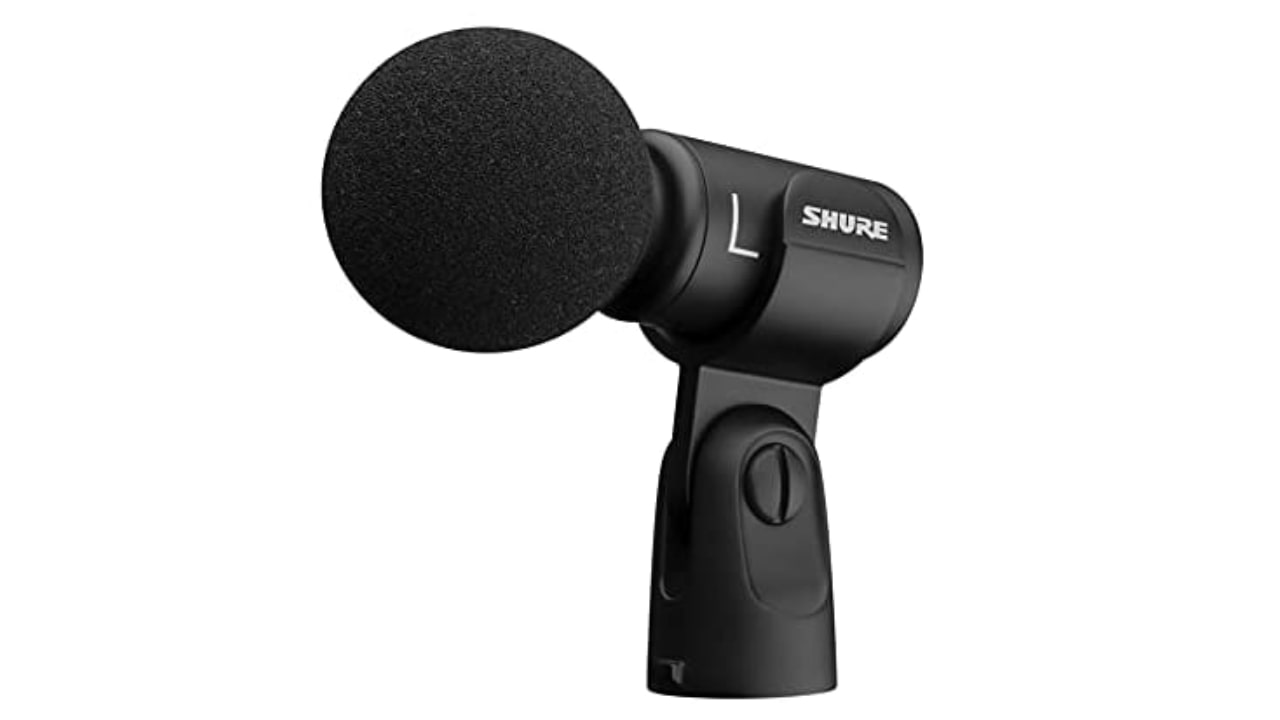
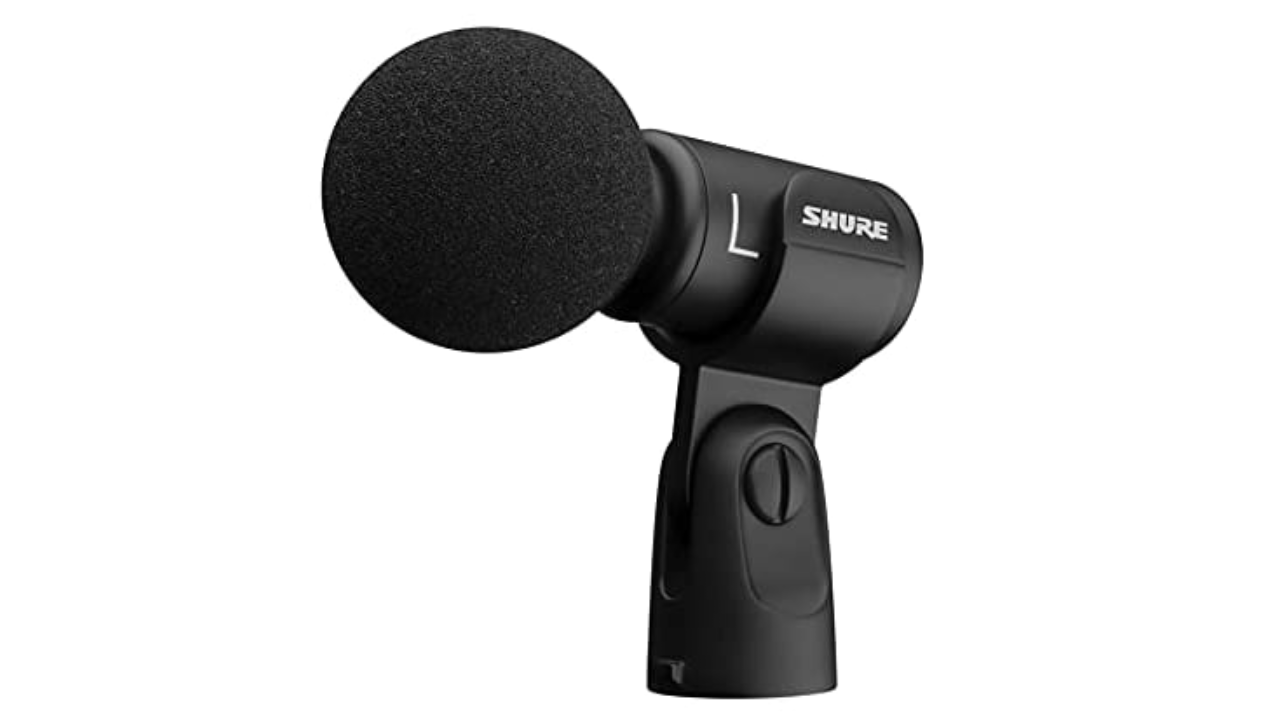
Researching and reading reviews from trusted sources can be helpful in finding the right USB microphone for your iPhone. Popular options include the Blue Yeti, Audio-Technica ATR2100x-USB, and Rode NT-USB.
Once you’ve chosen the USB microphone that suits your needs, the next step is to connect it to your iPhone. Let’s move on to the next section to learn how to do that.
Connecting Your USB Microphone to iPhone
Connecting your USB microphone to your iPhone is a straightforward process. Follow these steps to get started:
- Ensure that your USB microphone is compatible with your iPhone and has the necessary Lightning connector.
- Power off your iPhone before connecting the USB microphone to it. This helps avoid any potential issues during the connection process.
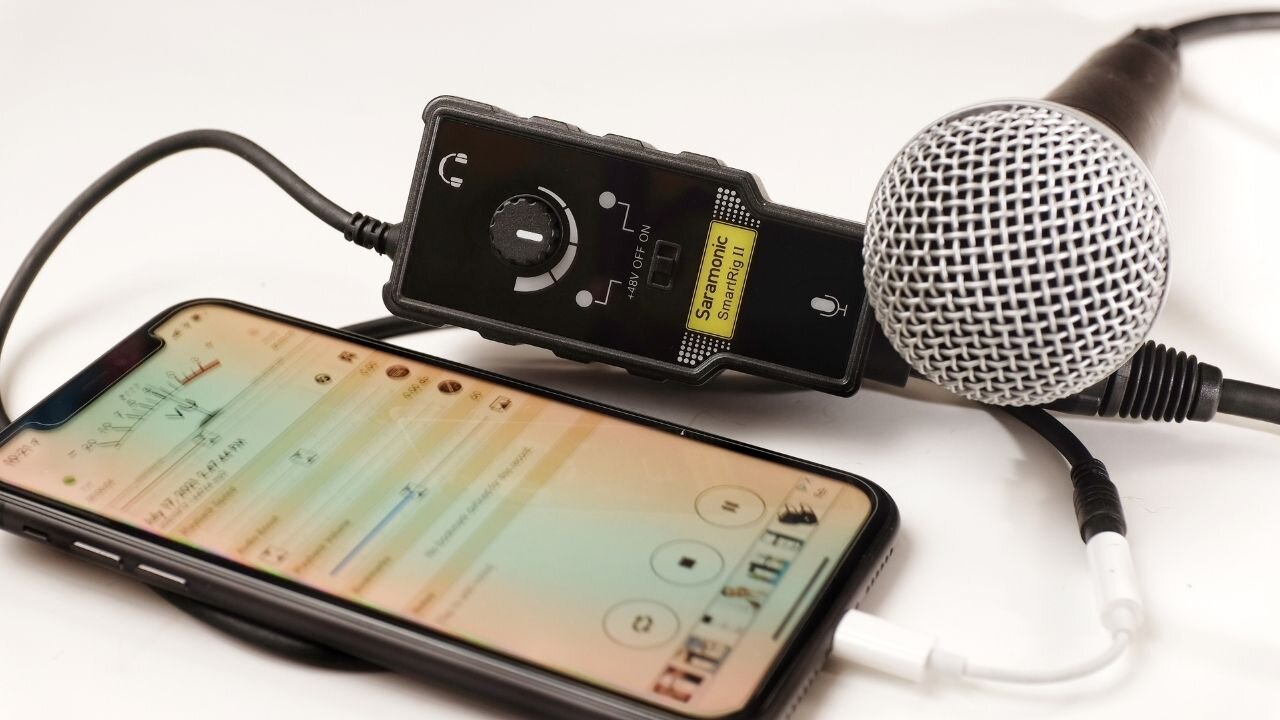
- Plug the USB cable from your microphone into the Lightning to USB adapter. If your microphone has a USB-C connector, use a Lightning to USB-C adapter for compatibility.
- Connect the Lightning to USB adapter to your iPhone’s Lightning port. Make sure the connection is secure.
- Once the USB microphone is connected, power on your iPhone. It should recognize the USB microphone automatically.
- You may need to adjust the audio input settings on your iPhone to use the USB microphone. To do this, go to “Settings,” then “Control Center,” and customize the control to include “Microphone.” This will allow you to access your microphone settings from the Control Center.
- Open your preferred recording or streaming app on your iPhone and select the USB microphone as the input device. You can usually find this option in the app’s settings or preferences.
That’s it! You have successfully connected your USB microphone to your iPhone. Now that it’s set up, let’s move on to the next section to learn about the necessary configuration for optimal performance.
Setting Up Your USB Microphone on iPhone
After connecting your USB microphone to your iPhone, it’s important to configure the settings to ensure optimal performance. Follow these steps to set up your USB microphone on your iPhone:
- Open the Control Center on your iPhone by swiping down from the top right corner (or up from the bottom on older iPhone models).
- Tap and hold the audio recording icon in the Control Center.
- In the expanded audio recording menu, select the USB microphone as the audio input source.
- Once you’ve selected the USB microphone, adjust the input gain or volume level if needed. This can usually be done within the recording or streaming app settings as well.
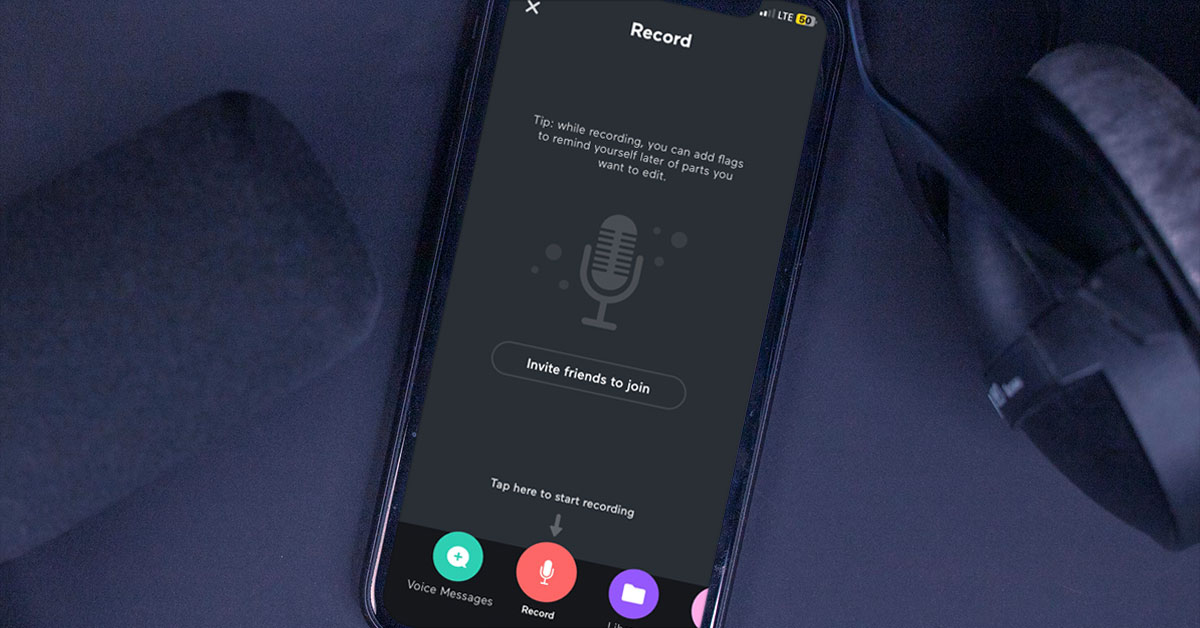
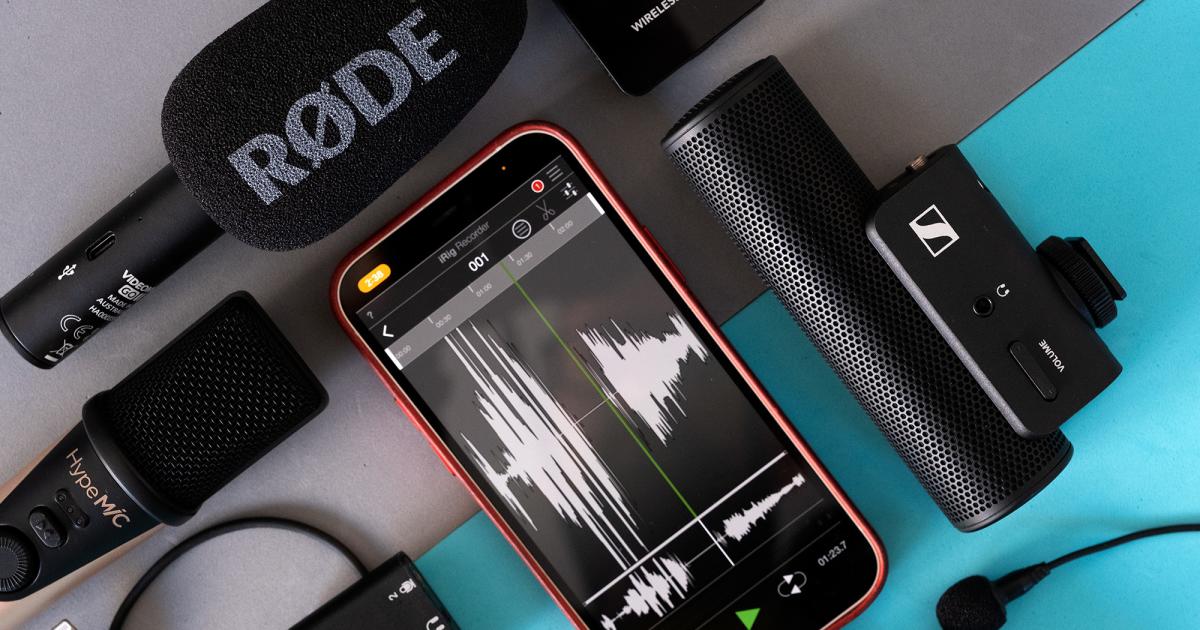
- Test the microphone by speaking or making a sound into it. Check the input level meter in your recording app to ensure it’s picking up sound correctly.
- If you’re using an app that allows for audio monitoring, use headphones to listen to the audio playback in real time. This will help you monitor the sound quality and make any necessary adjustments.
- Experiment with different microphone settings, such as polar patterns or gain adjustments, to find the best configuration for your specific recording needs.
It’s important to note that different recording apps may have their own unique settings and configurations. Take some time to explore the settings within your chosen app to optimize the USB microphone’s performance.
Remember, every USB microphone is different, so refer to the manufacturer’s manual or online resources for specific instructions on setting up and configuring your particular model.
Now that you have properly set up your USB microphone on your iPhone, let’s move on to the next section to ensure everything is working correctly by performing a quick test.
Testing Your USB Microphone on iPhone
Testing your USB microphone on your iPhone is crucial to ensure that it is functioning properly and delivering the desired audio quality. Here are some steps to help you test your USB microphone:
- Open your preferred recording or streaming app on your iPhone.
- Select the USB microphone as the input device in the app’s settings or preferences.
- Make sure the microphone is positioned correctly and at an appropriate distance from your voice or sound source.
- Start a test recording or live stream within the app.
- Speak or make a sound into the USB microphone. Monitor the input level meter in the app to ensure that it is registering sound.
- Listen to the playback or monitor the audio in real-time using headphones if your app allows for audio monitoring.
- Assess the audio quality, clarity, and volume. Make adjustments to the microphone settings as needed.
- Repeat the recording or testing process with different microphone settings, such as varying gain levels or polar patterns, to find the best audio configuration for your specific use case.
During the testing phase, pay attention to any background noise, distortions, or unwanted sounds that may affect the overall audio quality. If you encounter issues, refer to the troubleshooting section below for possible solutions.
By testing your USB microphone thoroughly, you can ensure that it is working correctly and producing the desired results for your recordings or live streams.
Now that you have tested your USB microphone on your iPhone and are satisfied with its performance, let’s move on to the next section to address common issues you may encounter and provide troubleshooting tips.
Troubleshooting Common Issues
While using a USB microphone on your iPhone, you may encounter some common issues. Here are a few troubleshooting tips to help you resolve them:
- No Sound or Low Volume: Ensure that the microphone is properly connected to your iPhone and that the app you’re using has the microphone selected as the input device. Check the microphone’s gain settings or volume control to make sure it is not set too low. Additionally, try restarting your iPhone and the app to see if that resolves the issue.
- Background Noise or Distortion: If you’re experiencing background noise or distortion in your recordings, try adjusting the microphone’s gain settings to find the optimal level. Consider using a pop filter or foam windscreen to reduce plosive sounds and wind noise. If the issue persists, try recording in a quieter environment or consider using noise-canceling software or apps to minimize unwanted sounds.
- Interference or Connectivity Issues: Make sure that there are no other devices or sources of interference near your USB microphone or iPhone. Avoid using long or low-quality USB cables, as this can cause connectivity issues. If possible, try using a different USB cable or adapter to see if that resolves the problem. Finally, ensure that your iPhone has the latest software updates installed, as this can sometimes address connectivity issues.
- Compatibility Issues: If your USB microphone is not recognized by your iPhone or is not functioning correctly, verify that it is explicitly listed as compatible with iPhone devices. Check the microphone’s documentation or contact the manufacturer for support. It may be necessary to consider a different USB microphone that is designed specifically for use with iPhones.
- App-Specific Issues: If you’re experiencing microphone-related issues within a specific app, make sure that the app is up-to-date. Try force-closing and reopening the app, as well as restarting your iPhone. If the problem persists, consider contacting the app’s support team for further assistance.
Remember to consult the user manual or online resources provided by the microphone manufacturer for troubleshooting steps specific to your USB microphone model. Additionally, seeking support from the manufacturer or online forums can help in resolving any persistent issues you may encounter.
Now that you are equipped with troubleshooting tips, you can address common issues that may arise while using a USB microphone on your iPhone.
Conclusion
Congratulations! You have now learned how to use a USB microphone on your iPhone. By following the steps outlined in this guide, you can enhance the audio quality of your recordings, podcasts, live streams, and other audio projects. Using a USB microphone offers superior sound quality and versatility compared to the built-in microphone on your iPhone.
We started by discussing the importance of choosing a USB microphone that is compatible with iPhones, considering factors such as microphone type, features, portability, and budget. Then, we explored the process of connecting the USB microphone to your iPhone using a Lightning to USB adapter and adjusting the necessary audio settings.
Next, we walked through the steps to set up and configure your USB microphone on your iPhone, including selecting the microphone as the input device, adjusting gain or volume levels, and testing the microphone’s performance using recording or streaming apps. We also provided troubleshooting tips to help you address common issues that may arise, such as low volume, background noise, connectivity problems, and app-specific issues.
Remember to consult the manufacturer’s documentation and online resources for specific instructions related to your USB microphone model. Additionally, staying up-to-date with software updates and seeking support from manufacturers or online forums can help you resolve any persistent issues that may arise.
Now that you have the knowledge and tools to use a USB microphone on your iPhone, you can take your audio recordings and projects to the next level. Enjoy the enhanced sound quality and explore the possibilities that a USB microphone brings to your creative endeavors.


