Introduction
So, you've finally decided to change the strings on your electric guitar. Whether you're a seasoned pro or a beginner, restringing your guitar with Elixir strings can breathe new life into your instrument and enhance your playing experience. Elixir strings are known for their longevity, tone quality, and smooth feel, making them a popular choice among guitarists of all levels. In this guide, we'll walk you through the process of stringing an electric guitar with Elixir strings, ensuring that you achieve optimal sound and playability.
Restringing your guitar is a crucial maintenance task that can significantly impact the instrument's sound and feel. Over time, strings accumulate dirt, sweat, and oils from your fingers, leading to a loss of brightness and clarity. By replacing your old strings with Elixir strings, you'll not only revitalize your guitar's tone but also enjoy extended durability, thanks to Elixir's patented coating that protects against corrosion and debris buildup.
Whether you're preparing for a gig, a recording session, or a casual jam at home, having fresh, high-quality strings can make a world of difference in your playing. With the right tools and a clear understanding of the restringing process, you'll be able to maintain your electric guitar with confidence and precision. So, let's dive into the steps of restringing your electric guitar with Elixir strings and unleash the full potential of your instrument.
Step 1: Gather the Necessary Tools
Before you begin the restringing process, it’s essential to gather the necessary tools to ensure a smooth and efficient experience. Here’s what you’ll need:
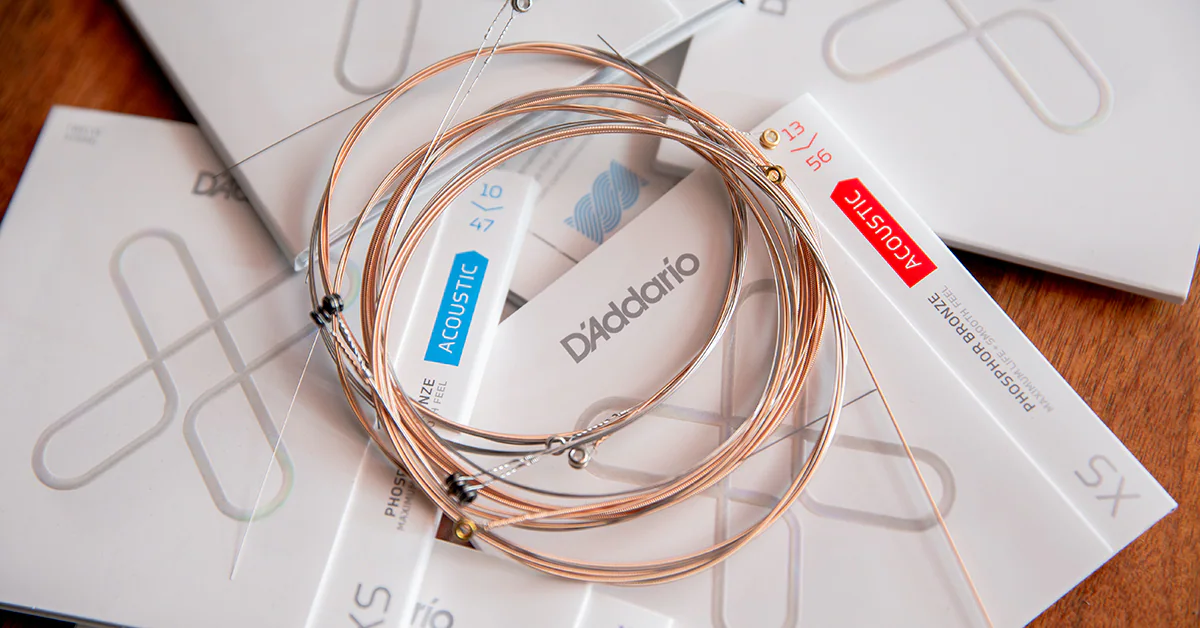
- Elixir Electric Guitar Strings: Select the appropriate Elixir strings for your electric guitar. Elixir offers a variety of string gauges and materials to suit different playing styles and preferences. Ensure that you have the correct set that matches your guitar’s scale length and your desired tone.
- Wire Cutters: A pair of quality wire cutters will be indispensable for trimming the excess string length after installation. This will help ensure that your strings are neatly secured and won’t interfere with your playing.
- Tuner: A reliable tuner is crucial for achieving accurate pitch and intonation once the new strings are installed. Whether you prefer a clip-on tuner or a smartphone app, having this tool on hand will facilitate the tuning process.
- Clean Cloth: Prepare a clean, lint-free cloth to wipe down your guitar’s fretboard and body. This will help remove any accumulated grime and prepare the surface for the new strings.
- String Winder: While not mandatory, a string winder can expedite the string changing process, especially when dealing with multiple windings around the tuning pegs. It can save you time and effort, making the task more efficient.
- Truss Rod Wrench (if necessary): If you plan to adjust your guitar’s truss rod while changing the strings, make sure you have the appropriate truss rod wrench for your instrument. However, truss rod adjustments should be approached with caution and are best left to experienced individuals or professionals.
By having these tools at your disposal, you’ll be well-equipped to tackle the restringing process with confidence and precision. Proper preparation ensures that you can focus on the task at hand and achieve optimal results when installing your new Elixir strings.
Step 2: Remove the Old Strings
Before installing your new Elixir strings, it’s crucial to remove the old strings from your electric guitar. Follow these steps to safely and efficiently remove the existing strings:
- Loosen the Tuning Pegs: Begin by loosening the tension on each string. Using a string winder or by hand, unwind the tuning pegs to reduce the tension until the strings are slack and can be easily removed.
- Cut the Strings: Once the strings are sufficiently slack, use wire cutters to snip the strings near the bridge of the guitar. Be cautious during this step to avoid any potential recoil of the strings. Dispose of the old strings responsibly.
- Remove the Bridge Pins (if applicable): If your electric guitar features bridge pins to secure the strings, carefully remove them to free the ends of the strings from the bridge. Keep the bridge pins in a secure place to prevent misplacement.
- Unwind and Remove the Strings: Unwind the remaining lengths of the strings from the tuning pegs, and carefully pull them out of the bridge and pickups. Take care to avoid any sharp edges and maintain a gentle touch to prevent damage to your guitar’s finish or components.
Once all the old strings have been removed, take a moment to inspect the fretboard, bridge, and pickups for any accumulated dirt or residue. Use a clean cloth to wipe down these areas, preparing them for the installation of your new Elixir strings.
By following these steps, you’ll effectively clear the way for the installation of your fresh Elixir strings, setting the stage for improved tone, playability, and overall performance of your electric guitar.
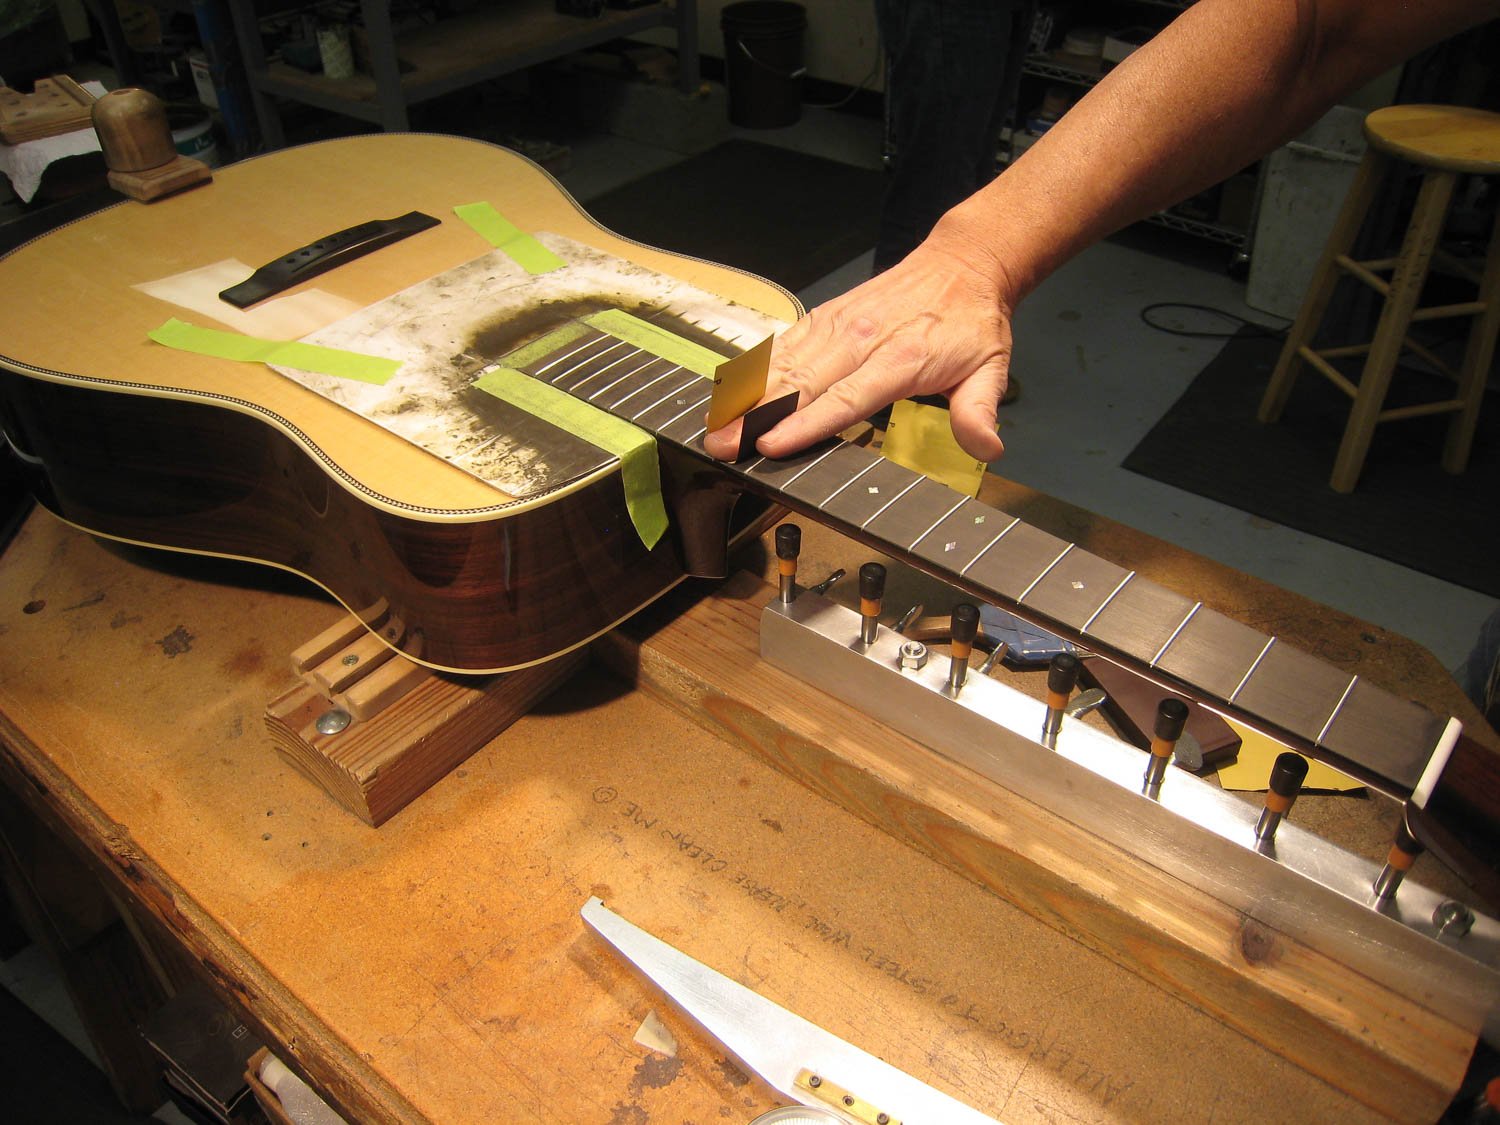
Step 3: Clean the Fretboard
After removing the old strings, it’s the perfect opportunity to give your guitar’s fretboard some much-needed attention. Cleaning the fretboard not only enhances the instrument’s appearance but also contributes to its overall playability and longevity. Follow these steps to effectively clean your guitar’s fretboard:
- Assess the Fretboard Material: Different guitars feature fretboards made from various materials such as rosewood, maple, ebony, or synthetic composites. It’s essential to identify the specific material of your fretboard to select the appropriate cleaning method.
- Use a Lint-Free Cloth: Begin by using a clean, lint-free cloth to gently wipe the fretboard, removing any surface dust, dirt, or grime. This initial step helps prepare the fretboard for a more thorough cleaning process.
- Apply Fretboard Conditioner (if applicable): For unfinished or natural wood fretboards, applying a small amount of high-quality fretboard conditioner can help nourish the wood and maintain its integrity. Ensure that the conditioner is specifically designed for the type of wood used in your fretboard.
- Clean the Fret Slots: Using a soft brush or toothbrush, carefully clean the fret slots to dislodge any accumulated debris. This step is crucial for maintaining the frets’ seating and preventing potential buzzing or intonation issues.
- Inspect and Polish the Frets: Take a moment to inspect the condition of the frets. If necessary, use a fret polishing cloth or ultra-fine steel wool to gently polish the frets, removing tarnish and restoring their luster.
- Remove Excess Conditioner: If you applied fretboard conditioner, ensure that any excess product is wiped away, leaving a thin, even layer to protect the fretboard without causing buildup.
By dedicating time to clean and maintain your guitar’s fretboard, you contribute to the instrument’s overall health and aesthetics. A well-cared-for fretboard not only looks appealing but also provides a smooth playing surface and contributes to the longevity of your instrument.
Step 4: Install the New Elixir Strings
Now that your guitar is prepped and the fretboard is clean, it’s time to install the fresh set of Elixir strings, setting the stage for optimal tone and playability. Follow these steps to ensure a successful installation of your new Elixir strings:
- Identify the String Gauges: Before installing the strings, ensure that you have the correct Elixir string set for your preferred gauge and tuning. Elixir offers a range of gauges to suit different playing styles, so select the set that aligns with your musical preferences.
- Thread the Strings: Begin by threading the ball end of each string through the appropriate bridge point, ensuring that they are securely seated. If your guitar features bridge pins, insert the ball ends into the respective slots and press the bridge pins back into place to secure the strings.
- Wind the Strings: Starting with the low E string, guide the string up to the corresponding tuning peg. Leave a sufficient length of slack to accommodate multiple windings around the peg. Wind the string in a clockwise direction for the bass strings (E, A, and D) and counterclockwise for the treble strings (G, B, and high E).
- Trim Excess String: Once each string is secured and tuned to pitch, use wire cutters to trim the excess length of the strings near the tuning pegs. Leave a small amount of slack to prevent the strings from slipping, but ensure that the trimmed ends do not interfere with your playing or tuning stability.
- Stretch the Strings: After all the strings are installed and tuned to approximate pitch, gently pull and stretch each string to help seat them properly at the bridge and nut. This process assists in stabilizing the strings and minimizes the need for frequent retuning.
By carefully following these steps, you’ll successfully install your new Elixir strings, setting the stage for improved tone, durability, and overall performance of your electric guitar. With the right technique and attention to detail, you can enjoy the benefits of Elixir’s renowned tone and extended lifespan.
Step 5: Stretch and Tune the Strings
After installing the new Elixir strings, it’s crucial to properly stretch and tune them to ensure stability, intonation, and optimal playing experience. Follow these steps to effectively stretch and tune your freshly installed Elixir strings:
- Initial Tuning: Begin by tuning each string to its approximate pitch using a reliable tuner. While the strings may not hold their pitch initially, this step establishes a starting point for the subsequent stretching process.
- Stretching the Strings: With the strings at approximate pitch, gently grasp each string and apply even pressure along its length, pulling it away from the fretboard. Repeat this stretching process for each string, ensuring that they are adequately stretched to minimize future tuning instability.
- Retune and Repeat: After stretching the strings, they will likely detune significantly. Retune each string to its proper pitch and repeat the stretching process until the strings stabilize and hold their tuning more effectively.
- Check Intonation: Once the strings are relatively stable, check the intonation of each string by playing the harmonic at the 12th fret and comparing it to the fretted note at the same position. Adjust the bridge saddles if necessary to achieve accurate intonation across the fretboard.
- Final Tuning and Fine-Tuning: After addressing intonation, perform a final tuning of the strings, ensuring that they are precisely pitched. Fine-tune the strings as needed to achieve optimal intonation and playing comfort.
By meticulously stretching and tuning your newly installed Elixir strings, you ensure that they settle into their optimal playing condition, providing enhanced stability and tonal clarity. This meticulous approach to string stretching and tuning contributes to a rewarding playing experience and the longevity of your strings.
Conclusion
Congratulations! You’ve successfully completed the process of stringing your electric guitar with Elixir strings. By following the steps outlined in this guide, you’ve not only revitalized your instrument but also set the stage for an enhanced playing experience characterized by improved tone, durability, and stability.
Restringing your guitar with Elixir strings is a fundamental aspect of instrument maintenance that directly impacts its sound and playability. The choice of Elixir strings ensures that you benefit from their renowned longevity, tone quality, and resistance to corrosion, making them a valuable investment in your musical journey.
With the right tools and a clear understanding of the restringing process, you’ve taken a proactive step in maintaining your electric guitar with precision and care. The attention to detail in cleaning the fretboard, installing the new strings, and meticulously stretching and tuning them reflects your commitment to achieving the best possible performance from your instrument.
As you embark on your musical endeavors, remember that regular string maintenance and replacement are essential for sustaining the optimal performance of your electric guitar. Embrace the process of restringing as an opportunity to connect with your instrument, fine-tune its characteristics, and unlock your full potential as a guitarist.
Now, with your electric guitar adorned with fresh Elixir strings, you’re ready to explore new melodies, express your creativity, and enjoy the rich, vibrant tones that Elixir strings are renowned for. So, pick up your guitar, feel the smoothness of the strings under your fingertips, and let your music resonate with clarity and brilliance.
Here’s to many inspiring musical moments with your newly strung electric guitar, empowered by the exceptional performance of Elixir strings.